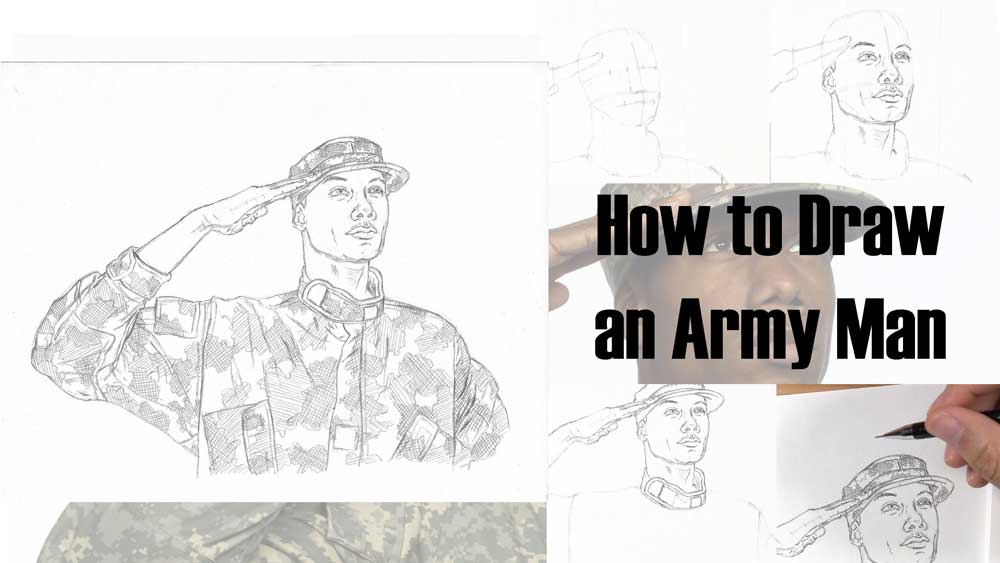
How to Draw an Army Man Saluting
Have you ever wanted to know how to draw an army man giving a salute?
It does not have to be Memorial Day, Veterans Day, or any other patriotic holiday for us to have a reason to honor our troops!
Drawing something relating to military life could be a nice gesture or way to recognize a special veteran in your life. Keep this in mind any time you are searching for ideas about what to draw.
In this tutorial, you will learn an easy way to draw an army man saluting.
Table of Contents
Use a Reference Photo of an Army Man
Below is a reference photo that will come in handy. It definitely came in handy for me. Even though I myself am an Army veteran, it has been nearly 20 years since I last wore a set of fatigues, also known at the time as BDU’s (or Battle Dress Uniforms). I have since learned that there have been a lot of changes! As of 2004, they were called ACU’s (or Army Combat Uniforms) and looked like this:
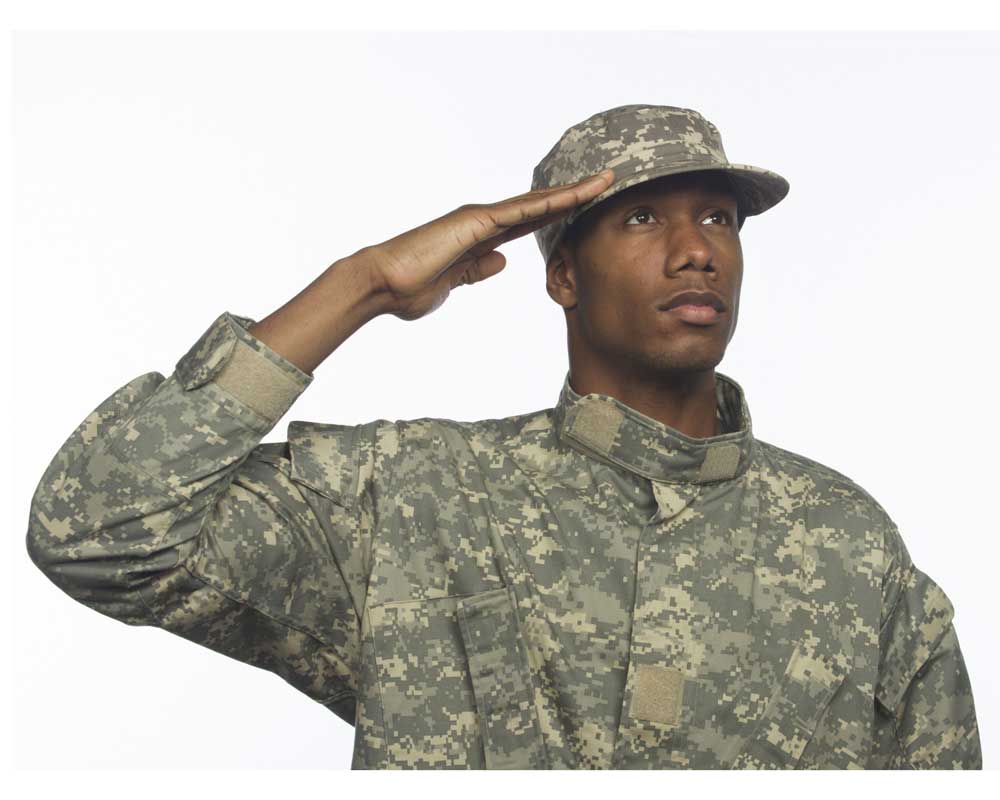
Now I have learned that they have changed again. Since 2019, soldiers have been wearing a new uniform with a pattern called OCP (Operational Camouflage Pattern).
So even though the reference photo for this tutorial has an outdated uniform, that’s okay! We will still use the reference to draw the soldier and the basic shape of the uniform. As for the camouflage pattern, I will show you how to draw it in a more generic style that can still be representative of a soldier’s uniform. This way, you will always be able to draw a camo pattern, even when the current uniform changes to something different.
Materials Used for This Drawing
Here is a list of the materials I am using for this drawing.
If you don’t have some of these materials, that’s okay. You can still make do with a regular pencil and eraser, as long as you just get started!
If you wish to purchase any of these materials, they can be found at your local art store, or you can buy them using the links below.
Affiliate Disclaimer: The links below are affiliate links. I will receive a small commission if a purchase is made through one of these links. Learn more here.
- HB and/or 2B graphite pencils
- Mechanical pencil
- 0.5mm 2B lead refills
- 8” by 10” drawing paper
- Plastic eraser
- Kneaded eraser
- Dusting brush
I will begin this tutorial by showing you some basic shapes you can draw by freehand. We will use these shapes as guidelines for the head, neck, body, and arm. To ensure you draw these guidelines in the proper shape, size, and position on your paper, you can use a grid as you draw along with me. If you do so, here are a few more materials that will help you transfer the grid and the image onto your drawing paper:
- 5 x 4 grid template
- Gridded reference photo
- Red pen
- 2B graphite block
- Ruler
- Artist tape
The grid template and gridded reference photo are available to all my newsletter subscribers. You can sign up and grab a copy of each by clicking the link below!
Free Bonus: Click here to download the grid template and gridded reference photo of the army man. Along with these resources, I will give you some simple tips for using the above materials to transfer the grid onto your drawing paper. This will allow you to more easily and effortlessly draw along with me in this tutorial.
Draw the Basic Outline of the Army Man
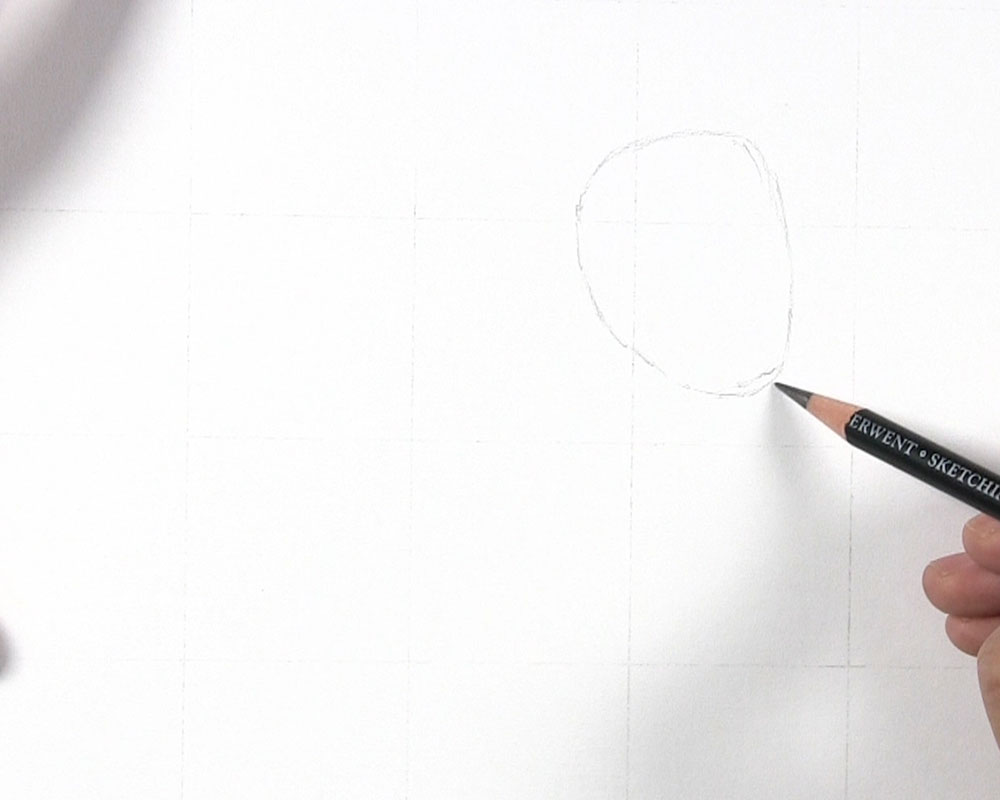
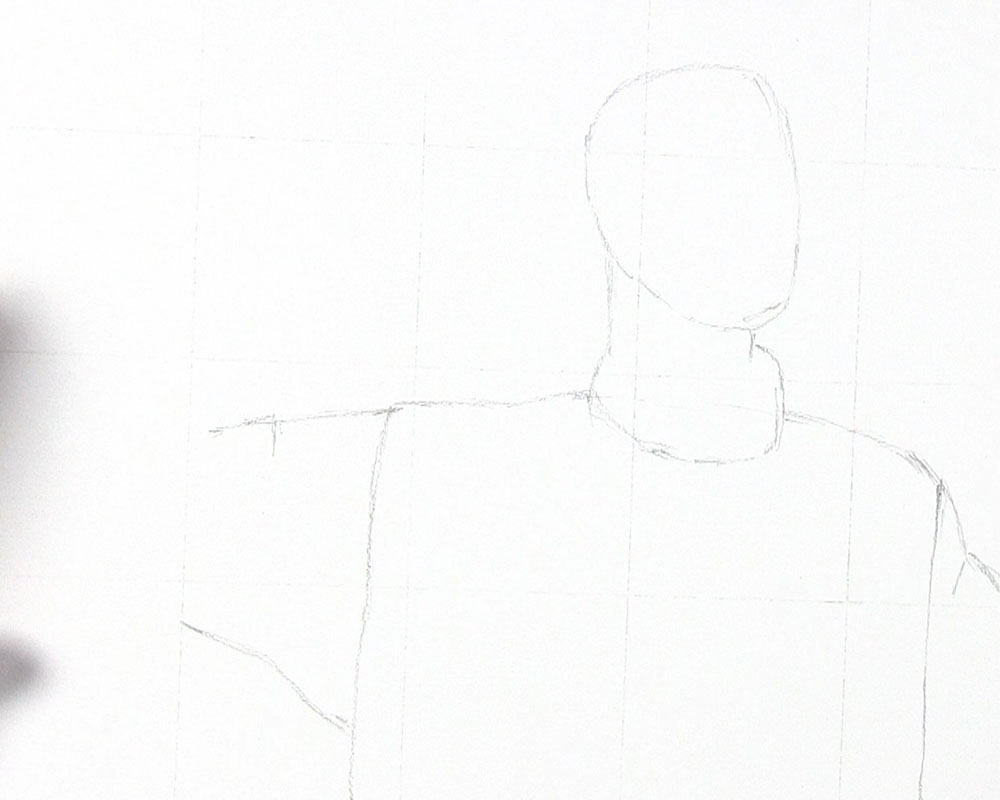
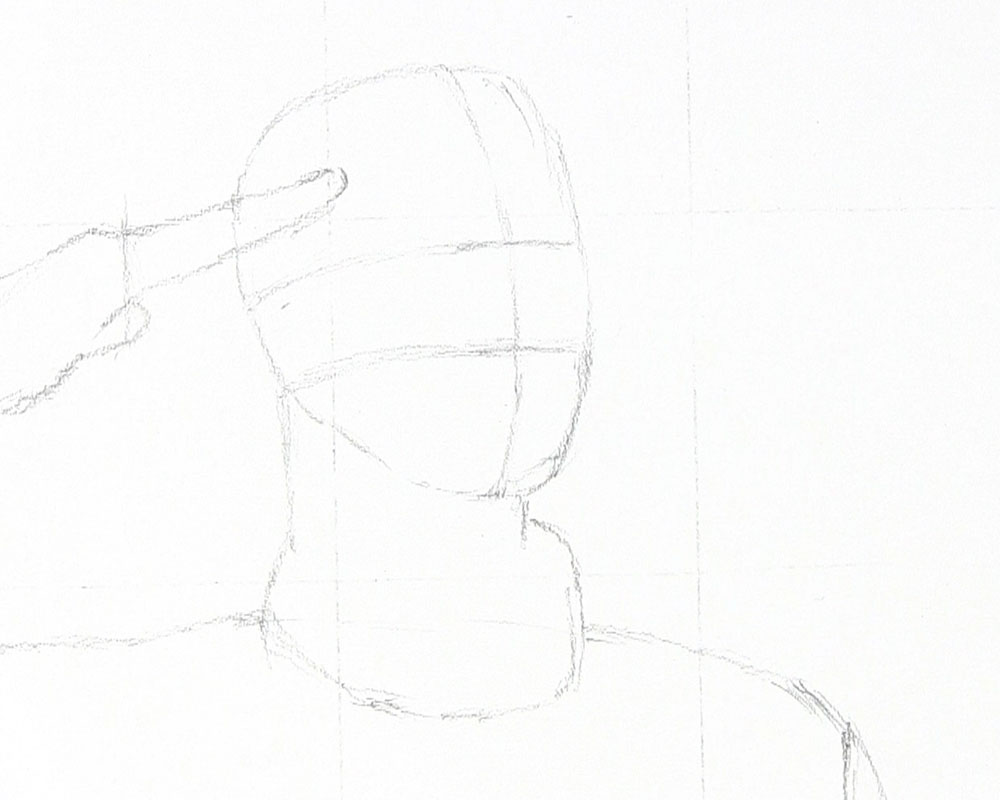
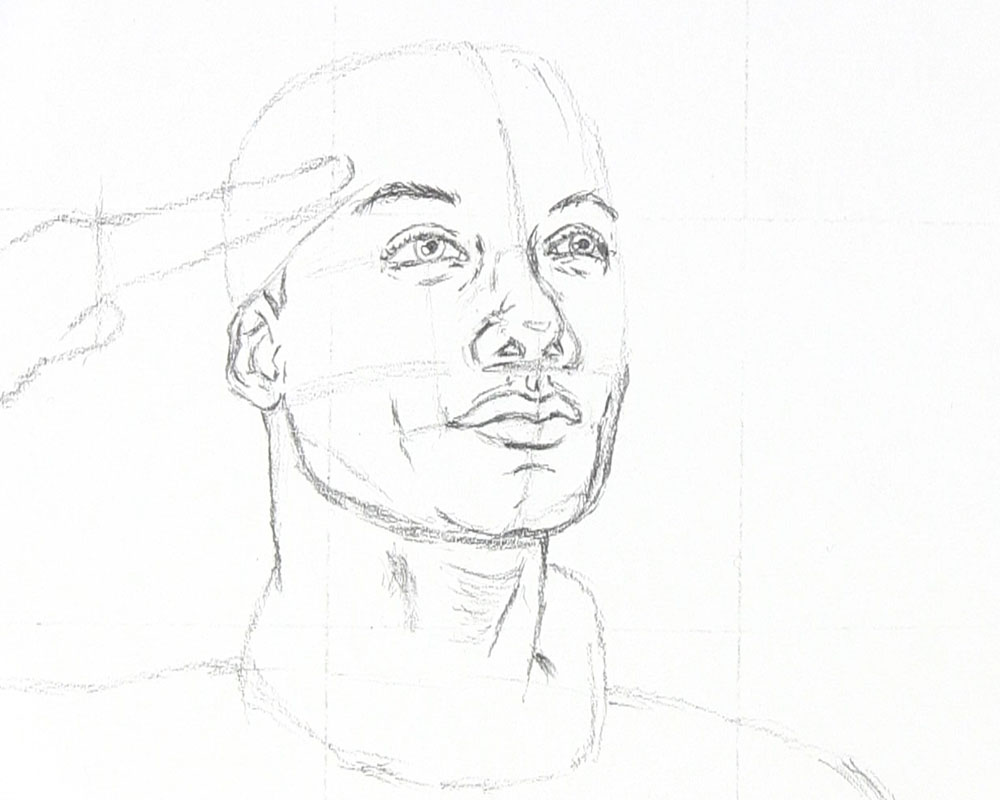
Draw the basic shape for the head. As you can tell from the photo, this is not a direct frontal view but rather a quarter-turn view. Account for this as you sketch the head shape by planning for the side of the face on one side and the back of the head on the other.
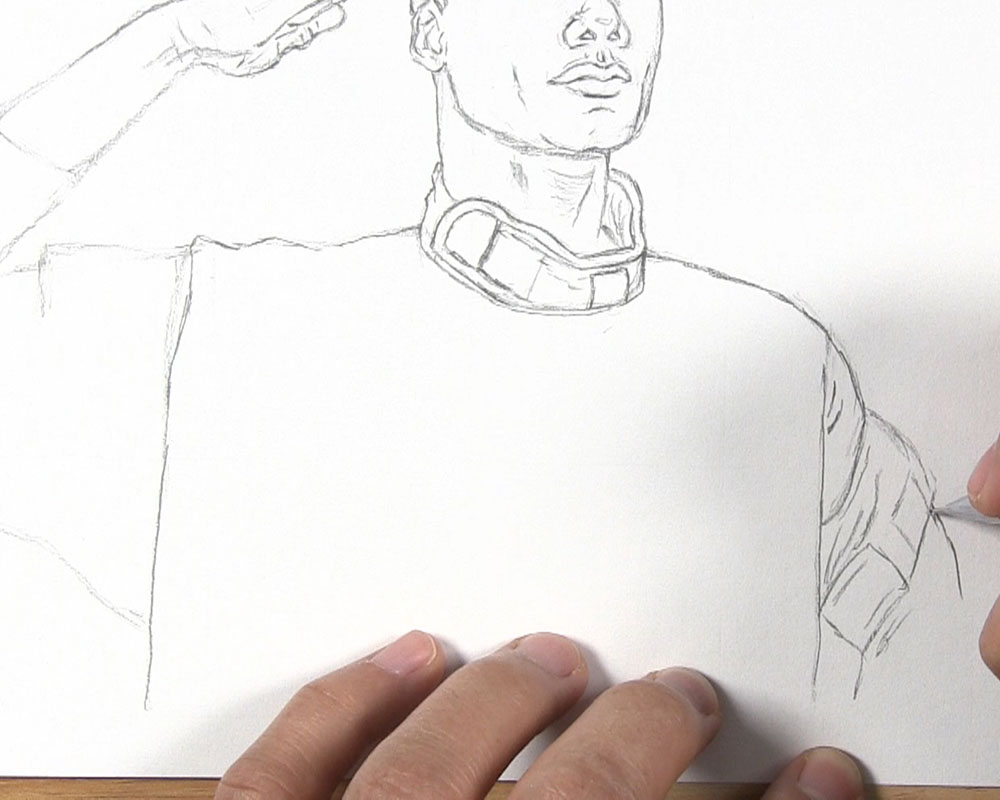
Next, draw the contour outline of the neck and the collar. Make the front of the neck come down just below the chin area. The collar will be just about as wide as the head.
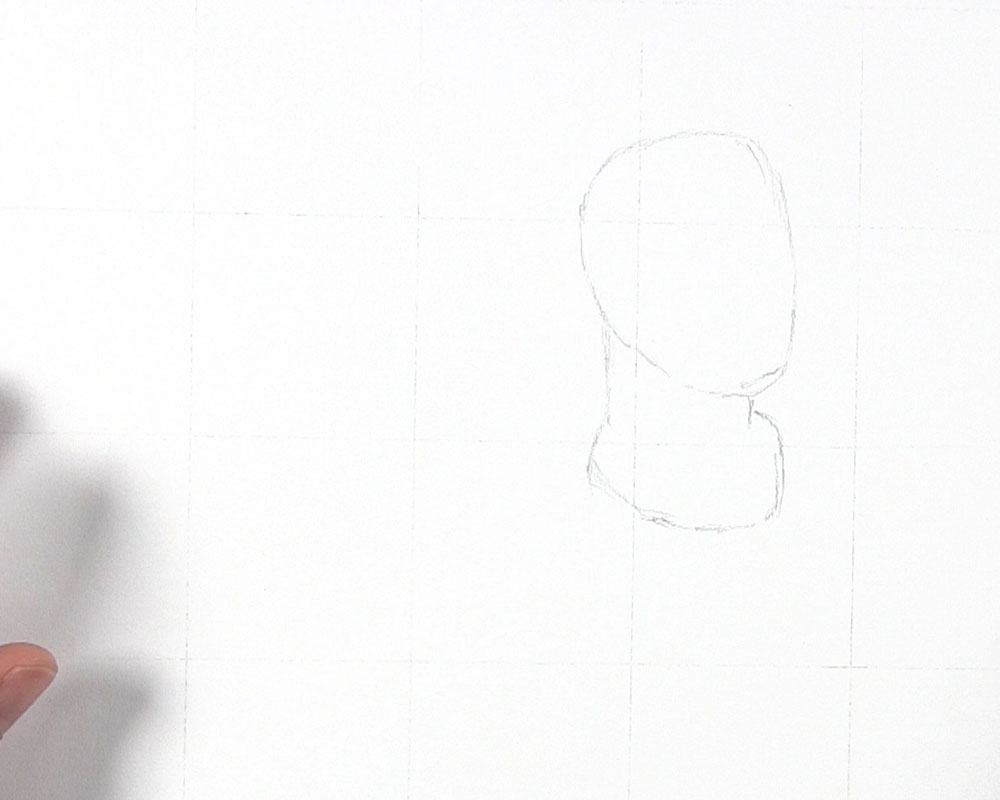
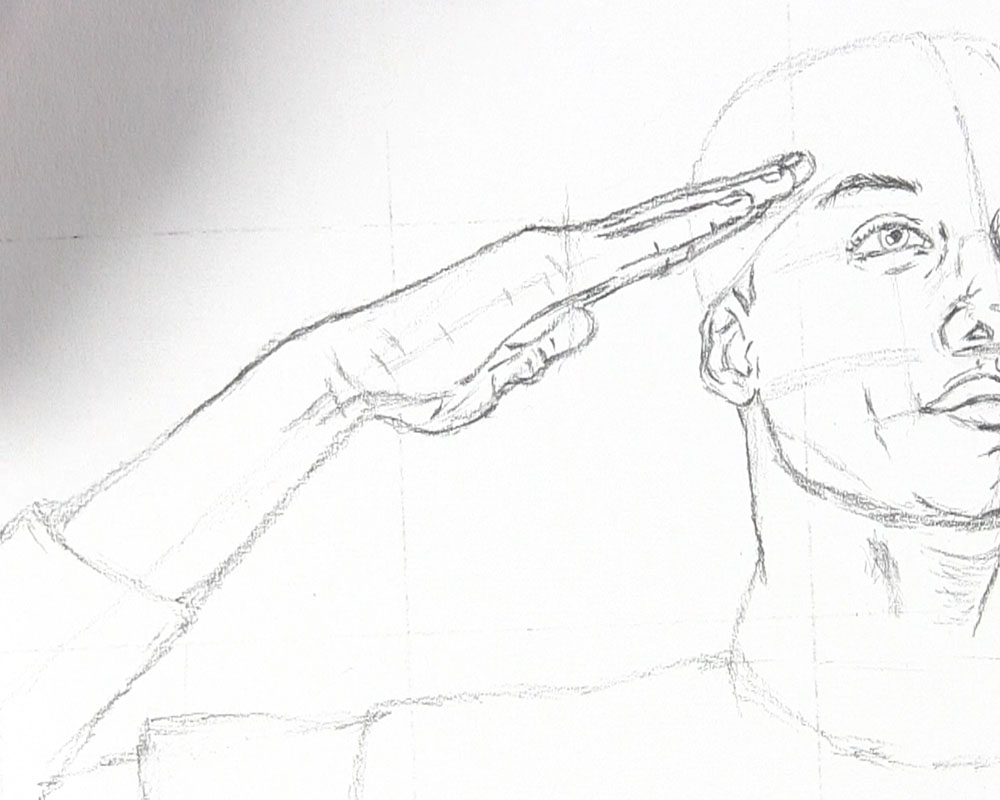
Draw the basic shape for the torso below the base of the collar. This shape can be roughly compared to a square shape but with a slight bend downward for the left shoulder. Then begin sketching the outline of the soldier’s left sleeve.
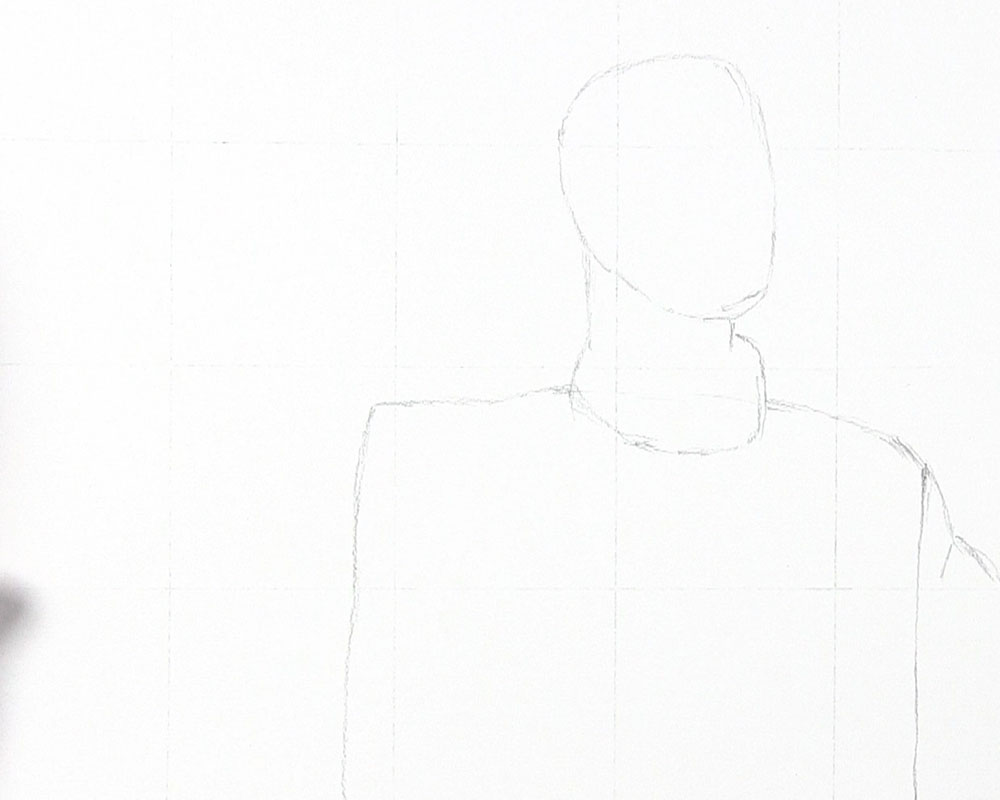
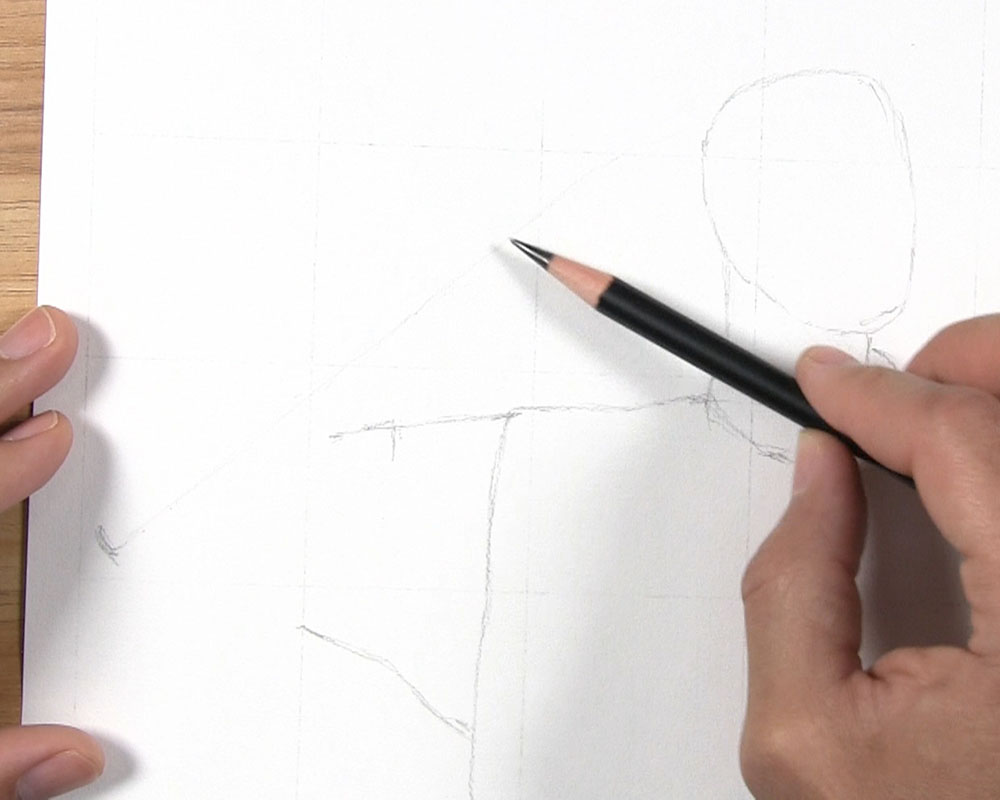
Now let’s begin to sketch the shape of the saluting arm. A salute is formed with the upper arm parallel to the ground. To draw the outline of the upper sleeve, extend the line from the upper shoulder to the soldier’s right (our left). For the bottom of the sleeve, draw a diagonal line from the lower part of the visible torso toward where the elbow will be.
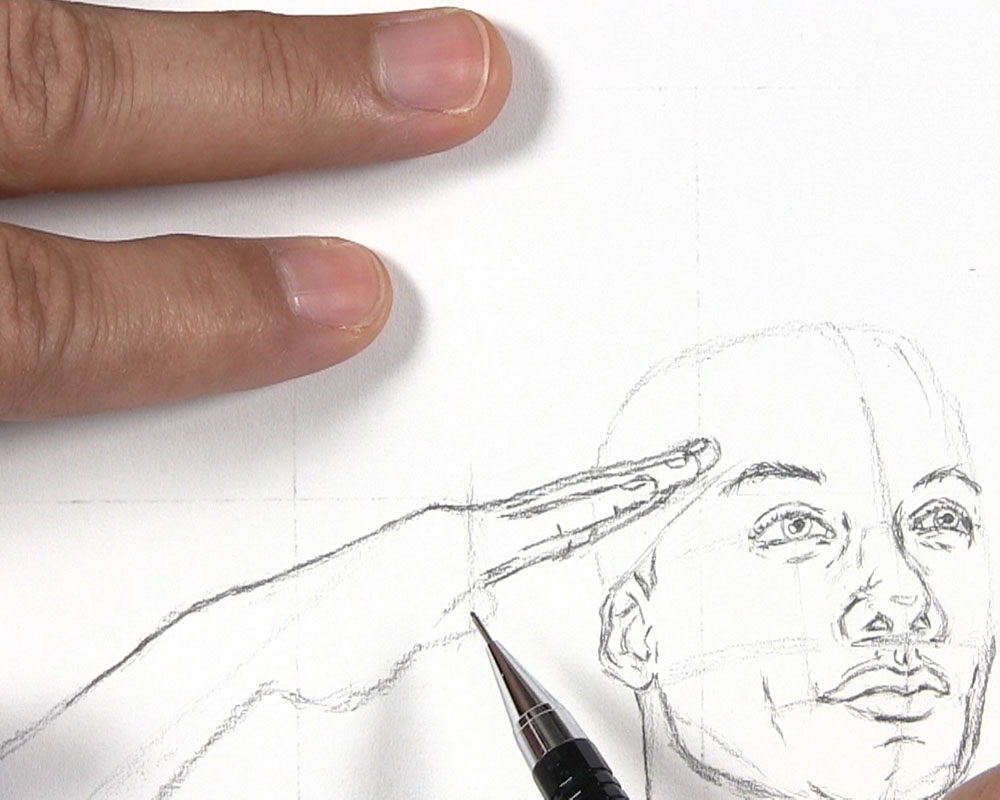
Before drawing the forearm, sketch a straight guideline to ensure the angle of the forearm will position the hand between the middle and top of the head.
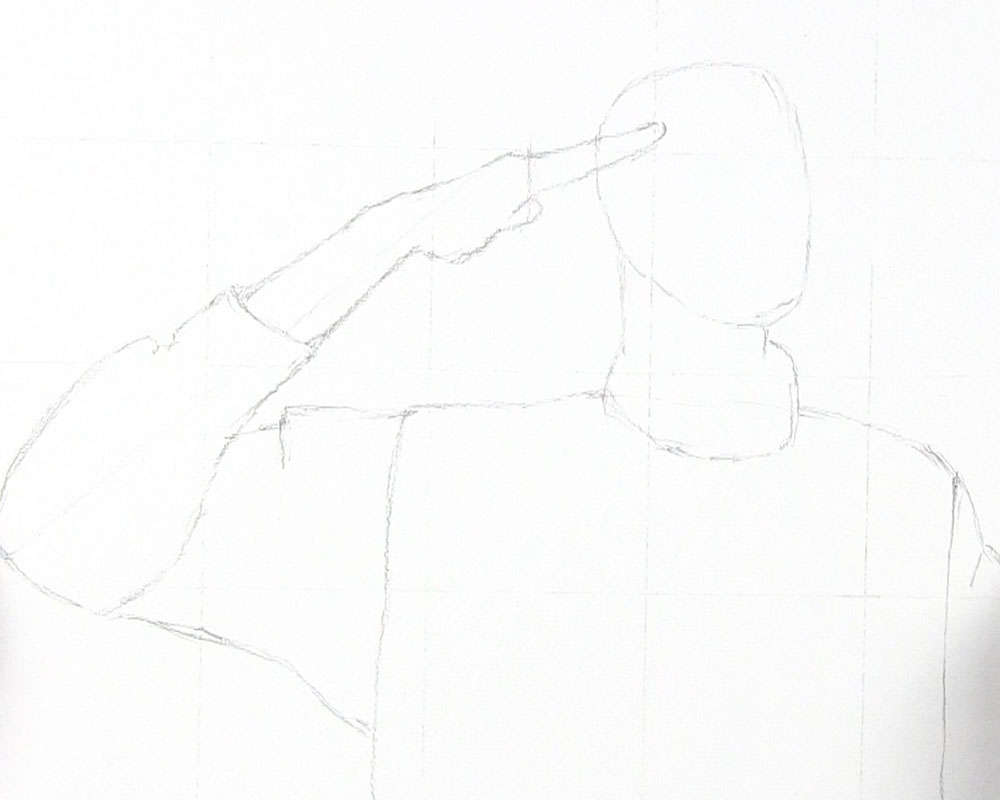
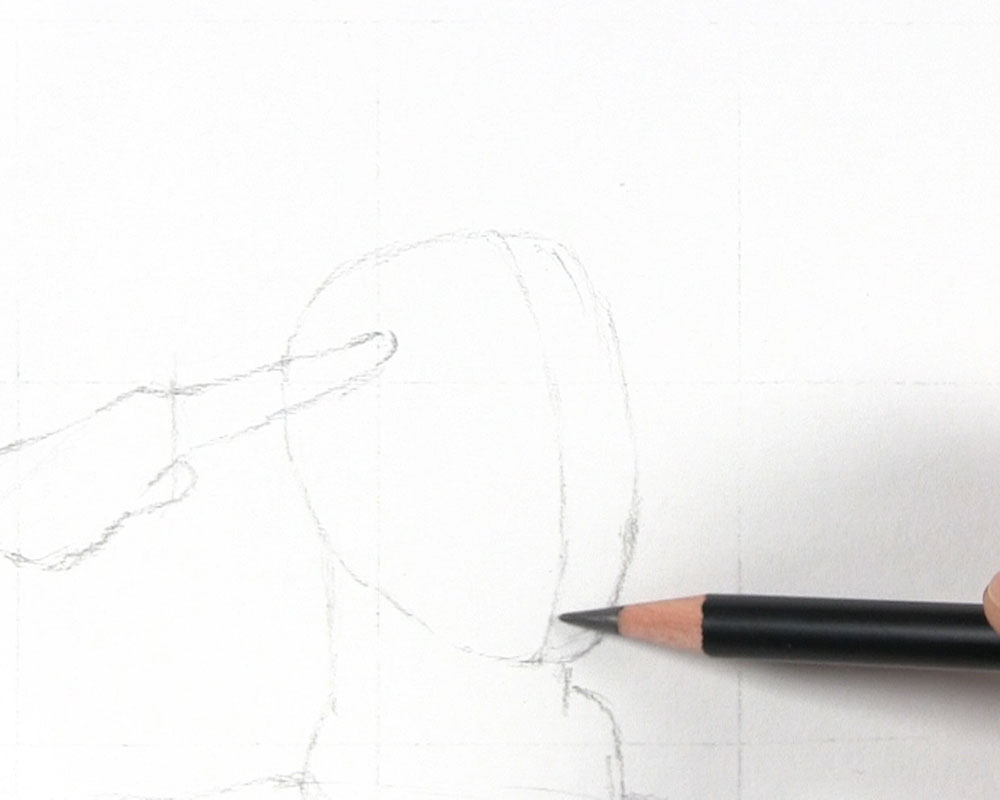
Now we can sketch the outline of the forearm, including the cuff of the uniform and the contour of the hand. A salute is formed with the fingers of the hand extended and meeting the eyebrow. Draw the fingers overlapping the head outline so the fingertips can touch the area where the corner of the eyebrow will be.
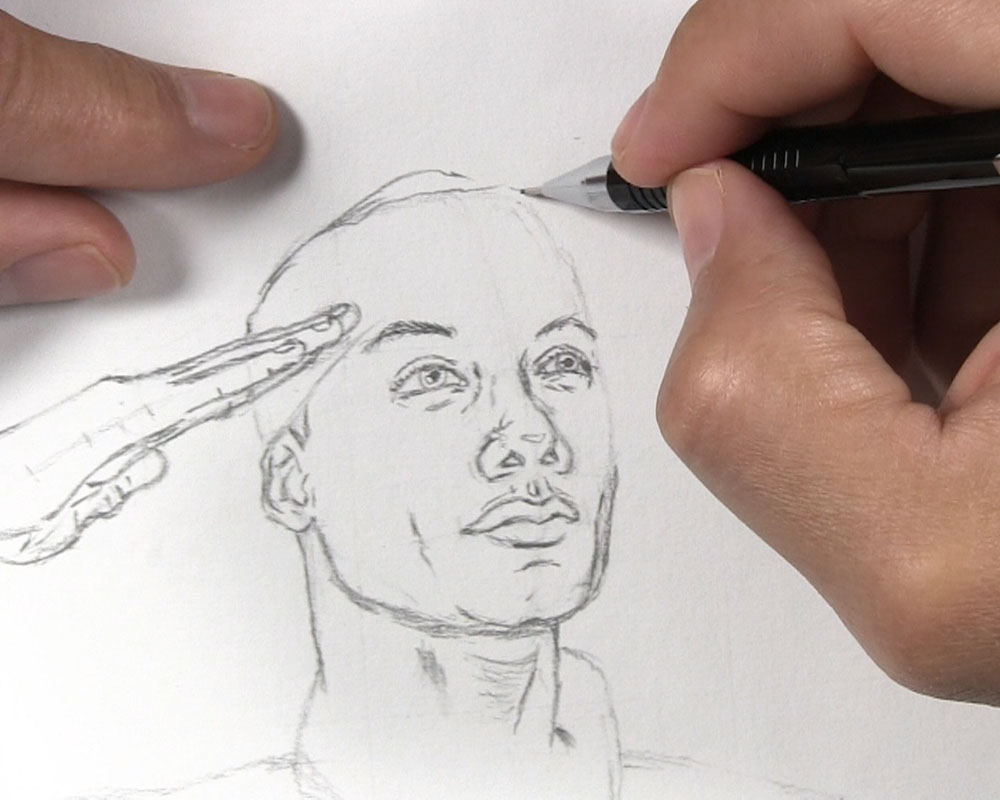
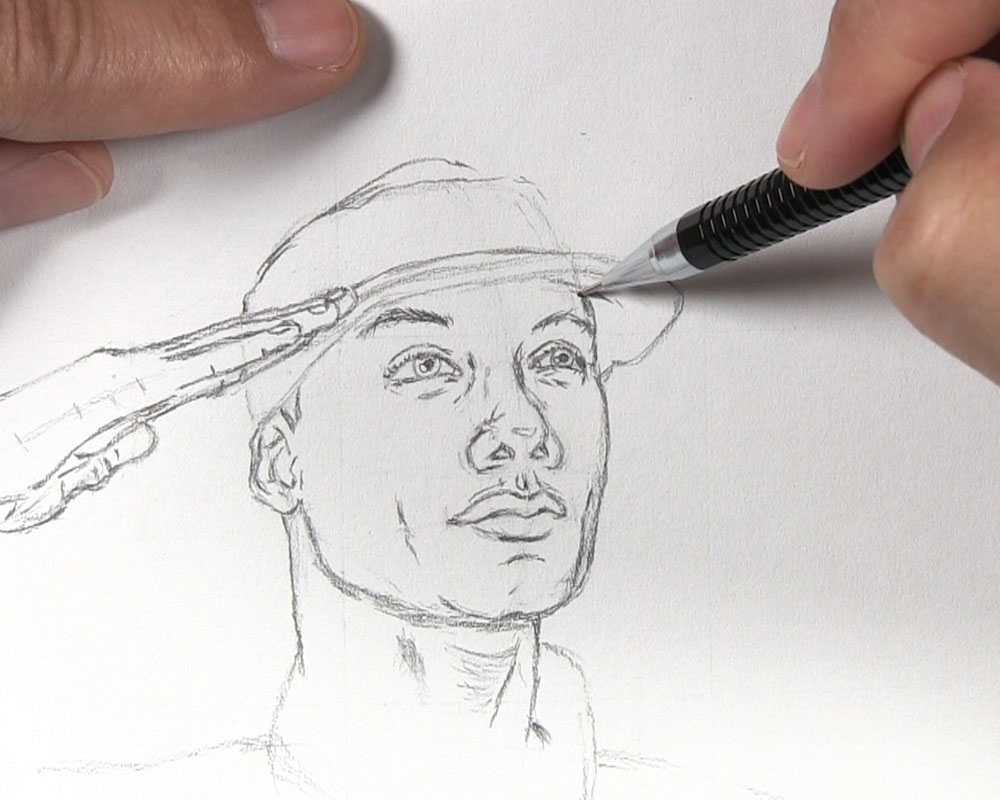
Draw Guidelines to Place Facial Features
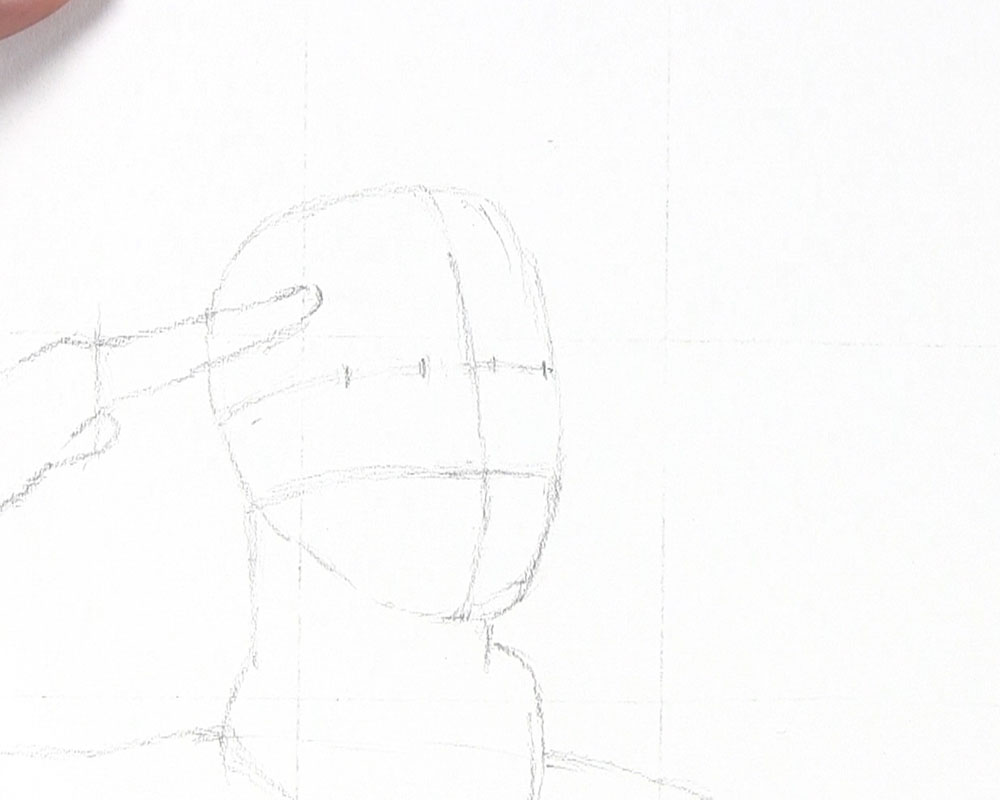
Before we draw the eyes, nose, and other facial features, let’s mark some basic guidelines to help us place these features on the face of the army man. Begin with a vertical line down the center of the head that follows the curvature of how the head is formed. Again, since the face is turned, your guideline going down the center of the face should reflect the direction the soldier is facing.
Draw a horizontal guideline for the eyes roughly halfway between the top of the head and the chin. Since the soldier’s chin is slightly up, notice the upward curvature of the eye guideline as the head is tilted back. Then, approximately halfway between this eye guideline and the chin, draw another horizontal guideline with a similar curve. This line shows us where to draw the base of the nose.
Along the eye guideline, sketch four very short marks to represent the corners of the eyes. Normally, if we look at a face directly from the front, we see that the eyes are equal in width. However, the turn of the head gives us some foreshortening that makes the farther eye appear slightly smaller than the closer eye. The turn of the head also makes the farther eye appear closer to the bridge of the nose.
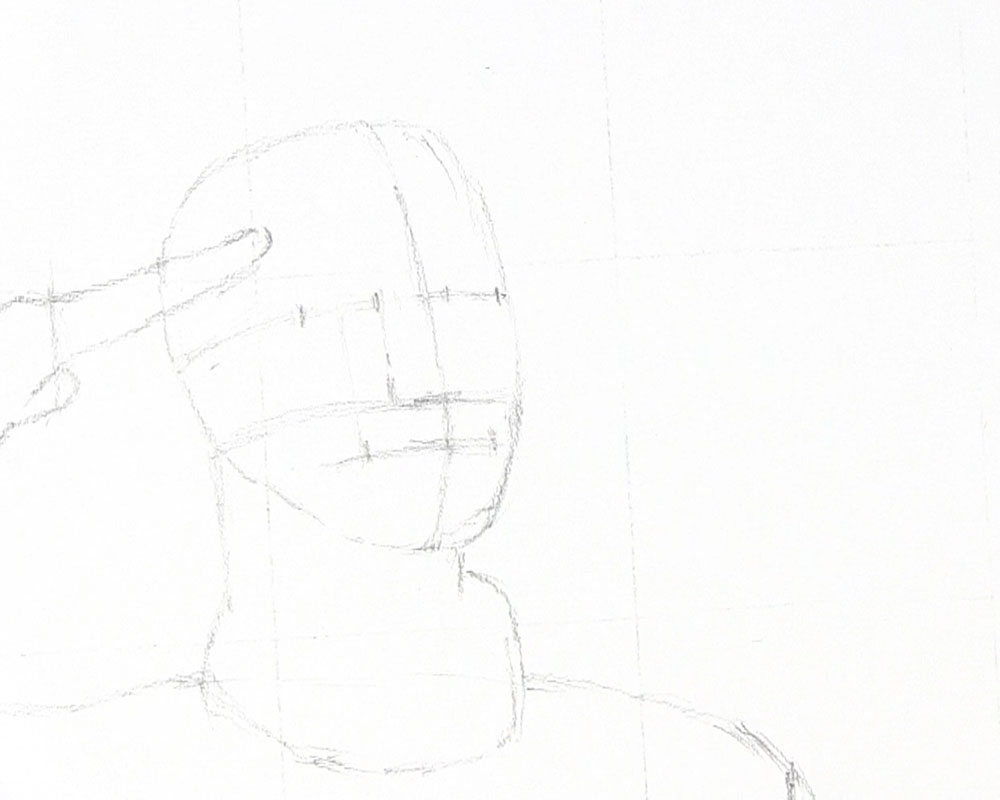
Under the guideline for the nose, sketch a guideline for the mouth. This guideline should be about one-third of the distance between the nose guideline and the chin.
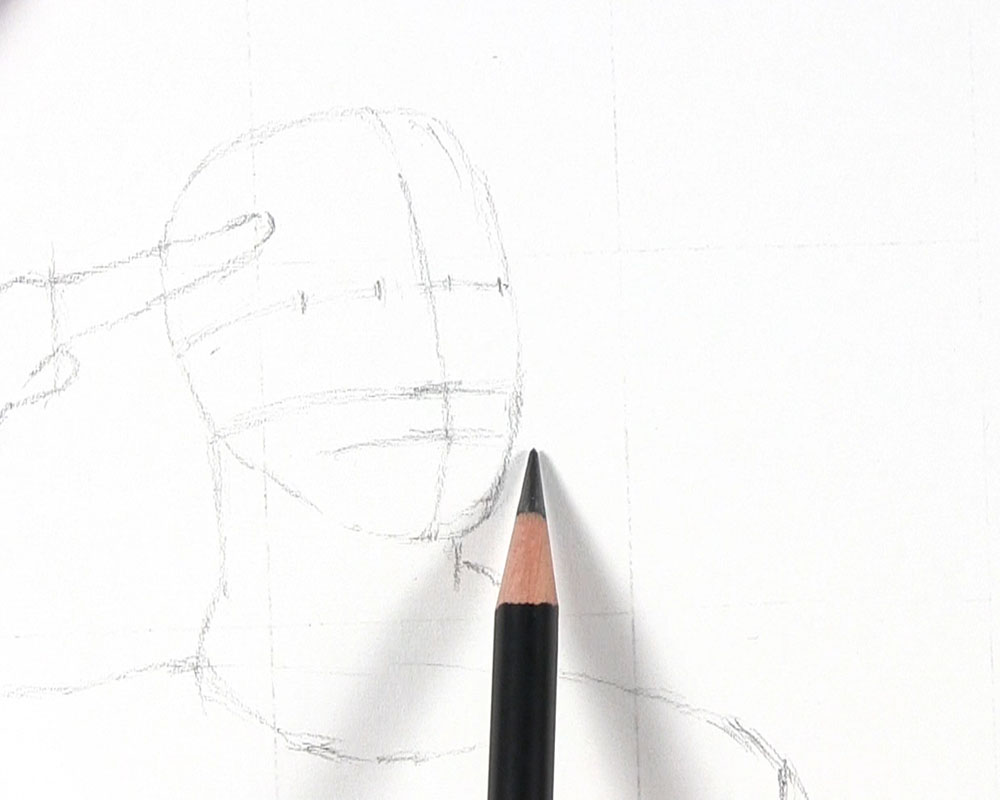
Finish up the guidelines by drawing vertical lines from the inner corners of the eyes to the nose guideline. This gives us an idea of the nose width. As for the mouth, the corners can generally be located directly below the center of each eye.
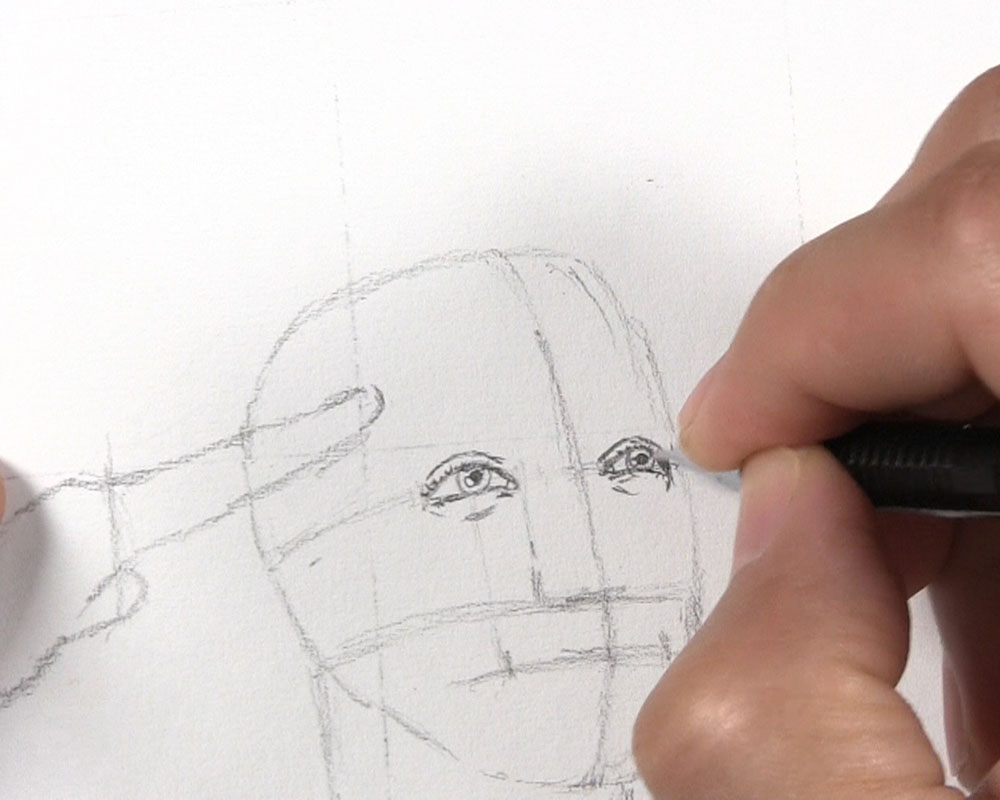
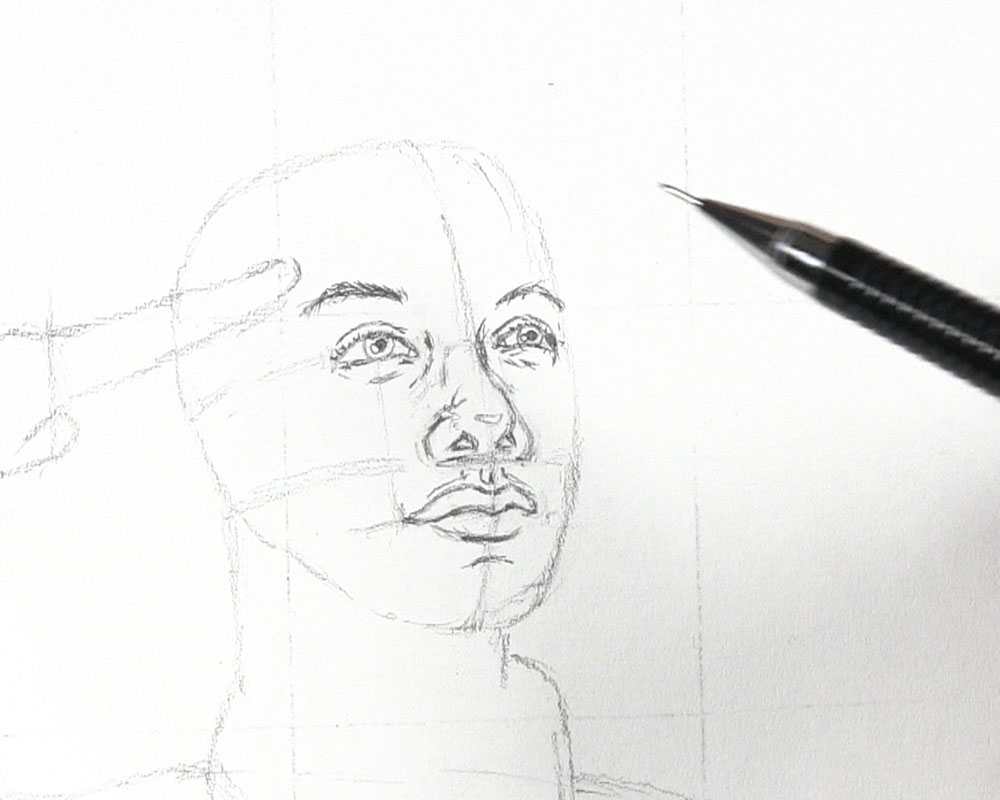
Draw the Eyes
For the facial features, we’ll begin with the eyes. Draw the outline of the eyes first. Eyes are usually somewhat almond-shaped, but in this case, we must draw a slightly upward curve to the bottom edge as well as the top. This is due to the upward tilt of the head. Also remember that because of foreshortening, the soldier’s left eye (on our right) will be slightly smaller. Then draw the outline of the iris and a tiny, off-centered highlight within each one. After that, draw a circular pupil centered in each iris. Finish up with the eyelids and short, barely noticeable eyelashes.
If you need more help drawing eyes, you will find some extra tips in this detailed eye tutorial. It will also cover how to draw realistic eyebrows. We will draw simpler eyebrows to go along with the simplified eyes for this drawing in the next step.
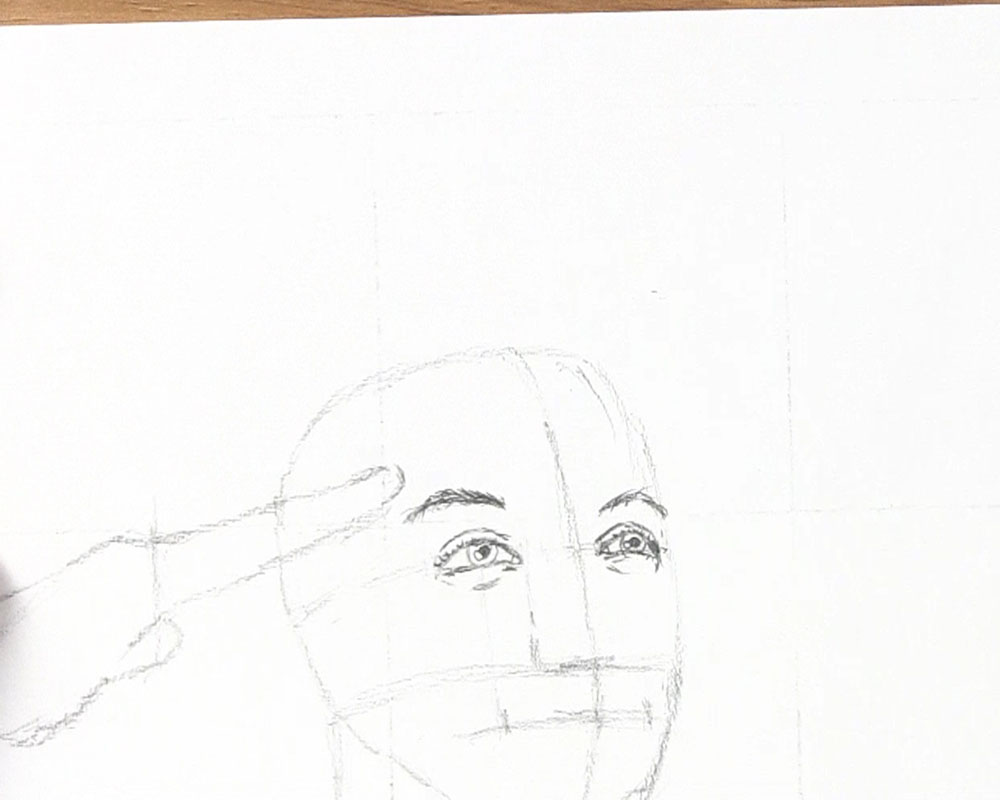
Draw eyebrows above each eye. Begin with a curved line to plan the shape and position of each eyebrow. Next, working from the inner tip of each line, draw short hairs alongside each side of the line to build up the volume of each eyebrow. There’s no need to make them too thick!
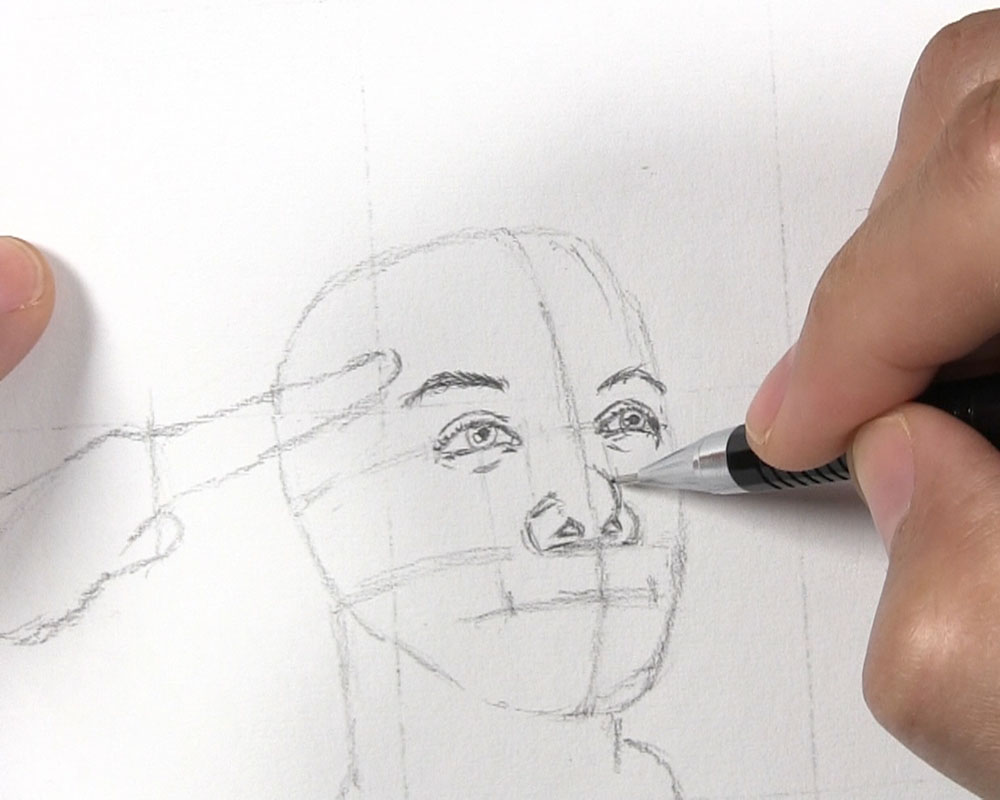
Draw the Nose and Mouth
Next, draw the nose. Start by forming the base of the nose. Use guidelines from the inner corners of the eyes to place and shape the wings around the nostrils. Then begin sculpting the ball of the nose and the nostrils themselves. In this case, our army man’s nostrils are somewhat triangular in shape.
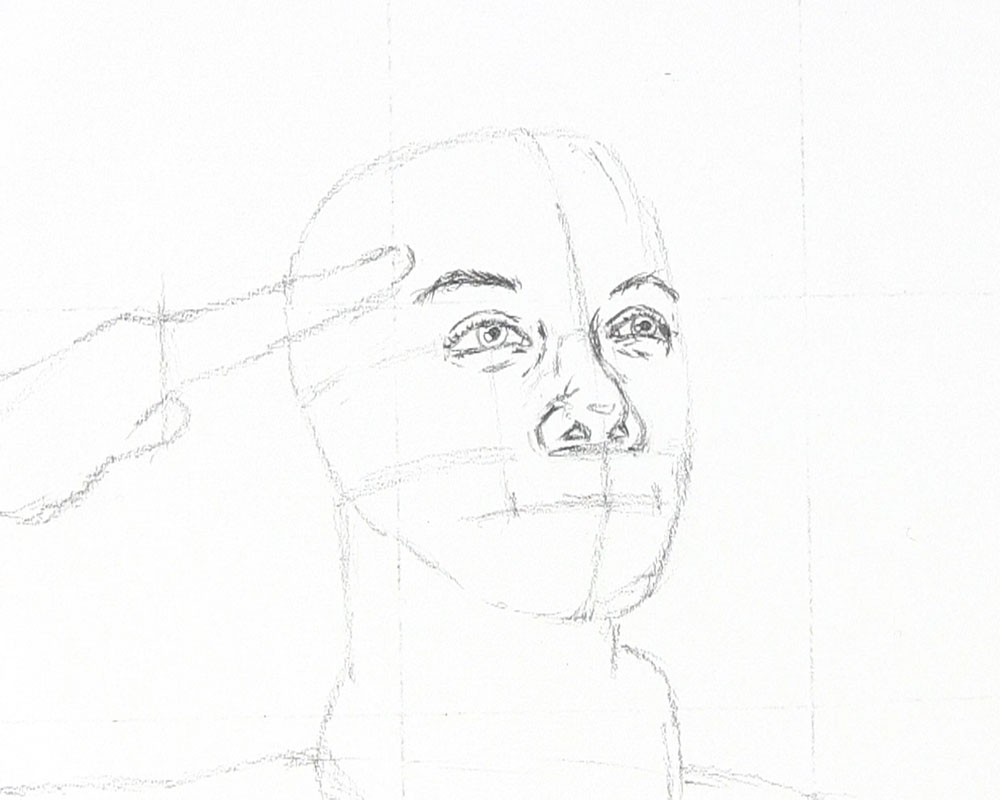
After that, draw a line to connect the ball and bridge of the nose. Curve this line slightly toward the soldier’s left eyebrow (on our right). Lightly sketch the outline of a subtle highlight on the ball of the nose. Draw additional details like light marks on the other side of the bridge and a curved line to indicate the eye socket.
Under the nose and along the guideline for the mouth, start shaping where the upper and lower lips meet. You can do this by sketching a line that curves slightly up from each outer end and then has a slight dip downward in the center. Then draw a curved line for the top lip, again with a dip in the center, also known as Cupid’s bow.
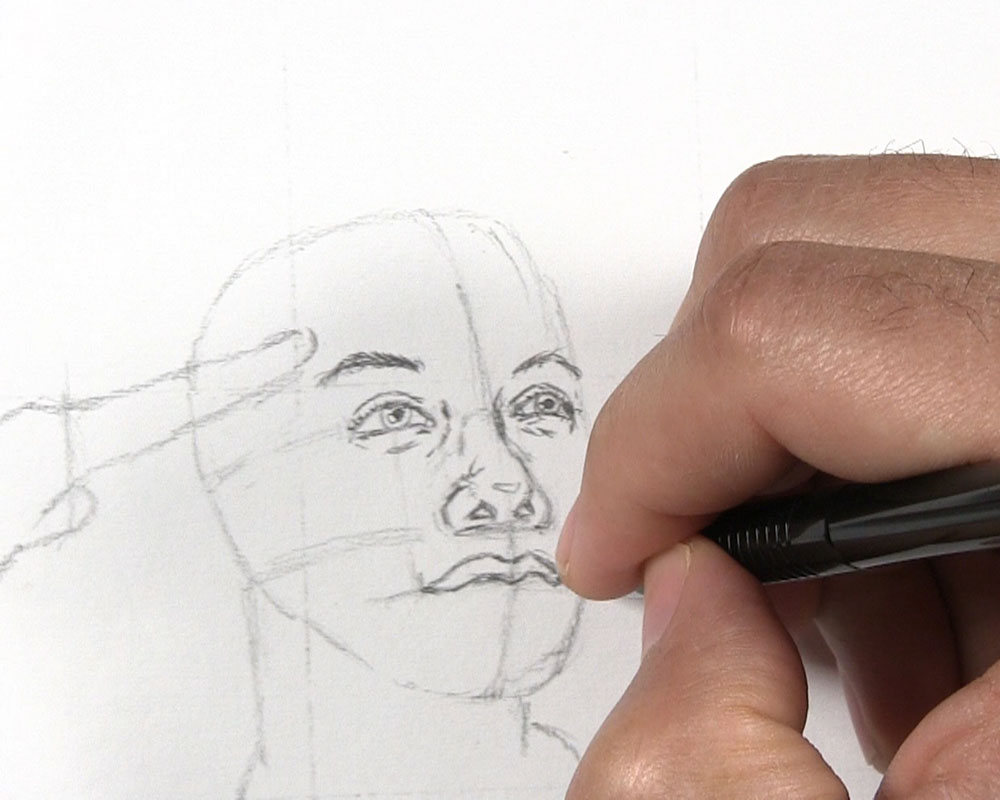
Finish the mouth by drawing a curved line for the bottom lip, the vertical philtrum between the nose and upper lip, and a curved line below the lower lip to mark the top of the chin. See this article if you are interested in learning more about how to draw a mouth.
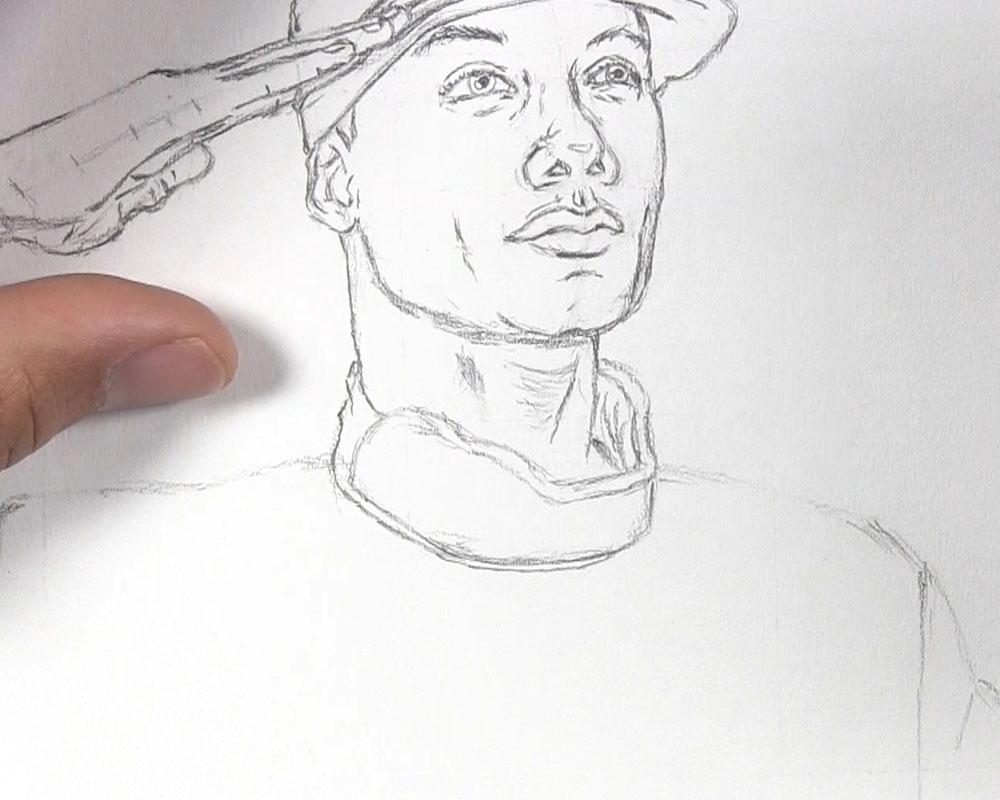
Draw the Ear, Jaw, Neck, and Hand
Finish the face by drawing the ear, jawline, and neck. Let’s start with the ear, which is found between the guidelines for the eyes and the bottom of the nose. Draw the outer contour of the ear followed by the lines shaping the various grooves and twisted cartilage that make up the ear. Notice also that I sketched a line from the top of the ear to represent the bottom edge of the hat, which we will draw soon. The soldier’s hat is preventing his fingertips from touching the side of his eyebrow during his salute. Therefore, you should draw this line going between the fingers and the eyebrow, as shown.
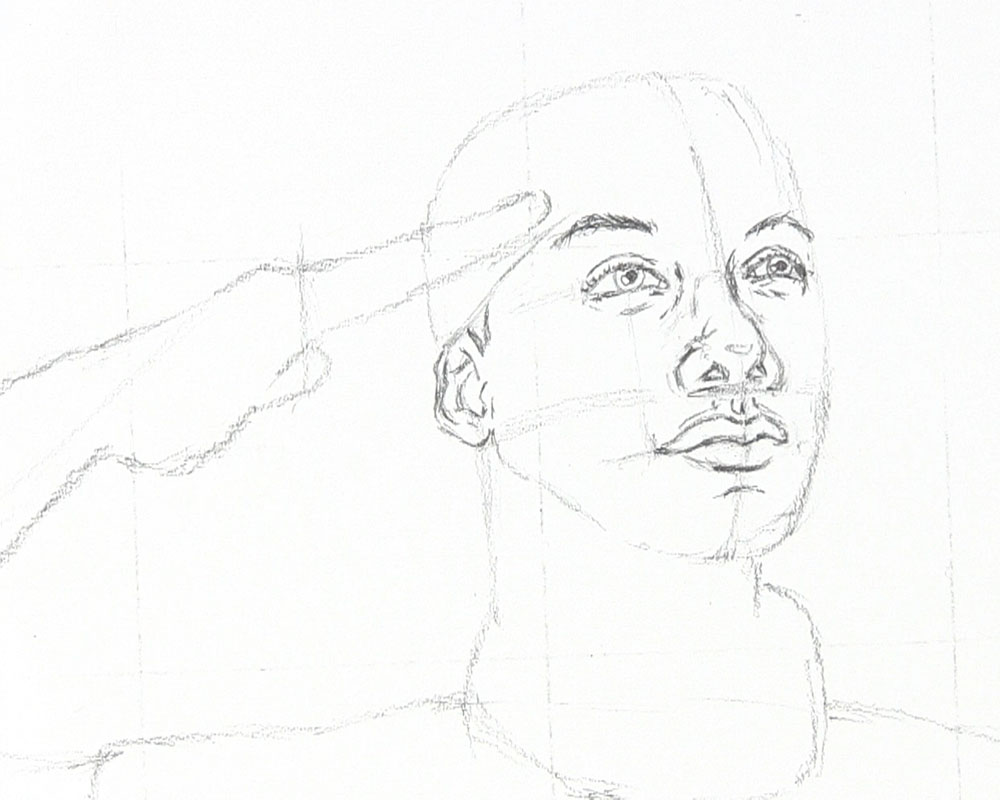
Shape the jawline by drawing a curved line from the earlobe to where the chin will be. Then define the chin and the muscles of the jaw that surround the mouth.
Define the outline of the neck. Then add a few details, including a funnel shape to indicate the Adam’s apple The collar of the jacket will be drawn just below the neck later.
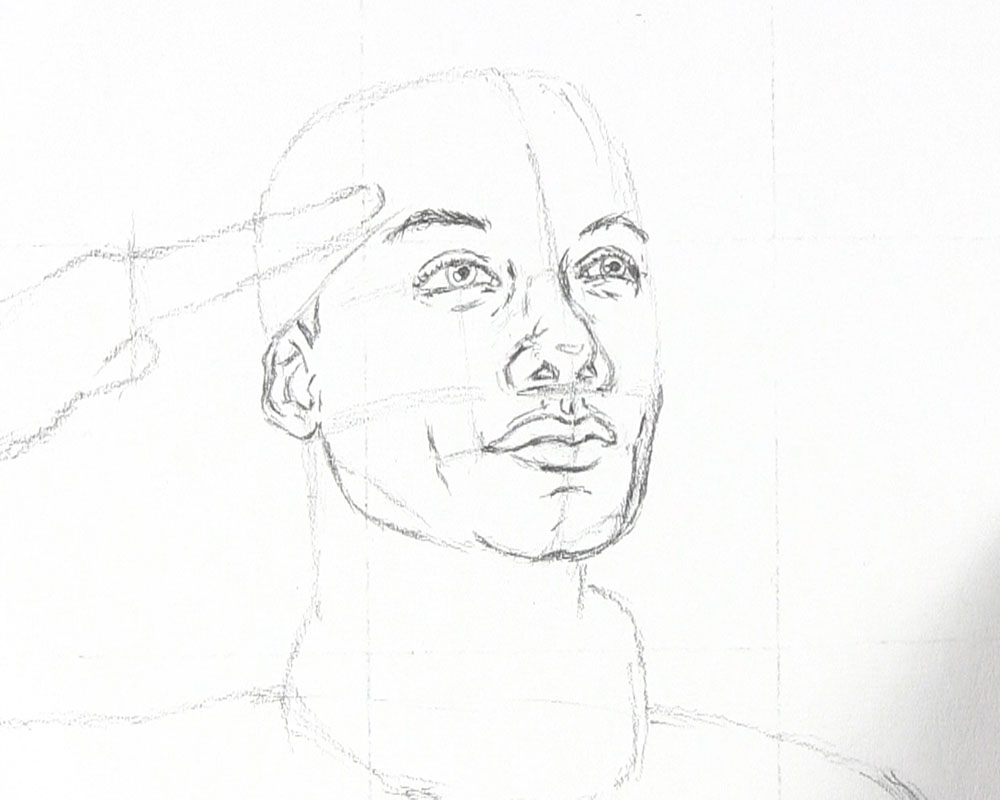
Then begin adding details to make the hand. Draw the fingers extended straight, but put very slight bends in the knuckle areas to make them appear more natural. Don’t forget the fingernails, too!
Make a few visible lifelines on the palm underside and a few wrinkles along the wrist and the side of the hand for a touch of realism.
Erase Guidelines and Grid Lines
At this point, you can erase the guidelines that helped you draw the face of the army man. A kneaded eraser will be useful for erasing in tight spots without erasing important elements of the drawing itself.

Now would also be a good time to erase any stray marks that may be present on your drawing paper. You can use a rubber or plastic eraser to quickly cover broad areas of the paper.

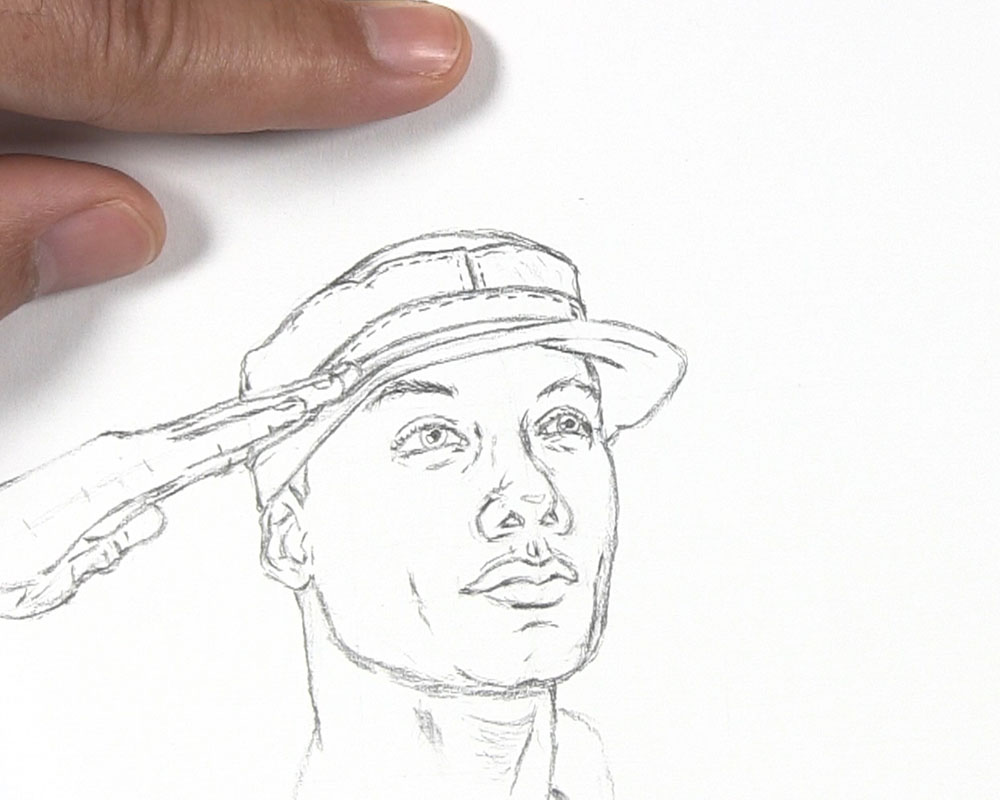
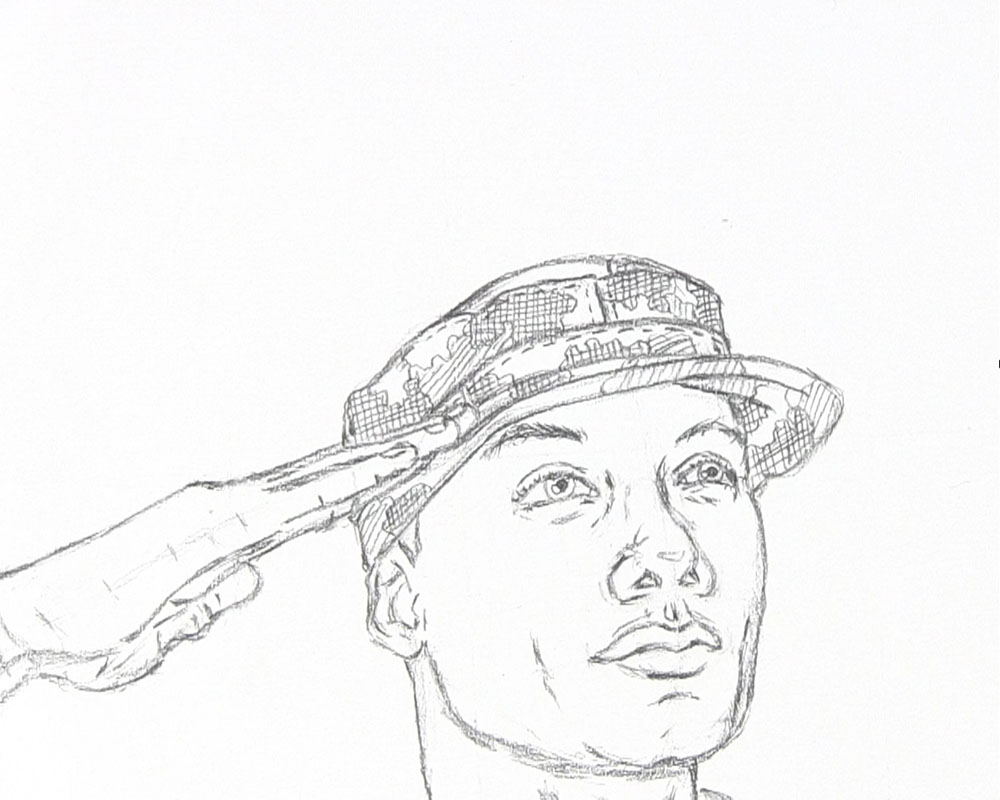
Draw the Hat and Collar
In order to draw a military man properly, we need to draw the uniform! We can start by drawing the hat and collar. First, the hat. Look at the reference photo to see how to properly shape the top of the hat.
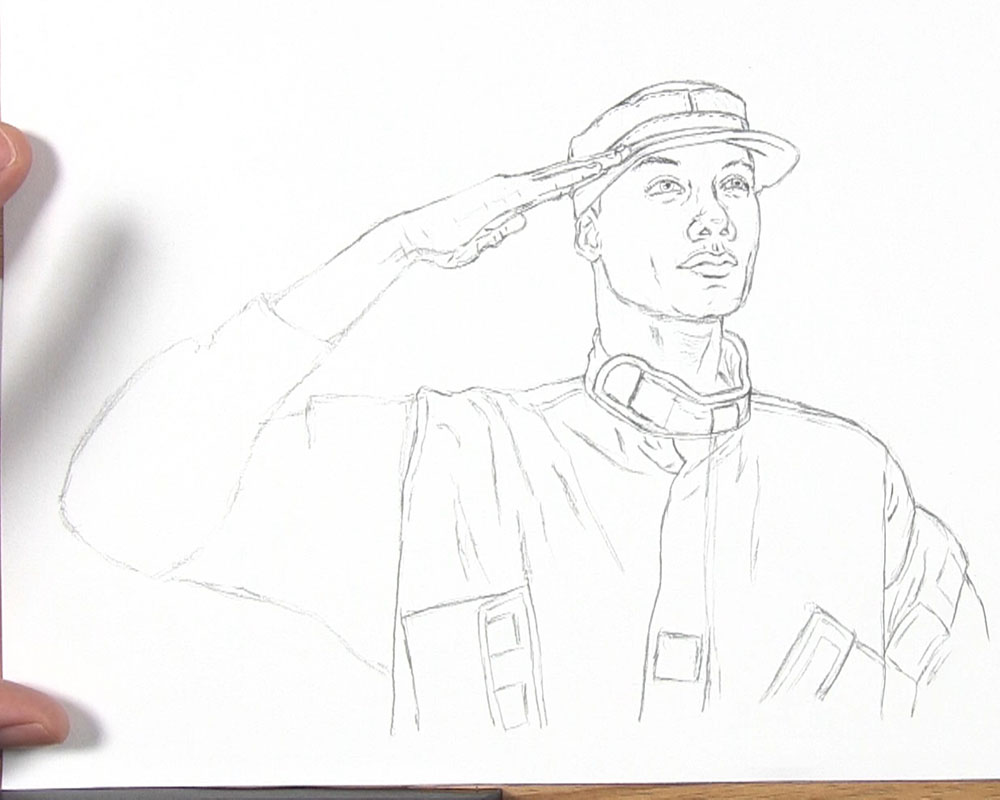
Draw the brim of the hat going from the fingertips to the eye on the other side of the face. Additionally, we can see a little bit of the top of the brim.
Finish drawing the outline of the hat. Draw the seams separating the different pieces of the hat. Draw stitching along the seams to make it appear sewn together like real fabric.
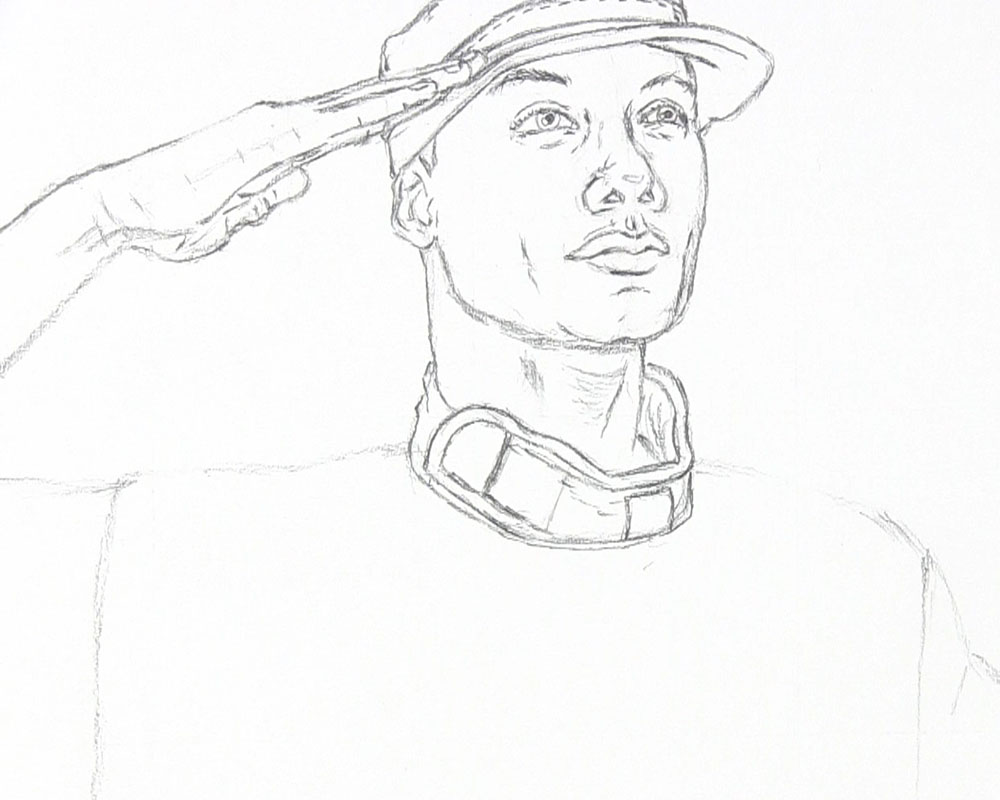
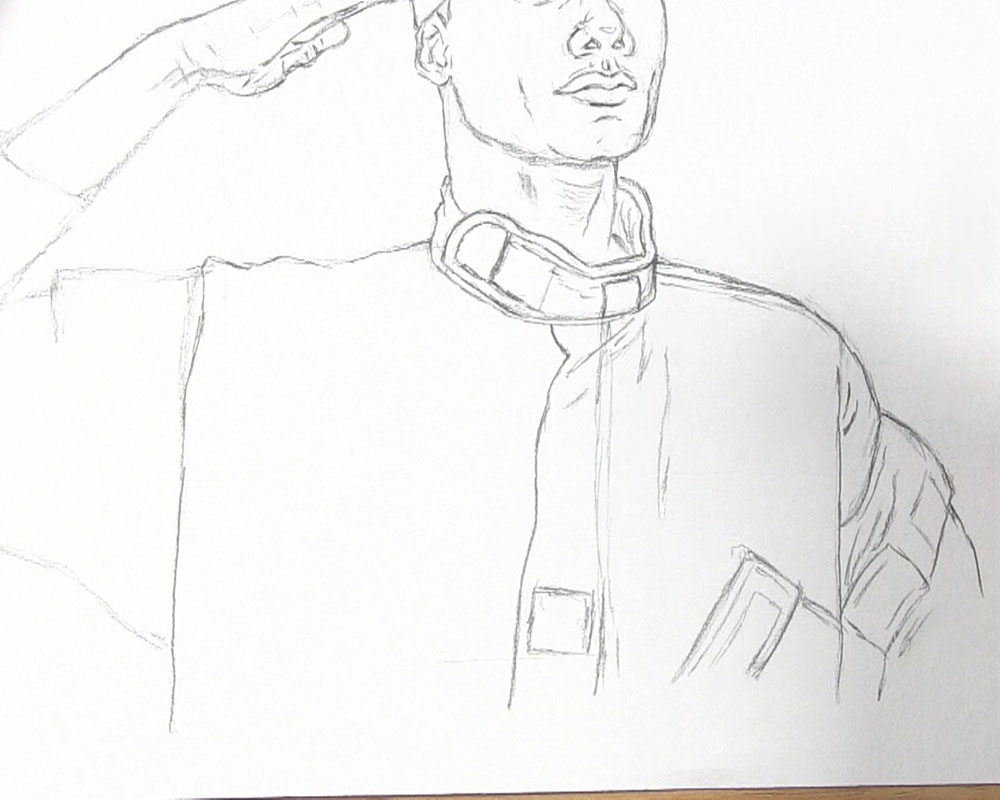
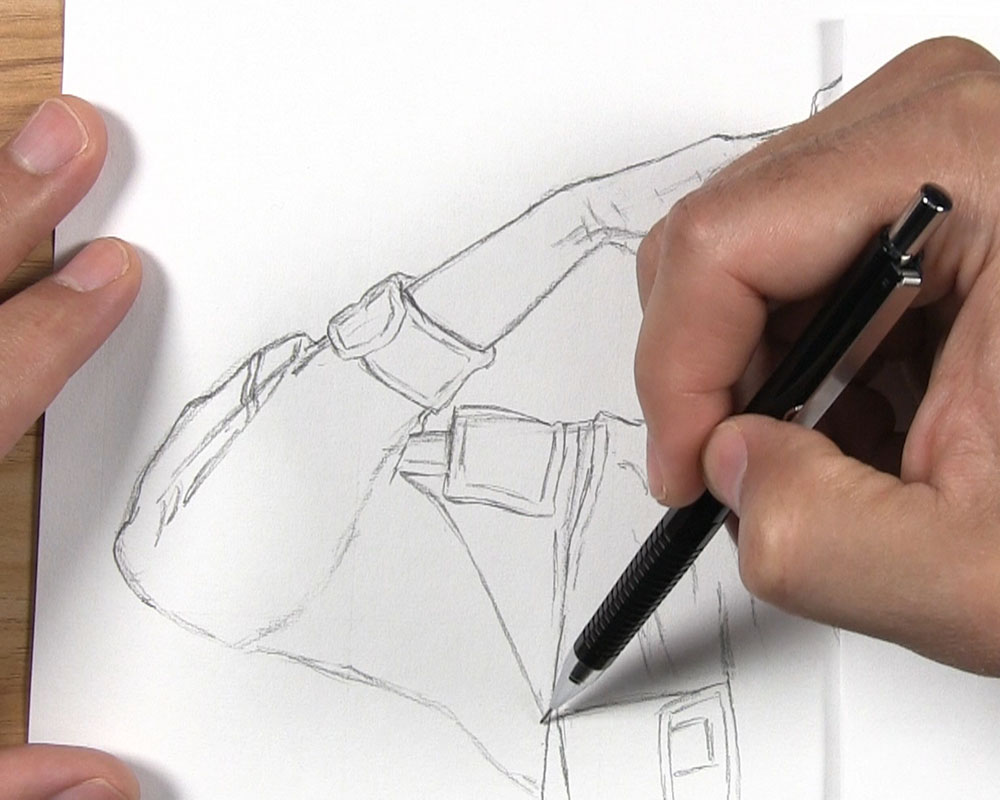
Next, draw the collar along the bottom of the neck. Begin with the basic outline of the collar, including the flap that curves around the front.
Then draw a couple of squares to represent the fastening patches on the front of the collar. Finish drawing the seam around the outer edge and add a couple of subtle wrinkles near the collar’s center.
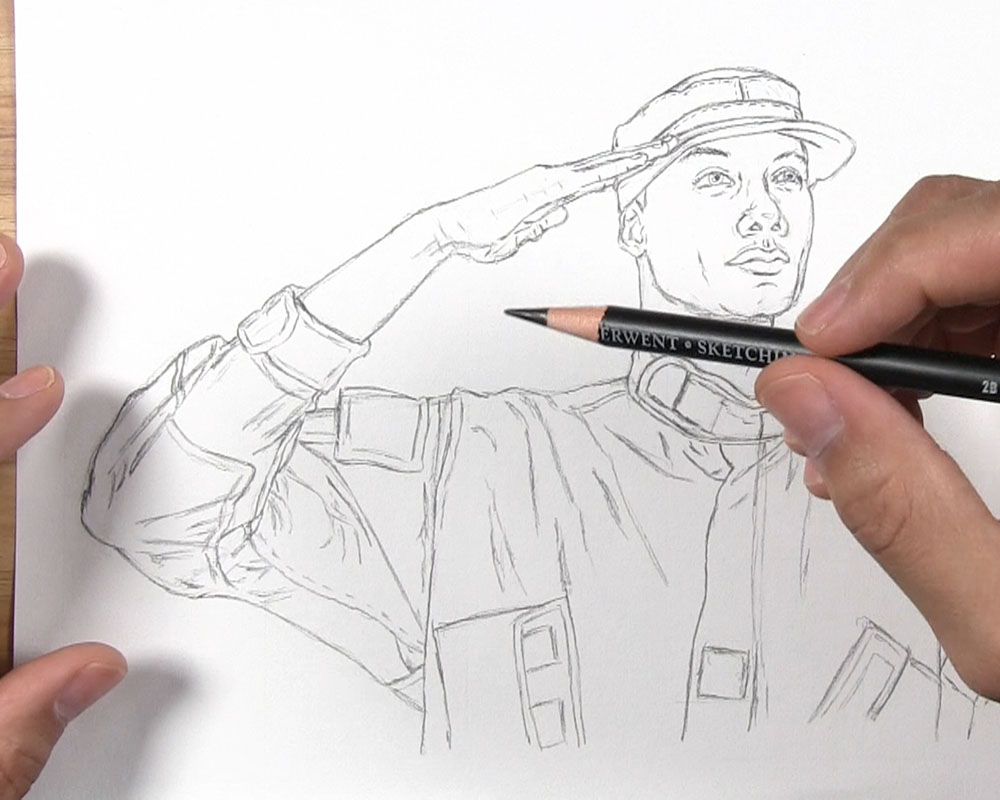
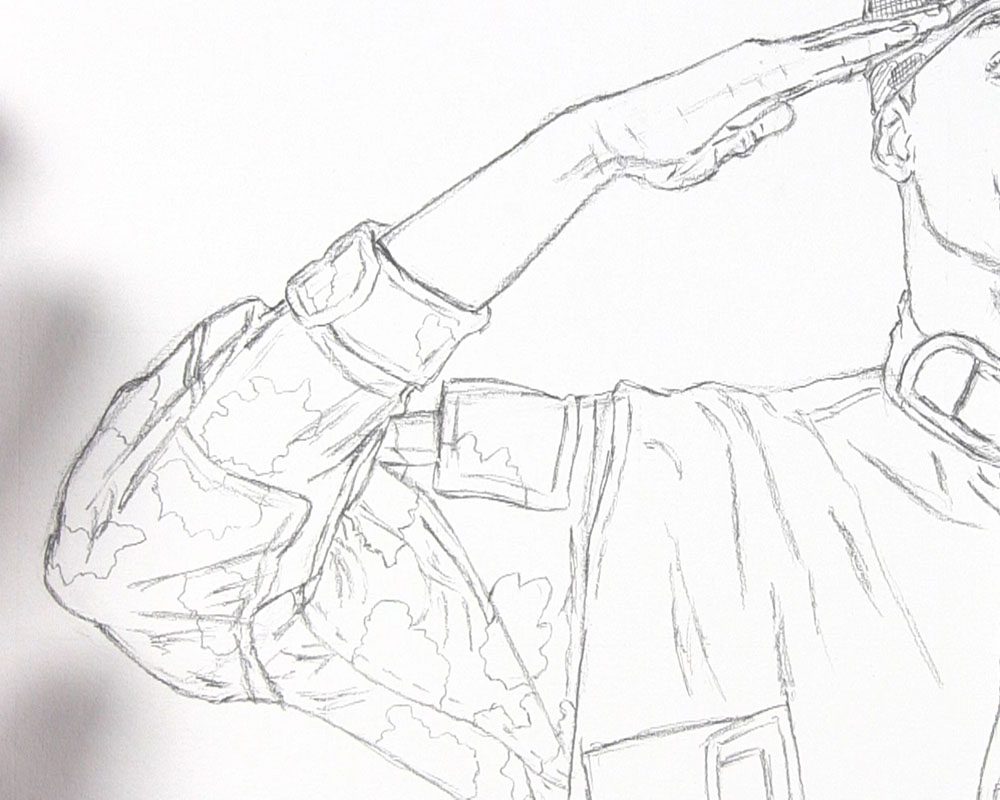
Draw the Jacket Body
Begin to sharpen the outline of the jacket body. Then draw details on the soldier’s left sleeve. Include folds in the material as well as pockets or patches.
Continue to use the reference photo to draw the general design of the uniform. This includes noticing where parts of the jacket are fastened and how the pockets are angled. You can use tilted rectangles to draw many of the army guy’s pockets.
Don’t forget to make a few well-placed folds that are always found in clothing. One prominent fold you should notice here is the drop fold formed as the soldier’s shoulder pulls at the upper end of the jacket material. Continue to draw smaller folds, seams, and pockets until the jacket body is complete.
Draw the Jacket Sleeve
Use a similar process as you draw the sleeve. Beginning with the cuff, draw the general shape and where the cuff overlaps.
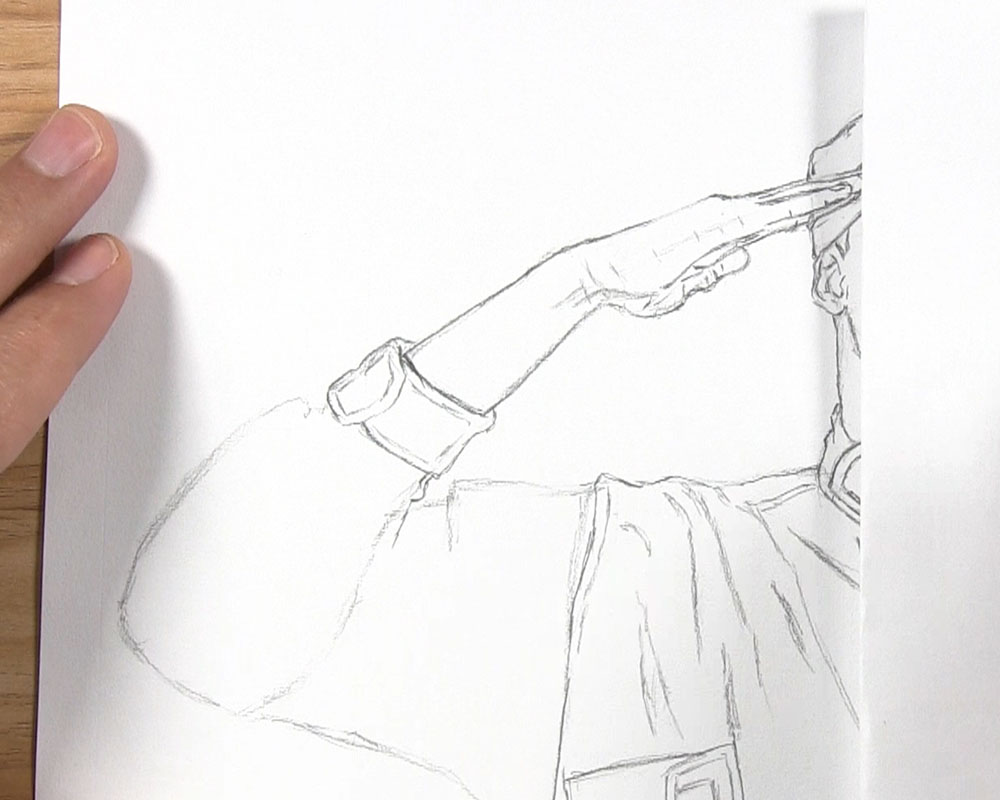
Keep looking specifically for pockets and folds. There appears to be a pocket on the outer forearm area and another pocket near the bicep. Then you can draw a slightly curved diagonal line to represent a long fold stretching from the bicep to the armpit.
Finish the sleeve by drawing seams for the overlapping fabric of the uniform. Draw a lighter line or light dotted line where appropriate to show the stitching along the seams. Draw a few more folds as well. Notable folds include a few near the cuff and some where the arm bends and the fabric bunches up. Also, don’t forget to draw a couple of straight lines to make folds radiating from the elbow.
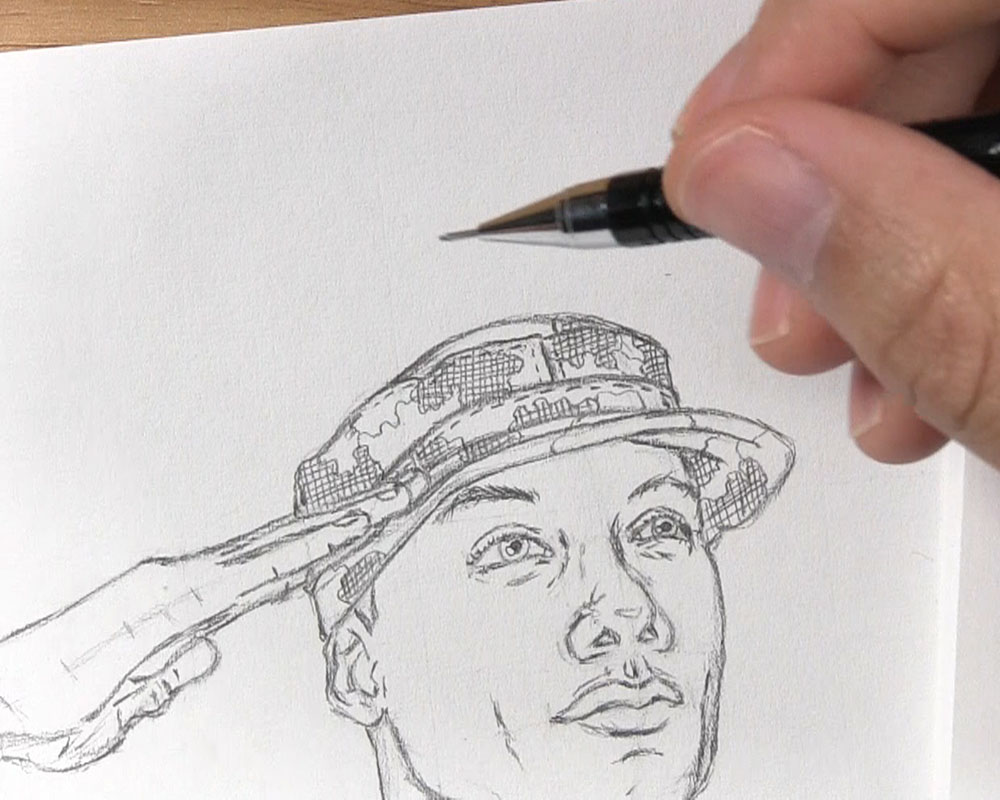
Draw Camouflage Pattern on the Hat
Now it is time to begin adding a camouflage pattern to the uniform. The following video is an excerpt from the full-length video version of this tutorial. Watch it to learn how to draw the camouflage pattern on the hat of the Army man. If you prefer, you can continue with the written directions and step-by-step pictures below the video.
The goal for this drawing is not to replicate this complicated pattern perfectly. Instead, we can sketch some very basic shapes and use a combination of hatching and crosshatching to make a simplified camouflage pattern that resembles the real thing. Here’s how to draw camouflage step by step. Starting with the hat, draw the outline of a few irregular shapes that will be dark spots in the camo pattern.

Next, draw a crosshatch pattern within each irregular shape of the hat. A crosshatch pattern is simply a series of parallel lines going in one direction with another series of parallel lines overlapping and going in a direction that is perpendicular to the first set of lines.
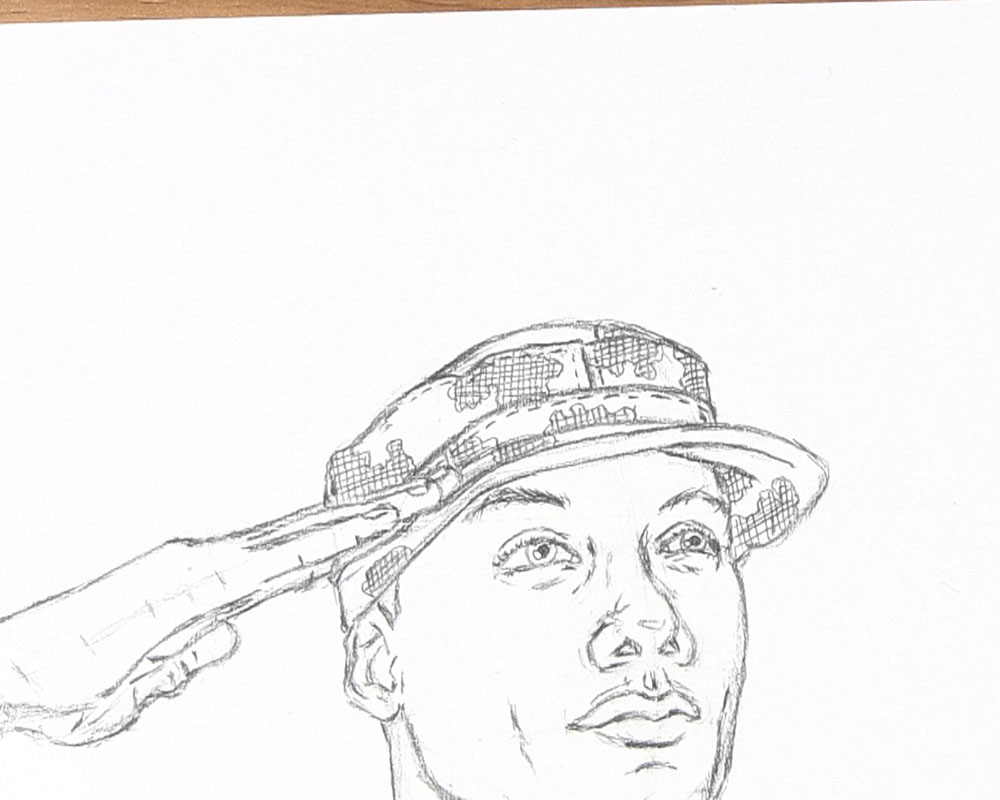
Still working on the hat, let’s now draw some more irregular shapes between the dark spot that we already have. Don’t fill the entire surface with spots. Leave some of the open areas free from your irregular shapes.
Finally, draw a hatch pattern within each of these new irregular shapes. A hatch pattern is a series of parallel lines going in one direction without the second perpendicular series overlapping them, as in the crosshatch pattern.
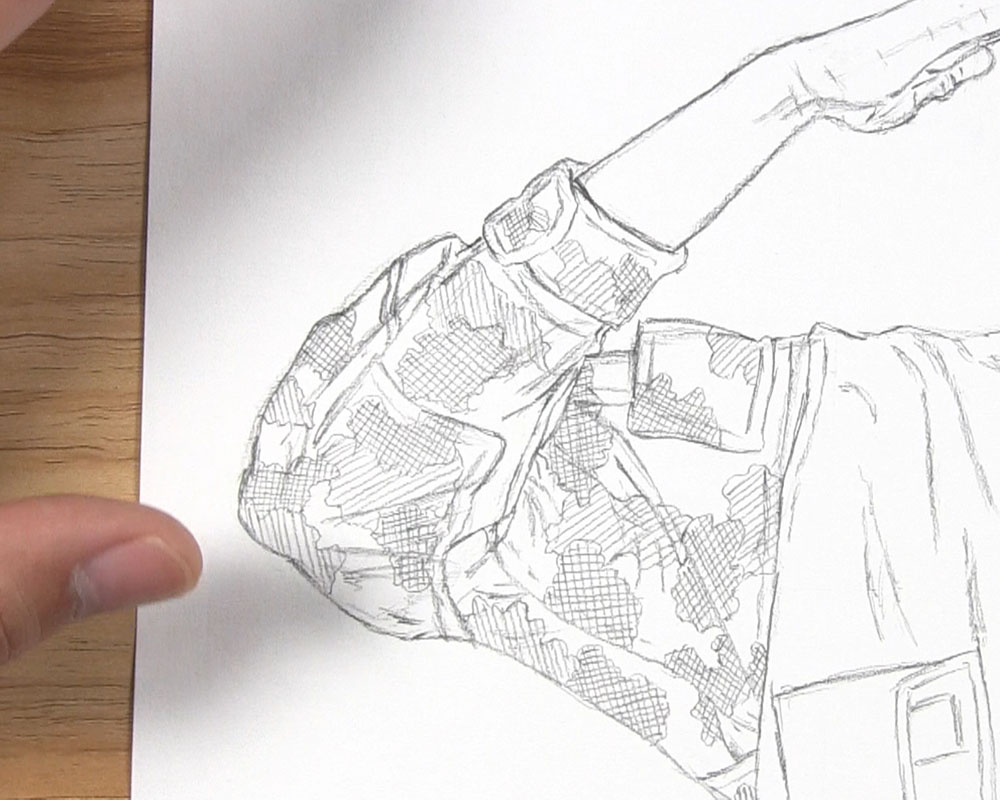
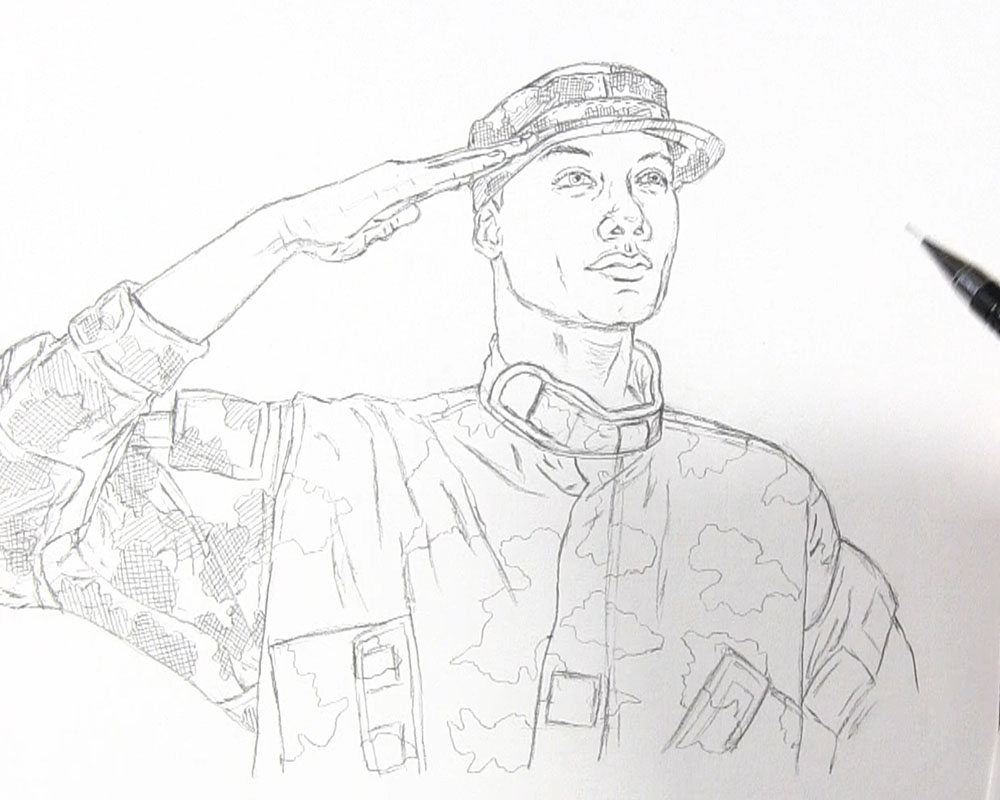
Draw Camouflage on the Sleeve
Now that you know how to draw a camo pattern, let’s do the same thing to draw camouflage for the sleeve. Make some basic abstract shapes for the darker spots. Try drawing a combination of straight and round edges and corners as you form the shapes. It’s also a good idea to stop drawing a shape along the edge of a seam or fold, or you should at least shift the positioning of the shape. This is because these edges can represent overlaps or interruptions in the visible flow of the fabric.
Use a crosshatch pattern to fill in these shapes. This crosshatch pattern can represent the darkest spots of the camo pattern. Also, it’s okay to vary the angle of the parallel lines you draw from one crosshatched spot to another. Just remember that the second series of overlapping lines within each specific spot should be perpendicular to the first series of lines.
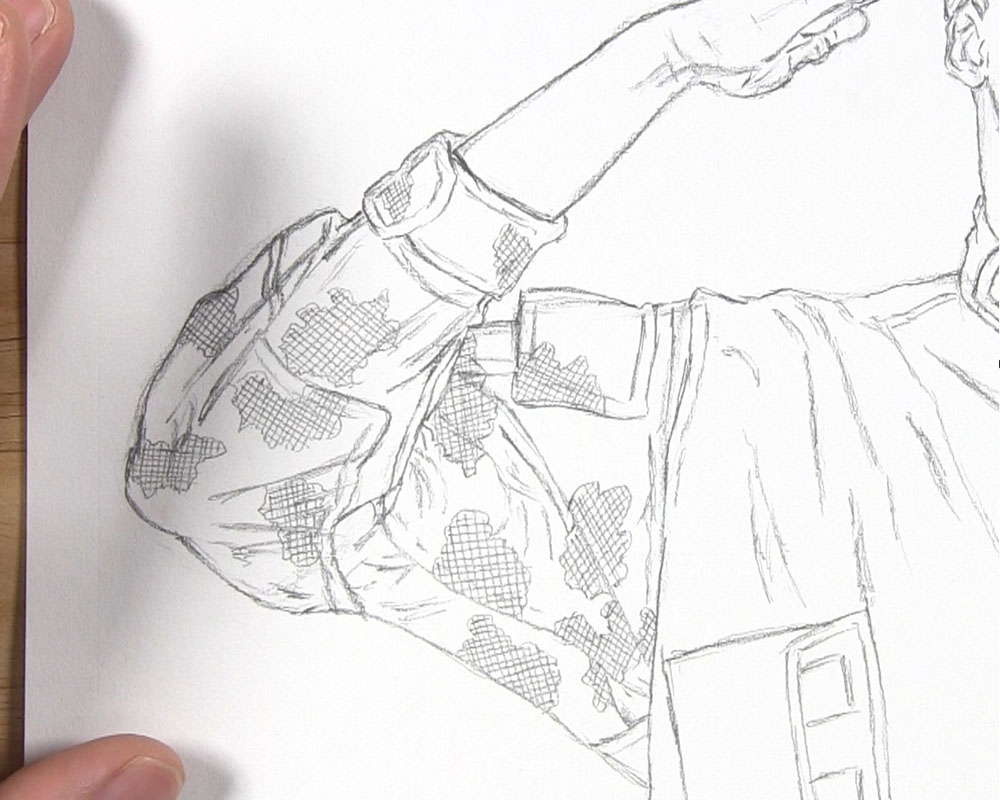
Draw similar shapes to represent the lighter spots, just like we did when we drew the hat of the army man. Remember to use a hatch pattern rather than a crosshatch pattern to fill the shapes.
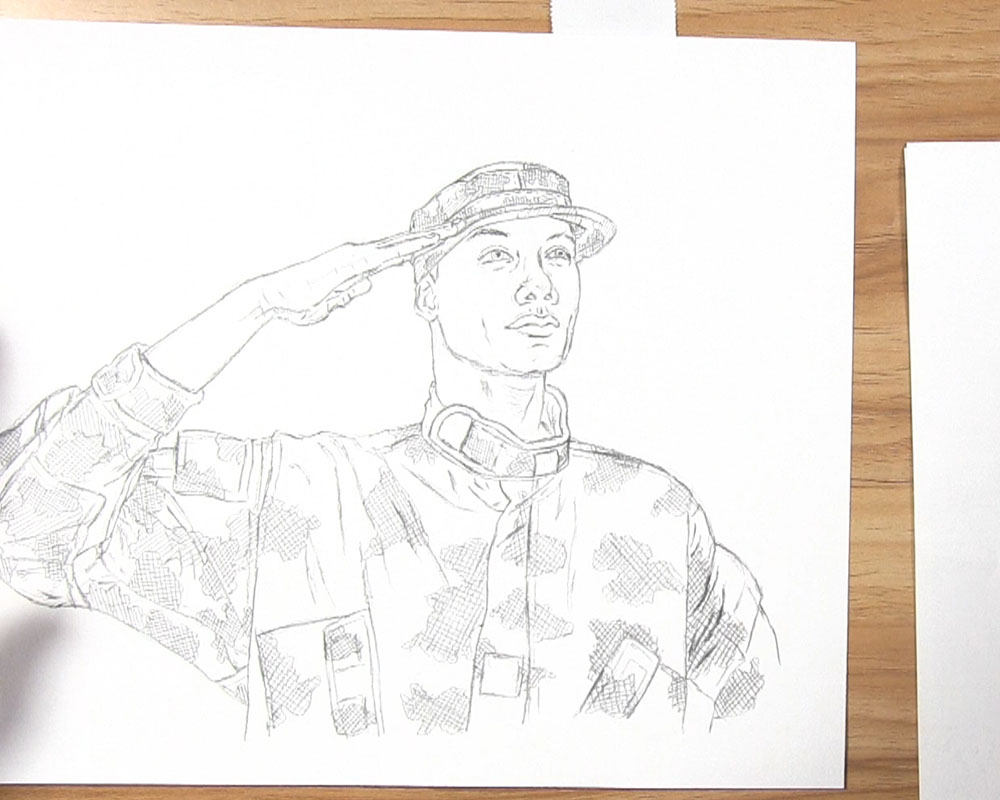
Draw Camo Print on the Jacket Body (Darker Spots)
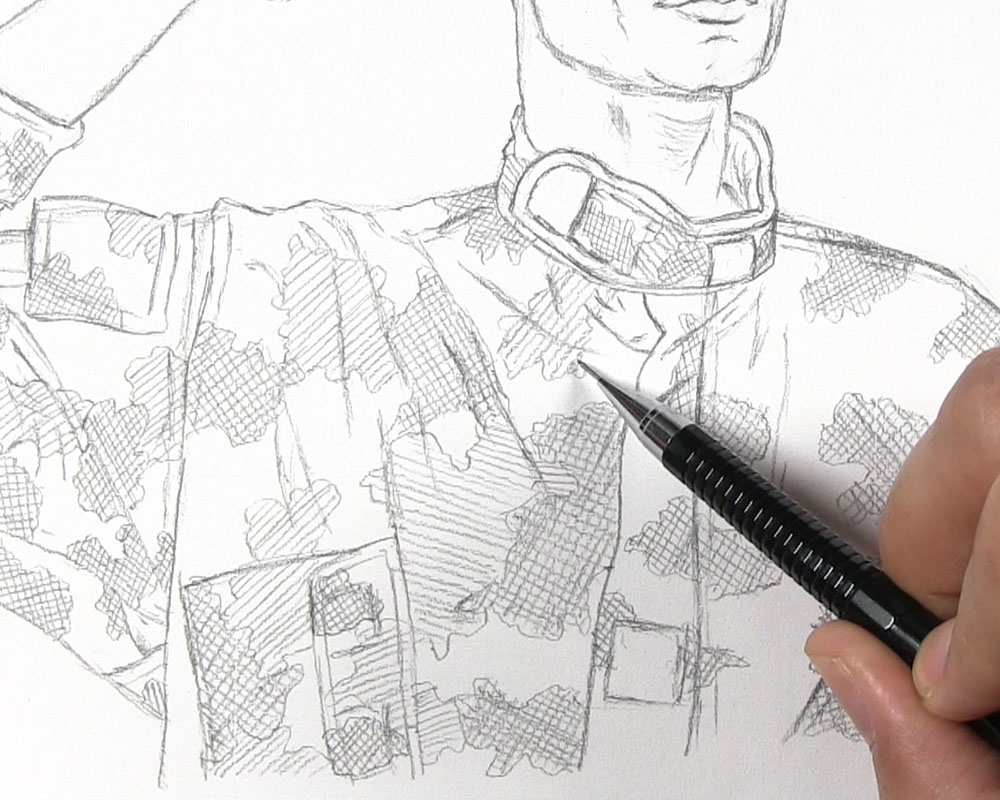
Now draw camo print on the rest of the uniform using the same process. Begin by defining the outline of the irregular shapes that will be the darker spots of the pattern. Try to spread the spots out evenly.
Then, use crosshatching to shade these darker spots on the jacket body of the uniform. If you get to an area where folds in the clothing overlap the crosshatch pattern, you can trace over those folds so they stand out more easily against the crosshatching.
Draw Camo Print on the Jacket Body (Lighter Spots)
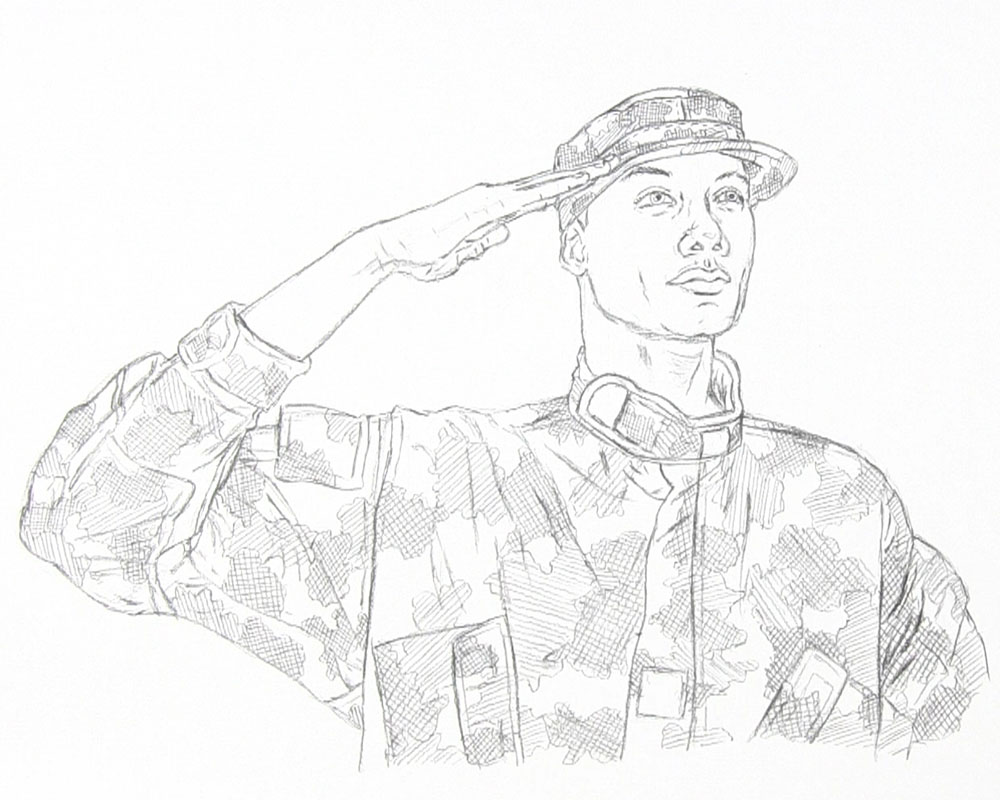
Now draw the lighter spots of the camo print on the left side of the jacket body. Add a number of lighter spots that are approximately equal to the number of darker spots. Remember to use hatching to shade these lighter spots. You should also have a good balance of unshaded space on the jacket’s material, too.
Draw these lighter spots with hatching on the right side of the jacket body to complete the uniform and the drawing.
And that is how to draw an army man saluting!
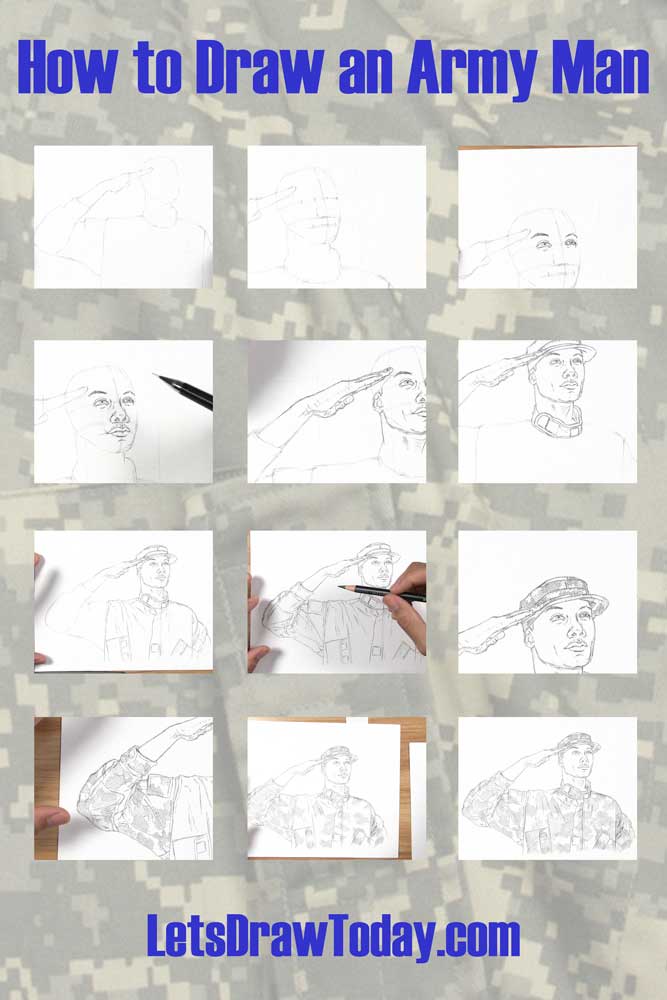
Tutorial Recap
For a quick visual recap of this tutorial, take a look at the image below. It shows you a progression of the main steps for how to draw the army man.
Finishing Thoughts
Let me point out again that the process for drawing the camouflage pattern is not meant to be perfect, but it is at least easier than trying to spend hours or days replicating the real thing, and it has a close enough resemblance.
The hatching and crosshatching shading method I used in this tutorial is just one option. You can always use the approach of traditional shading with varying values and grades of graphite, which would be more appropriate if applying realistic shading to the entire drawing. For the purposes of this tutorial, since it is mostly meant to be a line drawing, I thought the hatching and crosshatching methods would be a nice complement to the line drawing.
Of course, the amount of time you choose to spend on your drawing is up to you. Devoting more time will result in a more realistic and accurate representation of the uniform pattern and the drawing in general.
Whether it’s a man or woman in the Army or another branch of military service, there is still much value in having a reference photograph when you draw any person in a uniform. Even if the uniform pattern is not an exact match, the reference will help you stay true to the uniform’s basic design (sleeves, collars, pockets, etc.). Also, drawing the face and hands becomes much easier when your reference is close by.
I hope you have fun while drawing this soldier and honoring our troops!