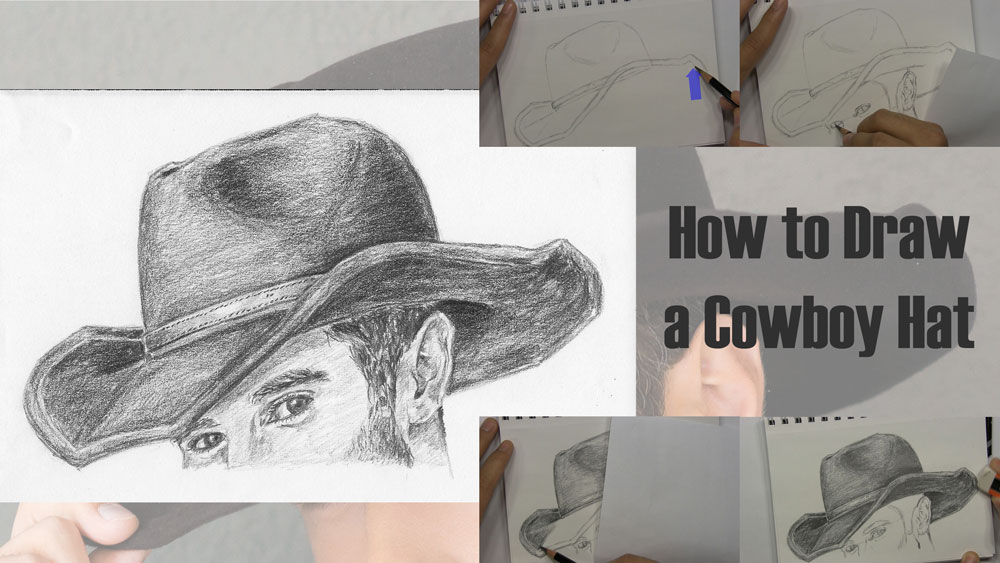
How to Draw a Cowboy Hat on a Cowboy
There are many different styles of cowboy hats. If you can do a really good job at drawing one of them, then that will make it much easier when you attempt to draw other cowboy hats, even if they look quite different.
In this tutorial, we will learn how to draw a cowboy hat on a cowboy’s head. We will include just the upper portion of the cowboy’s head in this drawing. I want the focal point of this drawing to be the cowboy hat itself, but don’t worry! We’ll spend time seeing how to draw the head too.
I will show you how to draw a cowboy hat using some simple shapes to establish the outline. Then I will show you how to draw the cowboy’s head and my shading process. The end result will be a detailed pencil drawing of a cowboy’s hat!
I’ll show you how to sketch the outline of the hat crown and the crown crease. You will also see how to sketch the hat band and add small details like the stitching. Then we will move on to drawing the brim with some simple basic shapes. Finally, you can watch how I shade the cowboy hat and the cowboy’s head from start to finish.
Table of Contents
Use a Reference Photo of a Cowboy Hat
In this tutorial, we will draw a black felt cowboy hat with a leather band and a cornered rather than round front brim. I will be using this reference photo as a guide.
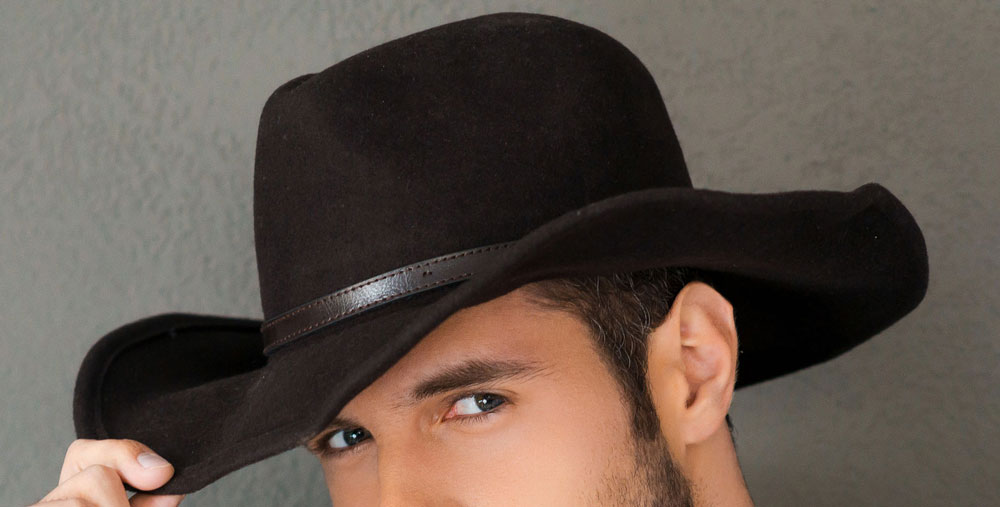
You can use the basic concepts you learn from this tutorial and apply them to drawing other cowboy hats. Just make sure that if you are going for a more realistic representation, then use a reference photo.
I used an HB graphite pencil for the initial outlining and for putting a base layer of shading on the cowboy’s head. I used a 2B pencil for most of the rest of the shading, saving the darkest areas for a 4B pencil.
How to Draw a Cowboy Hat Video Tutorial
You can watch the time-lapse video version of this tutorial below. Watch it once all the way through to get a sense of the overall process. Then watch a second time and draw along with me, pausing as needed.
As an alternative, when you sign up for the Let’s Draw Today Newsletter, I will give you the extended video course version of this tutorial and 9 others (10 in all) as a free gift!
Free Bonus: Click here to get access to 10 free drawing video tutorial courses. Draw along with me in the full-length version of this tutorial and 9 others as I show you one step at a time my entire process for drawing each subject from start to finish.
Draw the Outline for the Crown and Hat Band
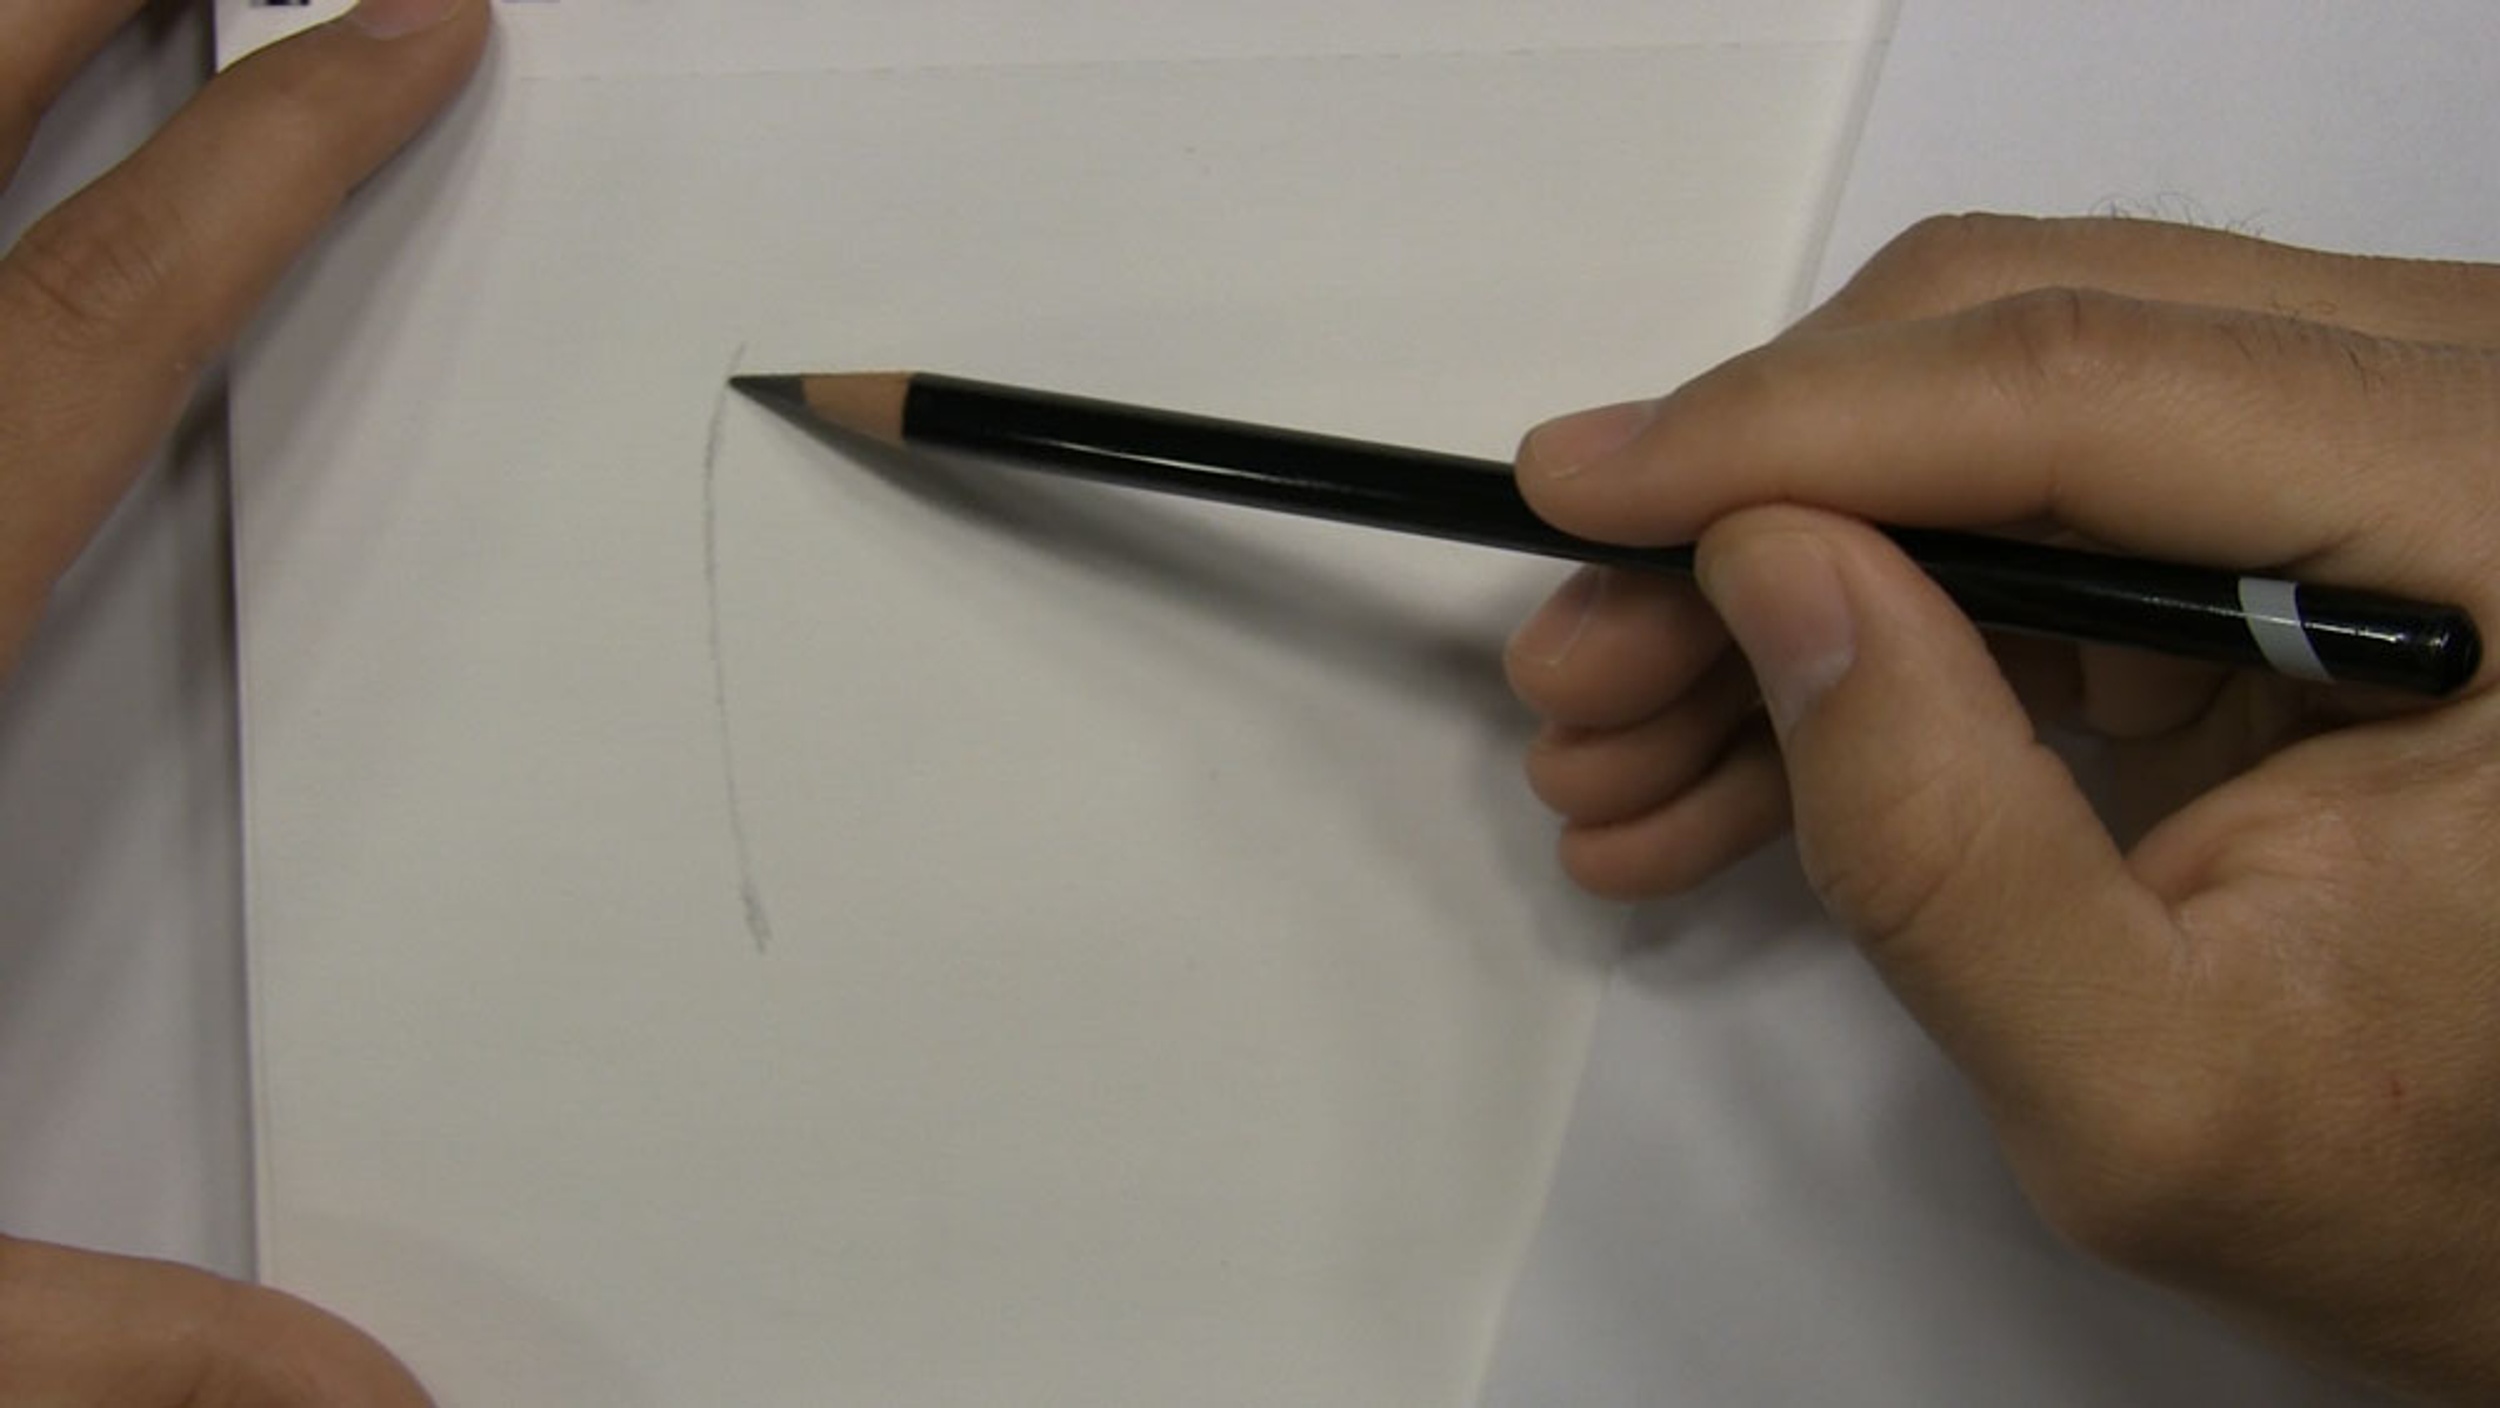
We’ll want to start off by drawing the crown and the hat band. I’m using an HB pencil to begin with.
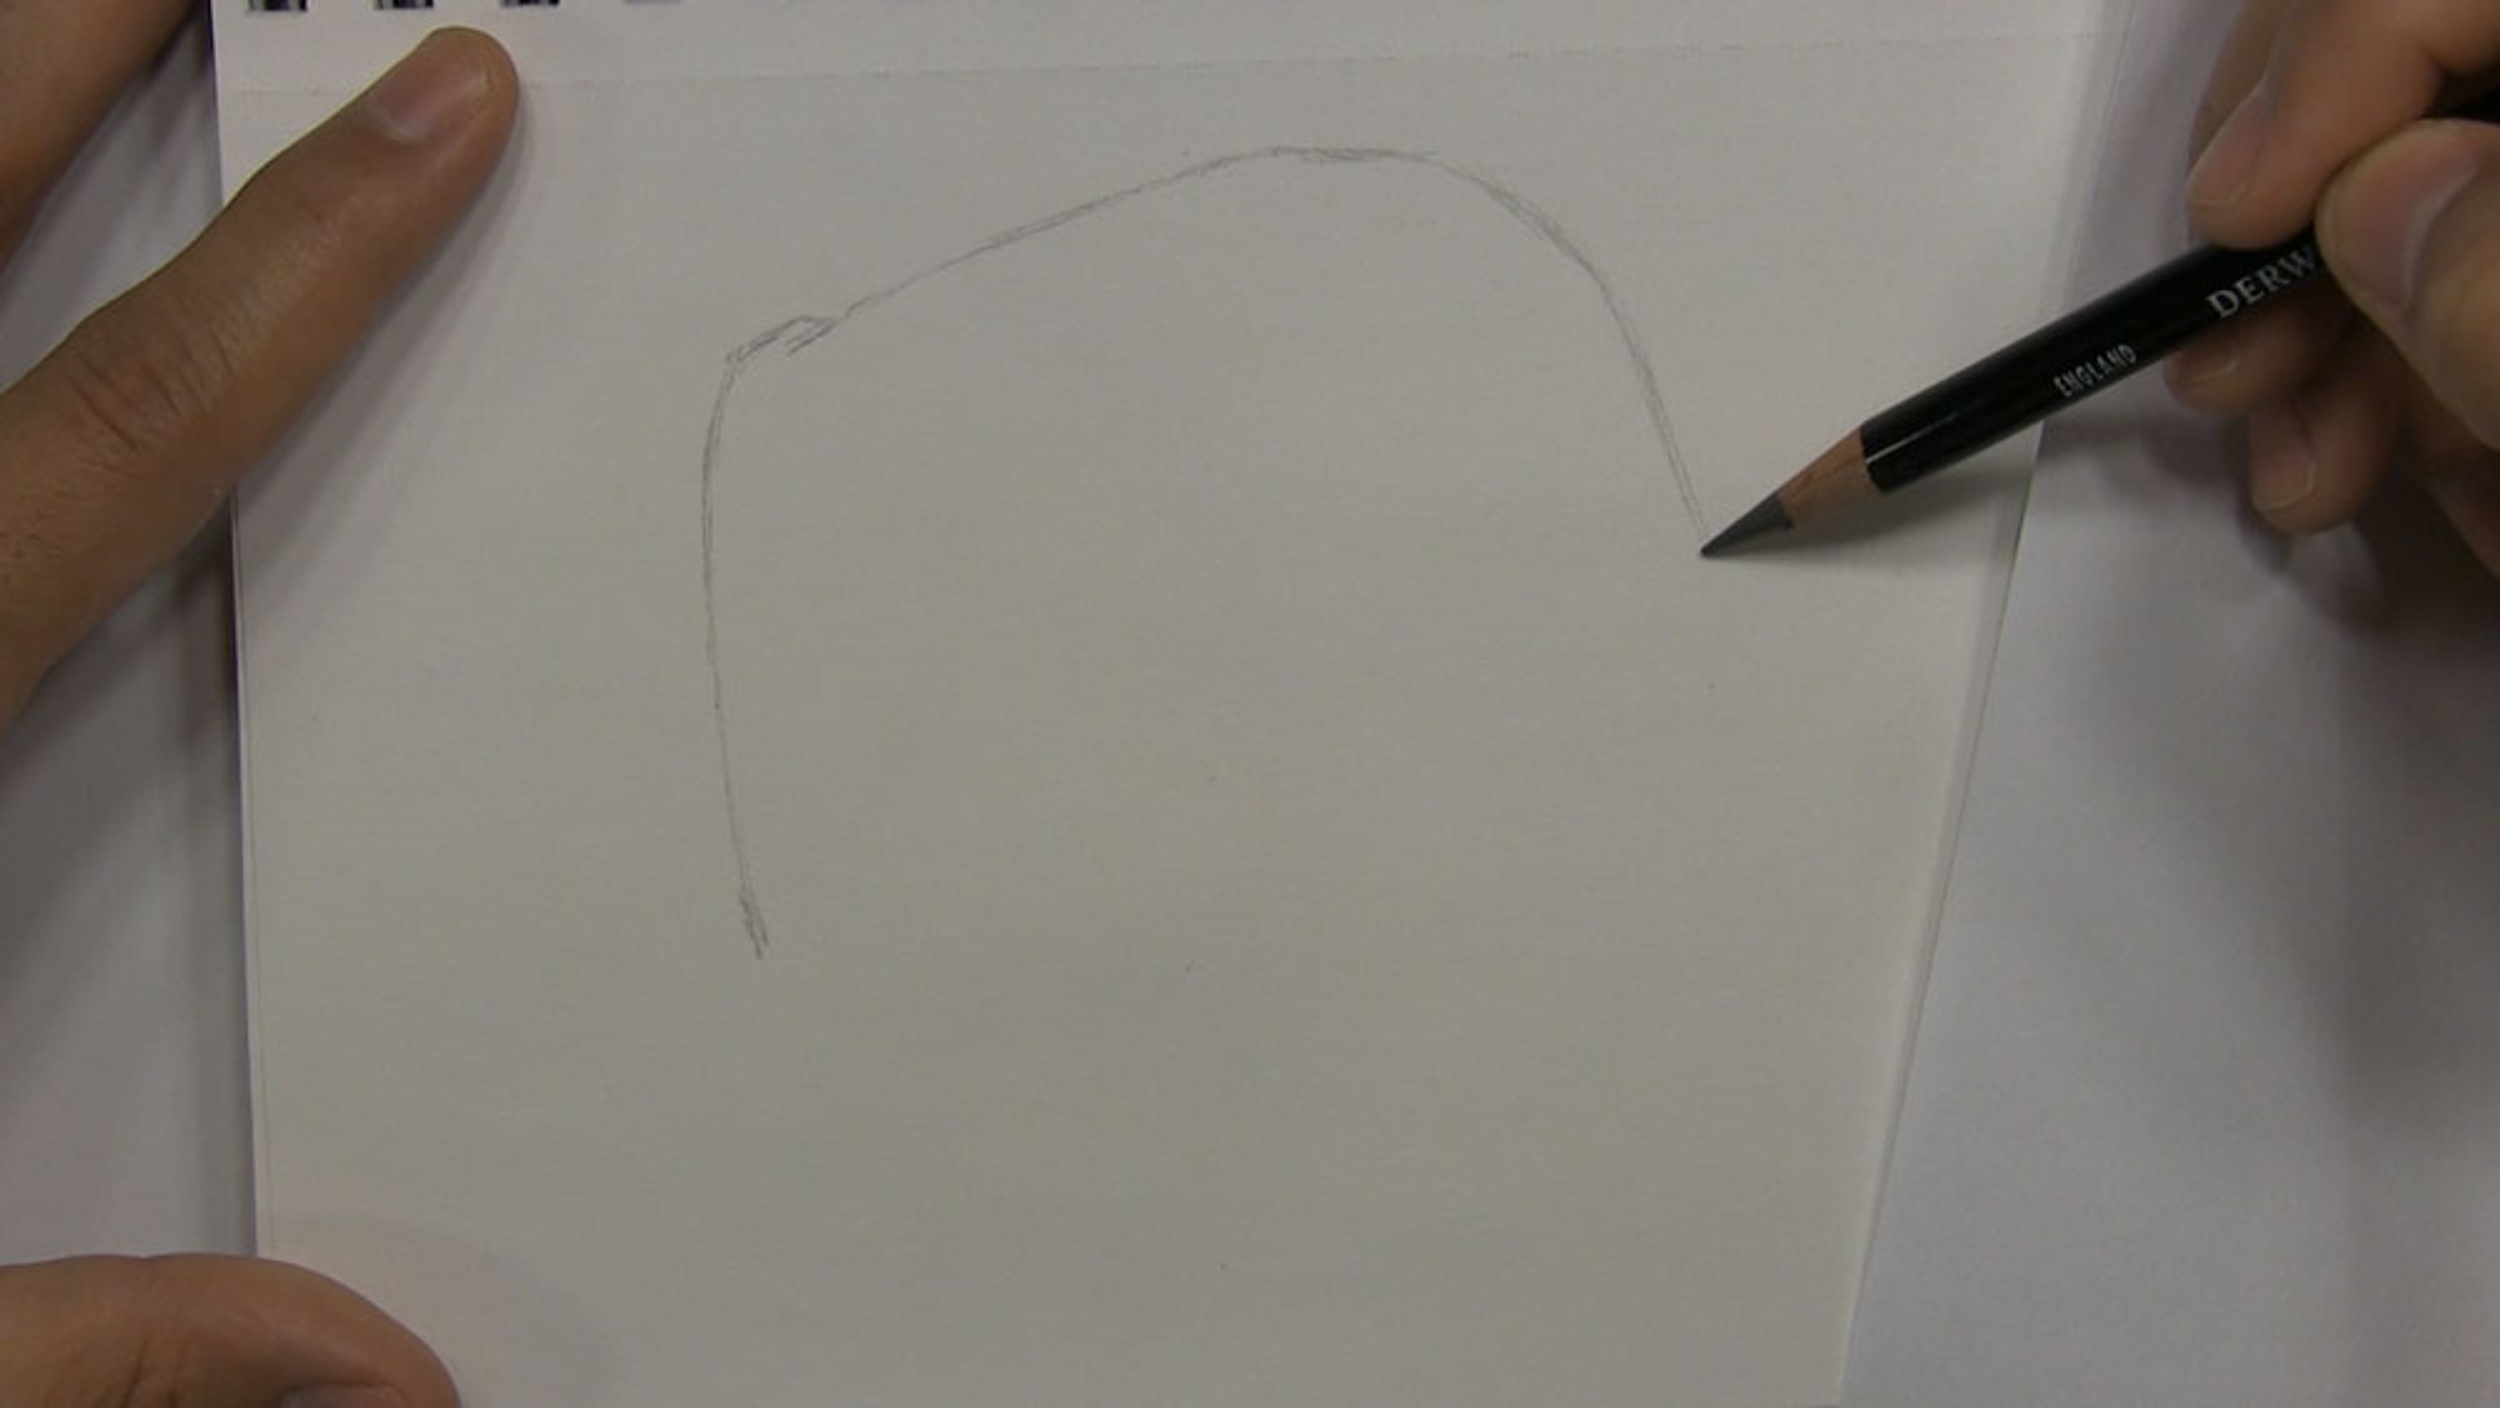
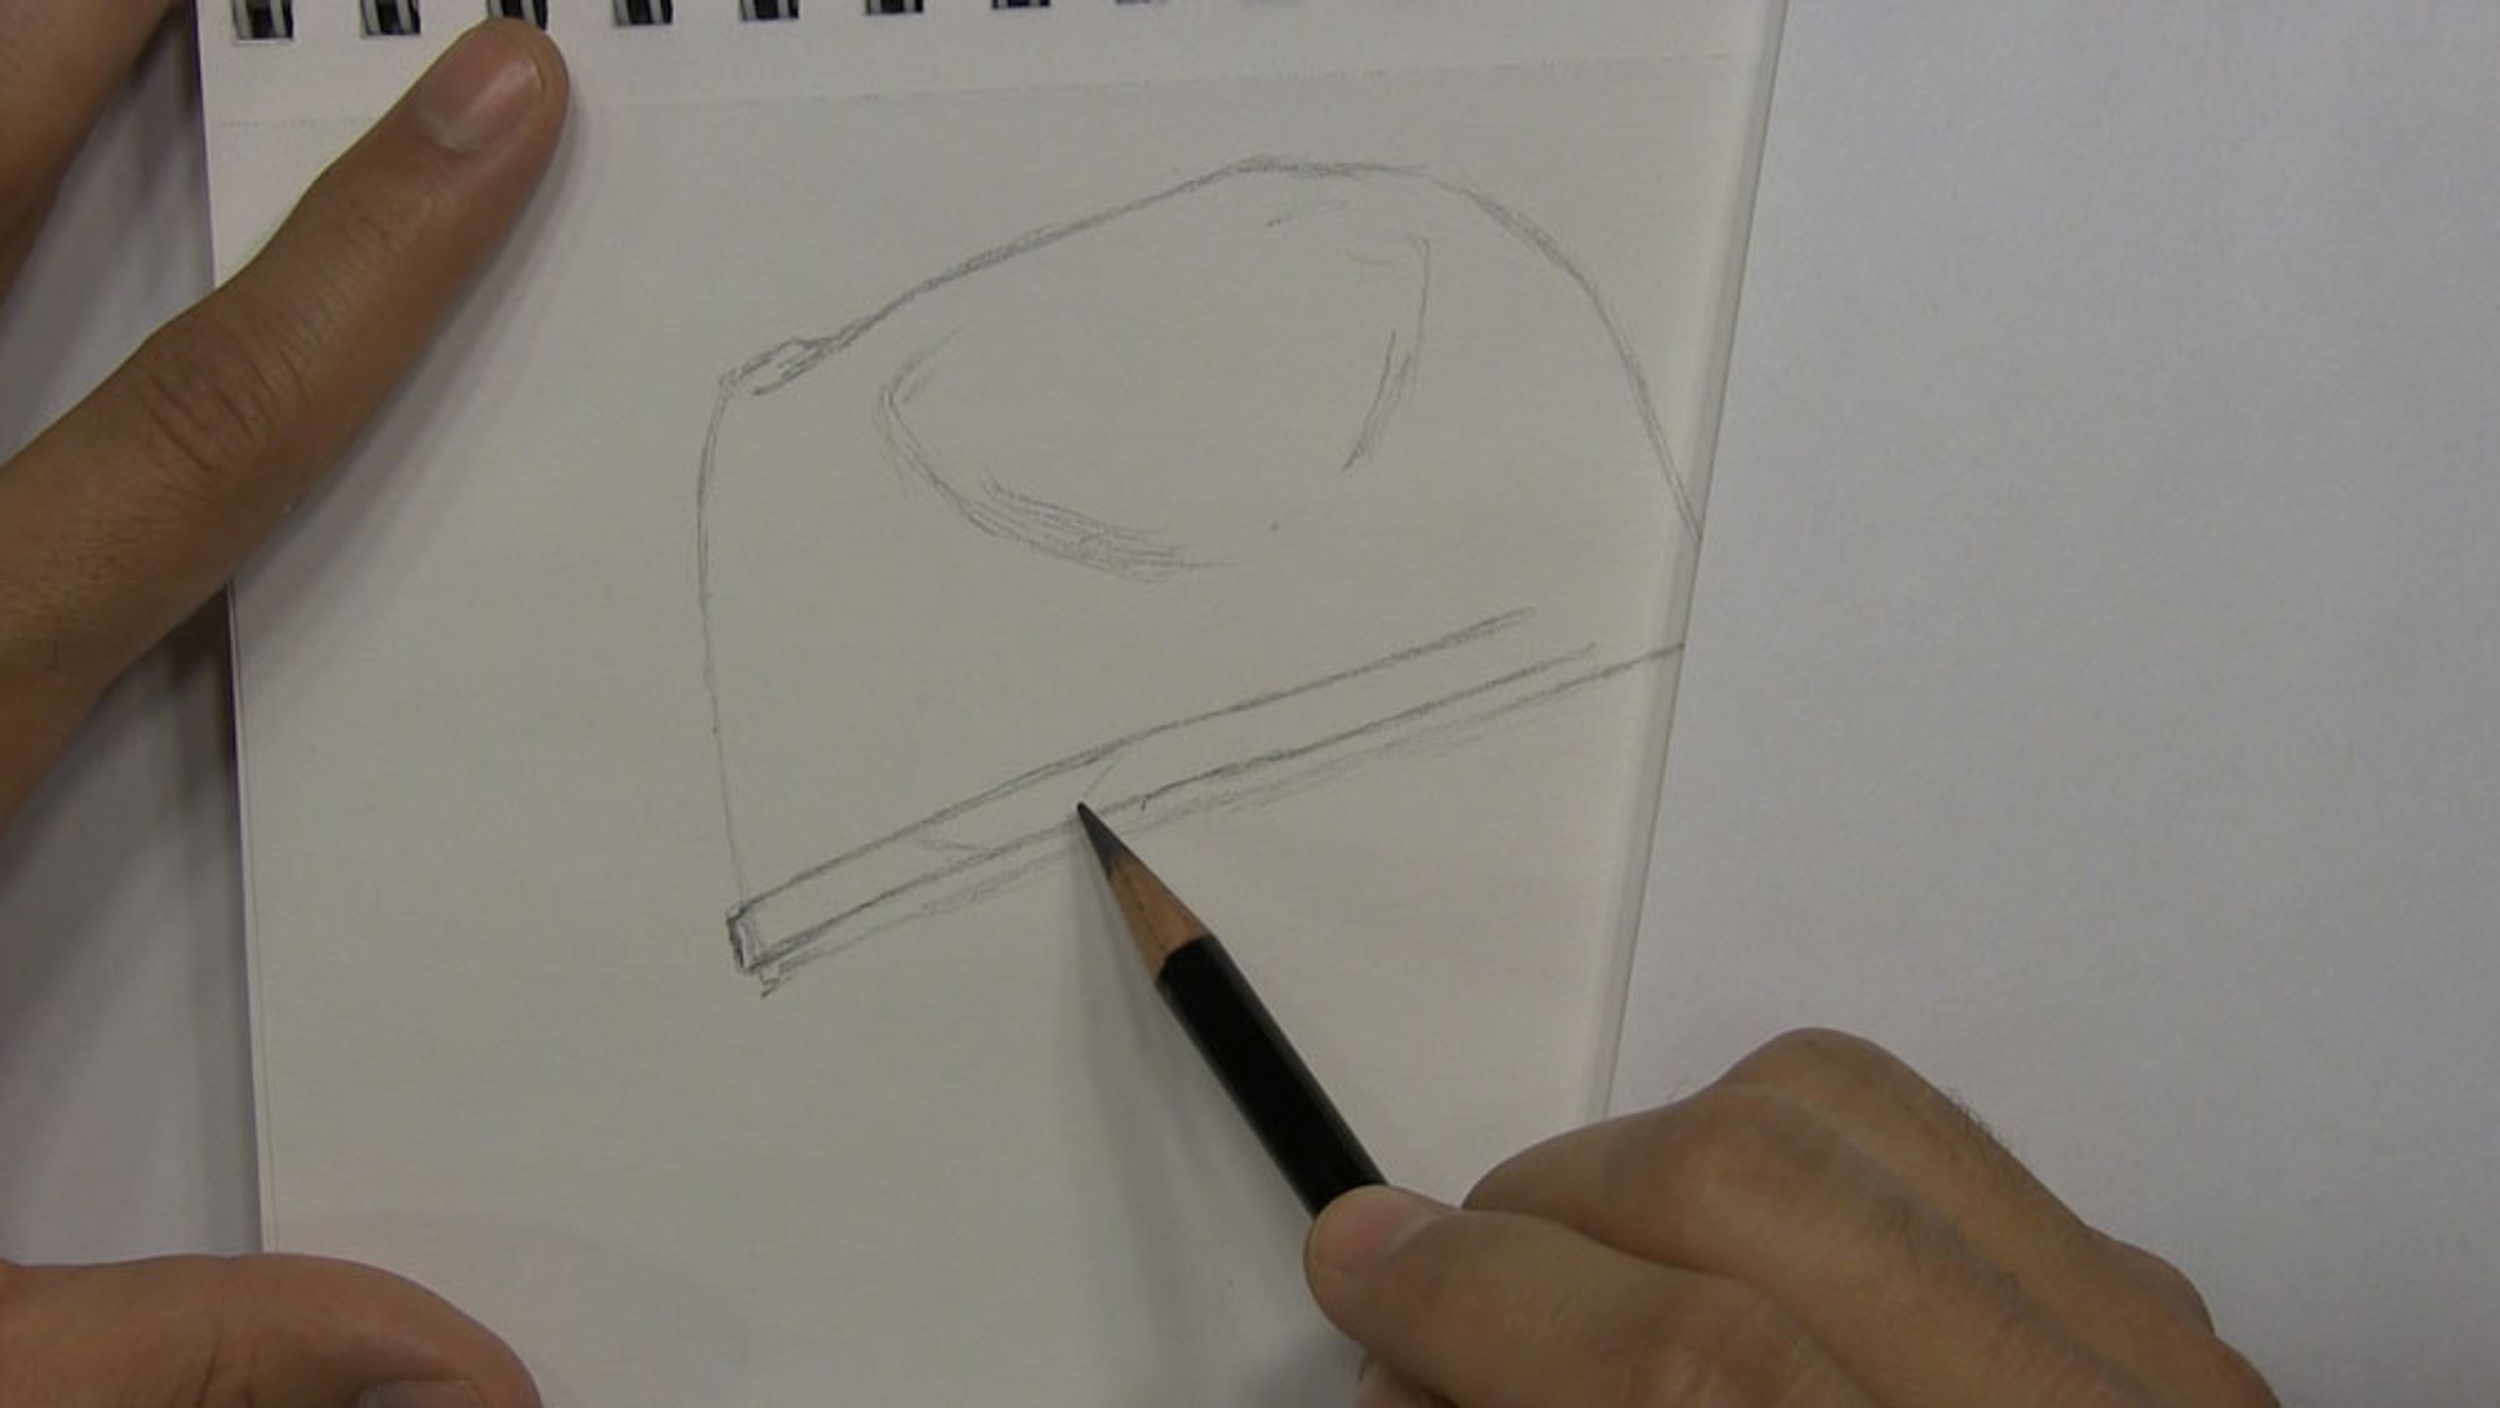
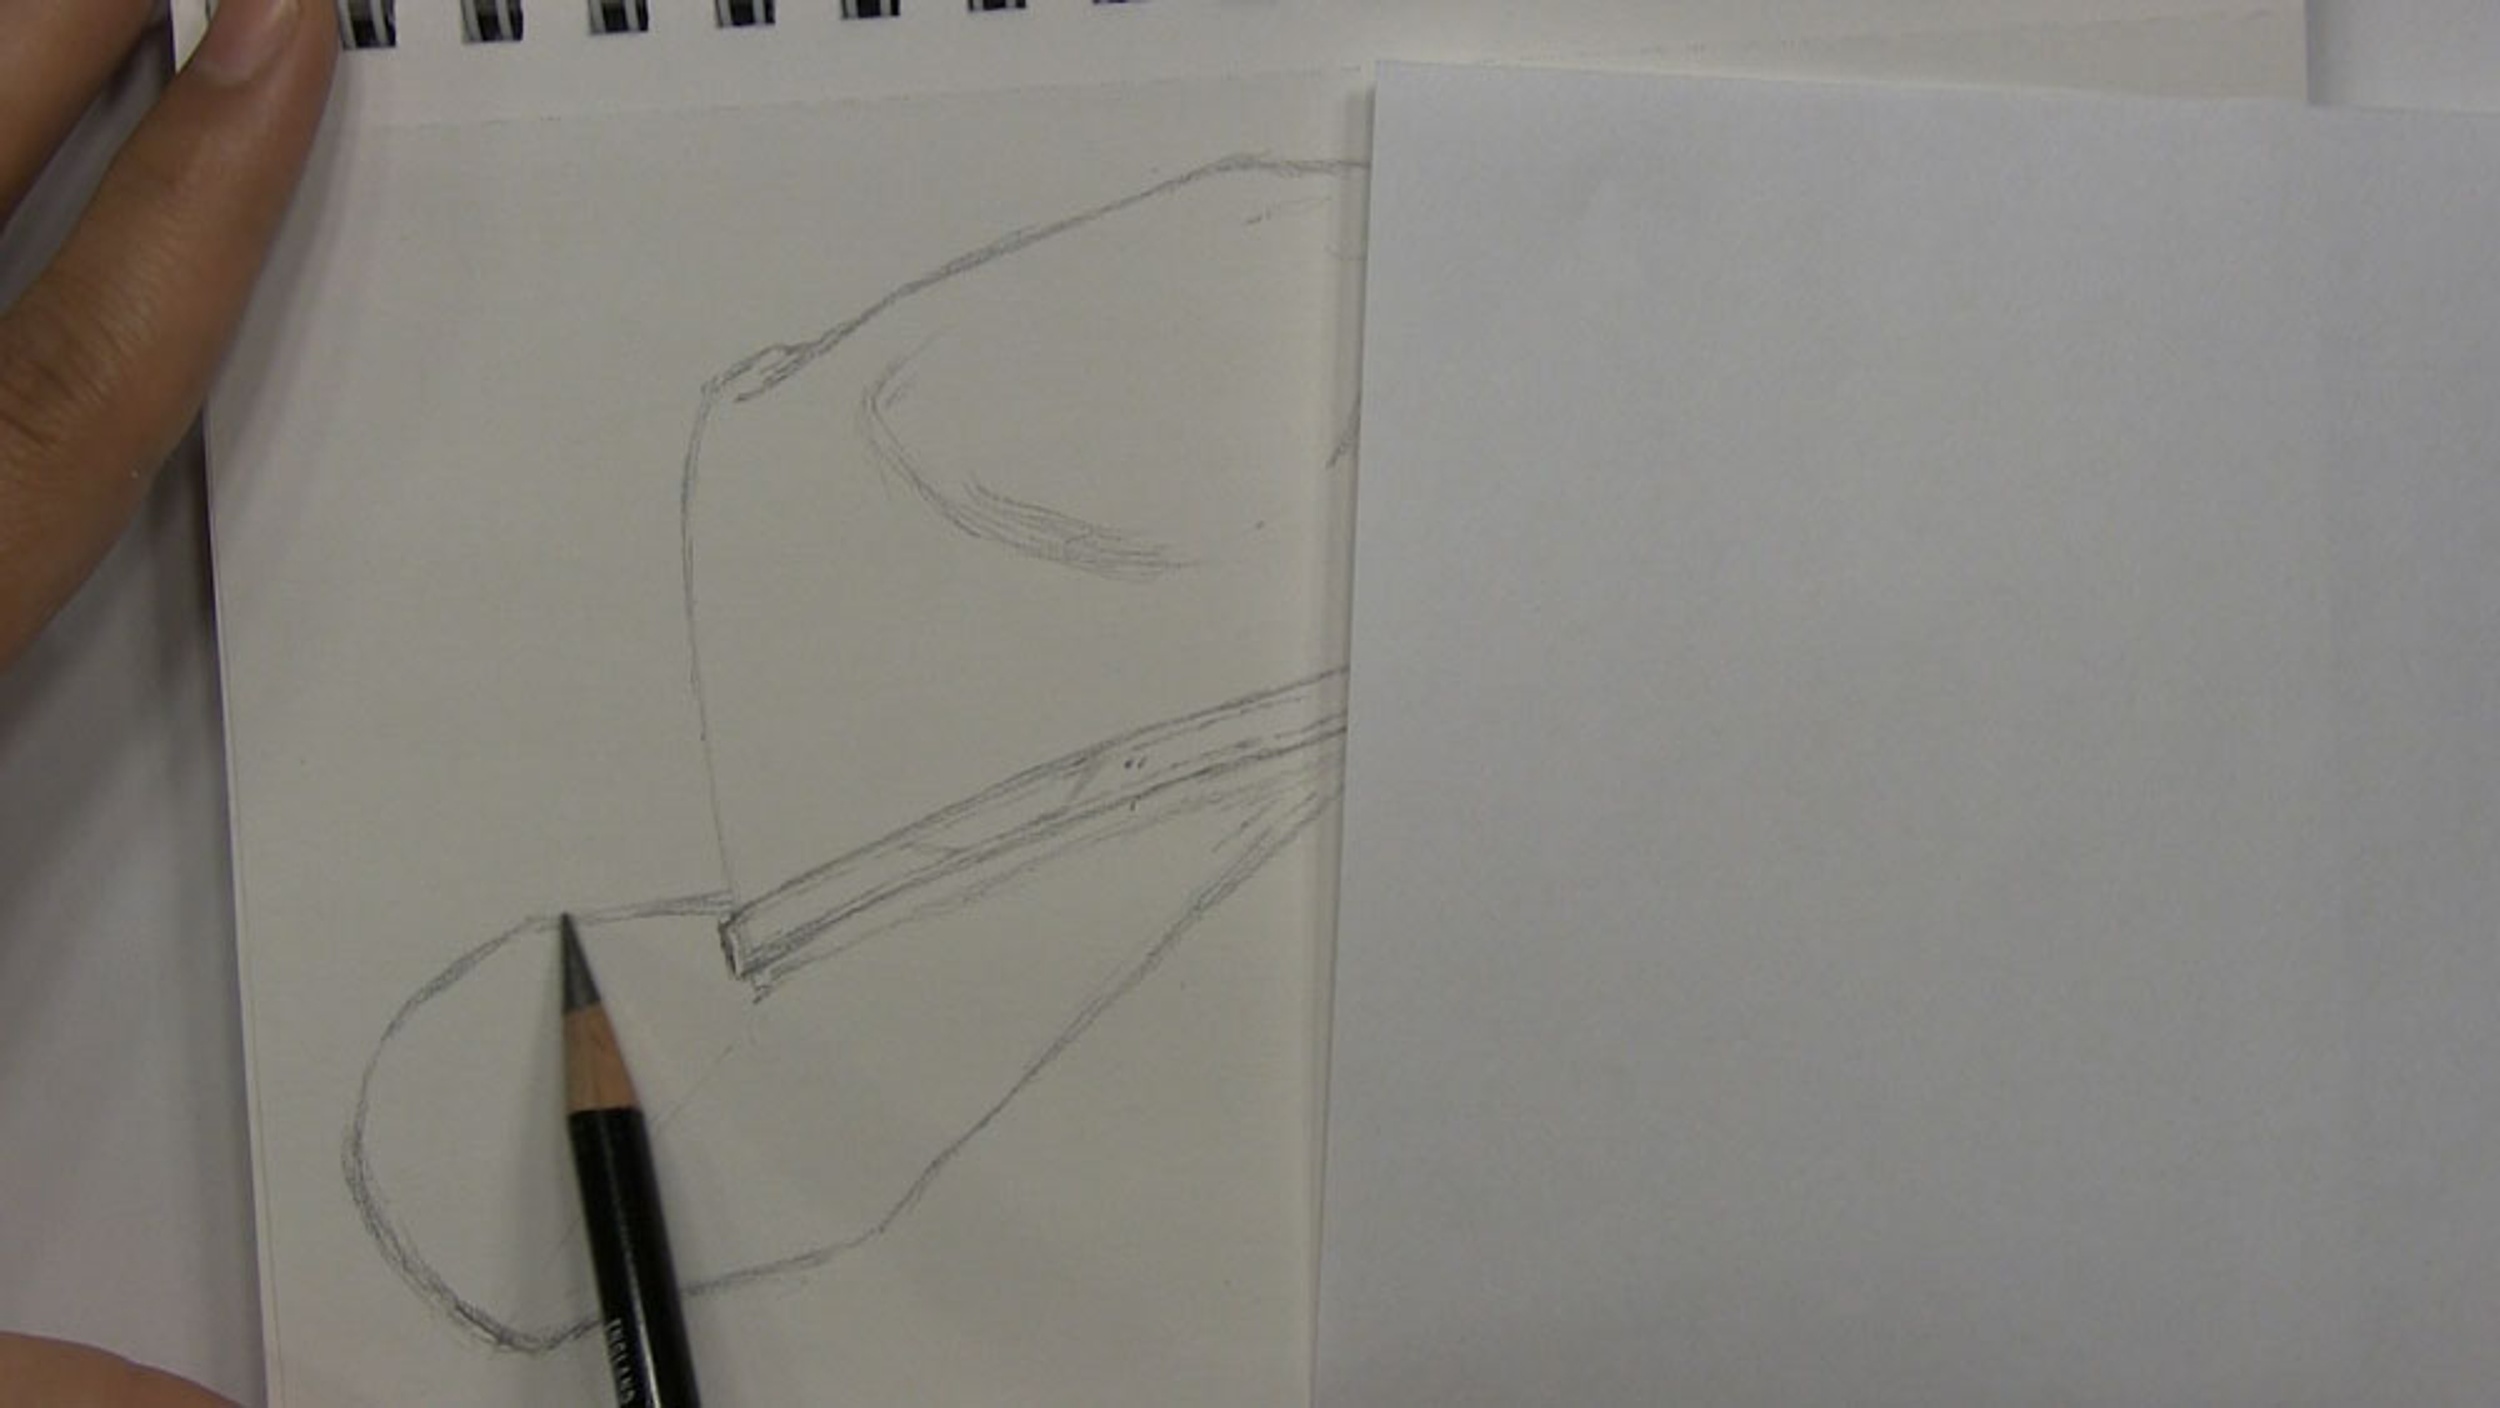
Lightly sketch a vertical line with a slight curve. This will be the front of the crown of the hat.
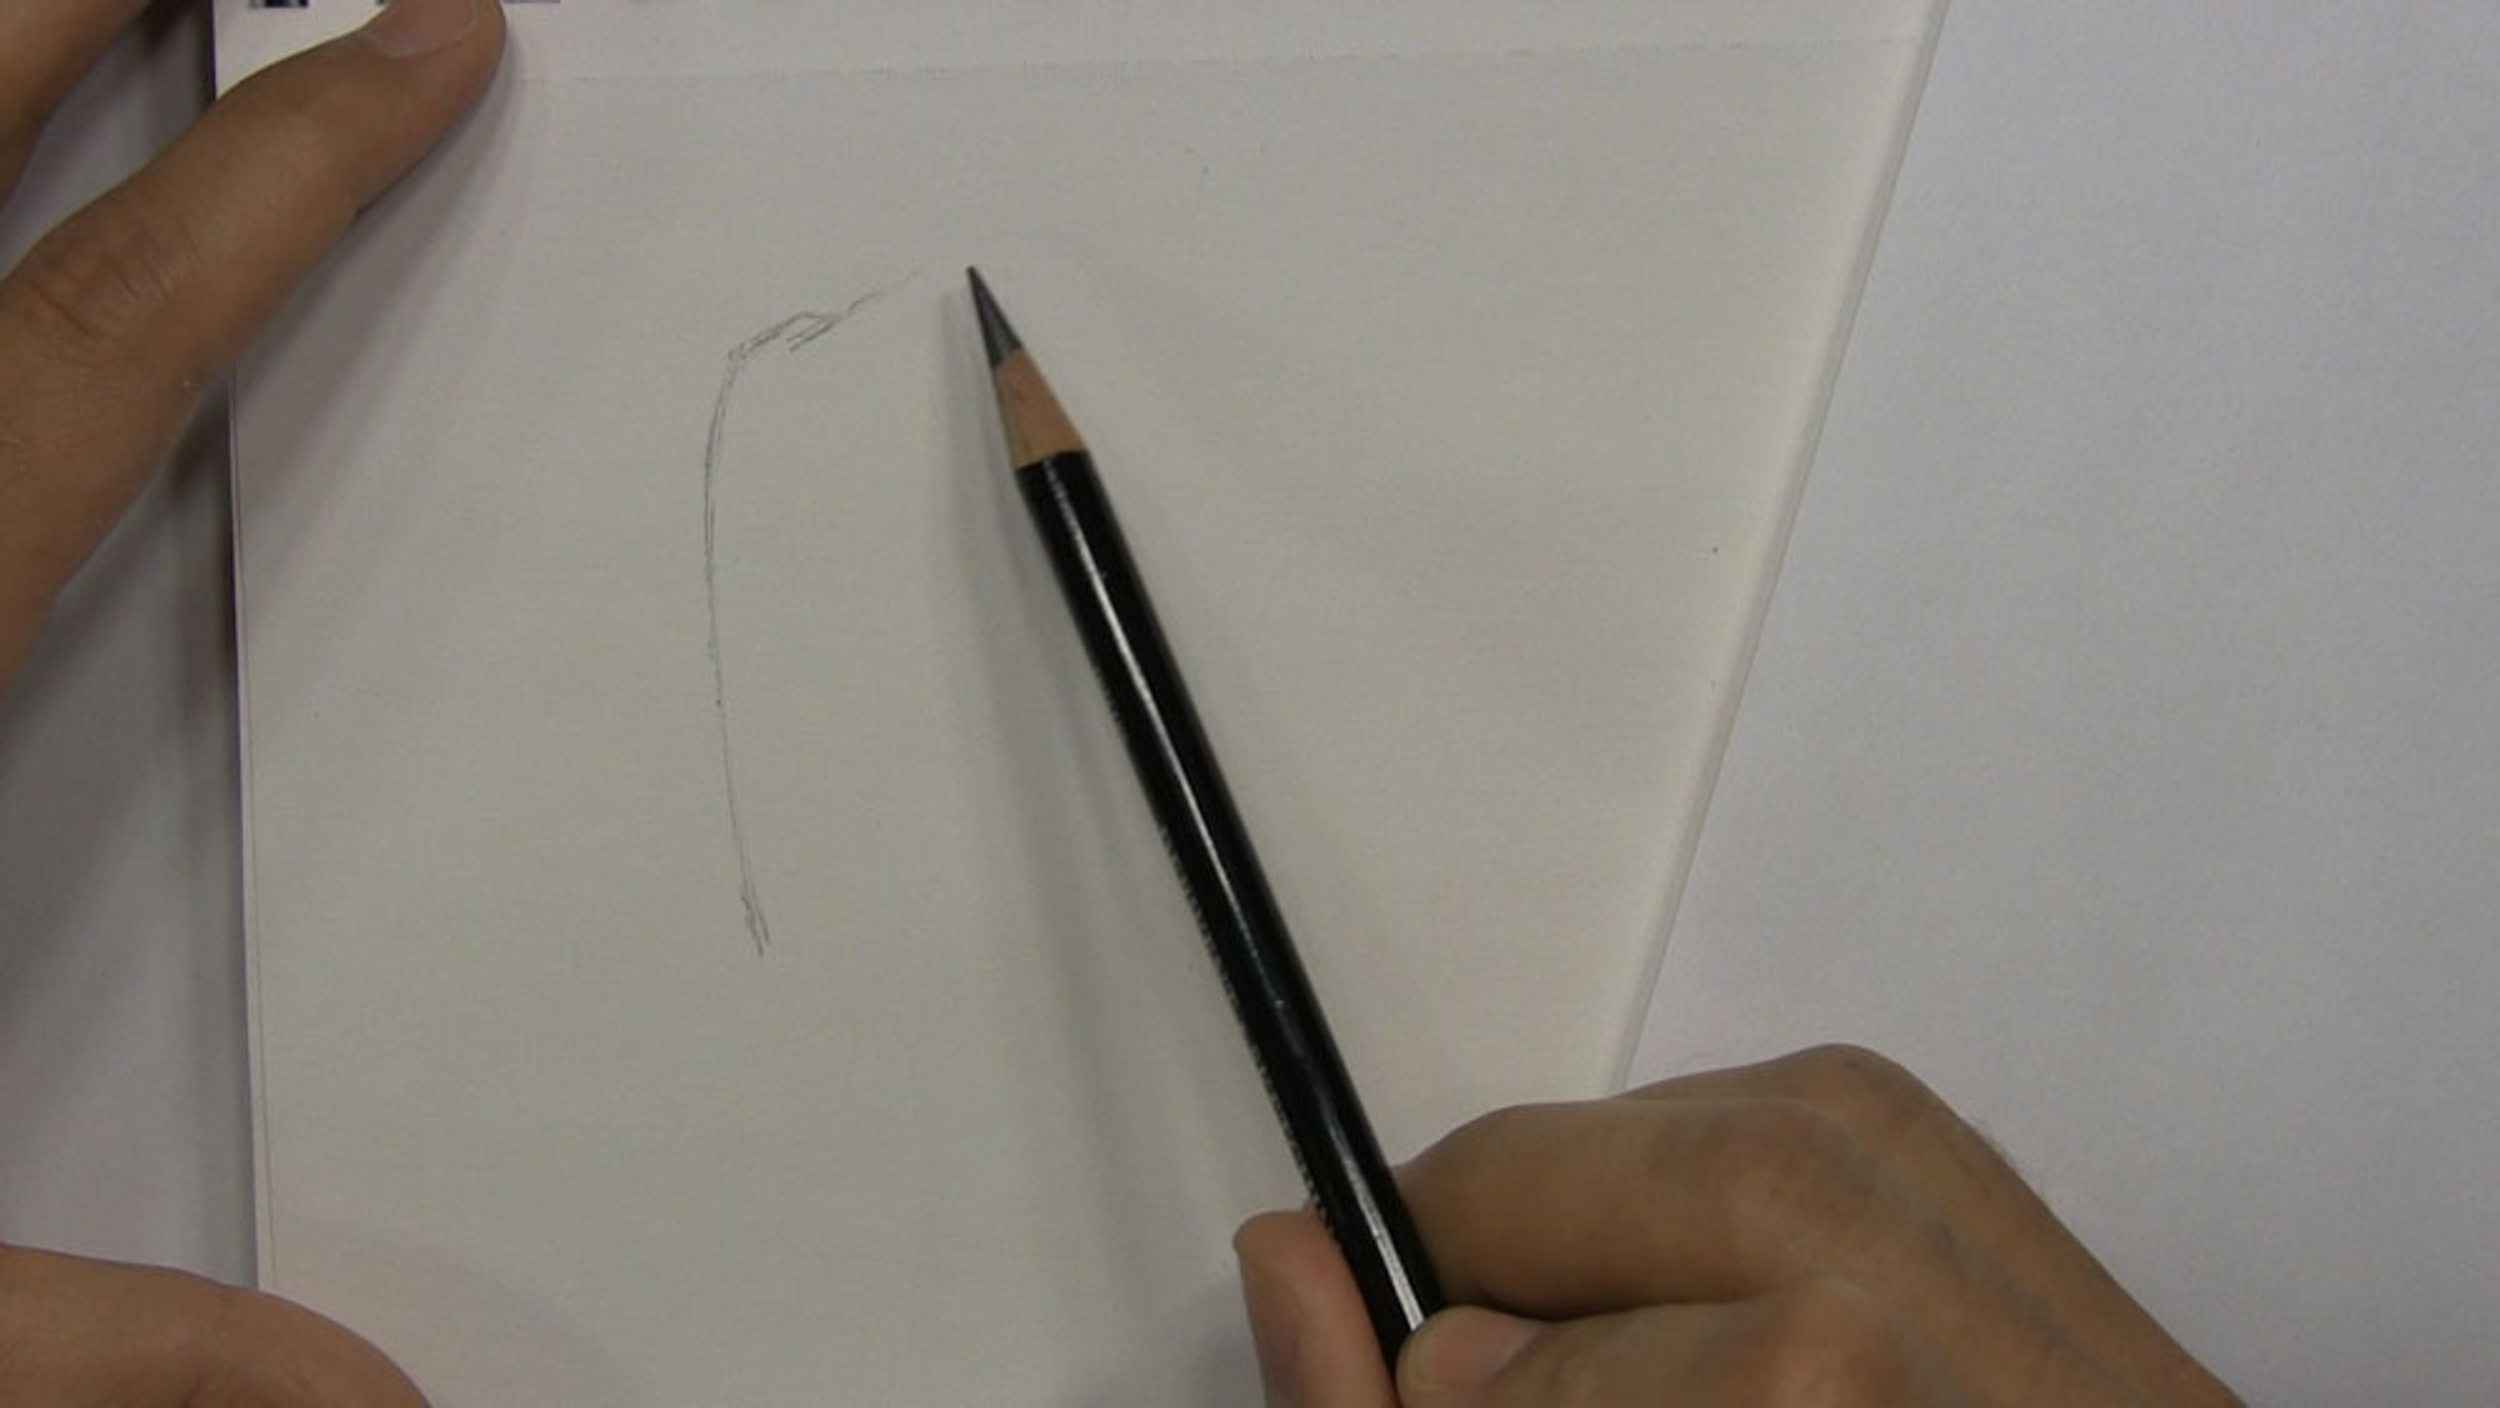
The top of the crown of the cowboy hat is kind of folded and bent inward. Although we don’t see the view of the cowboy hat from above, we should represent this fold as we get to the top of this line. That’s why I am bending this line to form a hook which is the fold on one side and sketching a line underneath to be the other side of the top fold.
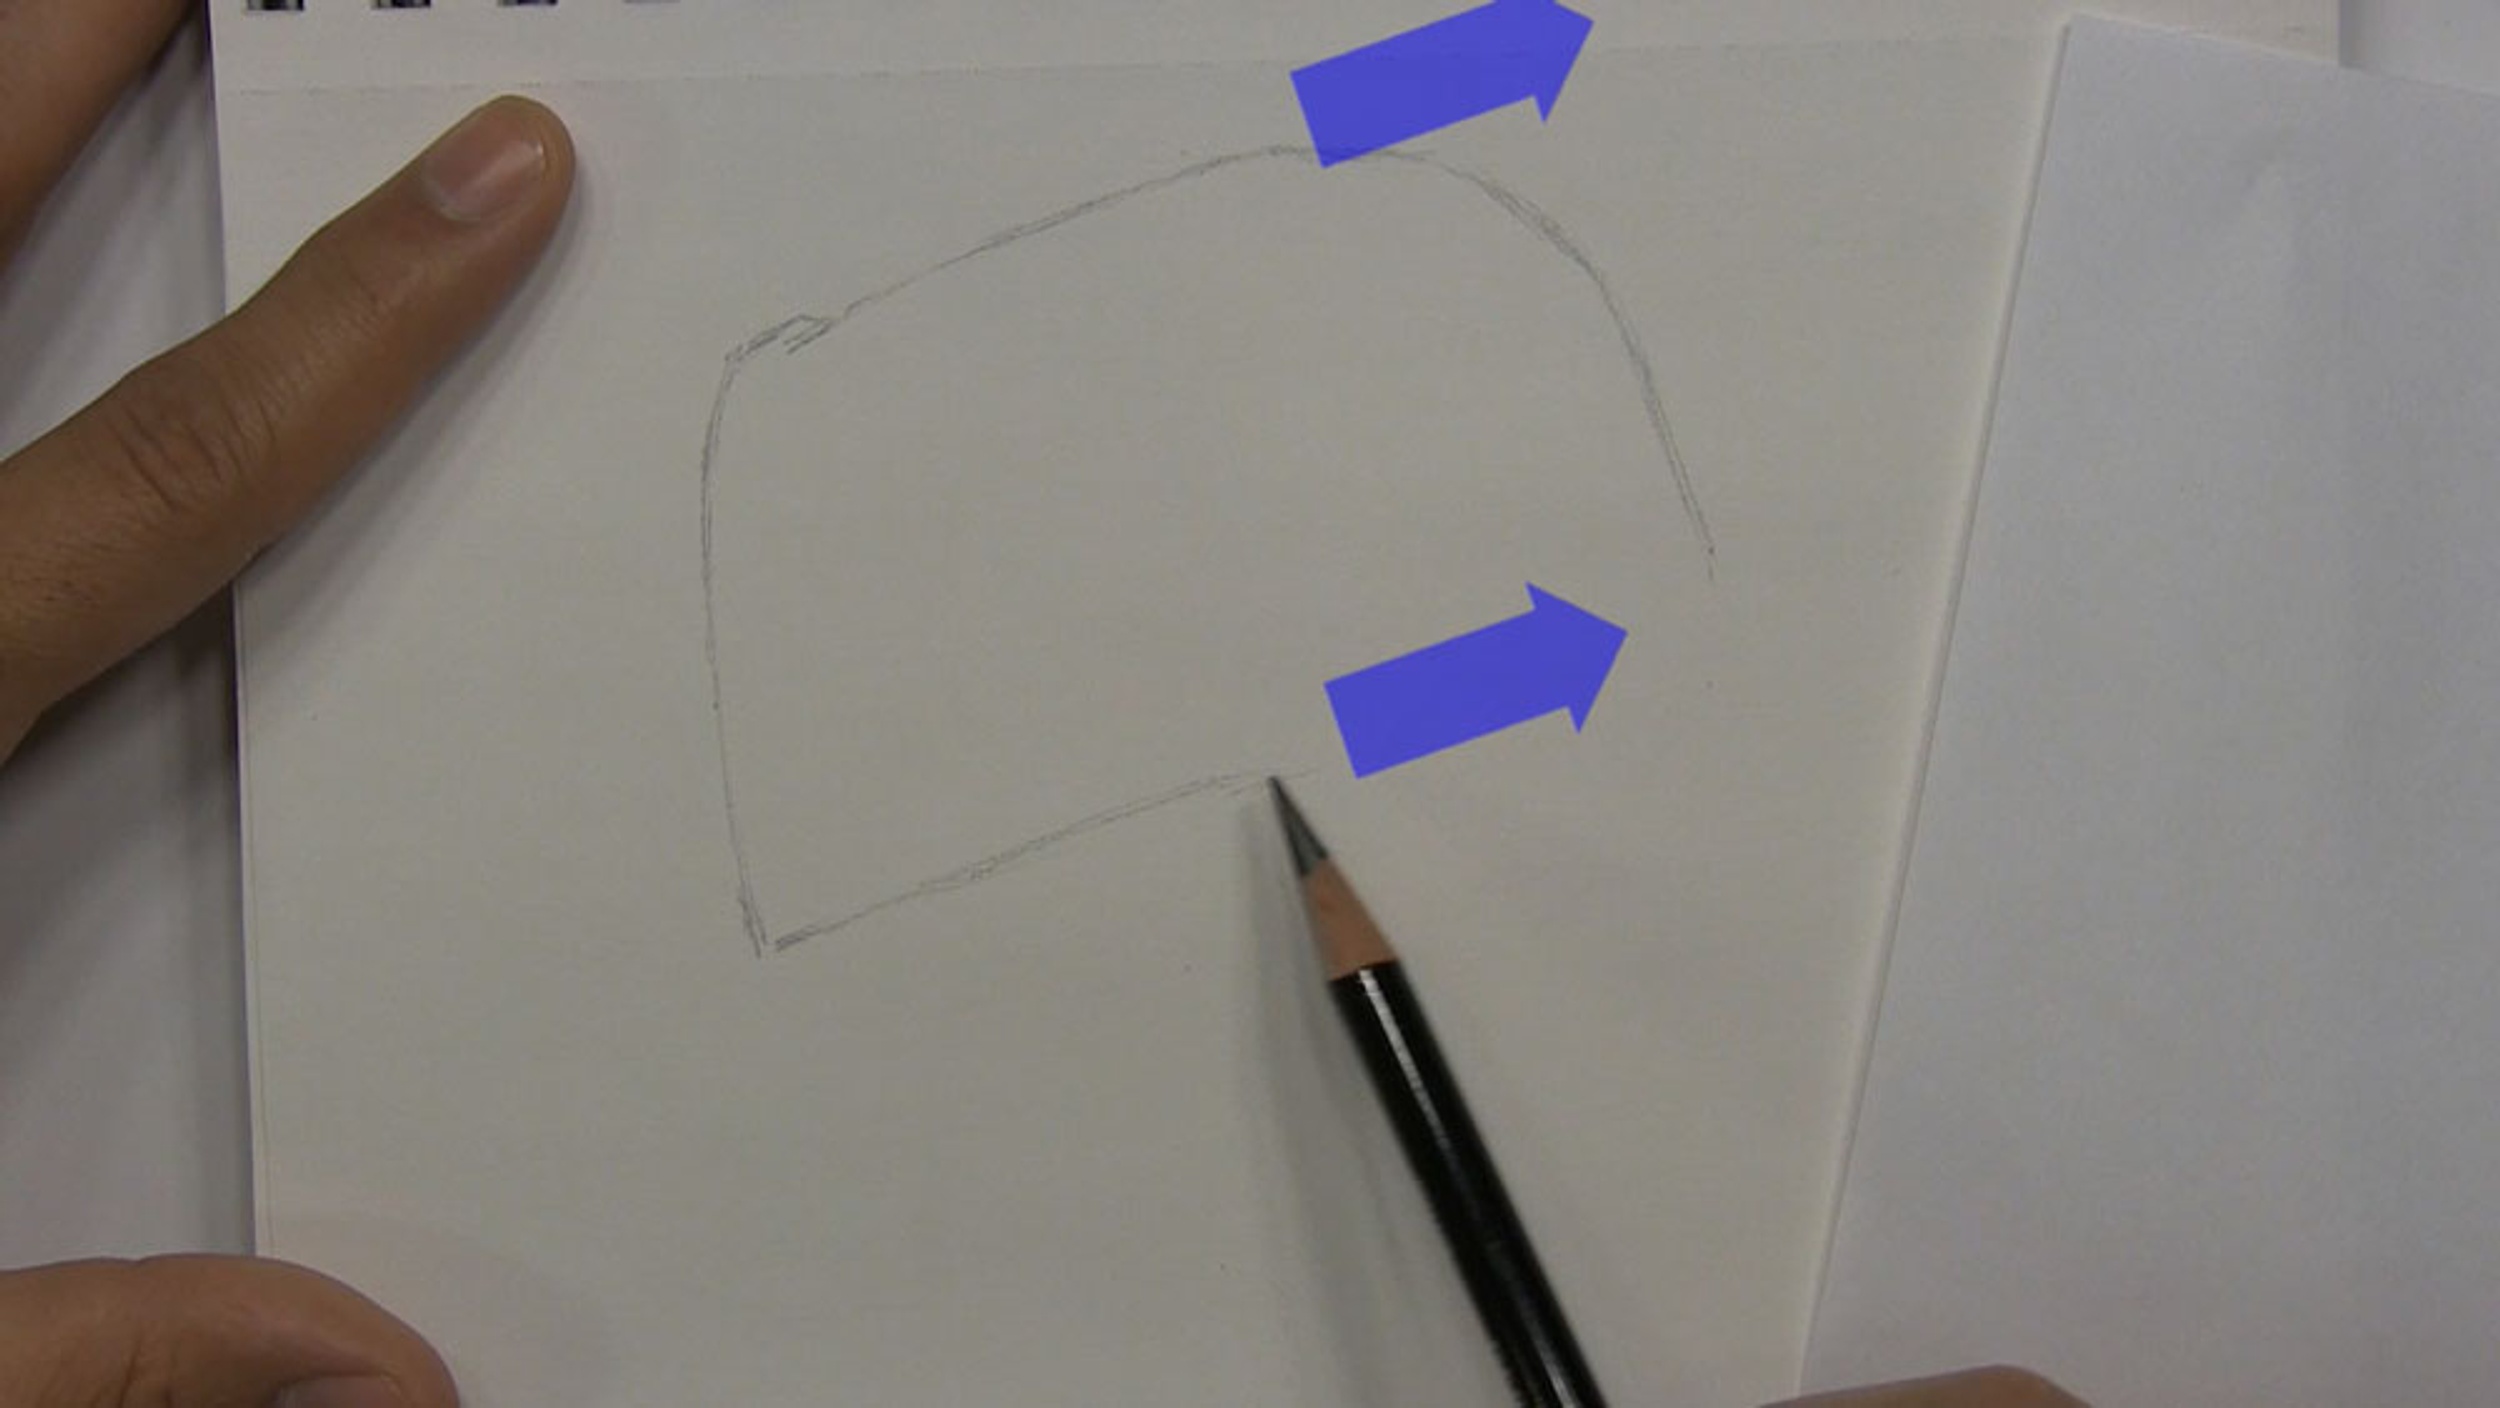
Keep extending this line in a diagonal fashion for the top of the hat. This cowboy’s head is tilted downward, so we don’t want a perfectly horizontal line. Then curve this line downward for the back of the crown.
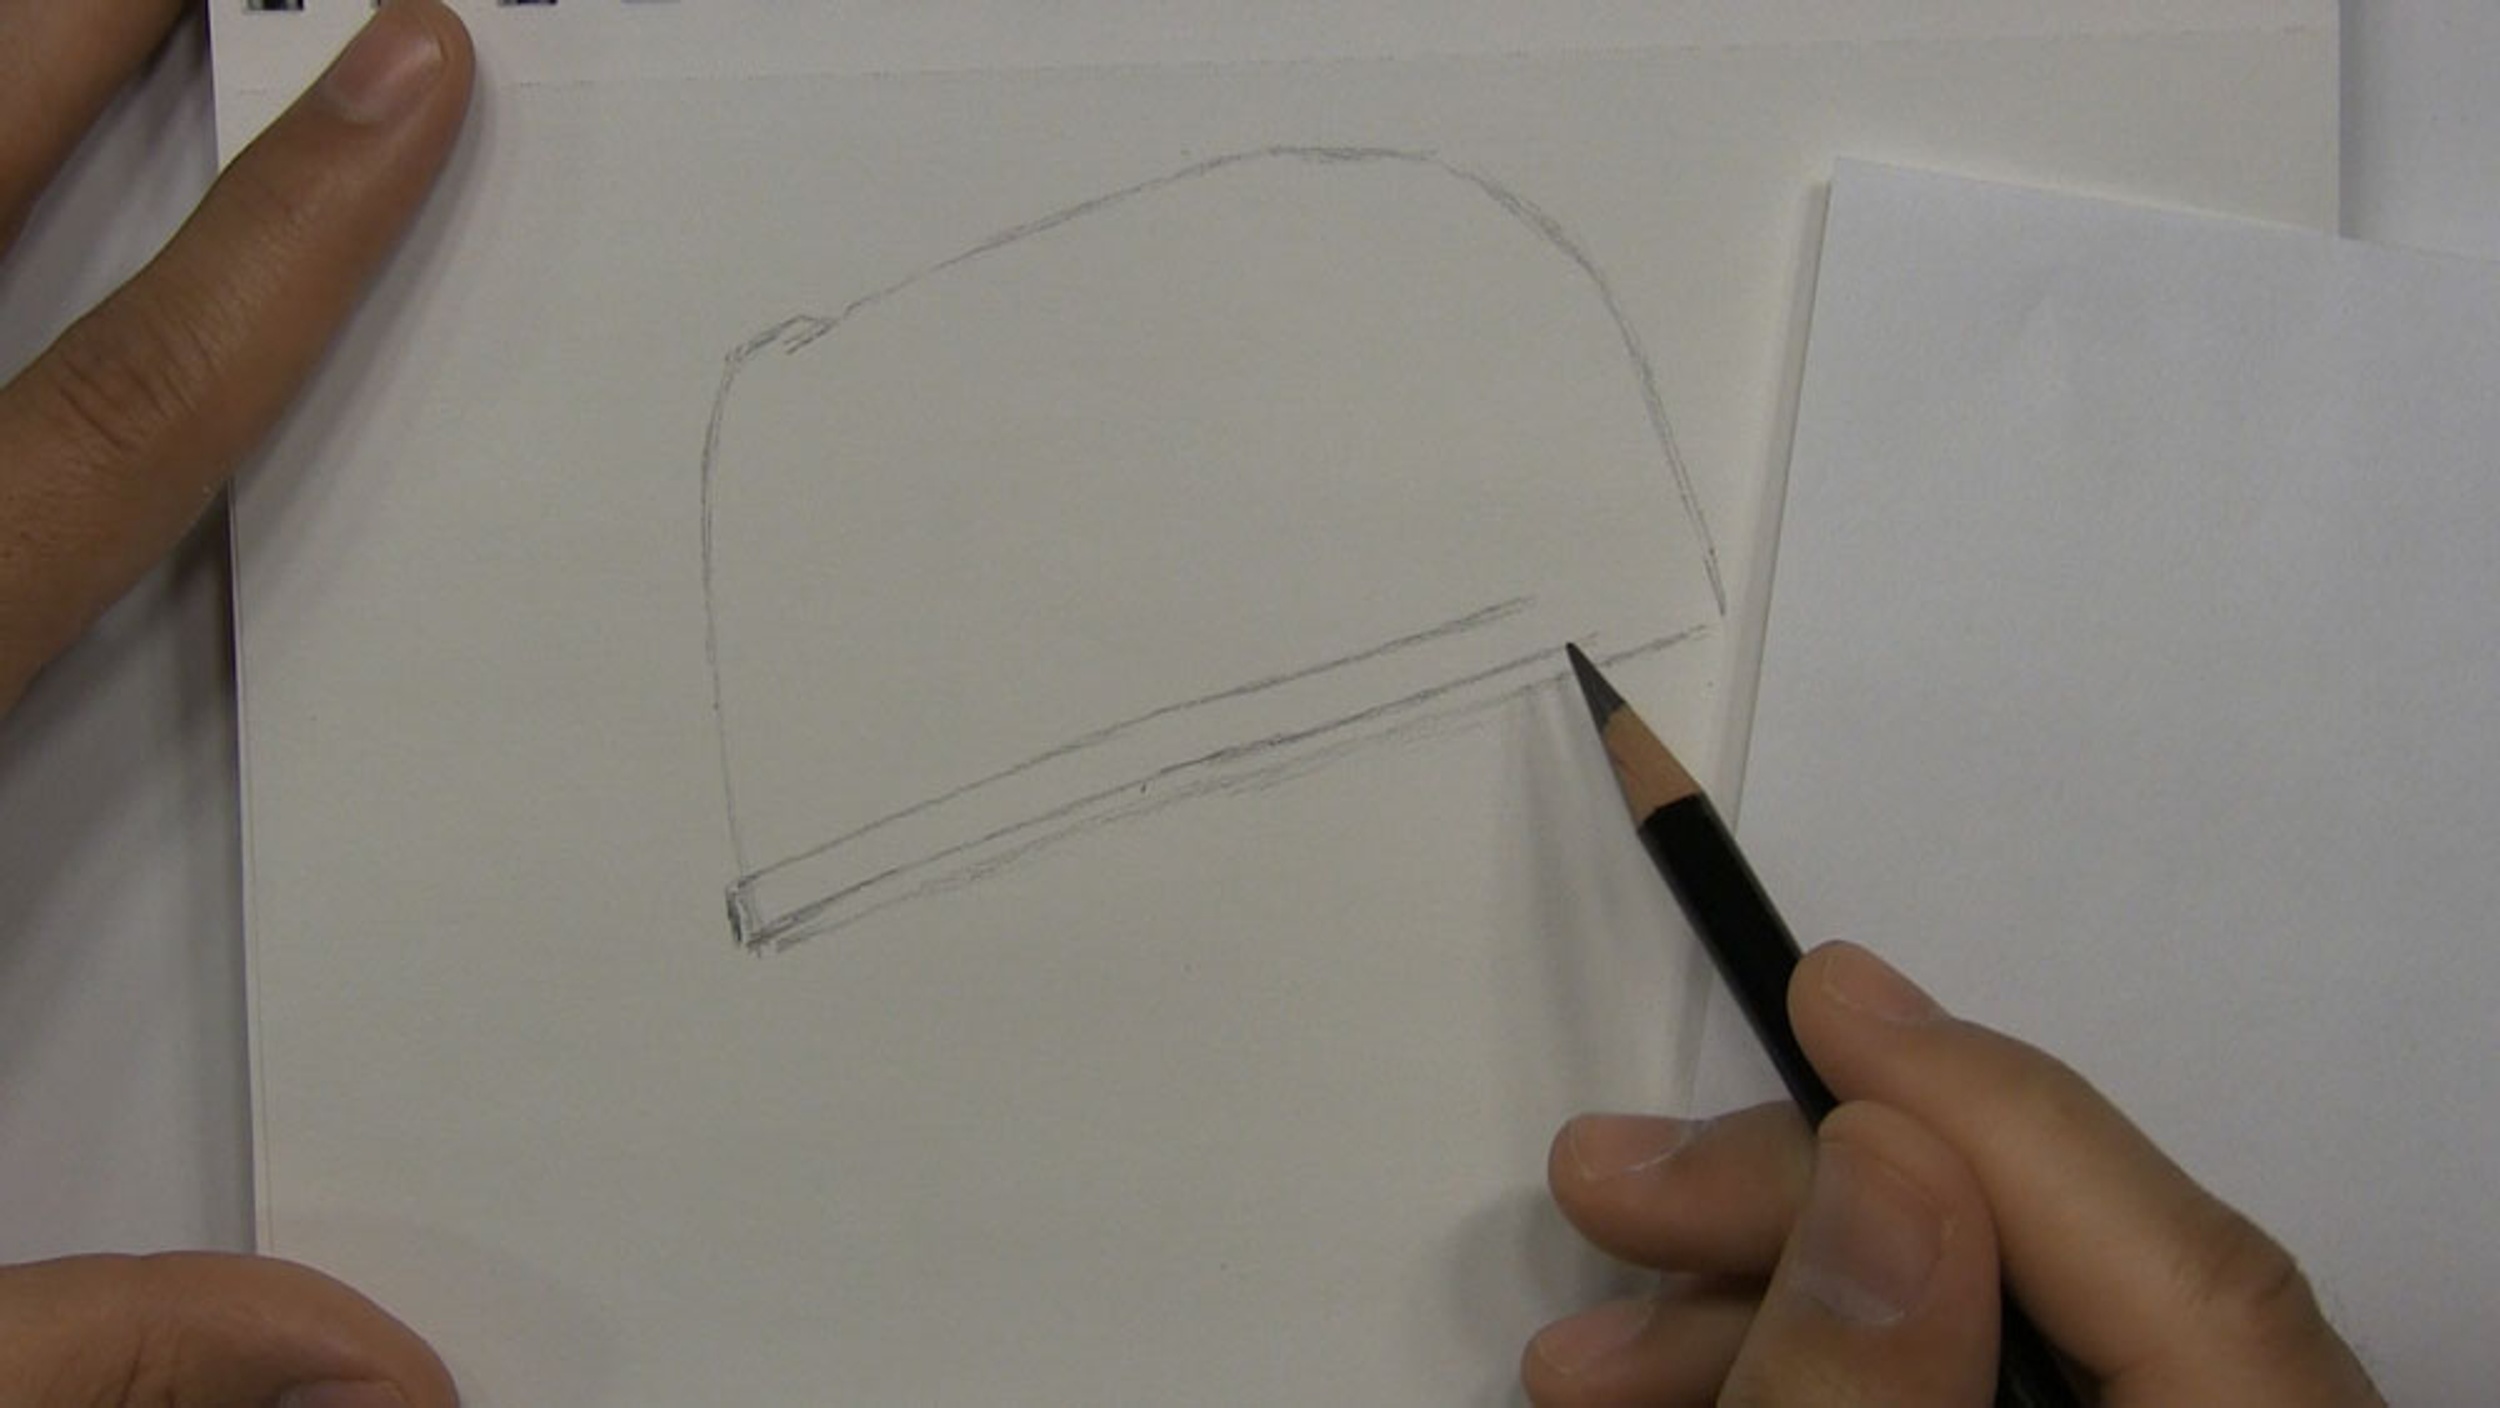
Sketch a line along the base of the crown that is roughly parallel to the top line. This line should have an ever so slight curve to it. This line should also connect the front and back of the crown.
Now let’s sketch a somewhat rectangular outline for the hat band. This should be close to the base of the crown and following the contours of the lower edge. When we draw the brim later on, it will conceal the back of the band, so it is not necessary to go all the way back.
Draw the Crown Crease and Hat Band Details
Now we’re going to draw the crown crease and a few details on the hat band.
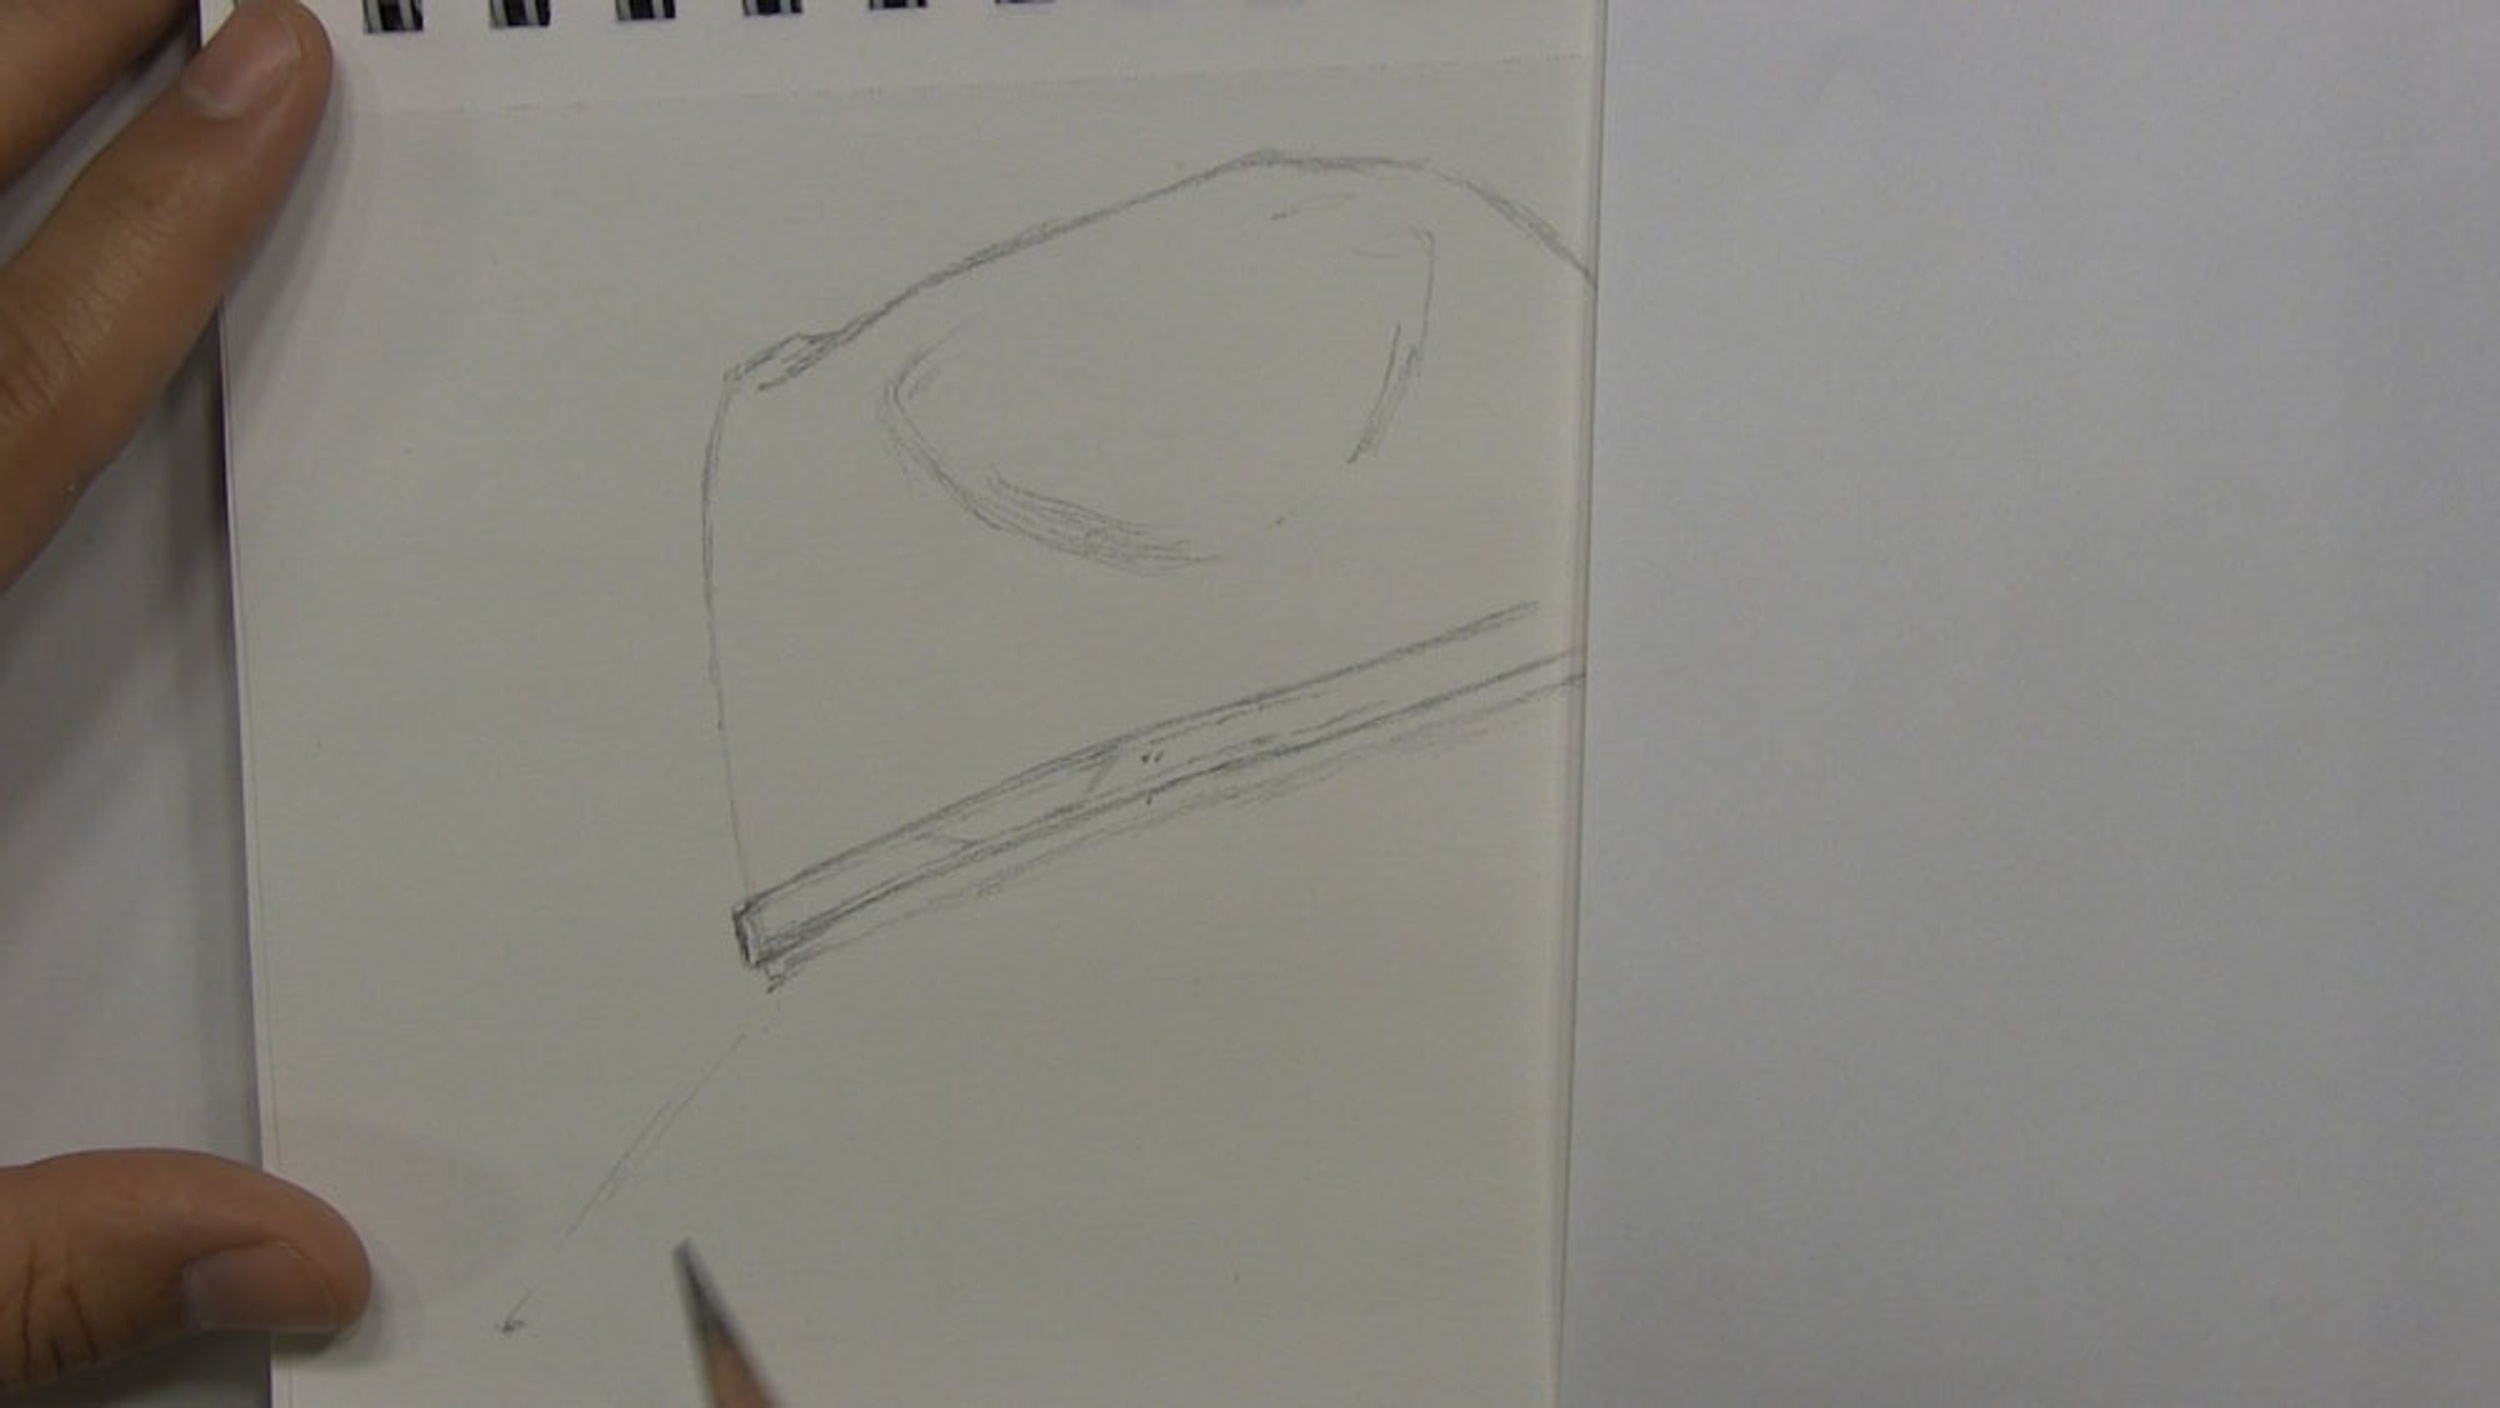
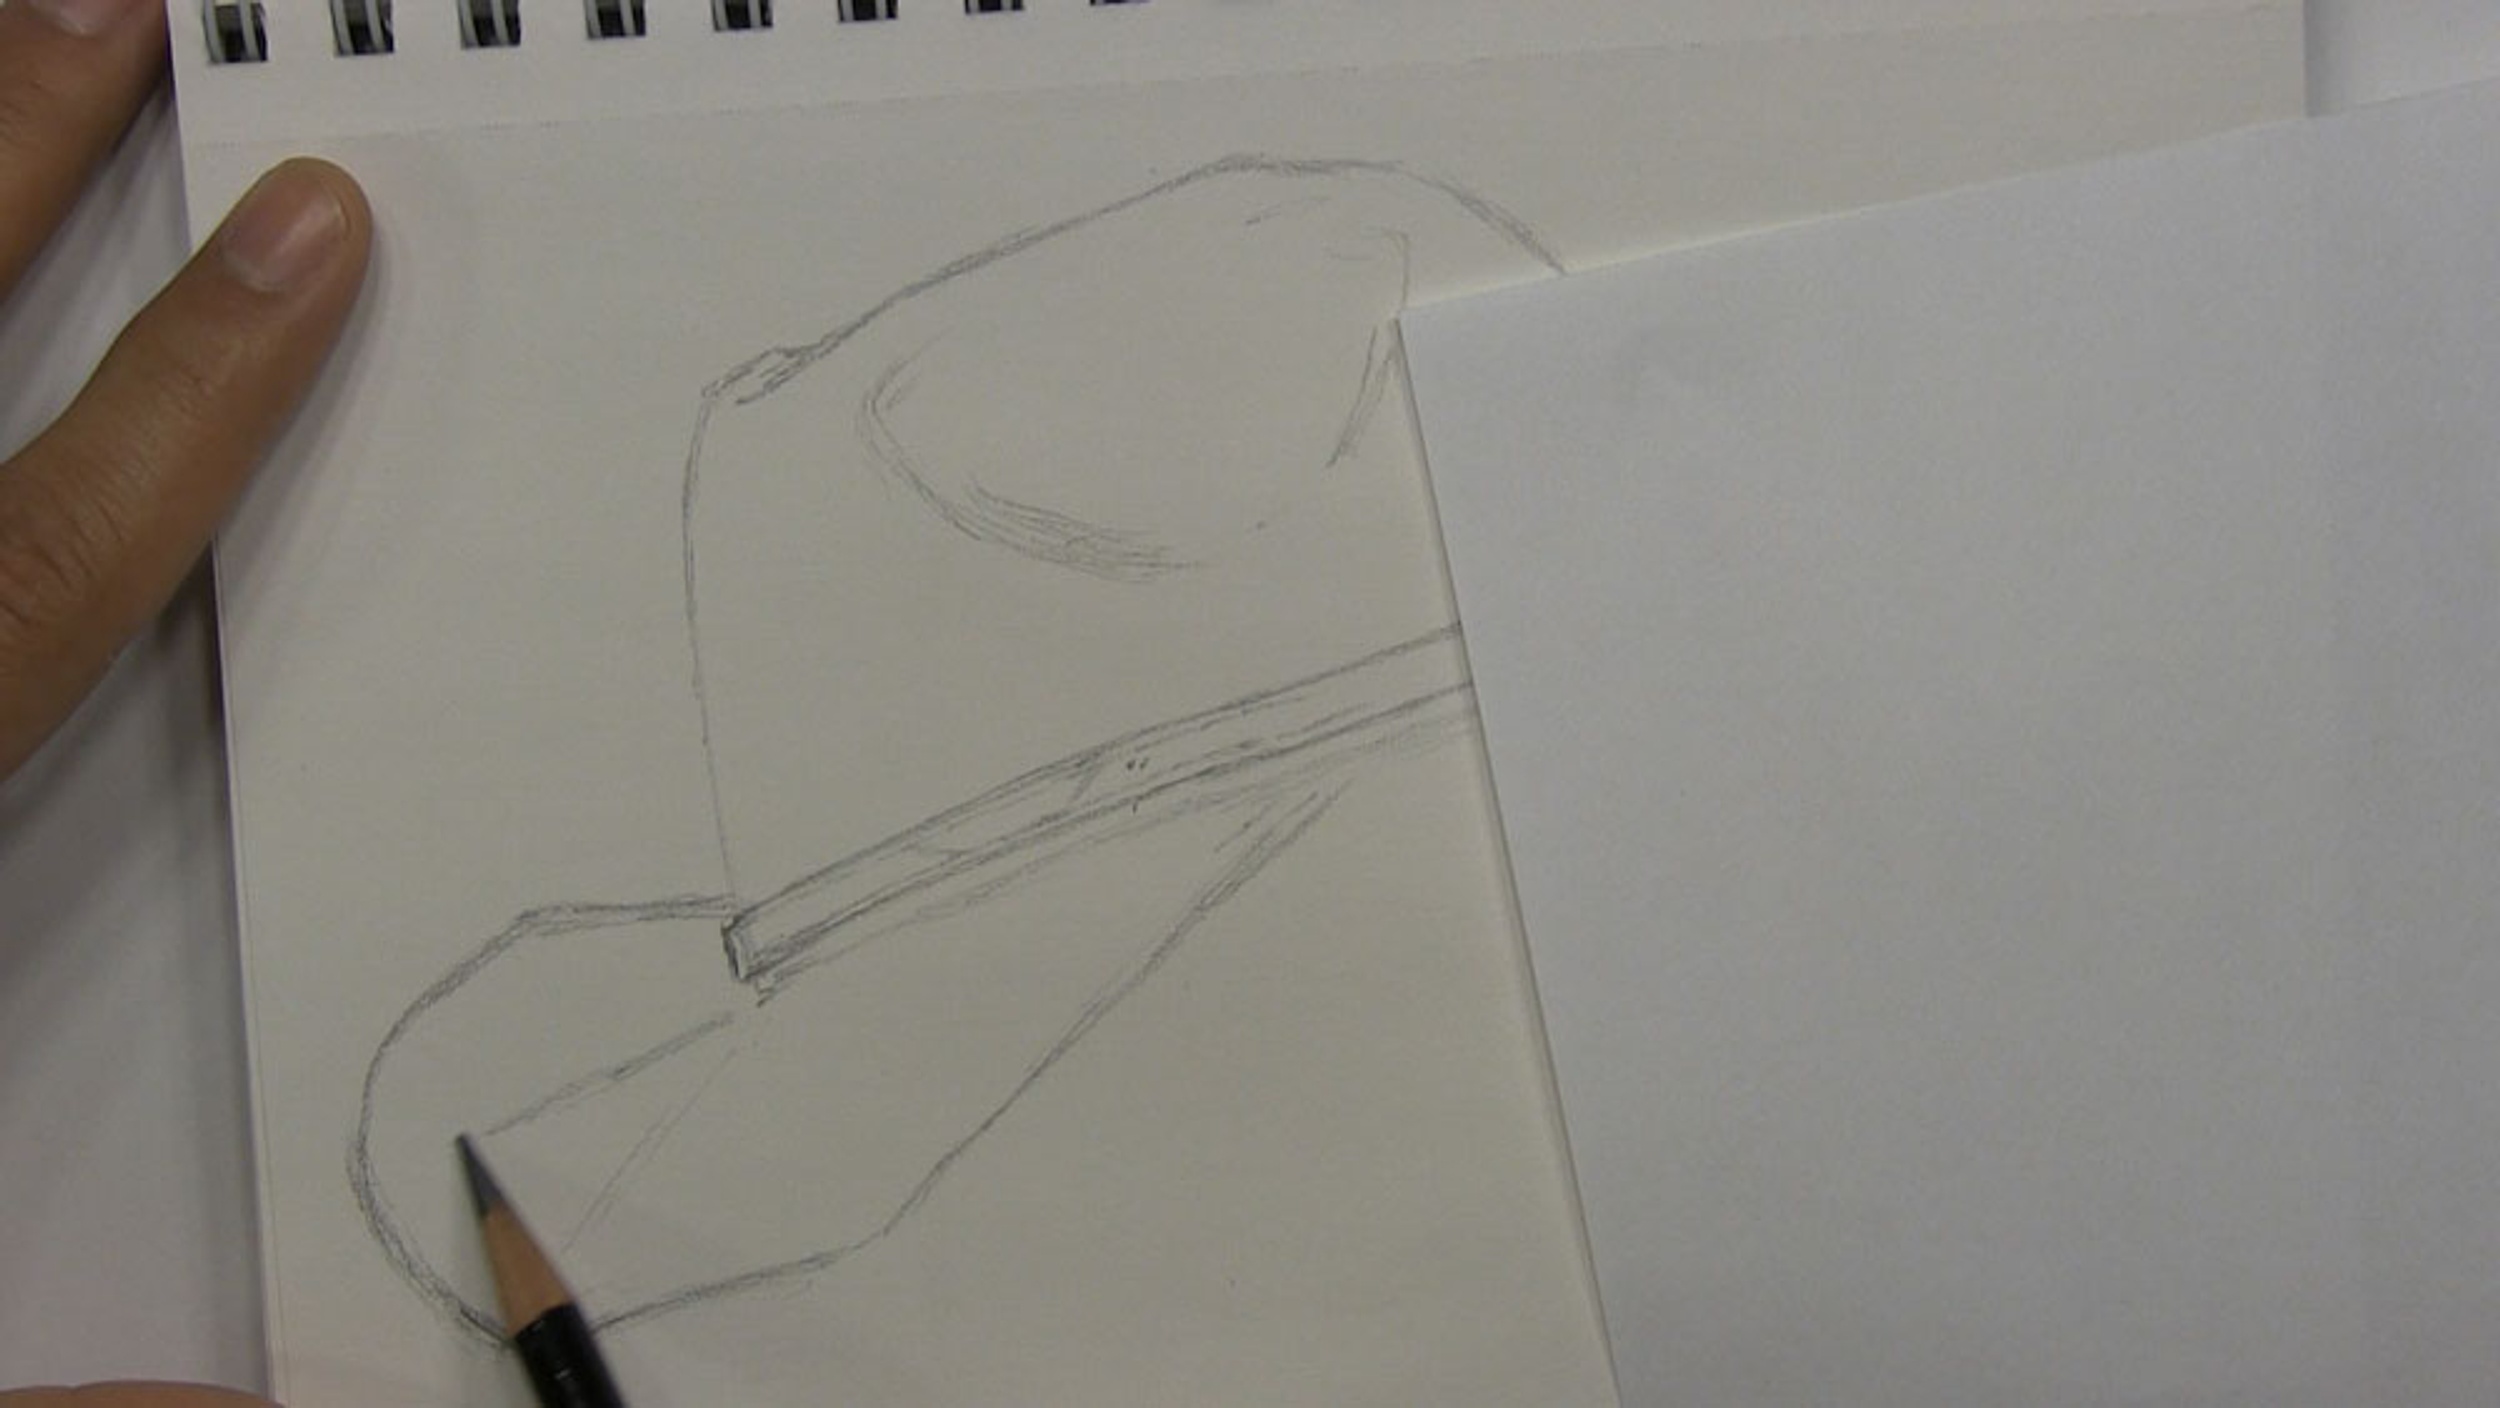
Cowboy hats are often known for a curved inward crease on both sides of the crown, but this is not a sharp crease. Very lightly sketch the indications of a crease on the side we can see. The shape that I’m sketching almost looks like a half-circle or bowl shape.
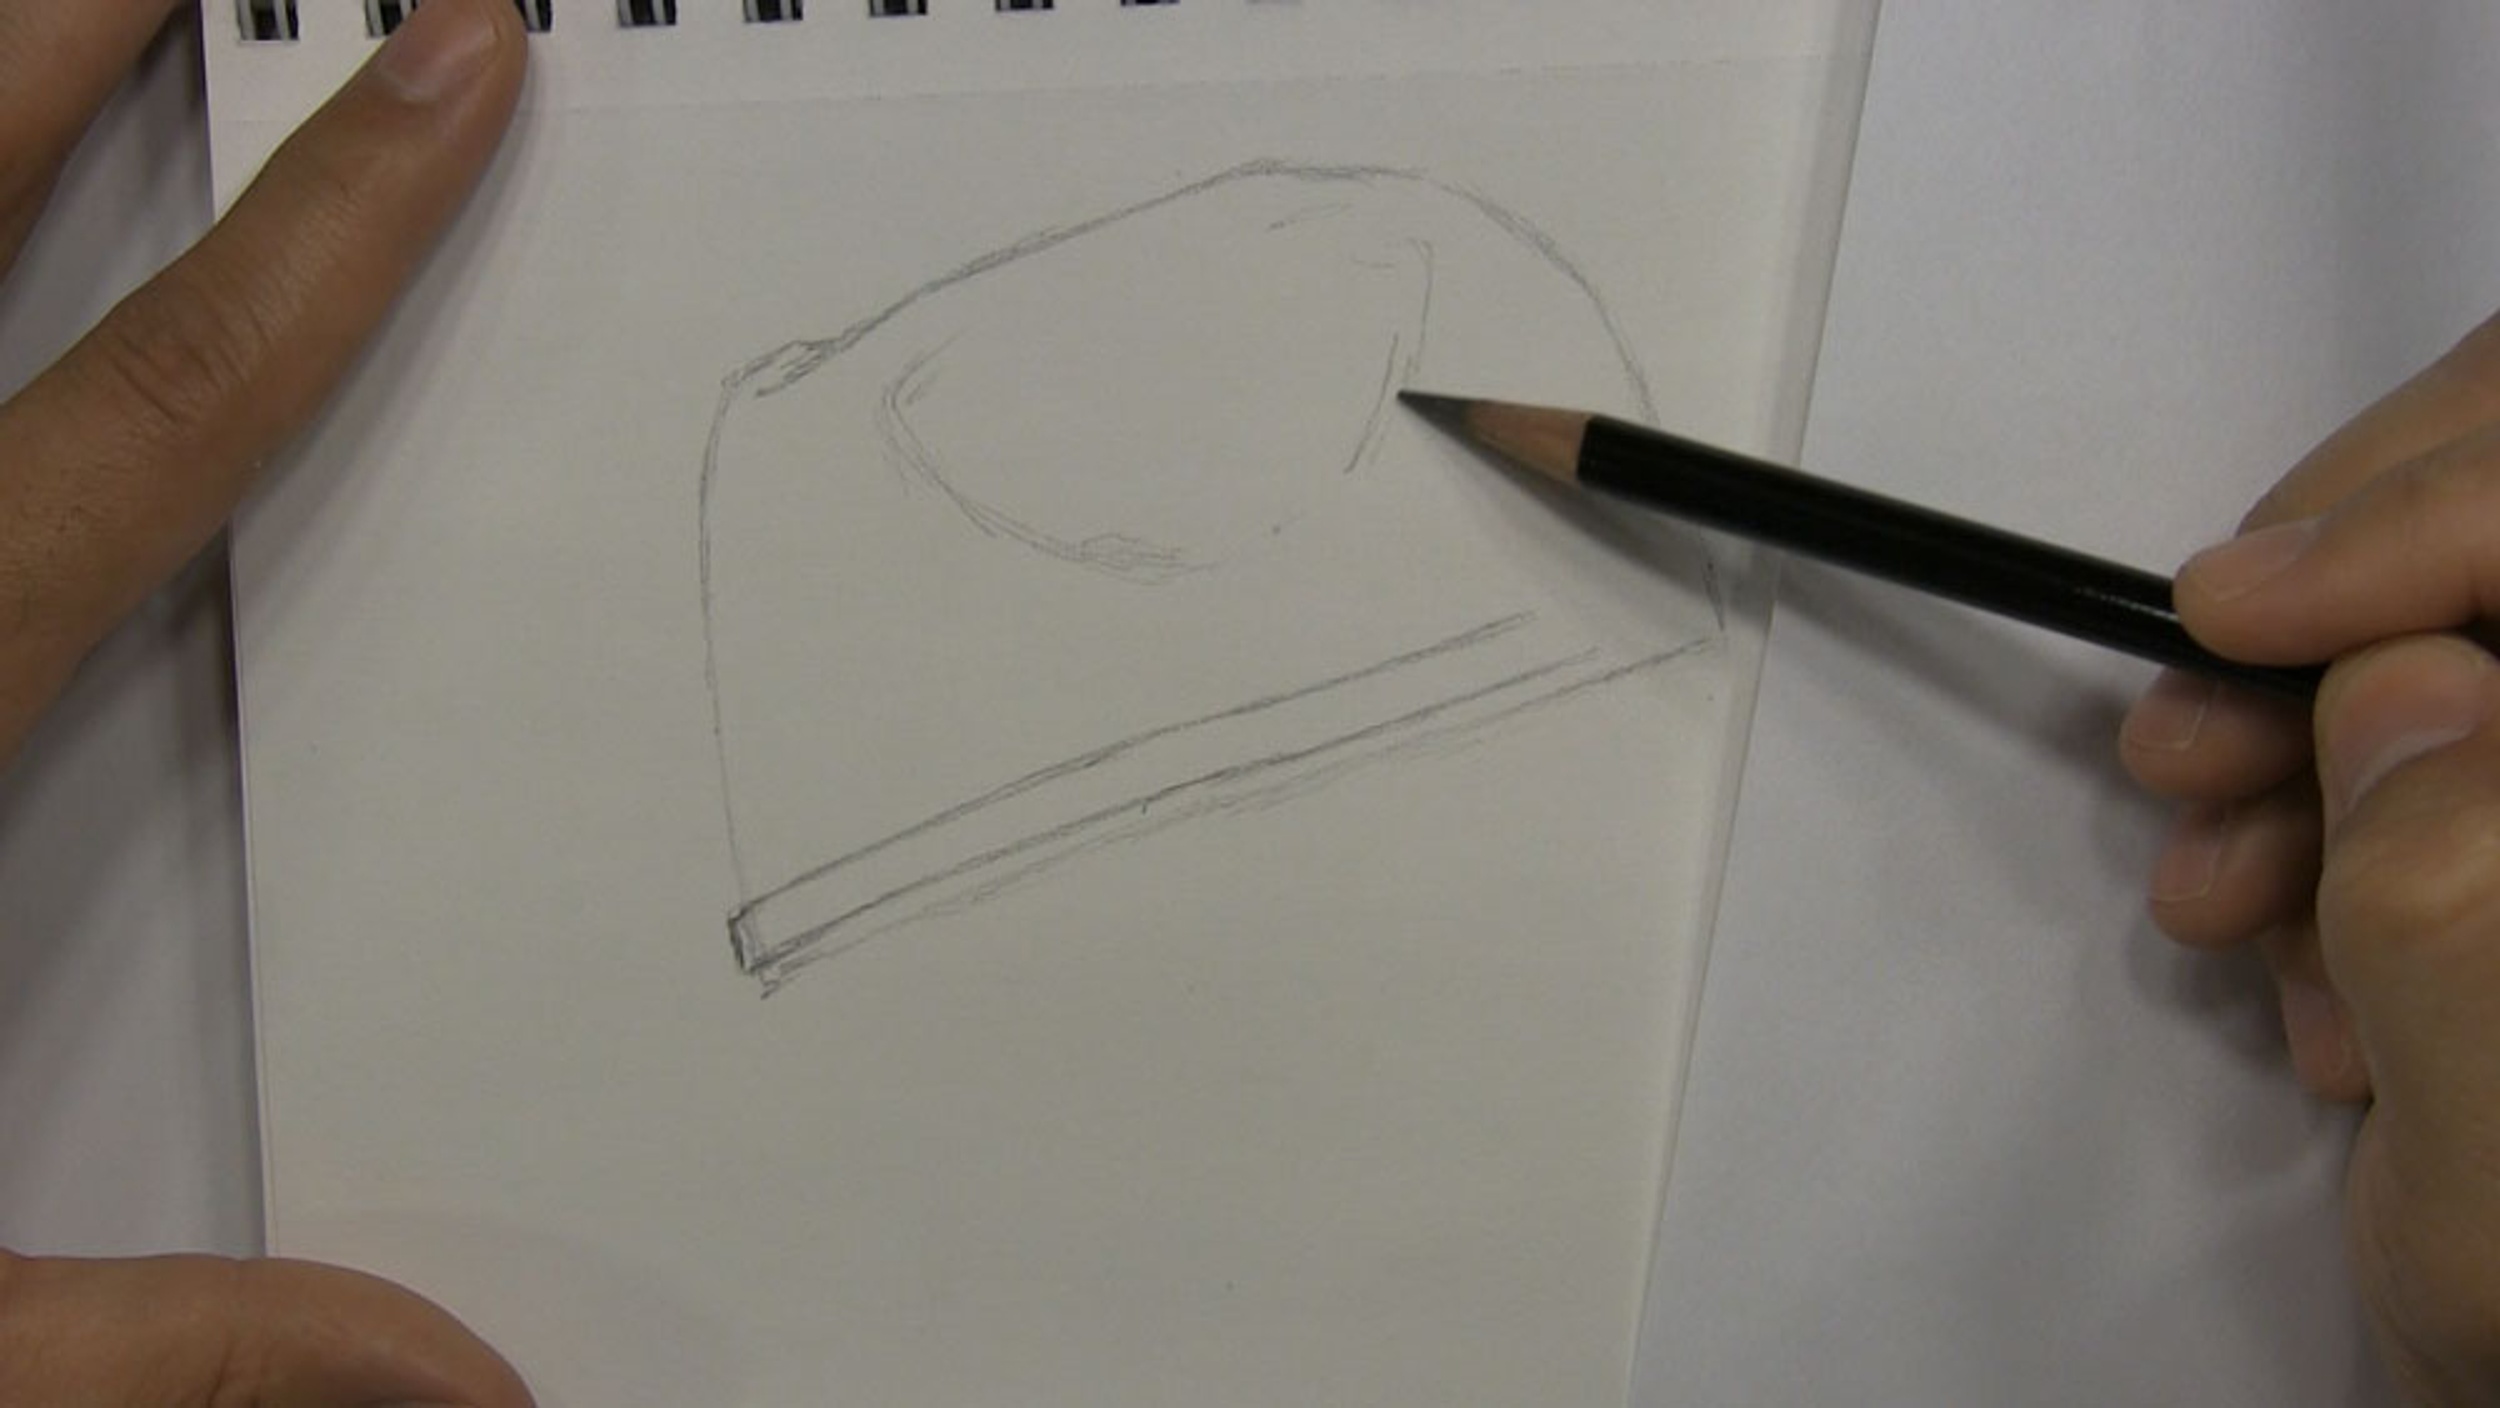
Now on the hat band, sketch another half-circle shape near the front. The purpose of this shape is to remind us later when we get to shading that we want to indicate value changes where light hits the hat band.
Now, let’s sketch in stitching and other details of the hat band. Sketch very short and tiny horizontal marks along the top of the band to represent stitching. Repeat this along the bottom. Remember to keep the marks very close together, almost touching. Then put two dots on the band between the top and bottom stitching to represent small holes in the band.

Draw the Front of the Brim
Now let’s look at drawing the brim. For the front part of the brim of the cowboy hat, we can draw what from this angle will look like a rhombus shape.
Begin by sketching a line going down at an angle from the front lower base of the crown.
Then, from the bottom of this line, sketch another line going to the right. This line should be roughly parallel to the base of the crown.
Finally, sketch a third line going from the last line to approximately the center of the crown base. This line should be parallel to the first one you drew. You should end up with what looks like a diamond or rhombus shape.
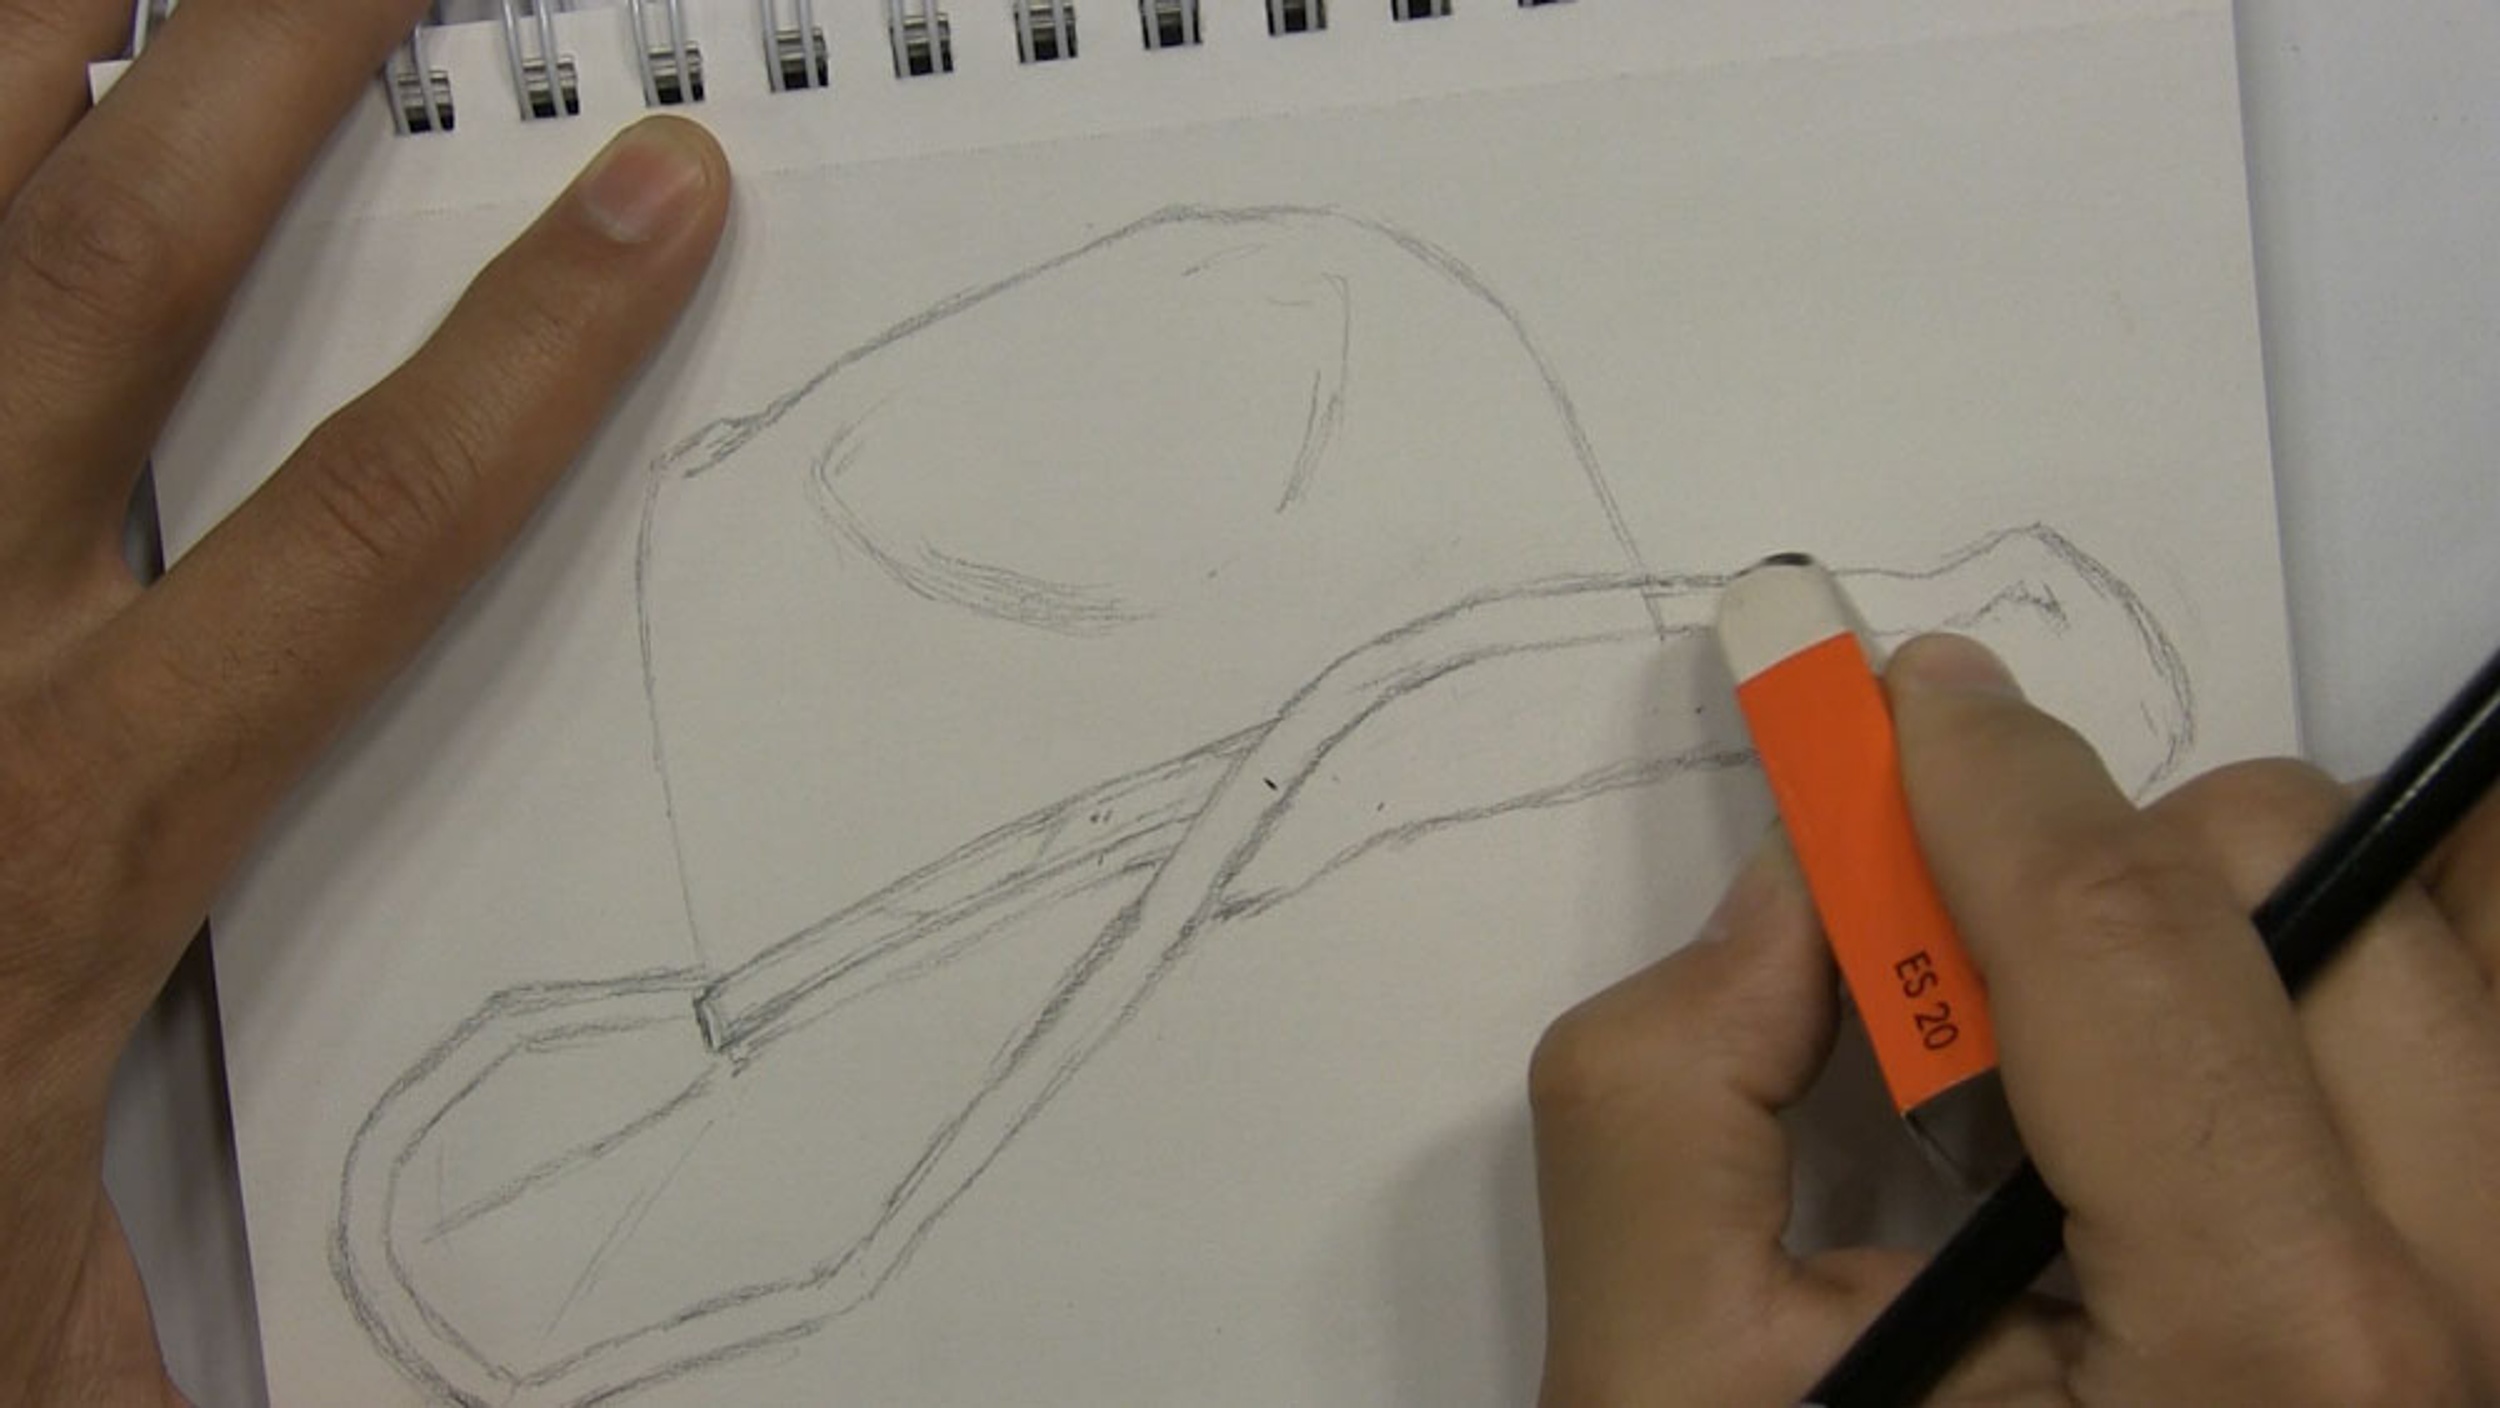
Draw One Side of the Brim
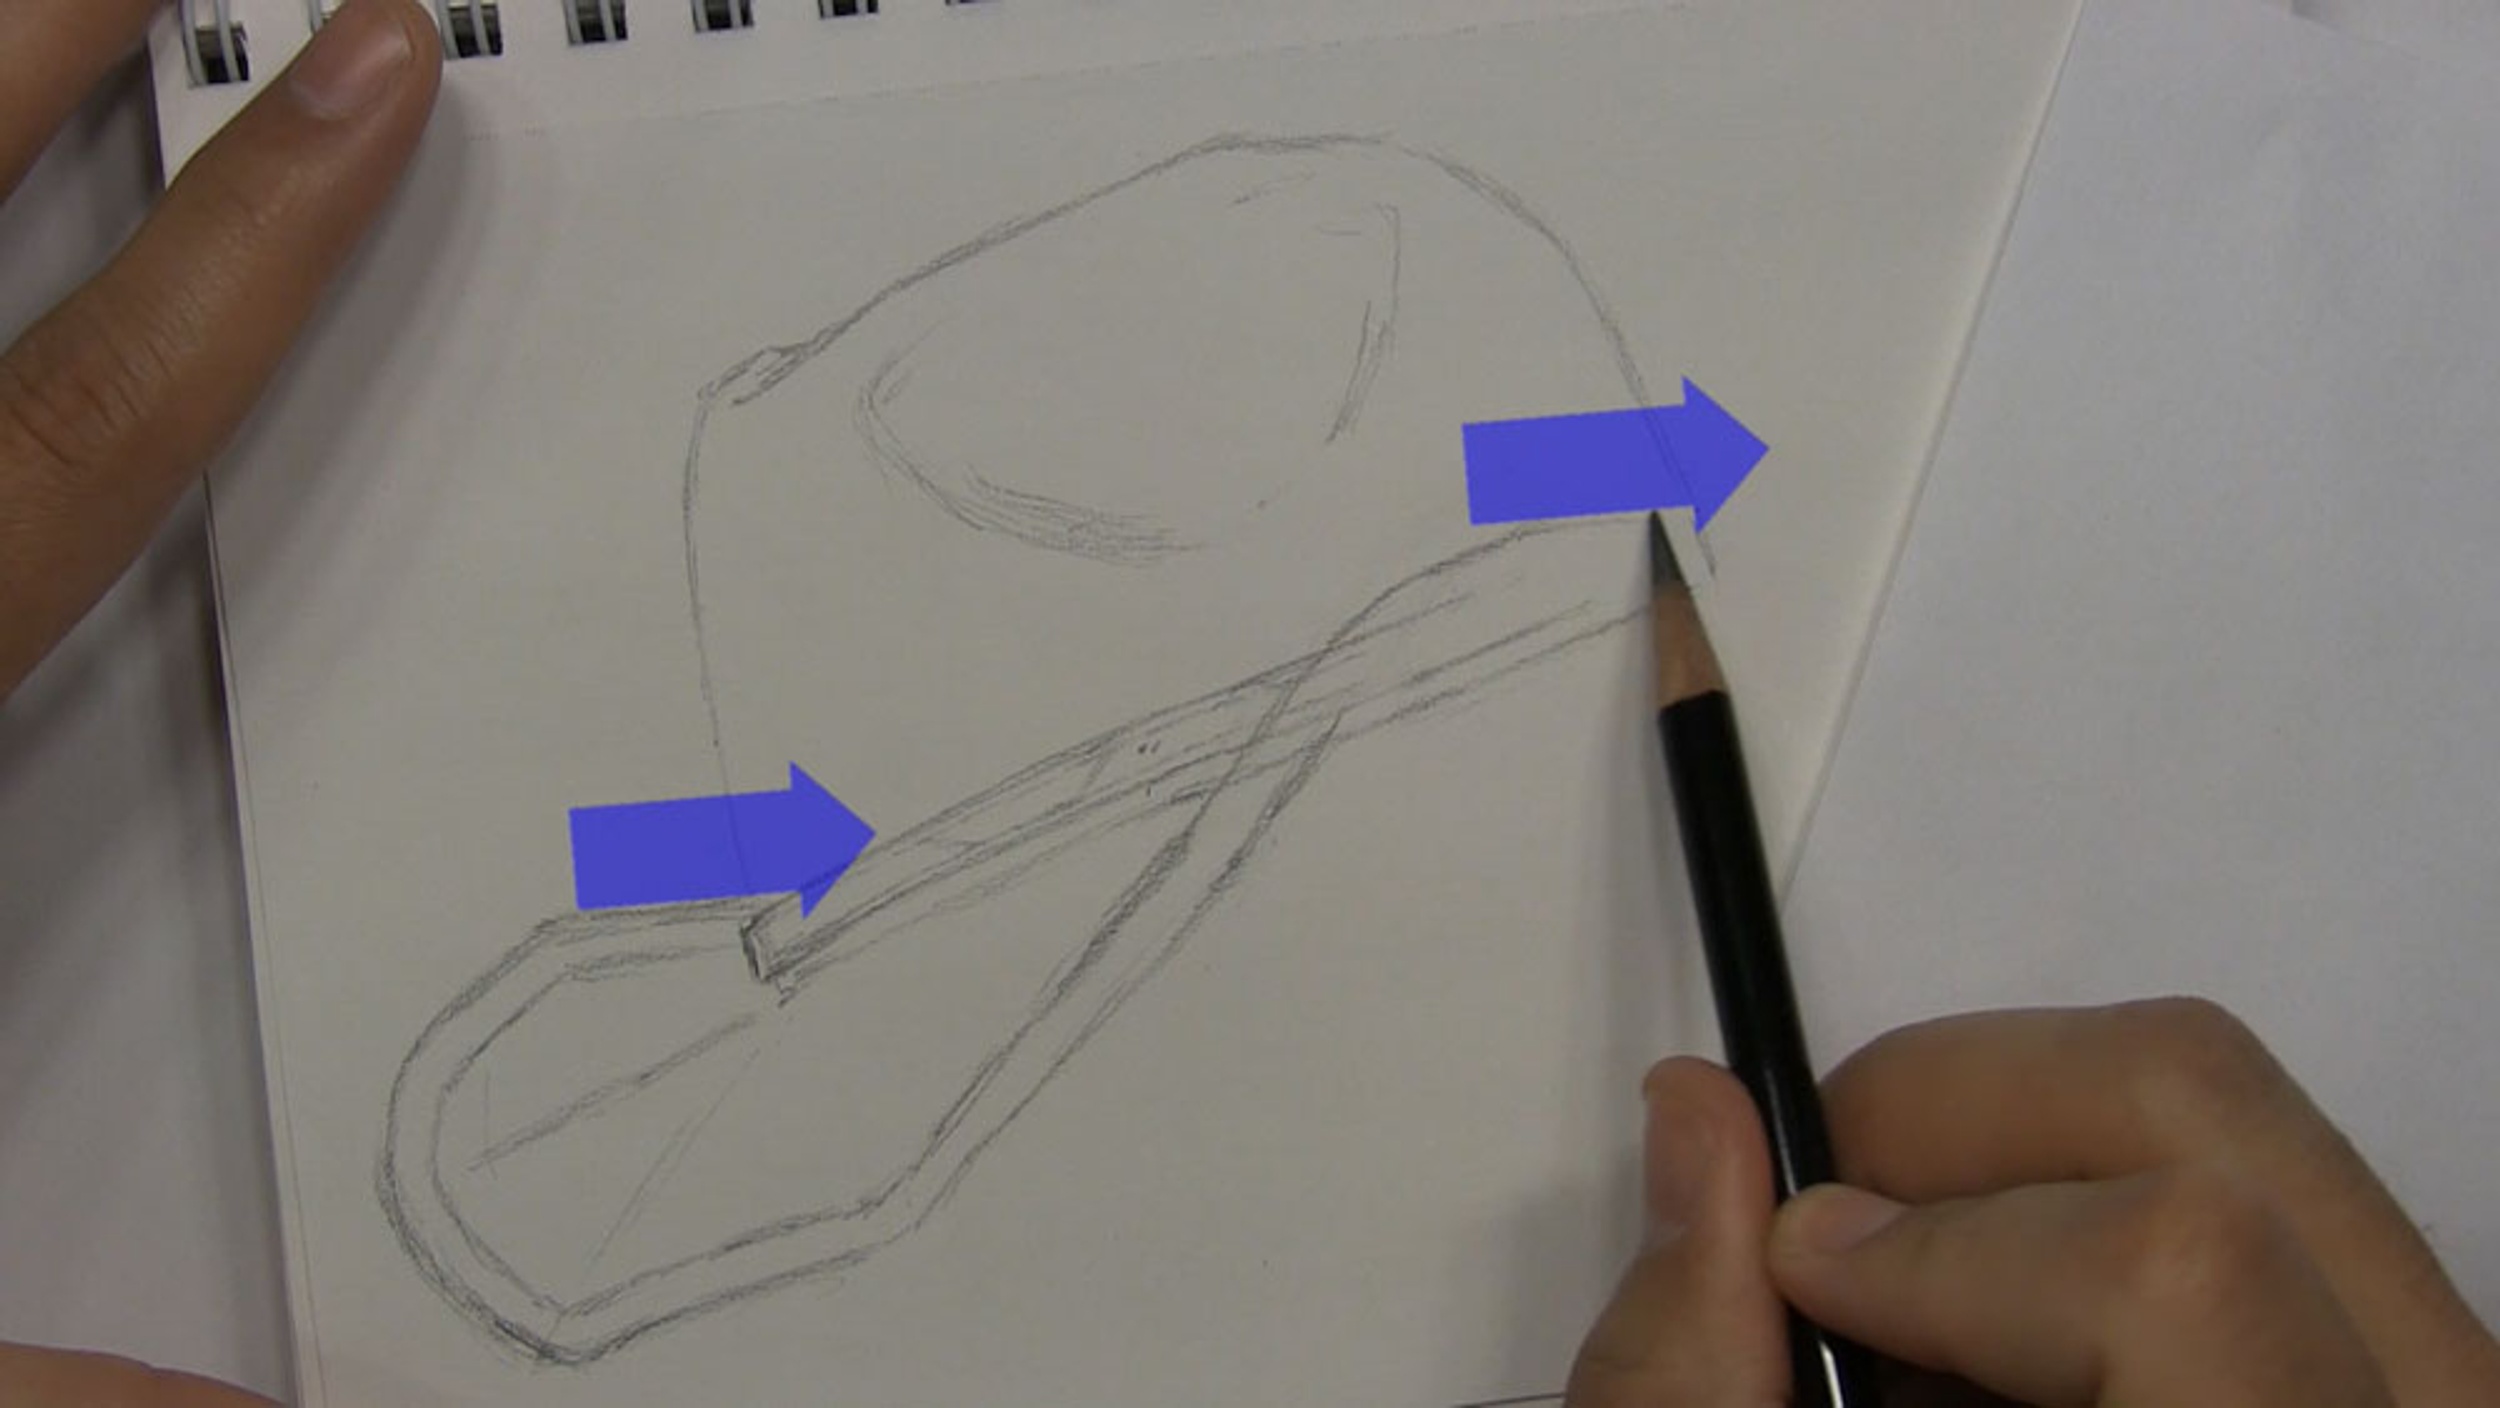
Now let’s draw one side of the brim of the cowboy hat. We will begin by drawing the brim on the cowboy’s right side, which will be our left side. From the front of the brim, sketch a curved line that angles toward the lower part of the crown.
Now sketch a straight line from the lower part of the crown to outermost curve. This line helps to establish a bend in the brim of the hat.
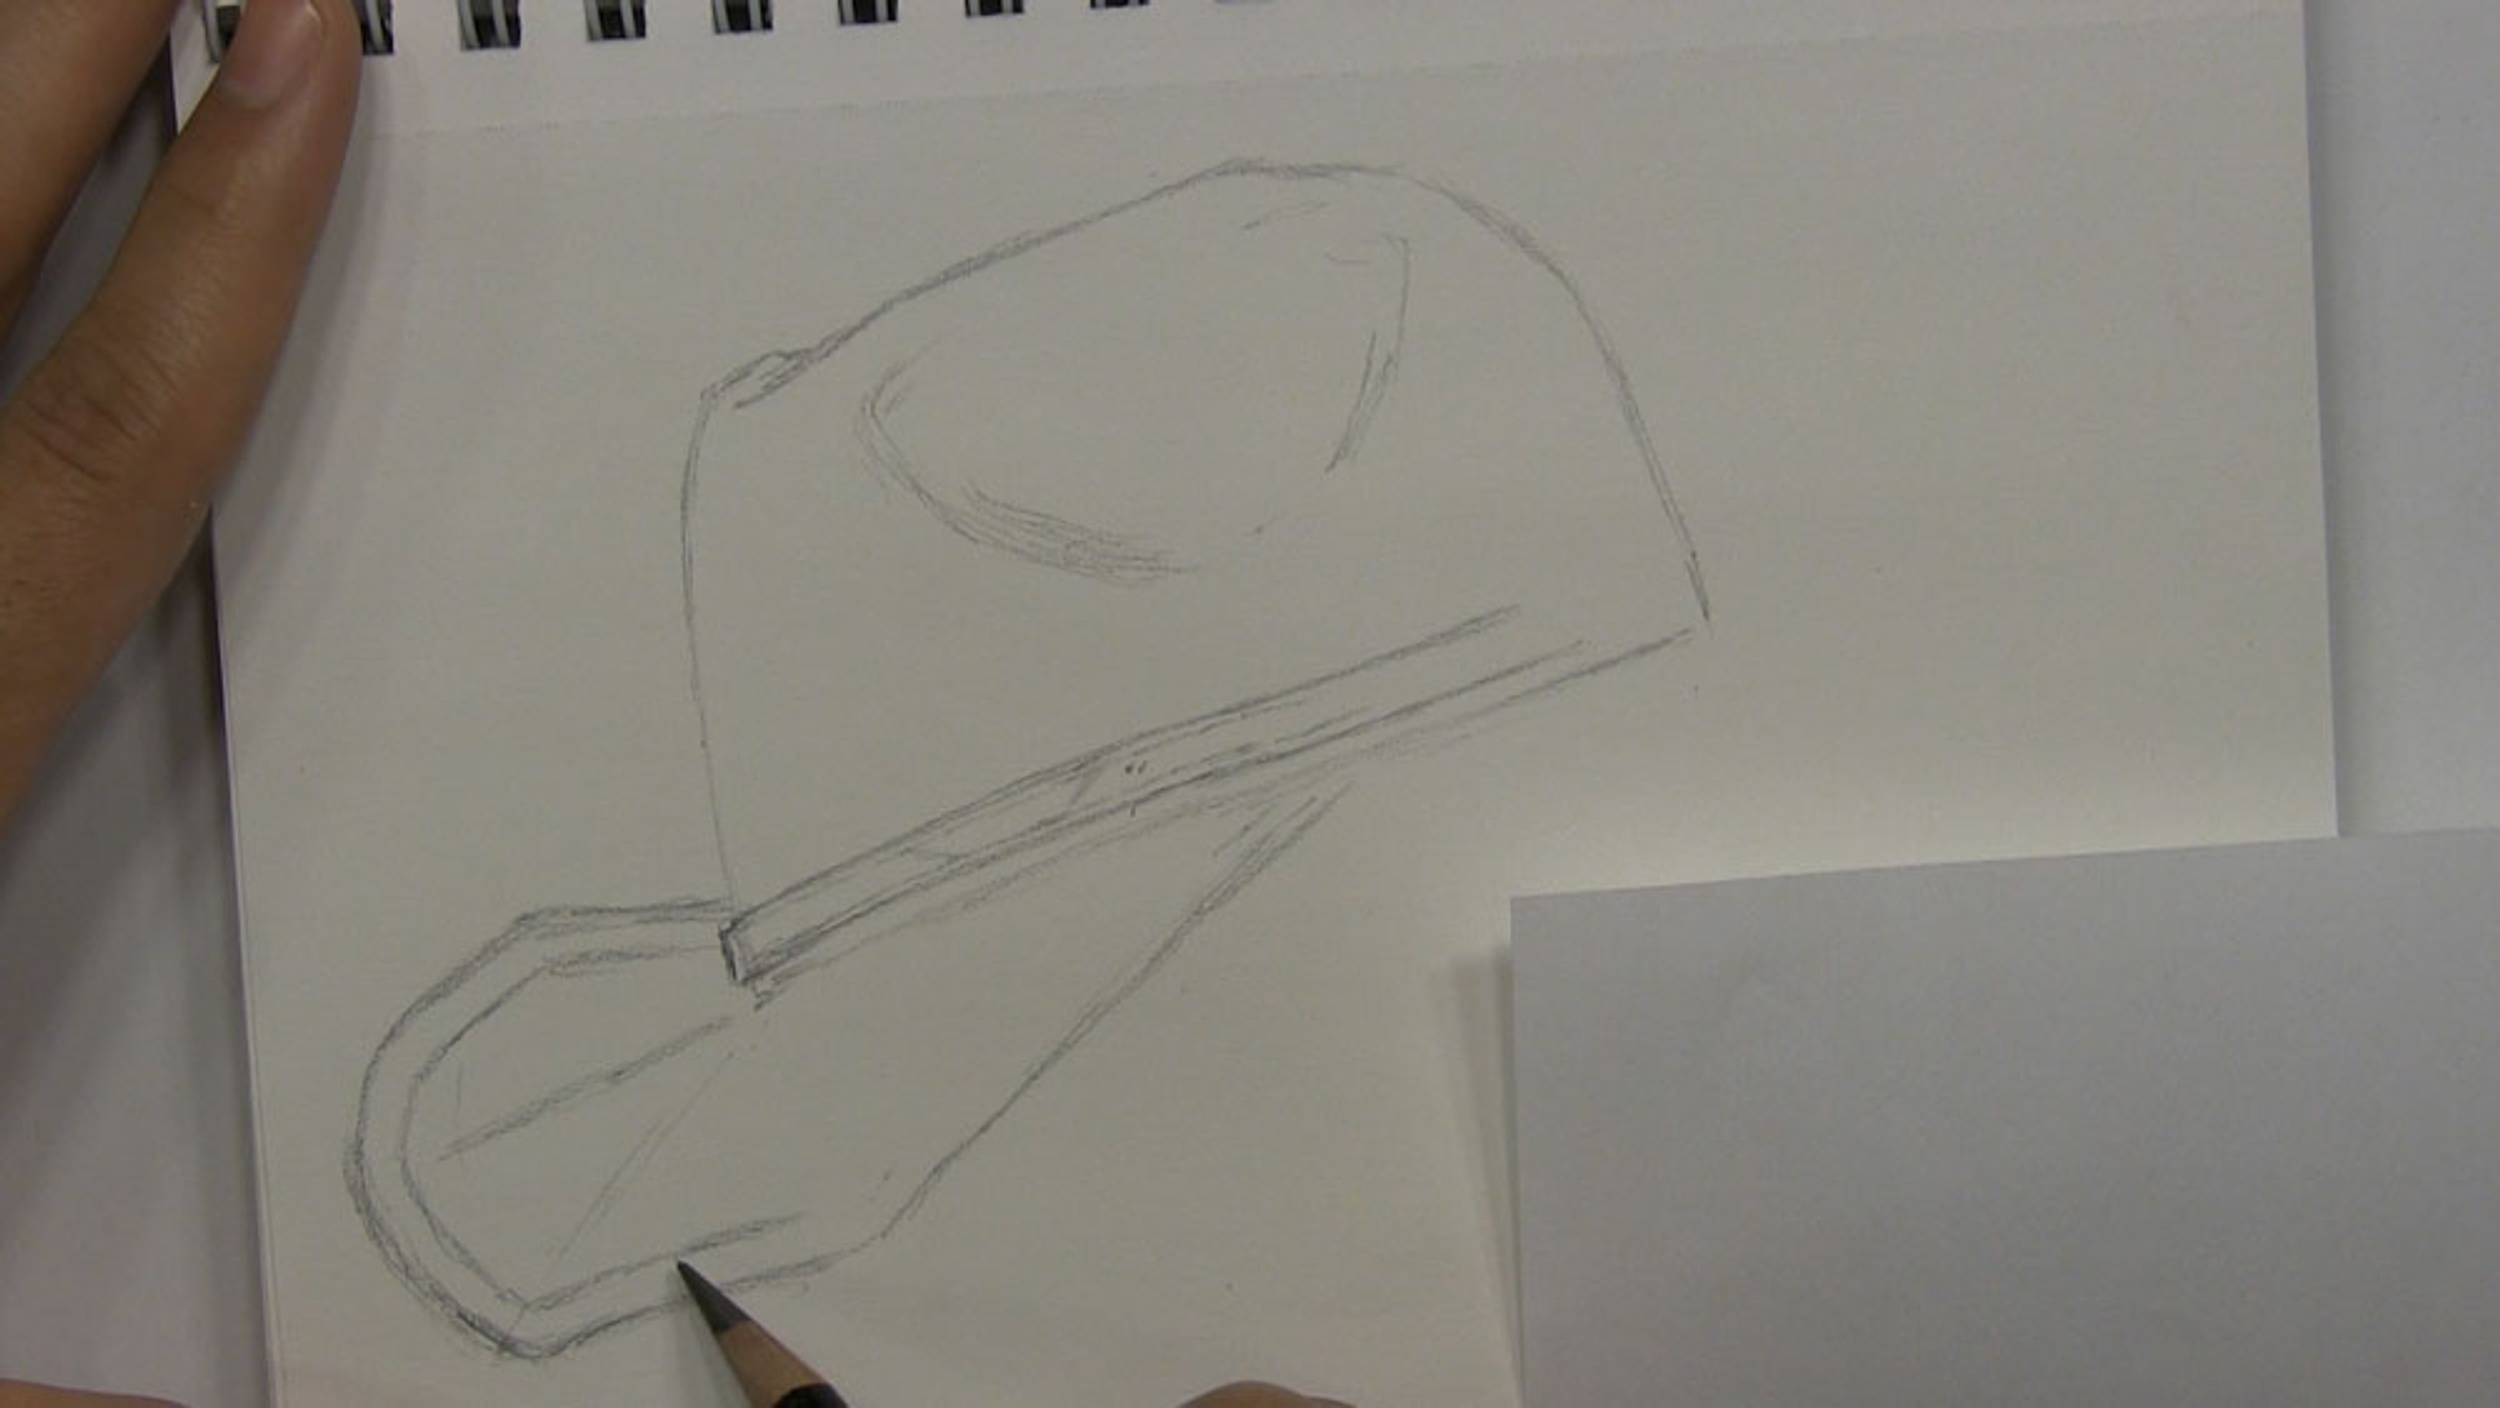
Now, sketch another line parallel to and following the contours of the side of the brim. This line is for the outer seam that goes all around the brim of the hat. Extend this line to the front of the brim as well, on our rhombus shape.
Draw the Other Side of the Brim
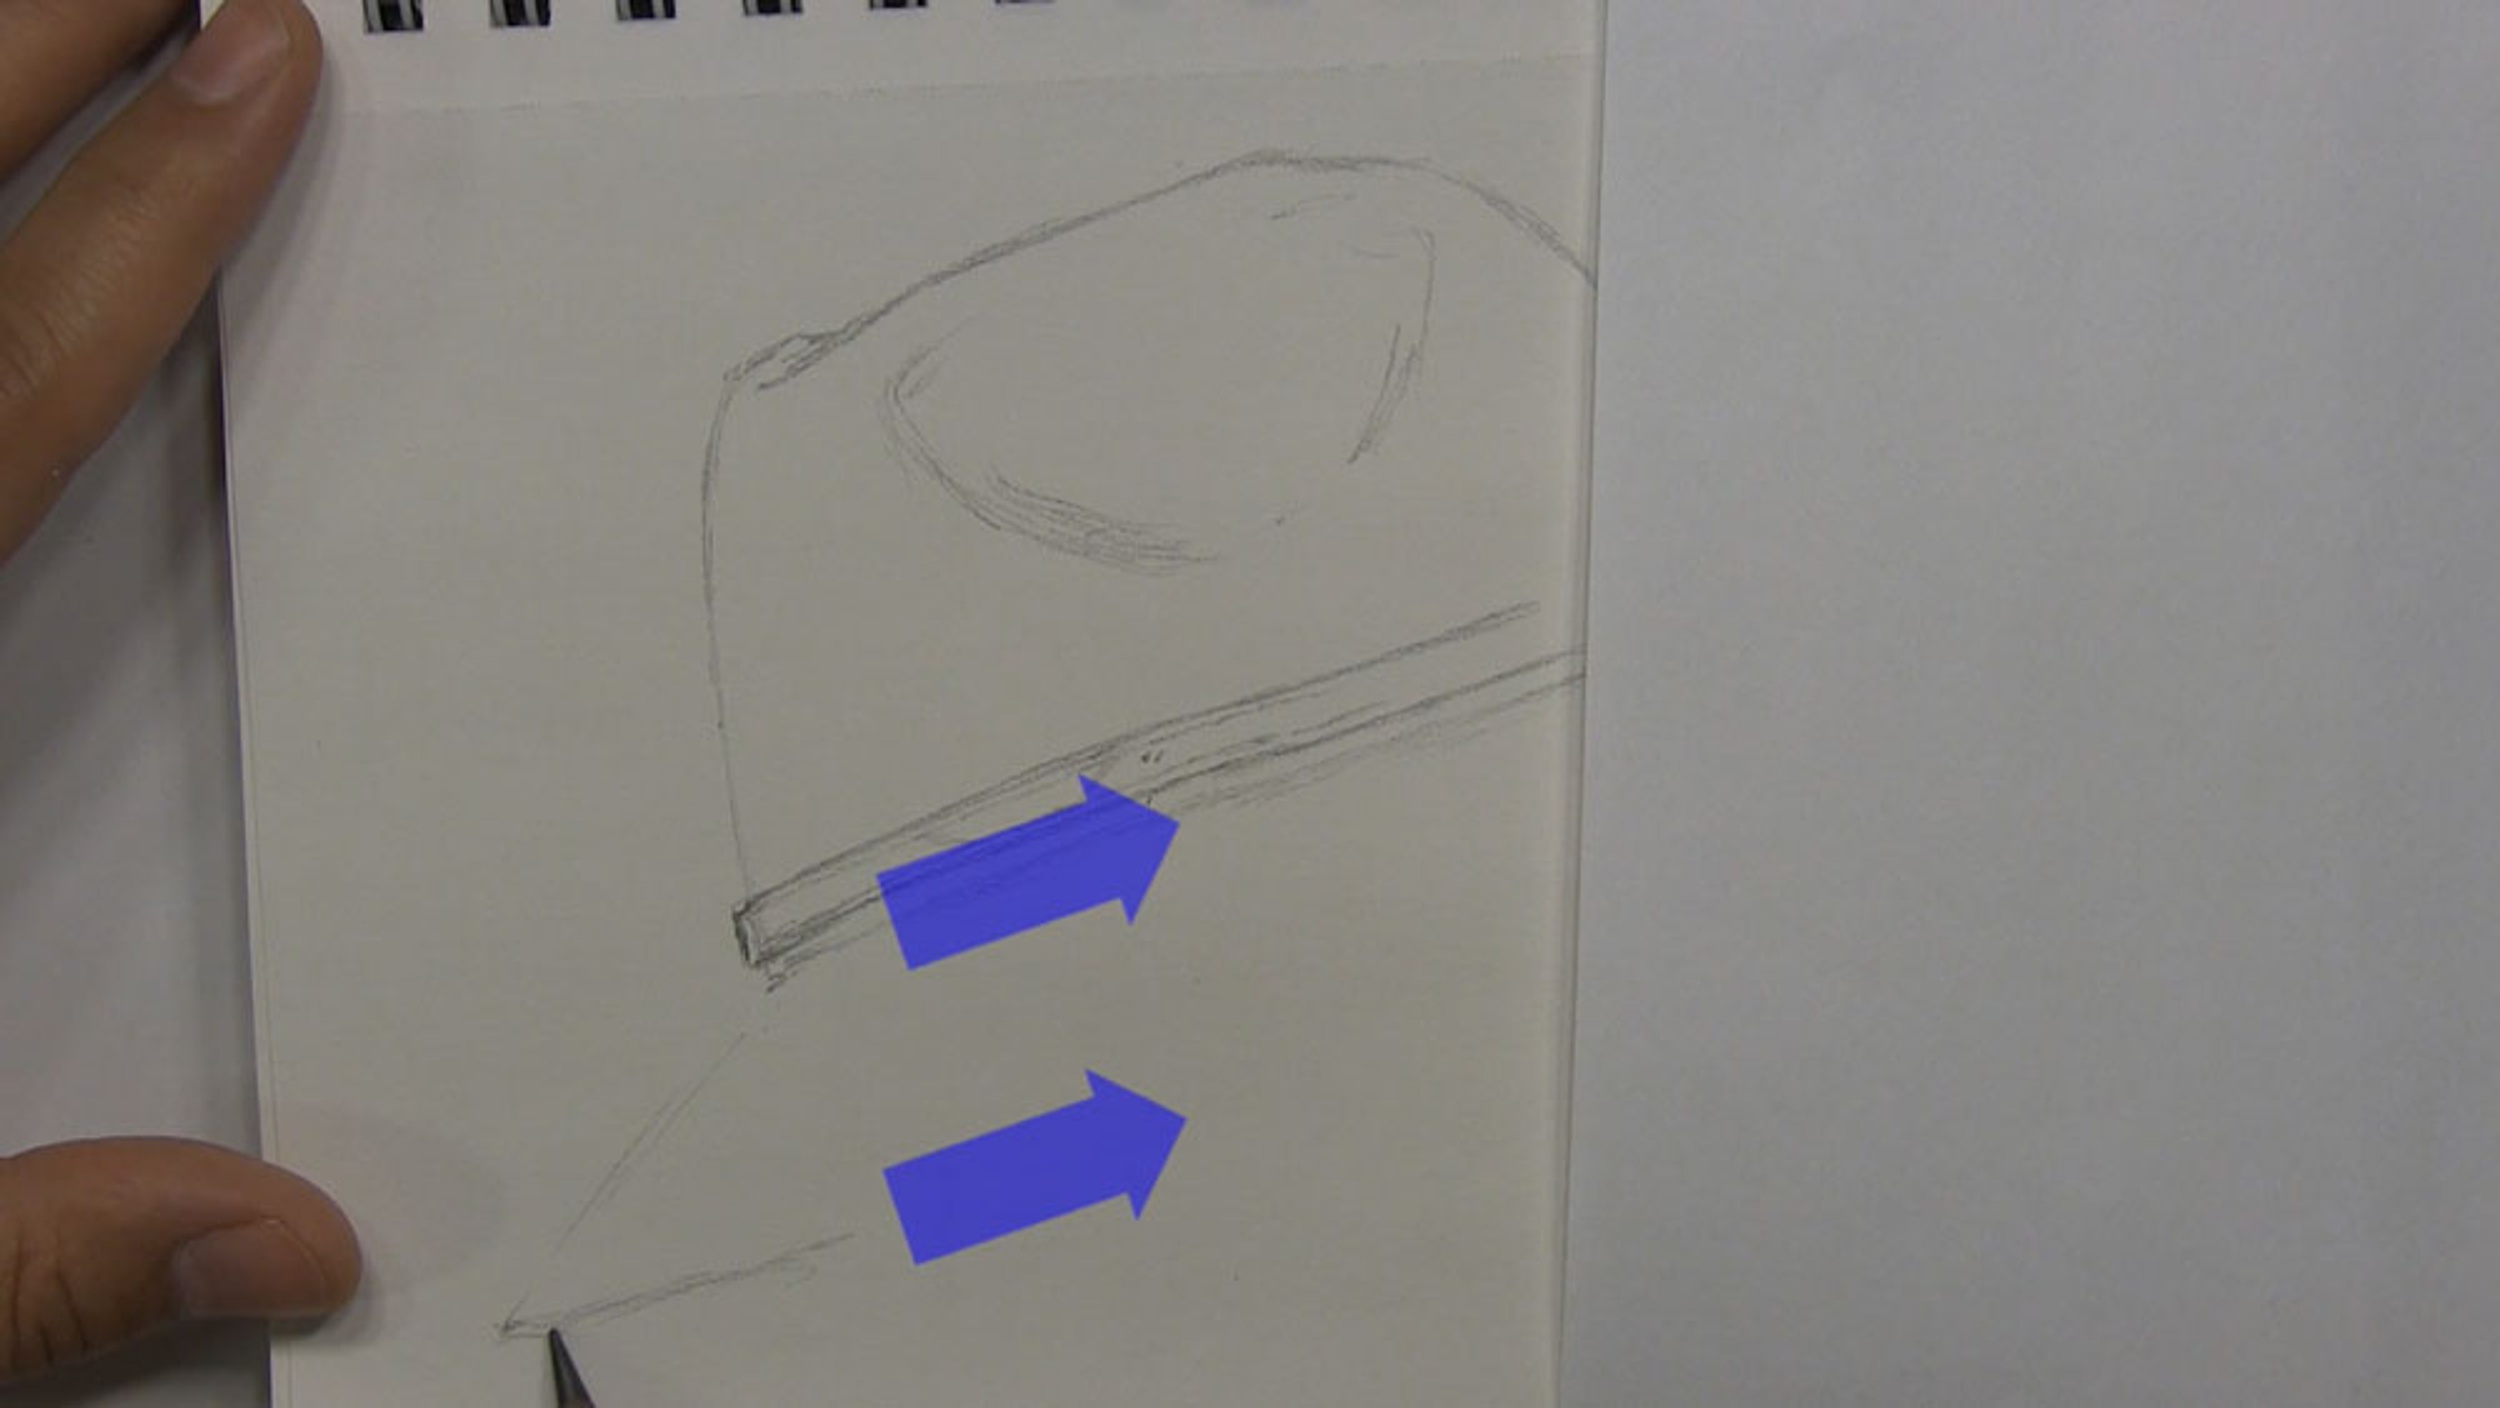
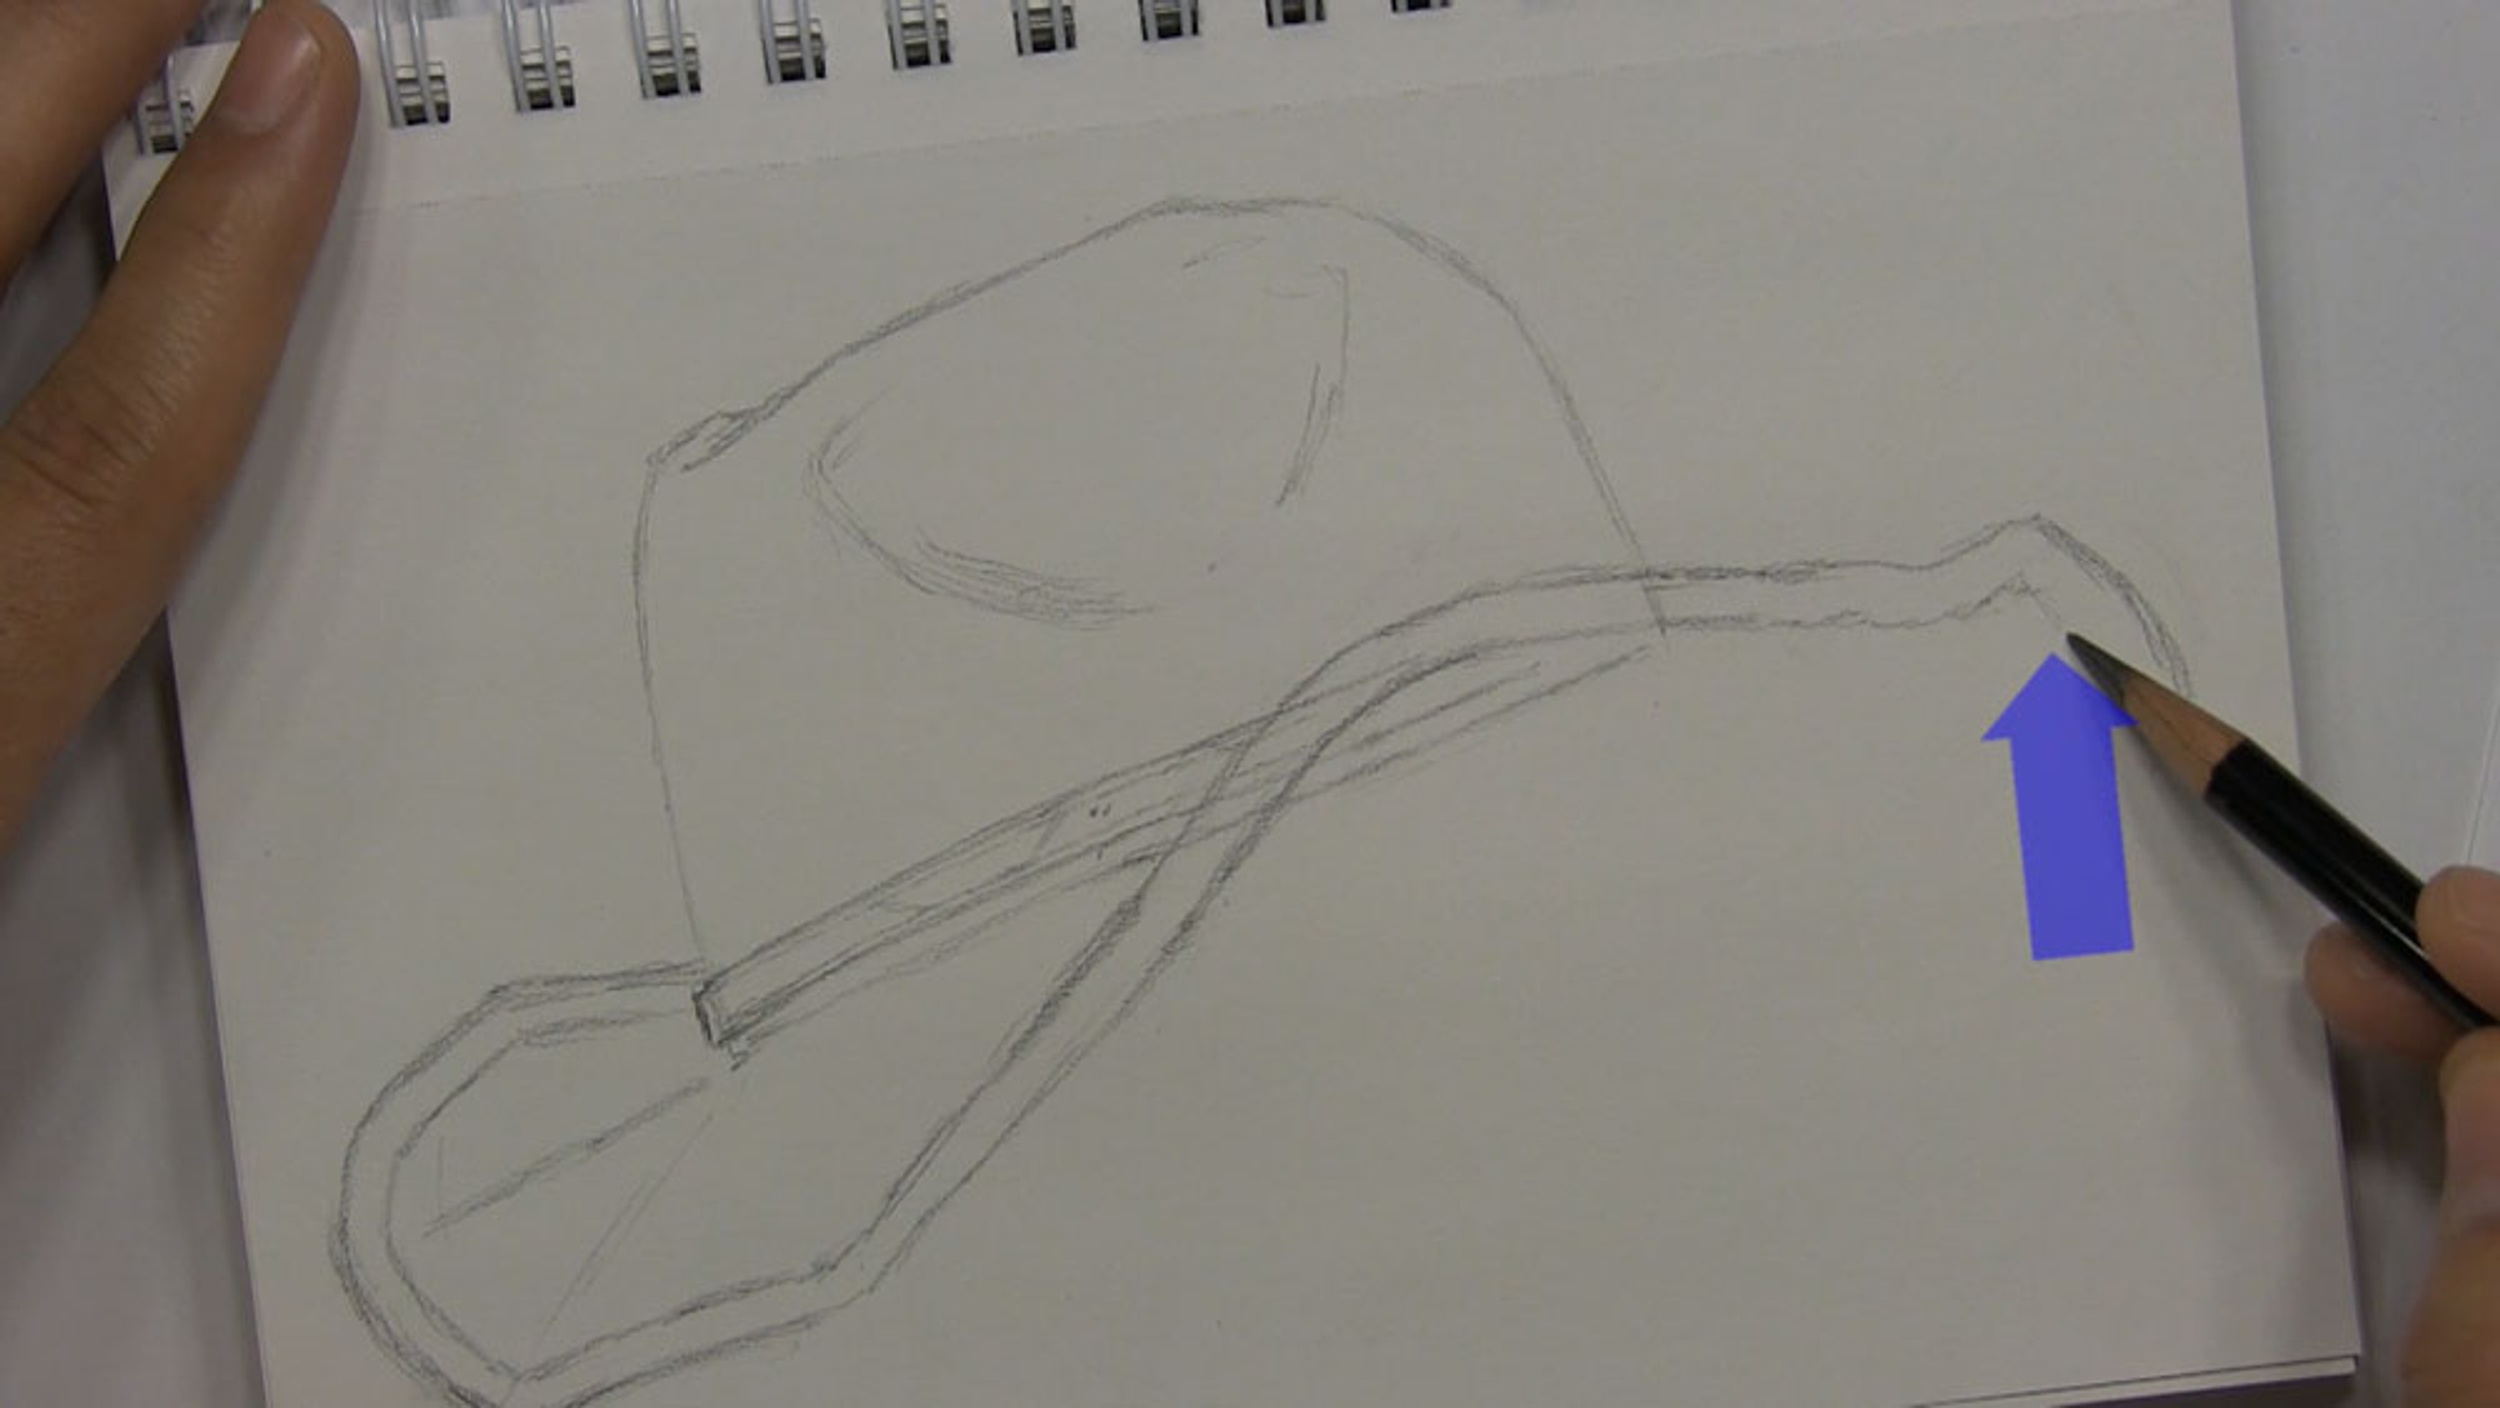
Now it is time to draw the other side of the brim. Continue with the seam line from the front of the brim and extend this line running parallel to the brim outline and all the way to the base of the crown.

After that, make these two parallel lines longer so they overlap the hat band we drew earlier. If you recall from before, I said the brim will conceal the back of the hat band. This is our way of bringing this portion of the brim to the foreground and pushing the hat band and rest of the crown farther into the background. Be careful that you don’t bring these two lines too far above the hat band like I’m doing here. This is a mistake that I need to fix.
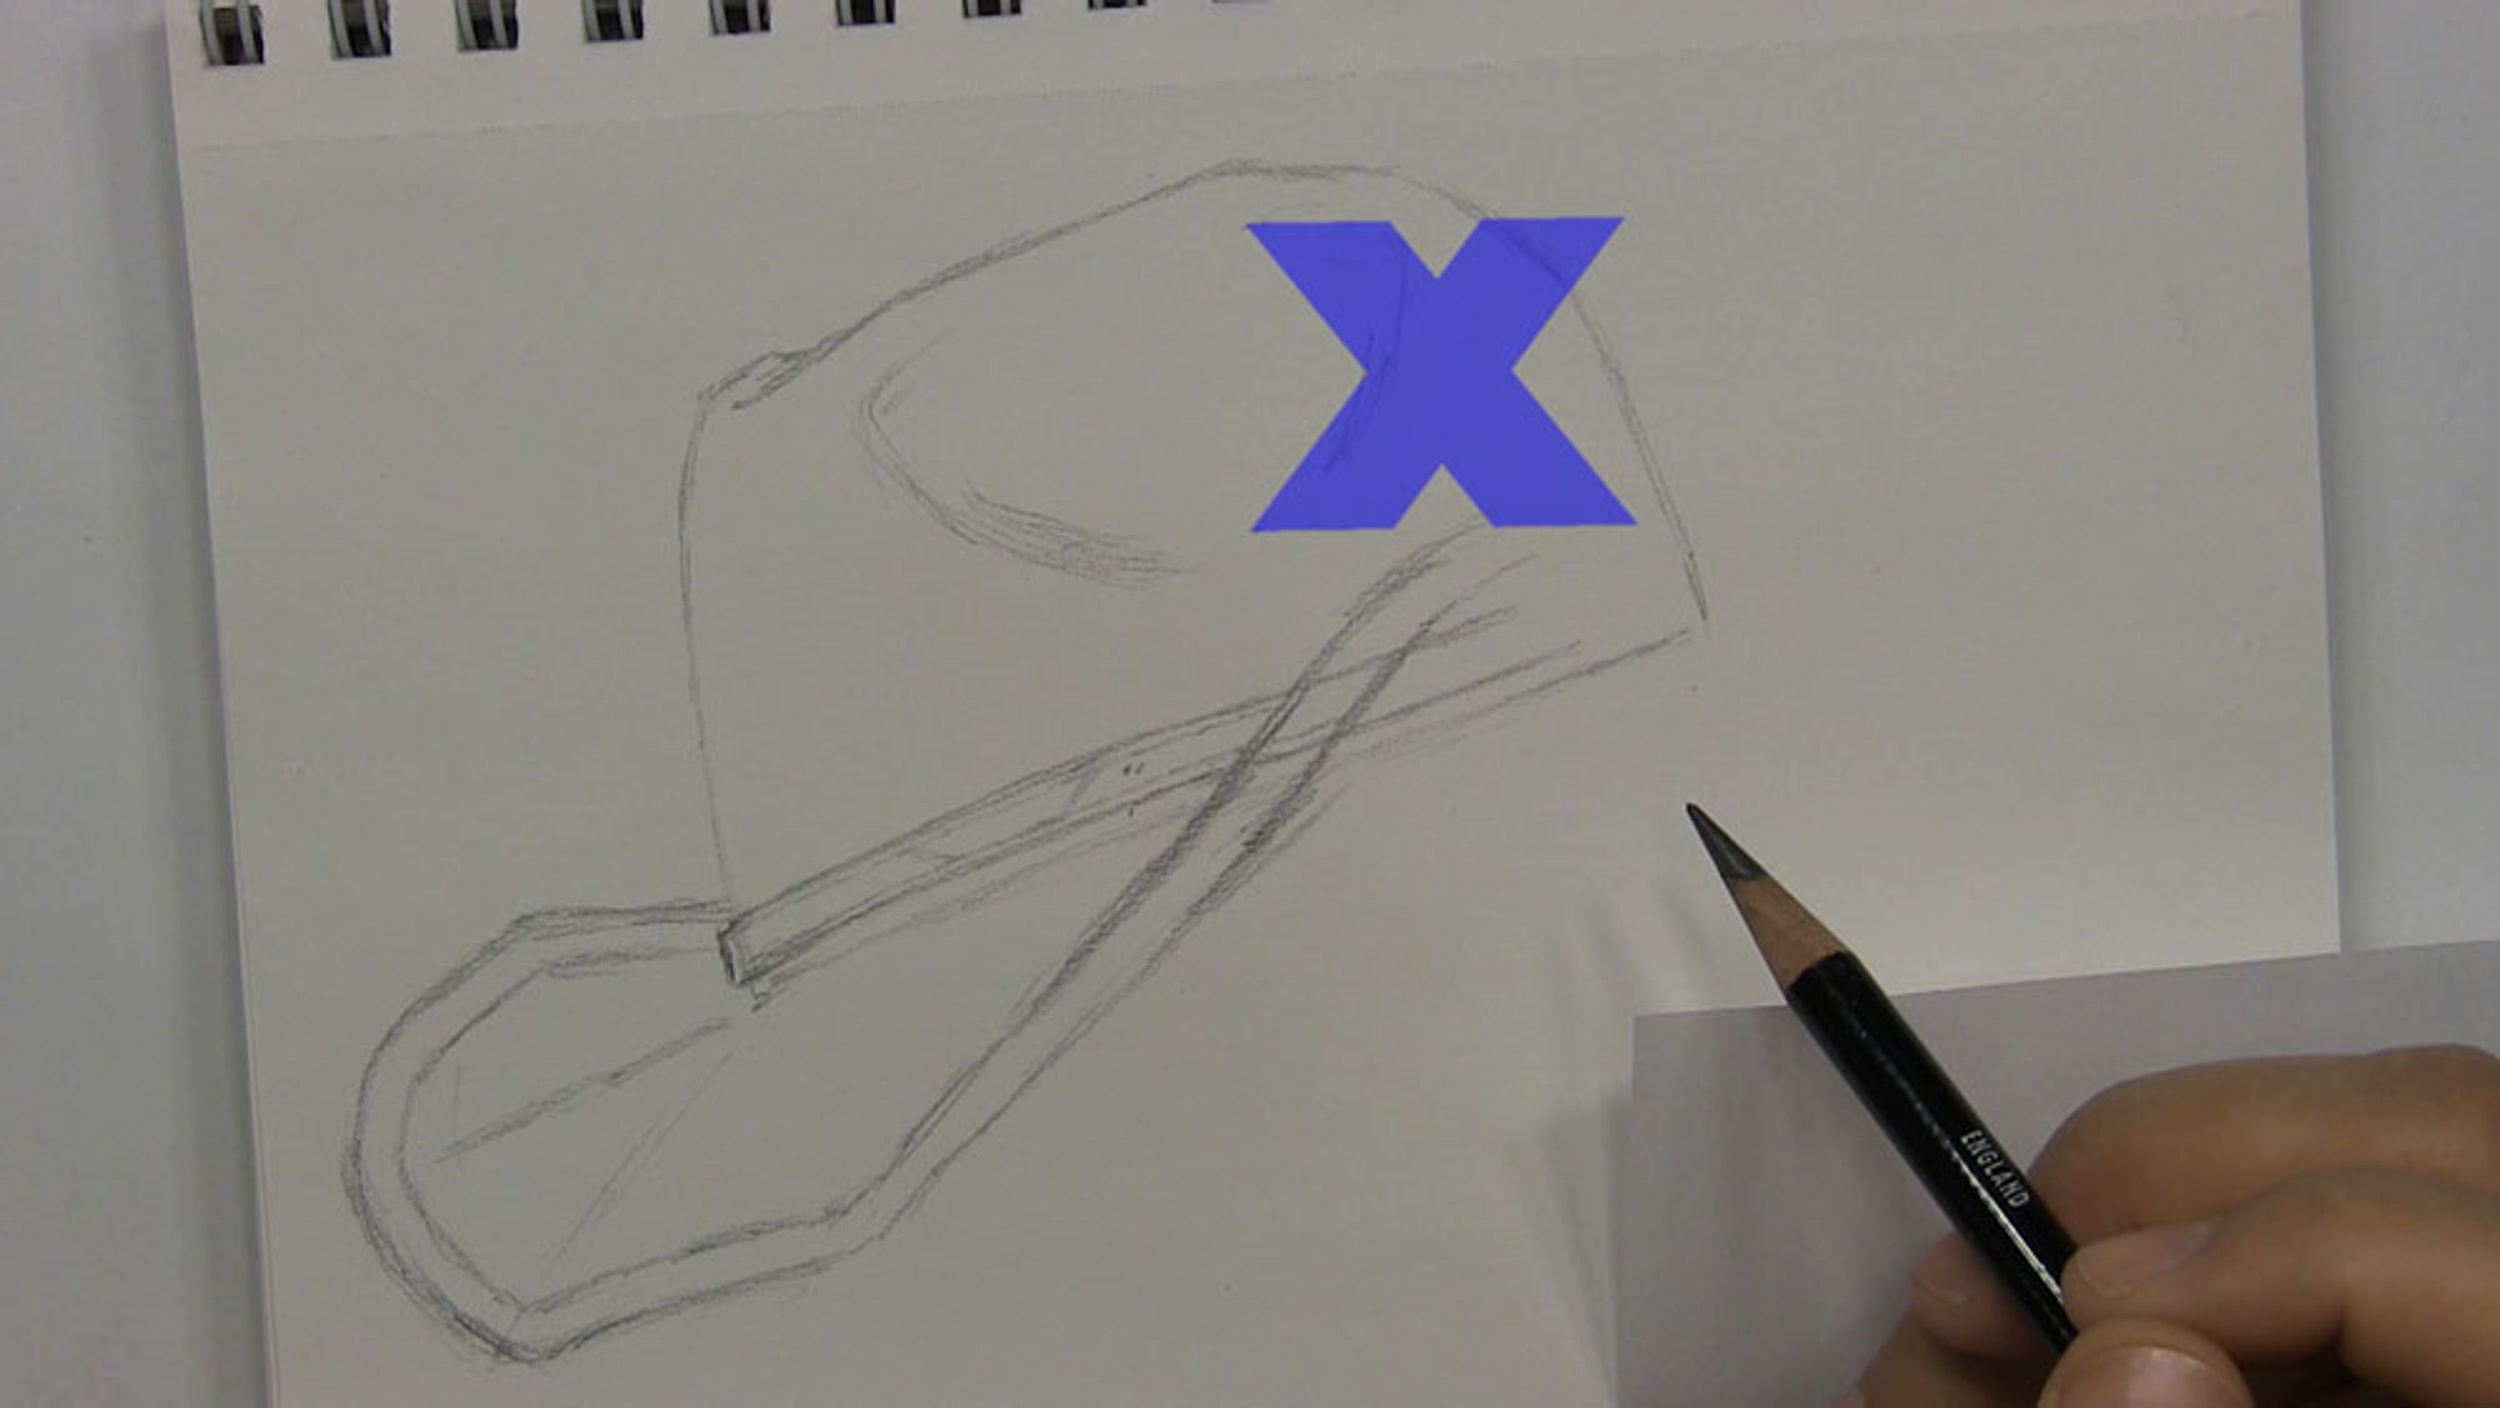
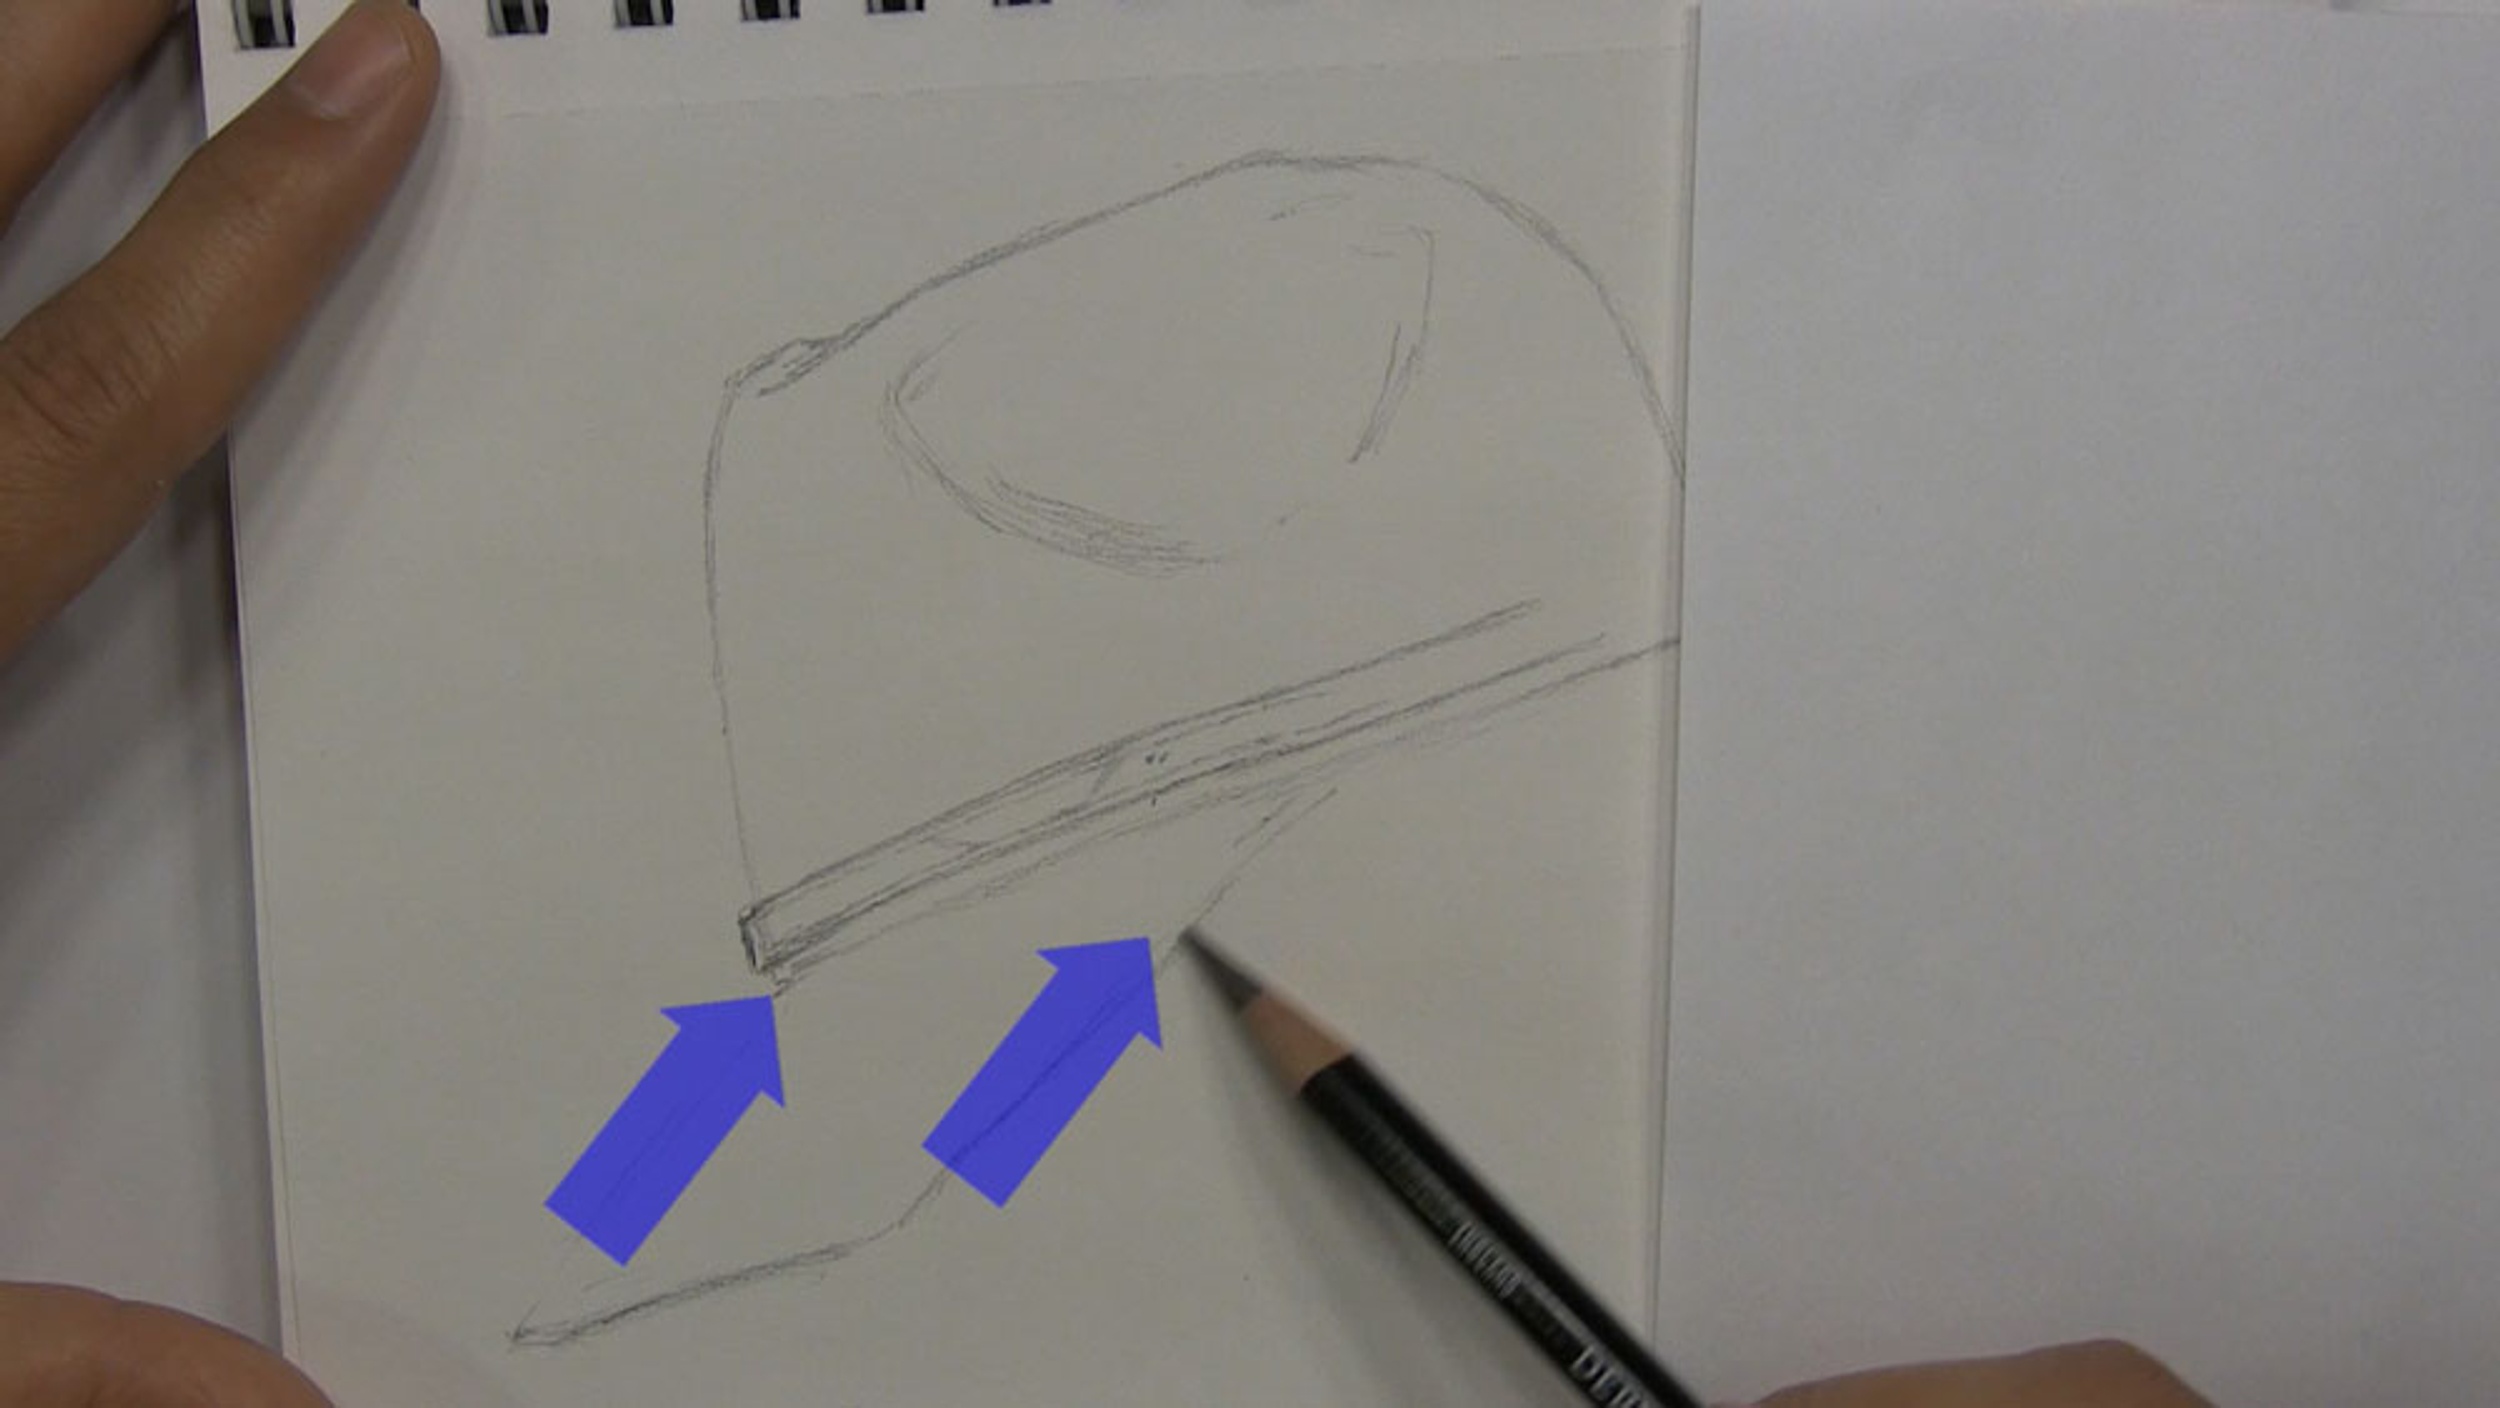
Slowly begin to curve the top line as soon as it goes beyond the top of the hat band. The tilt beyond this curve should be at the same angle as the brim on the other side. Then curve the bottom line before it reaches the top of the hat band, keeping the curve parallel to the first curved line.
Complete the Brim
Next, we will complete the outline of the brim, which will also complete the outline of the cowboy hat.
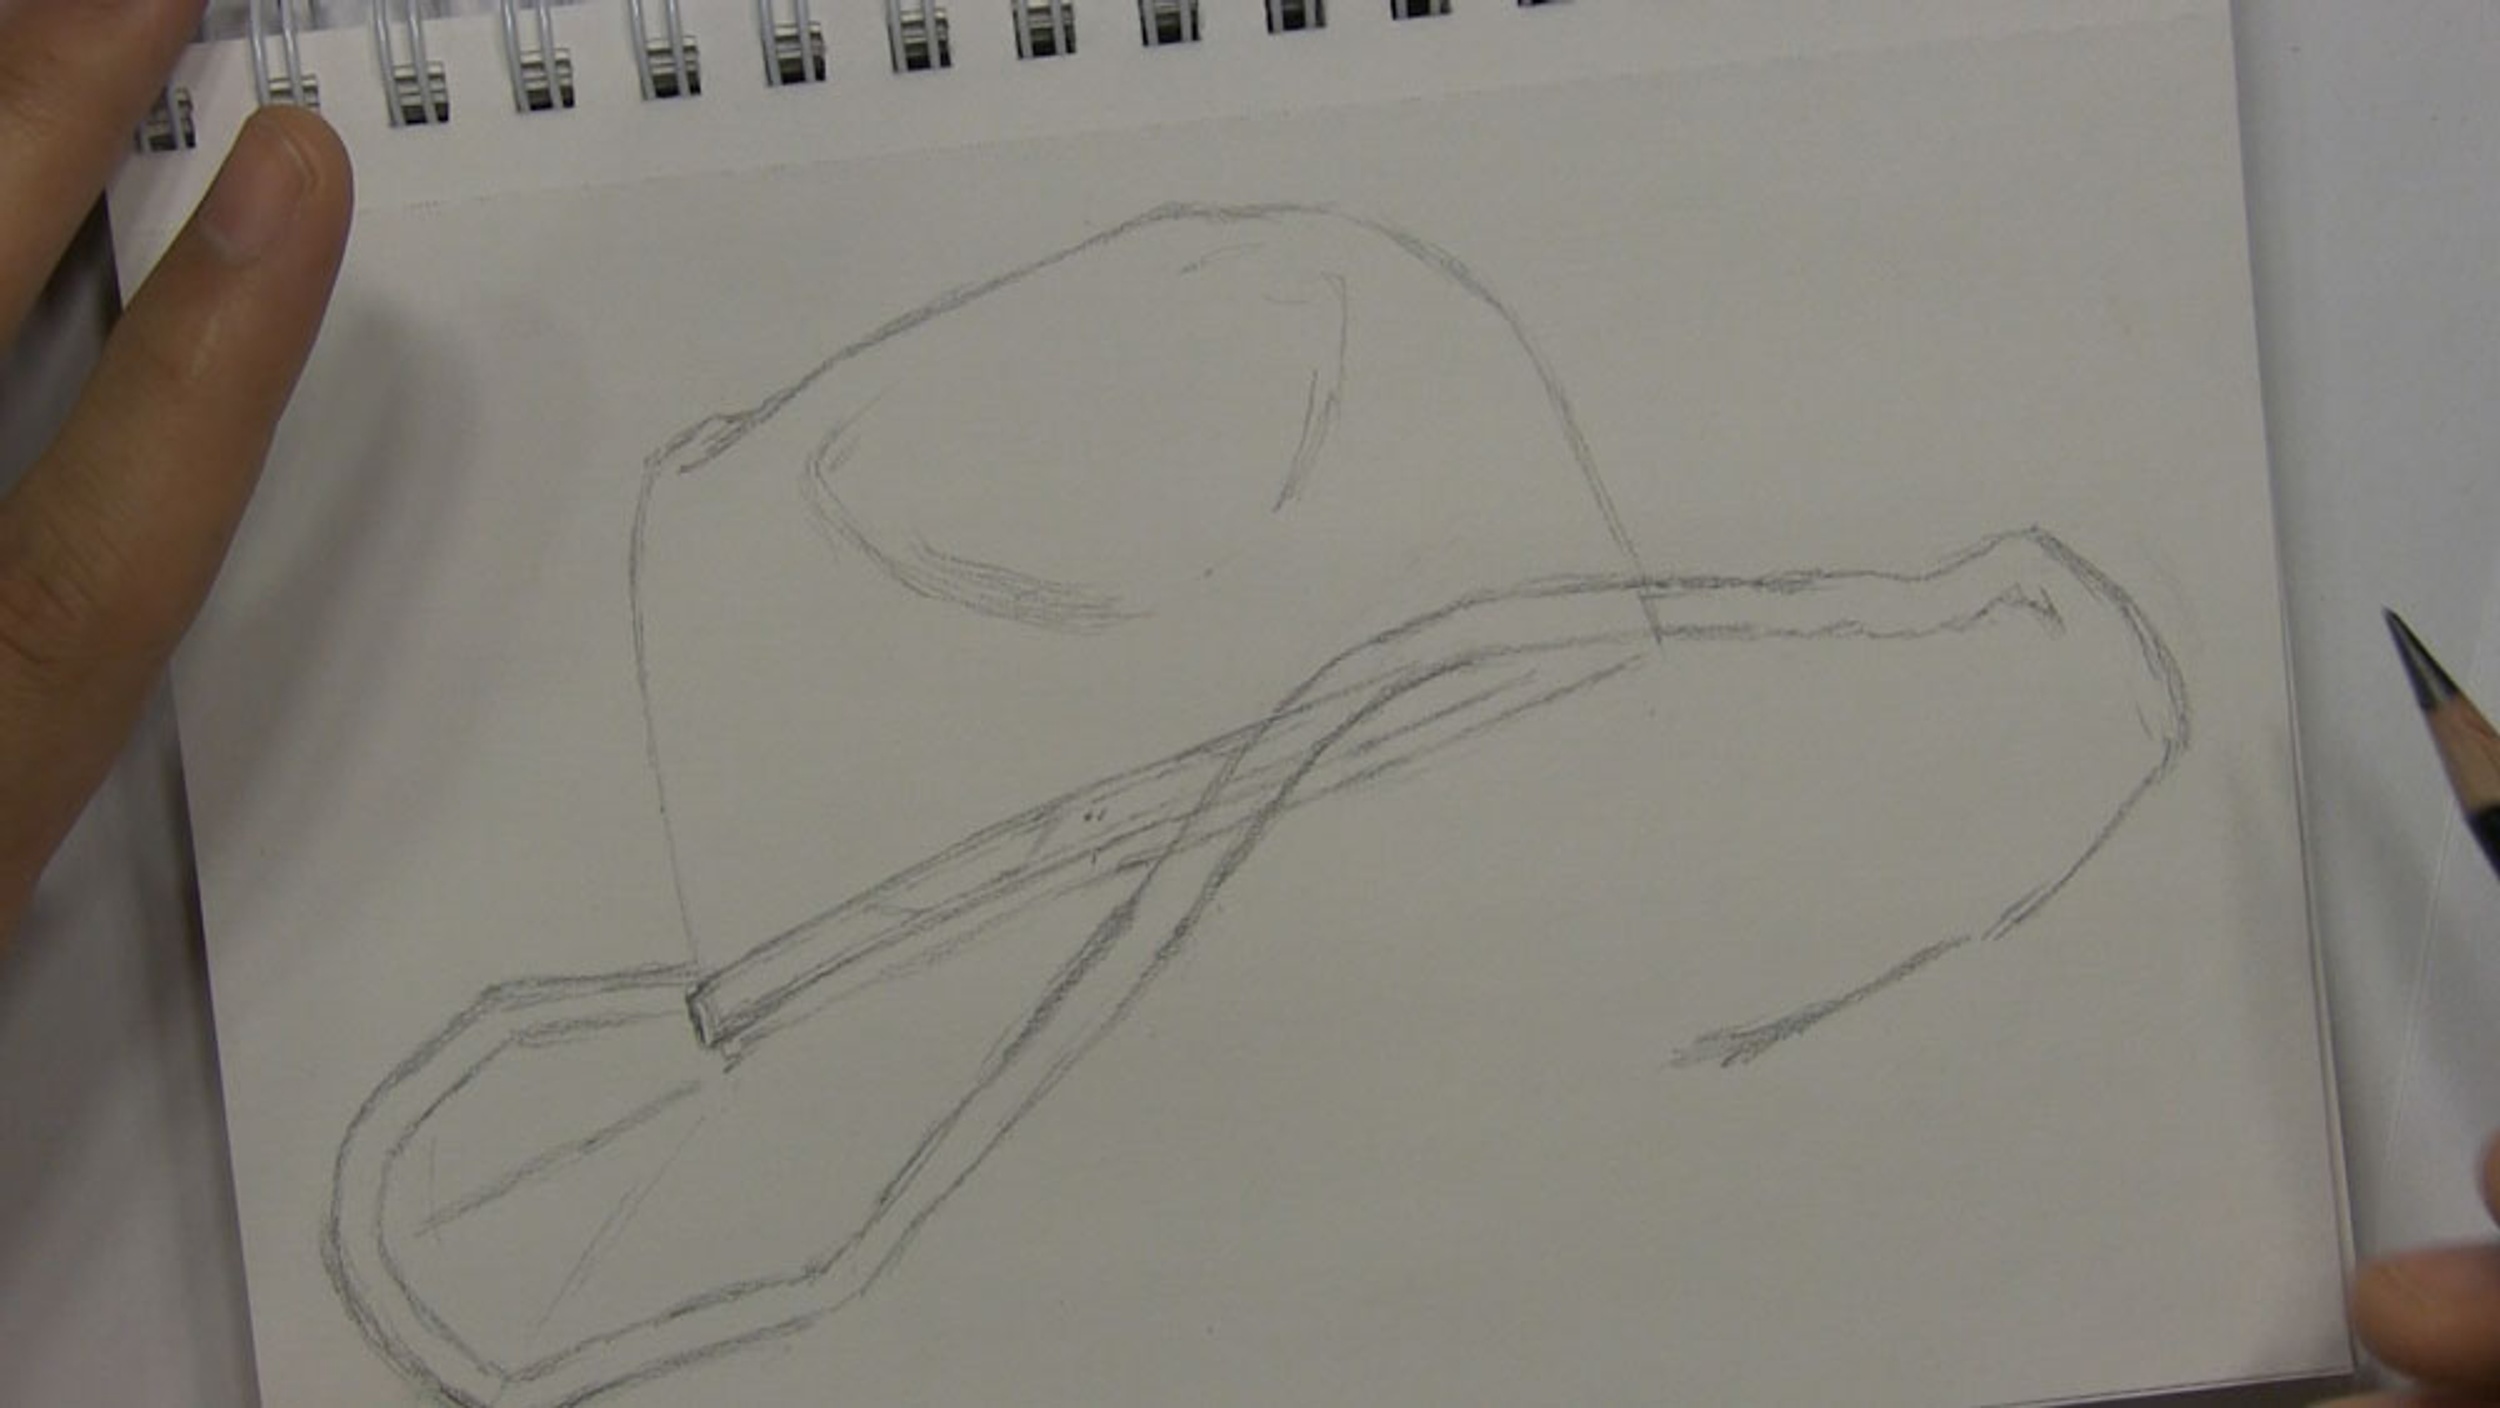
Continue drawing the two lines of the brim from the crown to the rear of the hat. Make them a little wiggly close to the back, but keep them parallel to each other.

Continue curving the brim along the back by extending the top of the two lines. Make the bottom of the curve stick out a little more than the top. From this point, we can leave this bottom line of the brim where it is.
From some distance under the rear of the crown to where we left off, sketch a curved line to represent the remainder of the cowboy hat’s brim.
Now we need to sketch the underside of the brim that fits around the cowboy’s head. Do this by sketching a somewhat irregular shaped line a short distance under the brim of the hat.
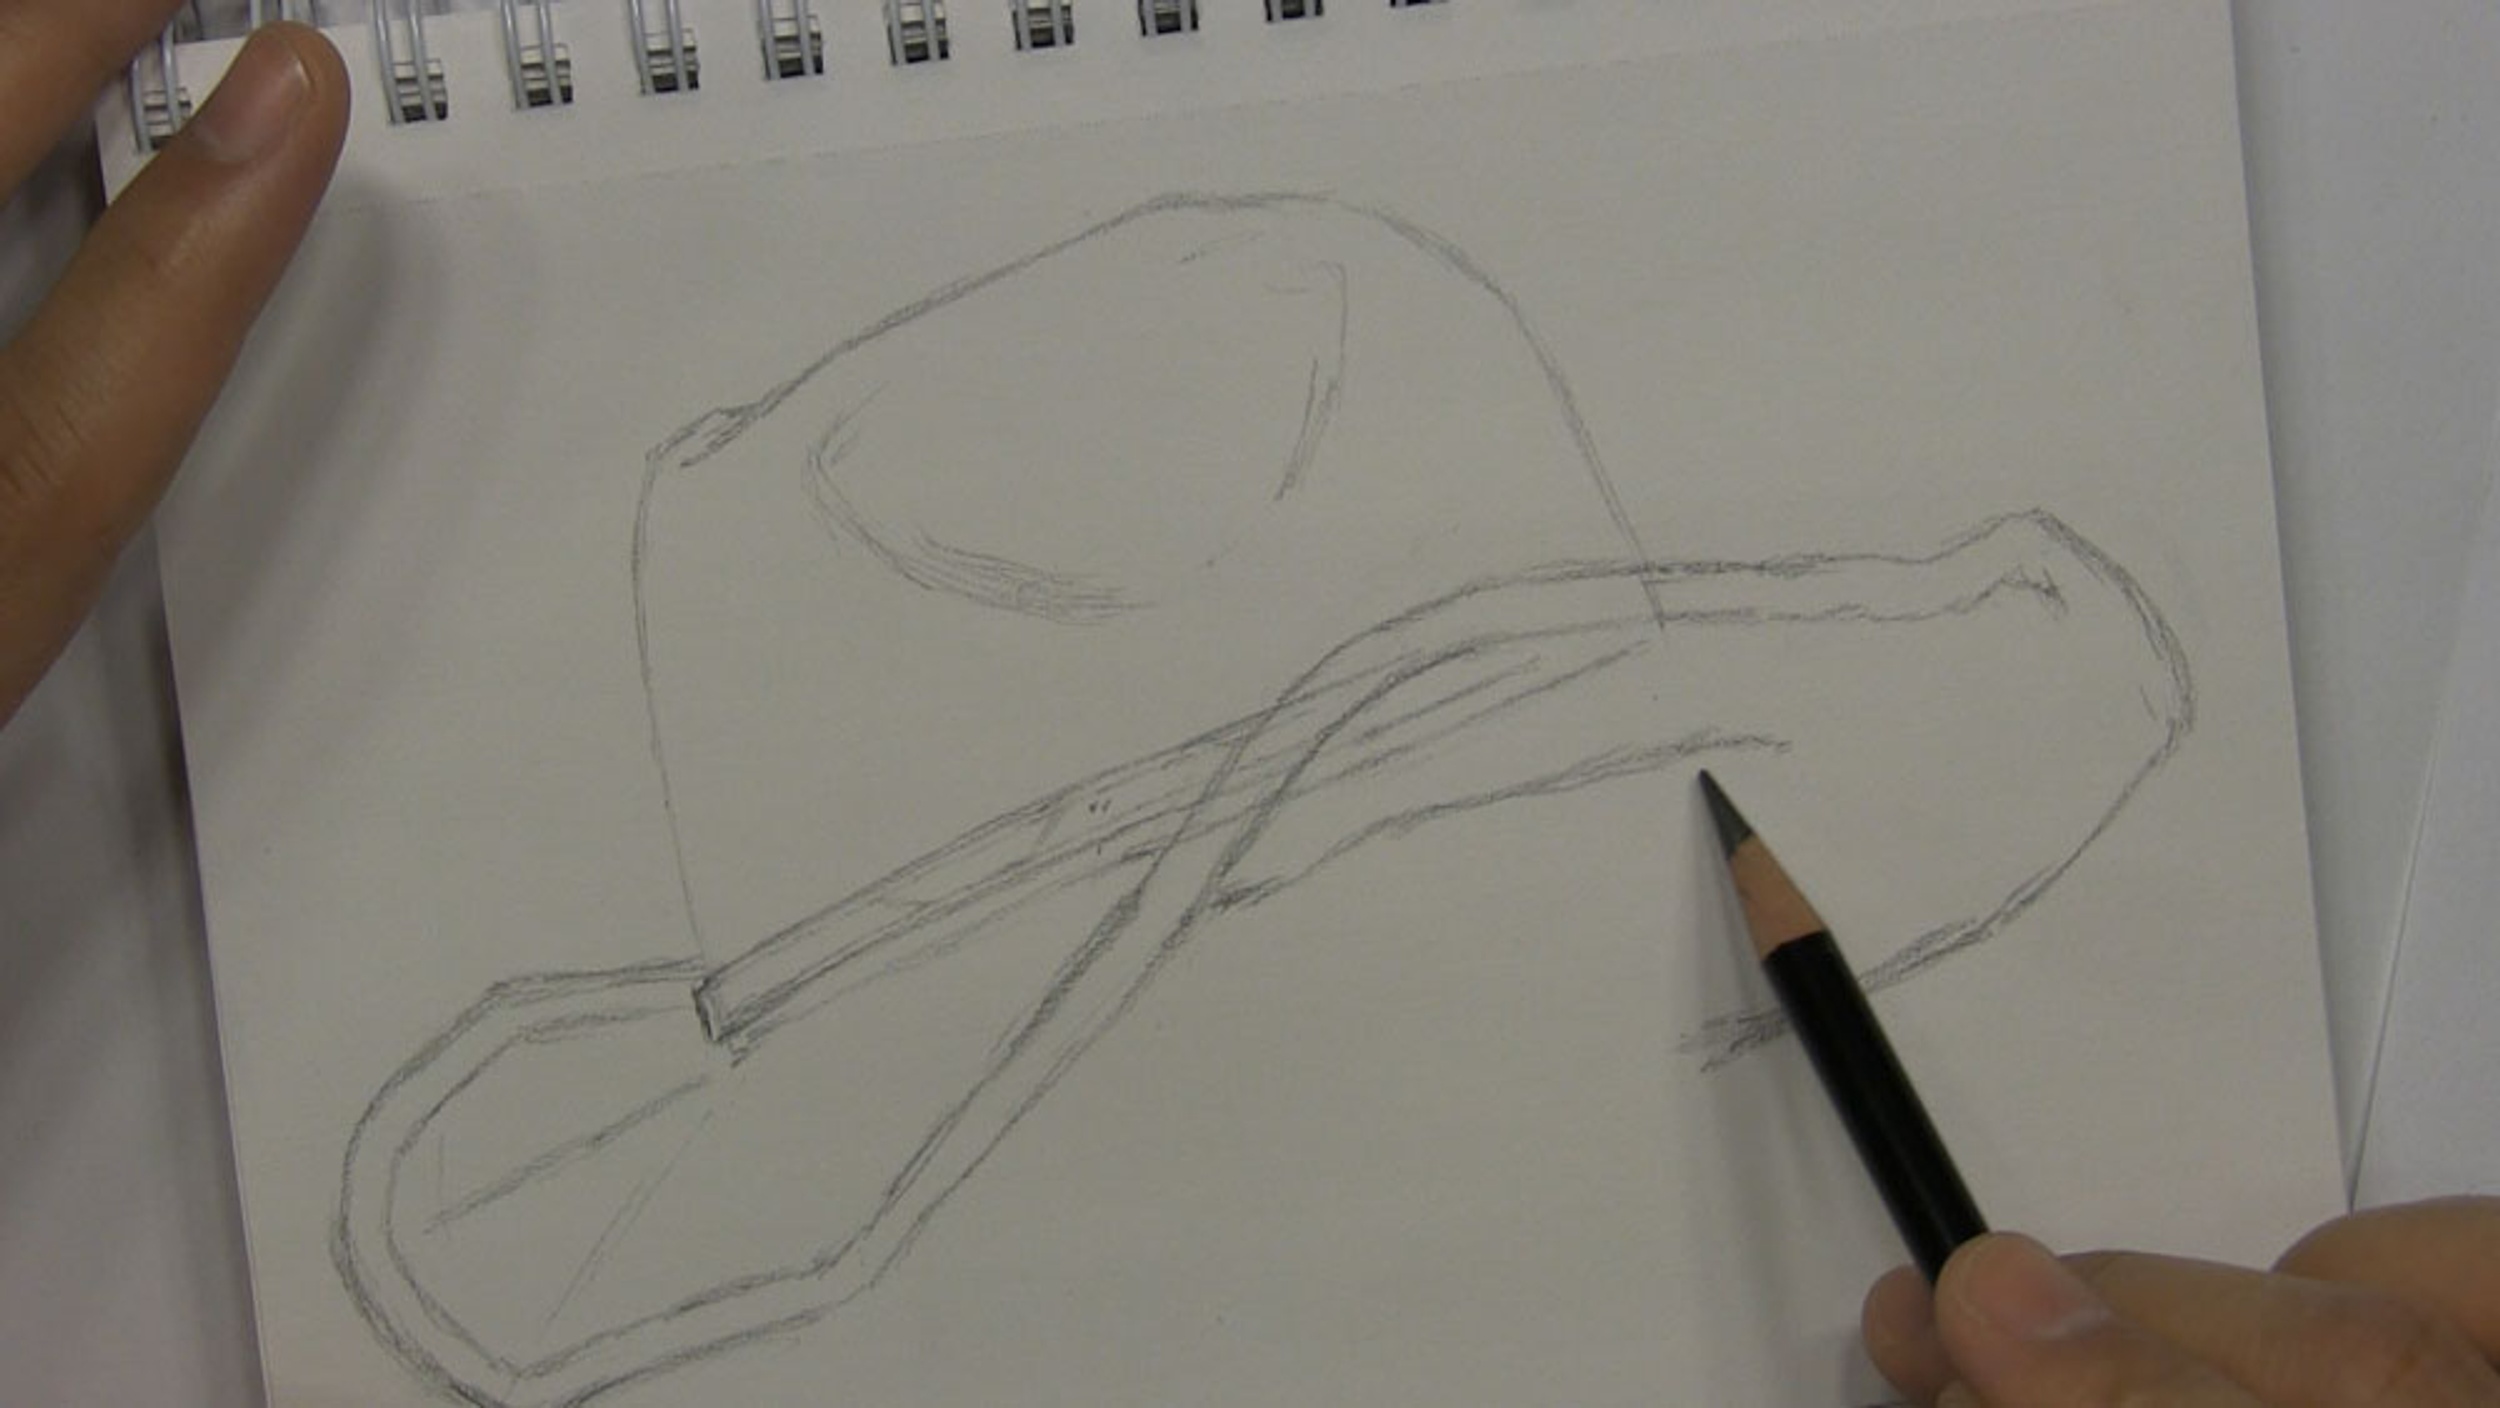
Since this part of the brim is in the foreground, we need to erase inside the brim where it overlaps the lower crown and the hat band. This should complete the brim, as well as the entire outline of our cowboy hat!
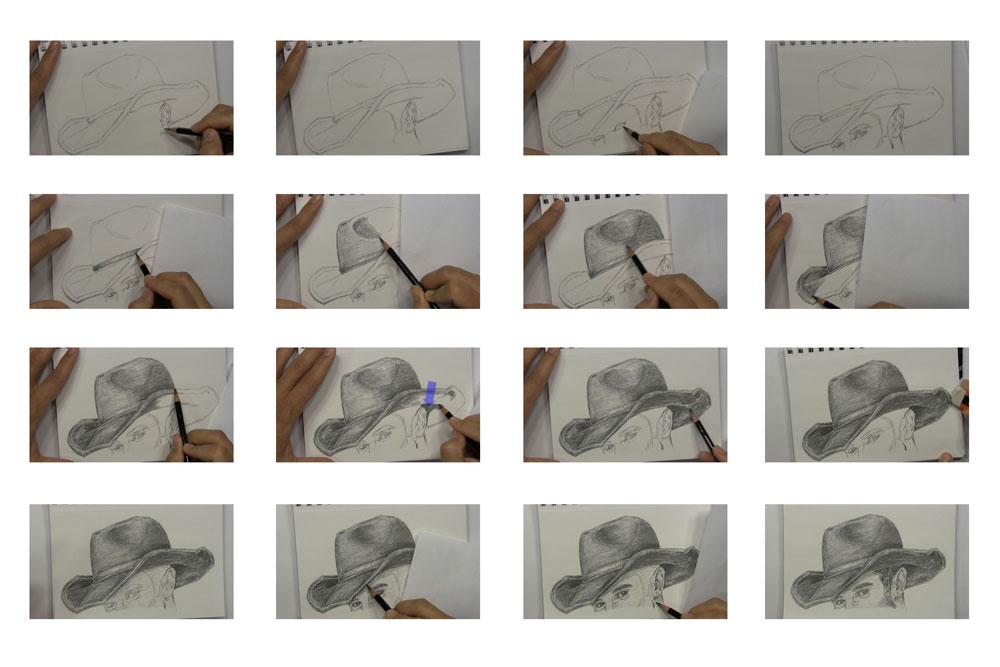
Complete the Cowboy Hat and Cowboy
Now that we have completed the line drawing of the cowboy hat, the next thing to do is draw the cowboy’s head and add some shading.
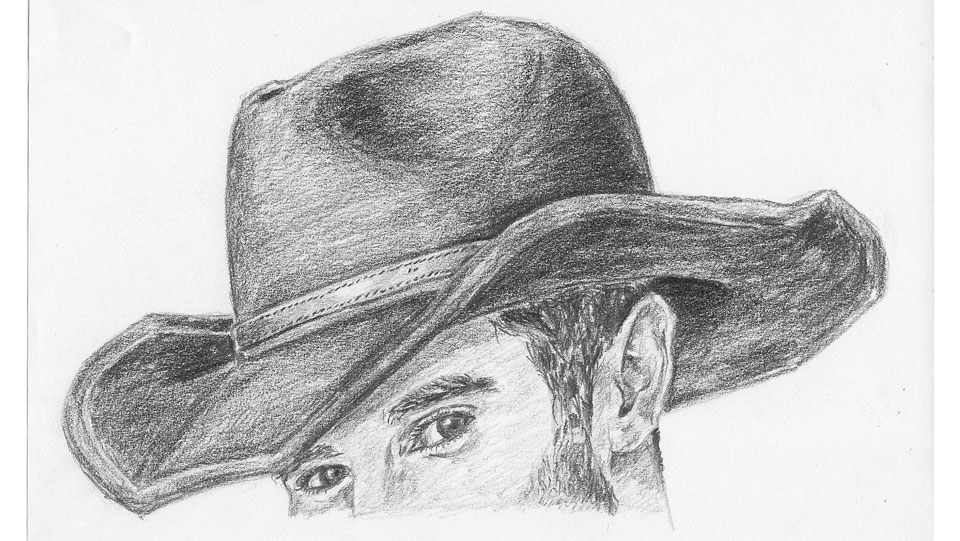
And that is how you draw a cowboy hat on a cowboy!

Thank you so much for sharing. I panicked when I forgot the password and could not
find how to change it, but somehow, I found this page. Carol
You are welcome Carol! Let me know anytime you need help with access.