How to Sketch Lips and Teeth Better
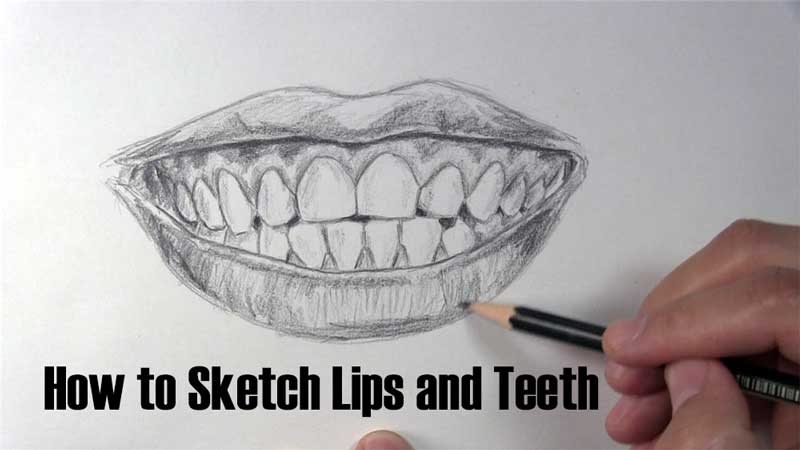
It’s no big secret how difficult it can be to draw a smile. So in today’s tutorial, we are going to learn how to sketch lips and teeth.
It’s hard enough to just sketch teeth so they look like normal teeth. If you are trying to draw teeth that look exactly like those of a specific person, then you are talking about a whole other level of challenge!
Then, of course, you must draw lips that match the lips of your subject’s face.
I remember my early days of drawing portraits for commissions. There was more than one occasion when I had to make corrections to the teeth in order to make a better resemblance of the person I was drawing.
Lips are easier, but they can also look off if the teeth are not right.
Teeth and lips play a huge role in creating a recognizable likeness of an individual, so you want to make sure you draw them correctly. Although they can be tricky to draw, I’ll show you how you can sketch them better and more accurately with some simple observations.
Table of Contents
Get Familiar with the Teeth You Will Sketch
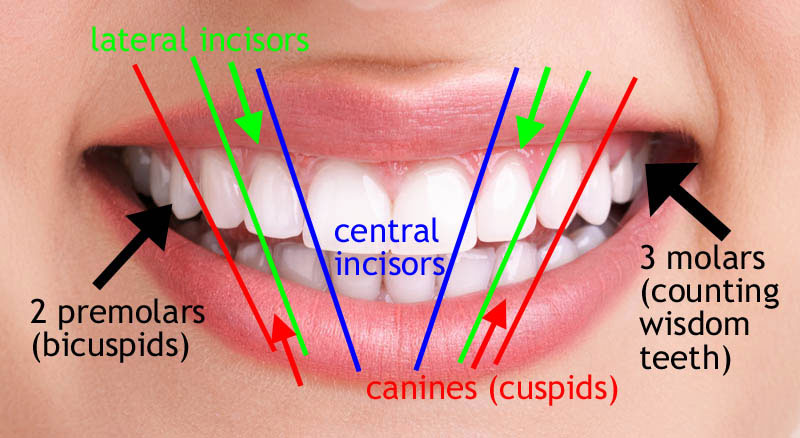
Before we begin, it’s helpful to know the names of the teeth to which we’ll be referring. I’ll quickly review them with you now. The four teeth in the middle of your mouth on the top are called incisors. The four teeth directly below them are also called incisors. Then you have two canines on top and two smaller canines on the bottom. After the canines, the next two teeth are premolars (8 total). The remaining teeth are molars. Here’s a diagram of the teeth labeled with these names and some alternate ones.
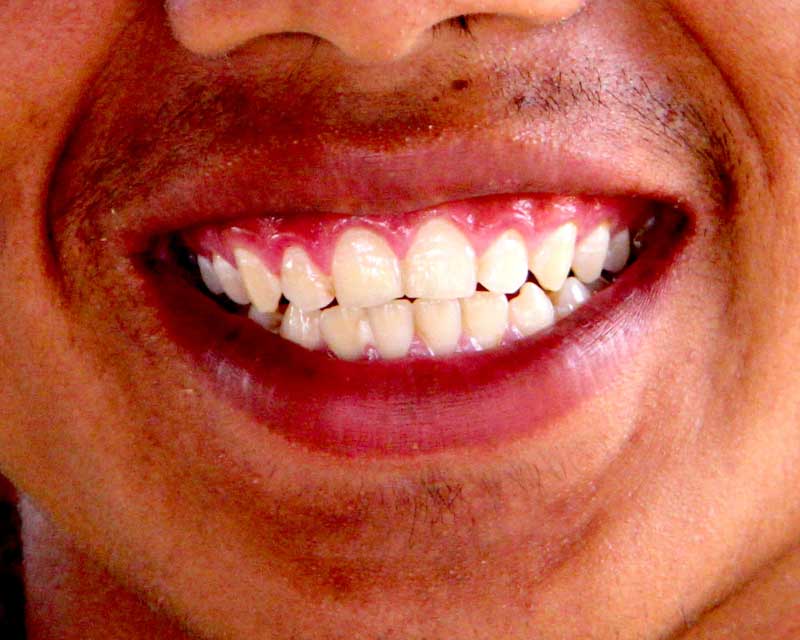
Teeth look very different from person to person. You will want a reference photo when trying to draw the teeth of a particular person, and this is especially true for beginners. We’ll use the following reference photo for our sketching practice.
Eventually, you can try drawing the teeth and mouth in a variety of expressions.
Materials Used for This Drawing
Affiliate Disclaimer: The link below is an affiliate link. I will receive a small commission if a purchase is made through this link. Learn more here.
For this demonstration, I used a 2B pencil and some drawing paper. This will be a basic sketch of teeth, so the materials are also basic. Use whatever pencil and paper you have on hand. If you want to turn this sketch into a more realistic drawing, you can incorporate a few more pencils for a bigger variety of values.
How to Sketch Lips and Teeth Video Tutorial
You can also watch the video version of this tutorial below. Watch it once all the way through to get a sense of the overall process. Then watch a second time and draw along with me, pausing as needed.
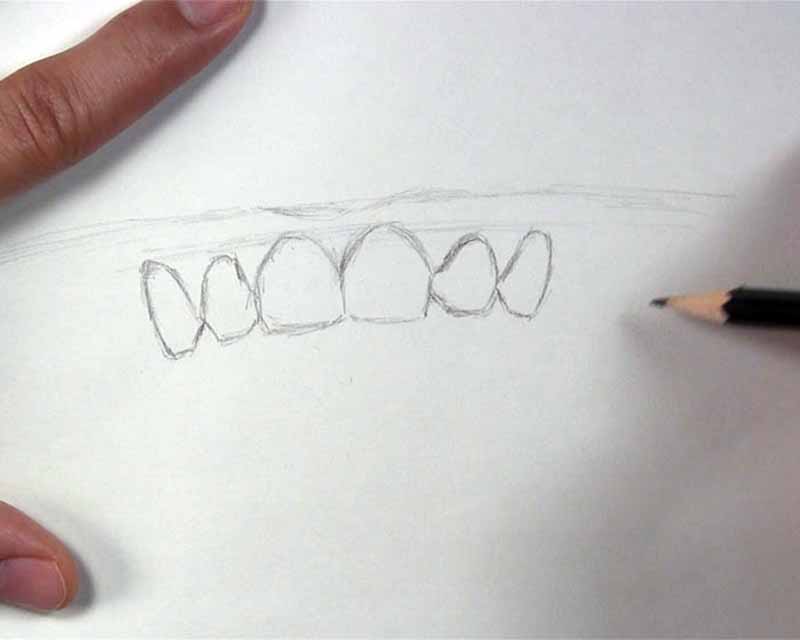
Sketch the Top Six Front Teeth
Begin with a line to represent the lower edge of the top lip.
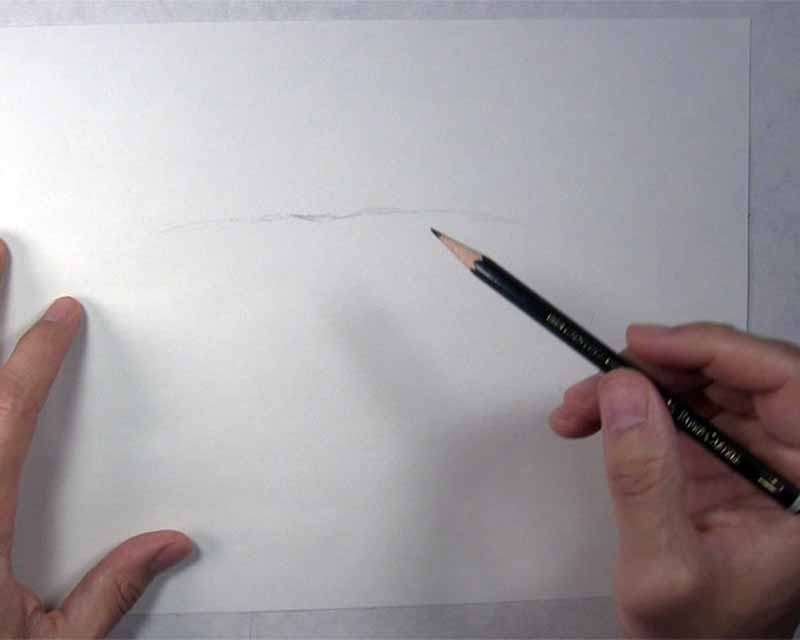
Now, to make sure the top teeth are not too far away from or too close to the top lip, I’m placing this horizontal guideline. I’m just looking at my reference photo to see about how far down from the top lip the gumline is.
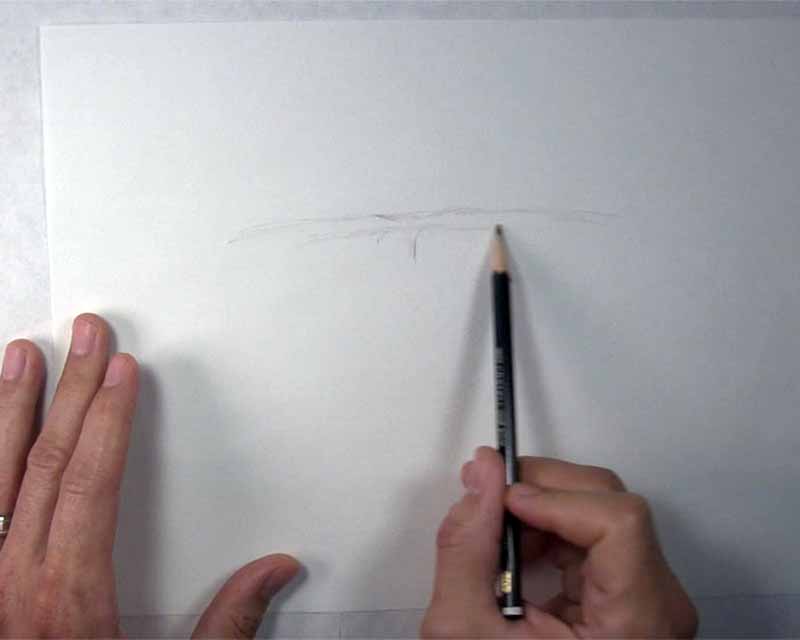
I’m starting by sketching the two front teeth, or incisors. There are a few basic things to look for that can help you when drawing teeth. As you draw the lines that make up each tooth, compare the length and angle of each edge to the reference. Also, check that the shape of each tooth you draw matches the tooth in the reference as closely as possible.
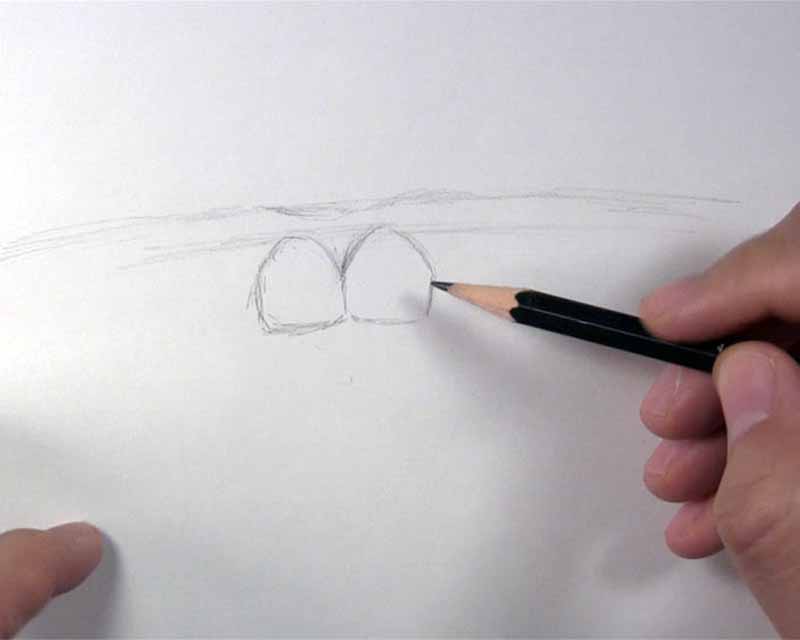
Next I’ll sketch the two smaller teeth beside the two front teeth. These are also called incisors. Notice how the tops of the first incisors I drew go all the way up to our horizontal guideline. These smaller incisors get close, but they don’t actually come up as far as the bigger ones.
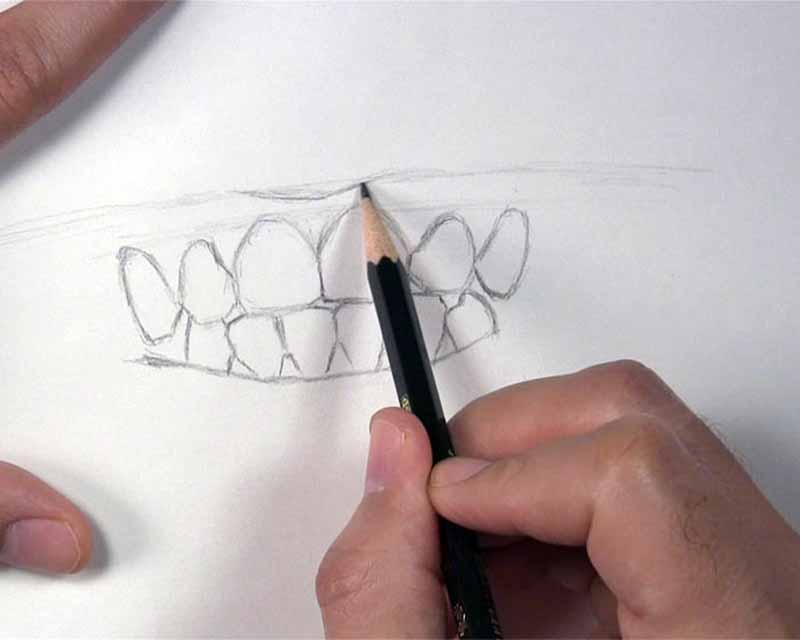
The next two teeth are called canines. These are longer teeth than the previous two, and they pretty much come all the way up to our guideline, on the same level as the two bigger incisors. Now, another thing to pay attention to while sketching teeth is the amount of space you are putting between each tooth, both above and below the gumline.
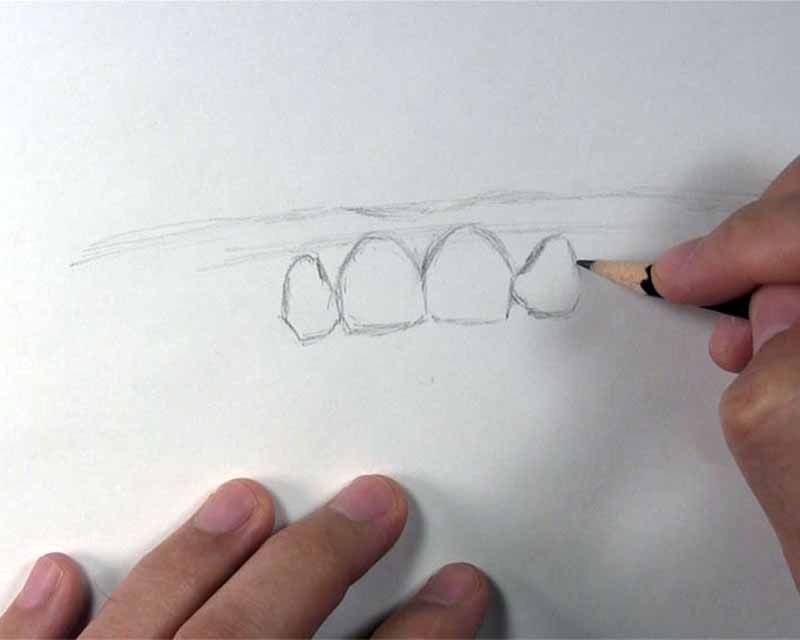
Sketch the Bottom Six Front Teeth
Now, I’ll sketch the smaller teeth on the bottom. These four bottom teeth in front are also incisors. For these teeth, I’m not sketching a guideline as I did for the top, since the gumline for them is mostly under the lower lip. Parts of the gumline do show above the lip, and it is revealed to us with these little triangle shapes.
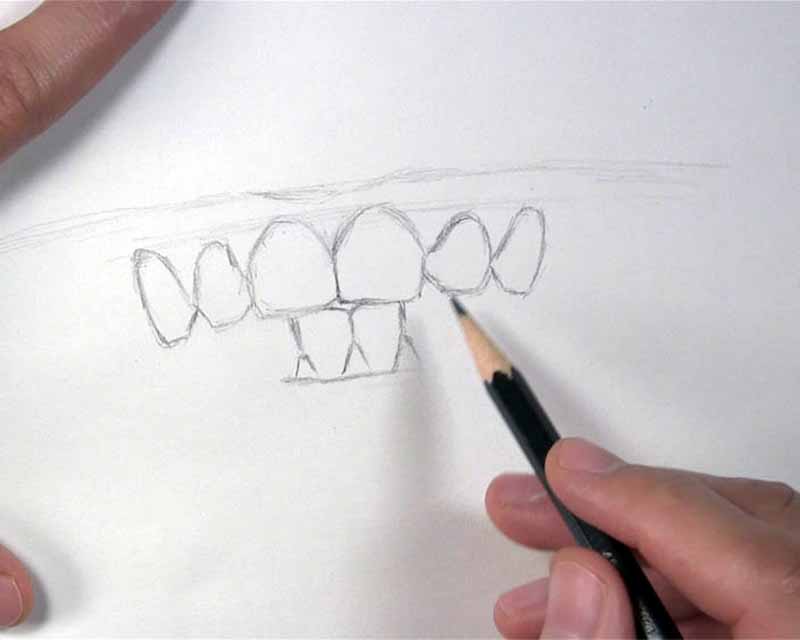
Next, we’ll draw the other two bottom incisors in a similar manner. As you sketch each tooth, check to see where, for example, a vertical edge of a bottom tooth should align with a top tooth. If you have to make adjustments, that’s okay too. It’s better to do so early on before sketching too many teeth incorrectly.
After that, it’s on to the canine teeth at the bottom. These canines should be much shorter than the canines at the top. The curve of the bottom lip reminds us to draw them shorter. Also, notice how these teeth do not line up perfectly under the upper canines. They are much closer to the center of the mouth under the smaller incisors.
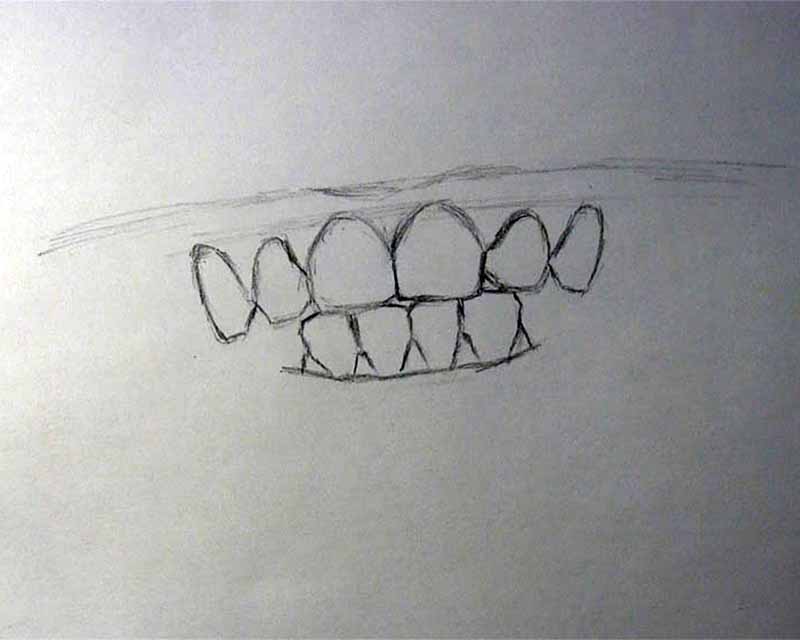
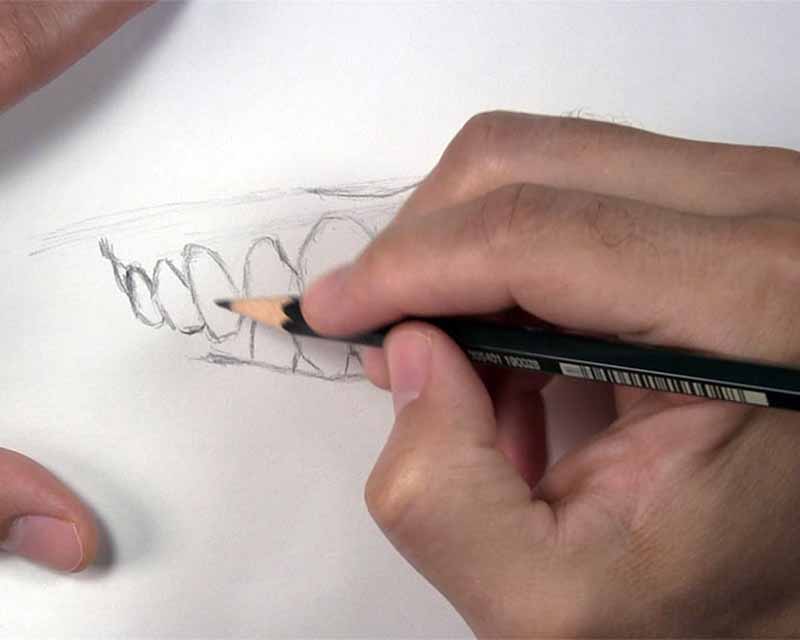
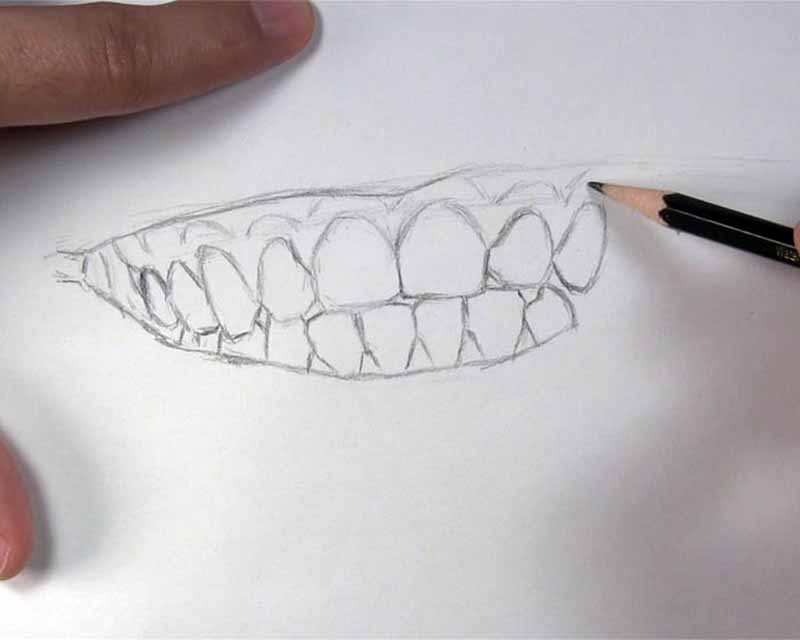
Sketch the Left Side of the Mouth
Before we go on to drawing more teeth, I’m going to better define this tip along the lower edge of the top lip.
Okay, the teeth beyond the canines are the premolars. I’ll sketch the two at the top on our left side first. Now, since we are getting farther away from the front teeth, we should keep foreshortening in mind. That simply means we should draw the teeth smaller as they appear to get farther away from us.
When drawing the premolars on the bottom, pay attention to the lower lip and how it will eventually connect to the corner of the mouth. Considering how close the bottom of the top teeth are to where the lower lip will be, that doesn’t leave much room for drawing the lower premolars. Just sketch a few lines to indicate them.
Let’s connect the upper lip and lower lip here at the corner of the mouth. Don’t make the mistake of drawing teeth too close to the corner of the mouth. Allow some space for the tissue that join the lips together.
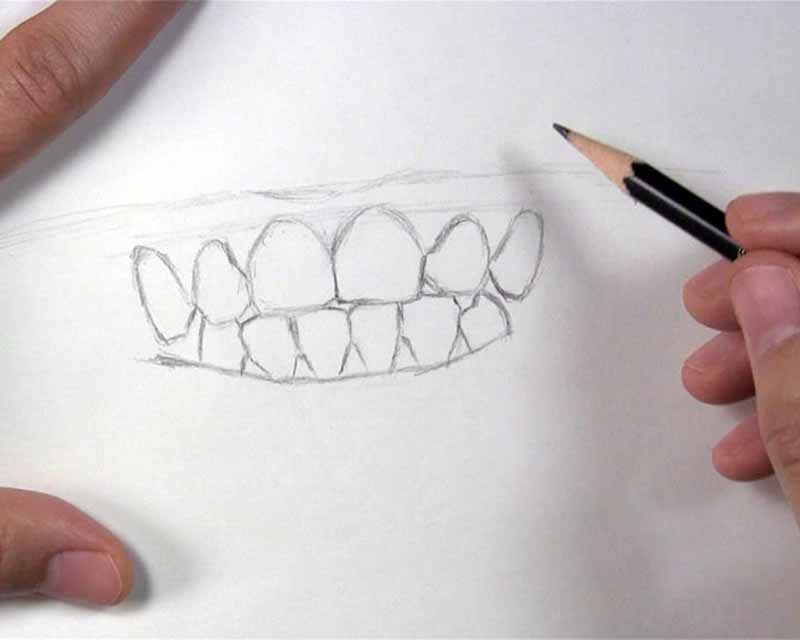
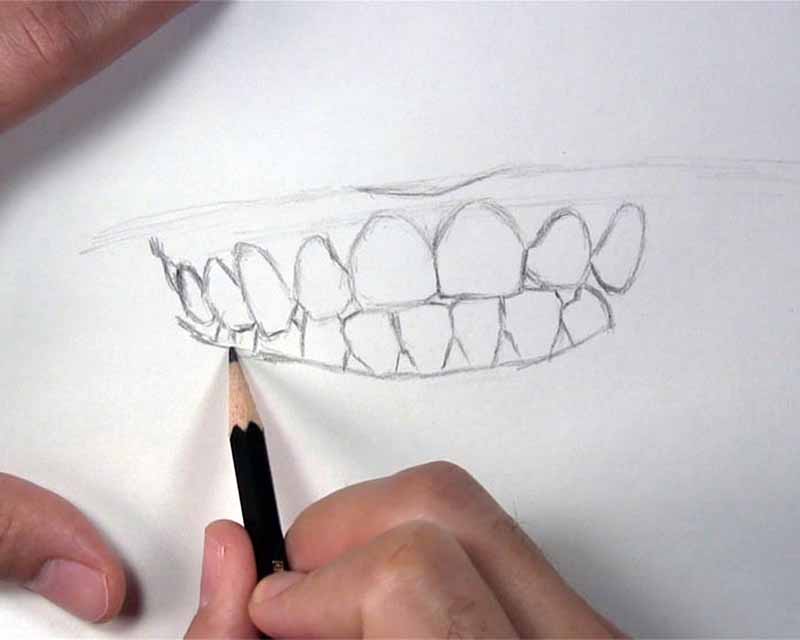
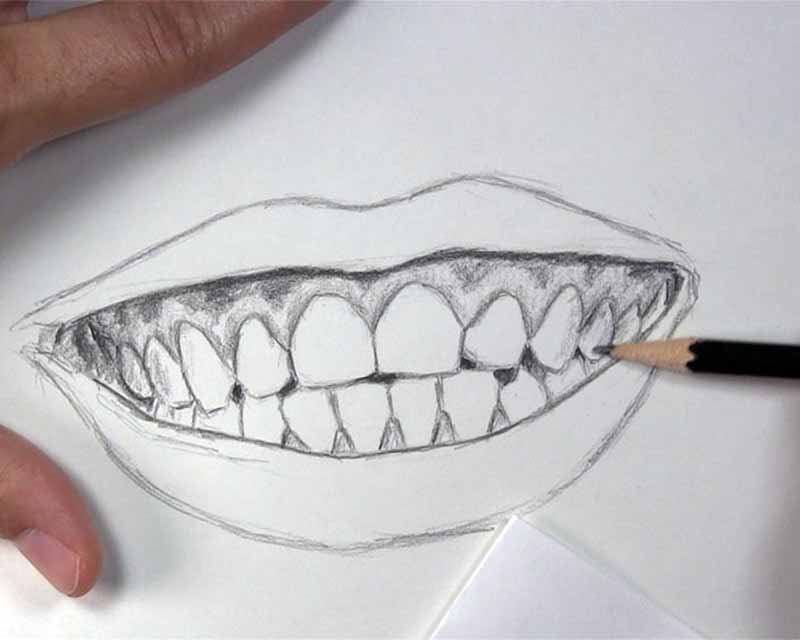
Sketch the Right Side of the Mouth
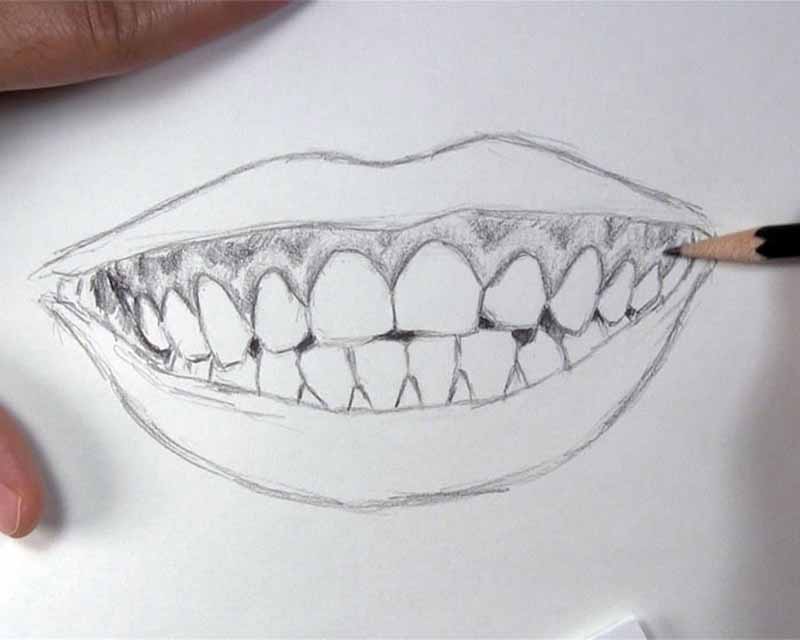
On our reference photo, we can see some ridges above the gumline. You can sketch these curved lines above each tooth, following the same contour of the teeth. If any of your lines going up become hidden behind the top lip, just plan where the arch would naturally come down if the lip were not in the way.
Sketch these premolars in this corner just like you did the other ones. Factor in that you will have less and less room to draw the teeth as the top and bottom lips converge at the corner. Also remember that they are going farther back into the mouth. Therefore, these corner teeth should appear smaller than the front teeth.
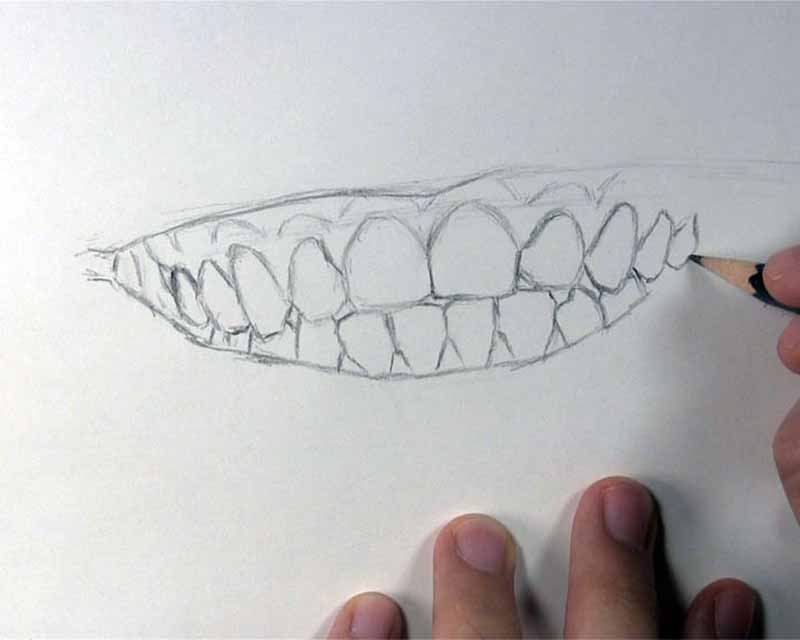
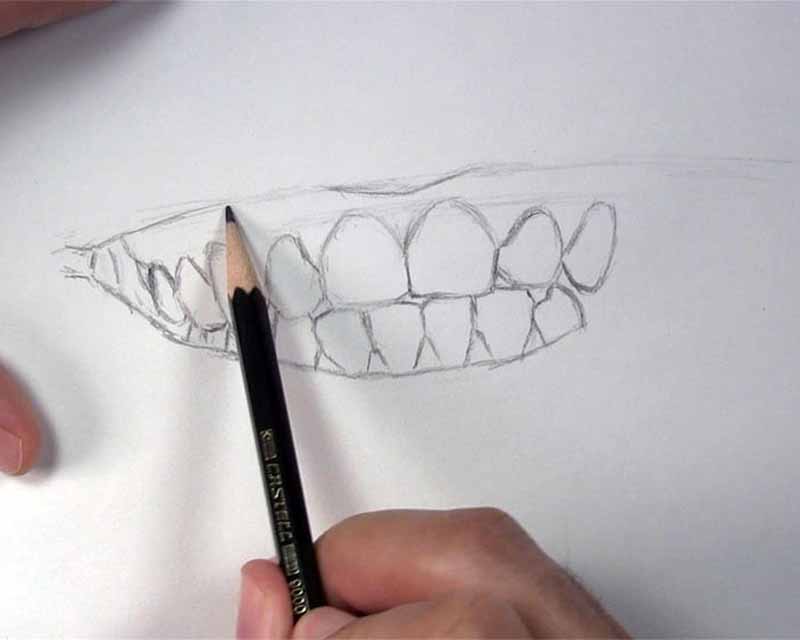
Sketch a line to connect the top lip to the bottom at the corner of the mouth. As you sketch this line, be aware of the space you are leaving between the gumline and the lower edge of the top lip. Look at the reference and make comparisons to the length of the surrounding teeth to decide if you should make adjustments.
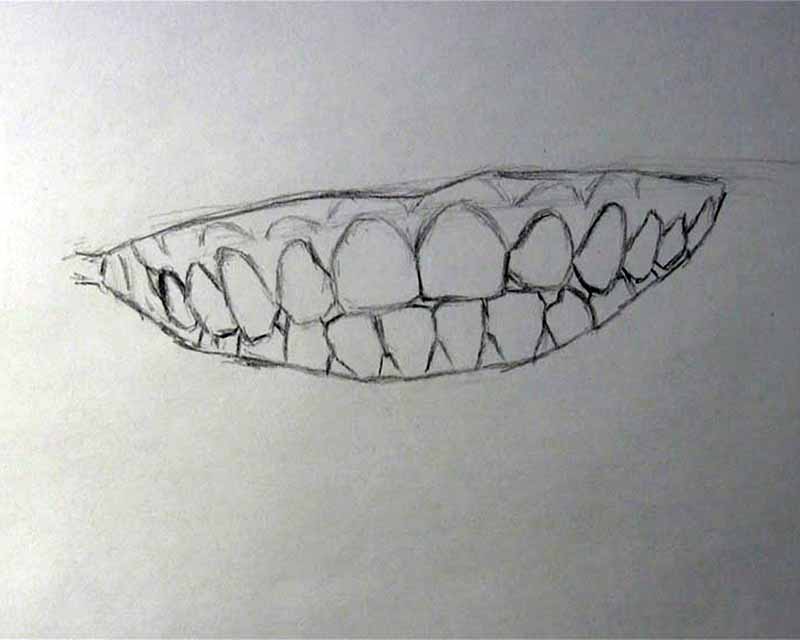
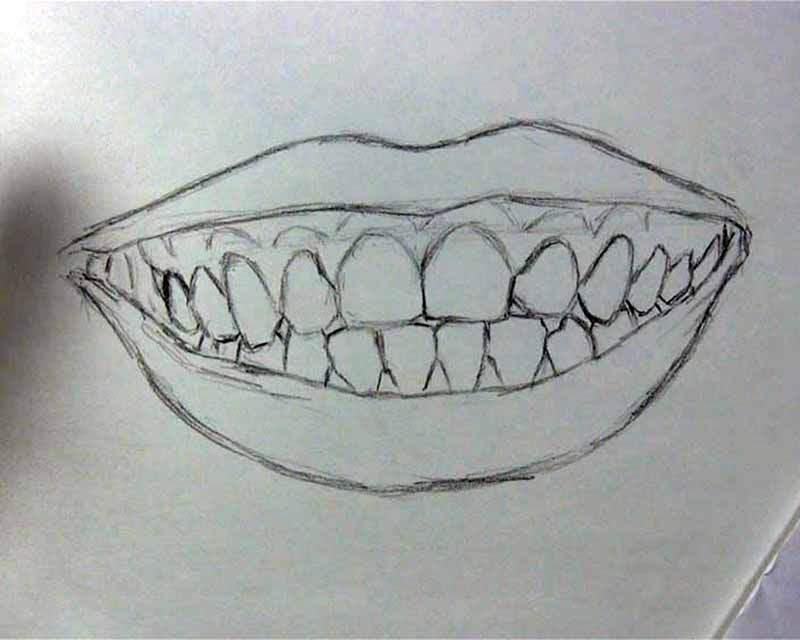
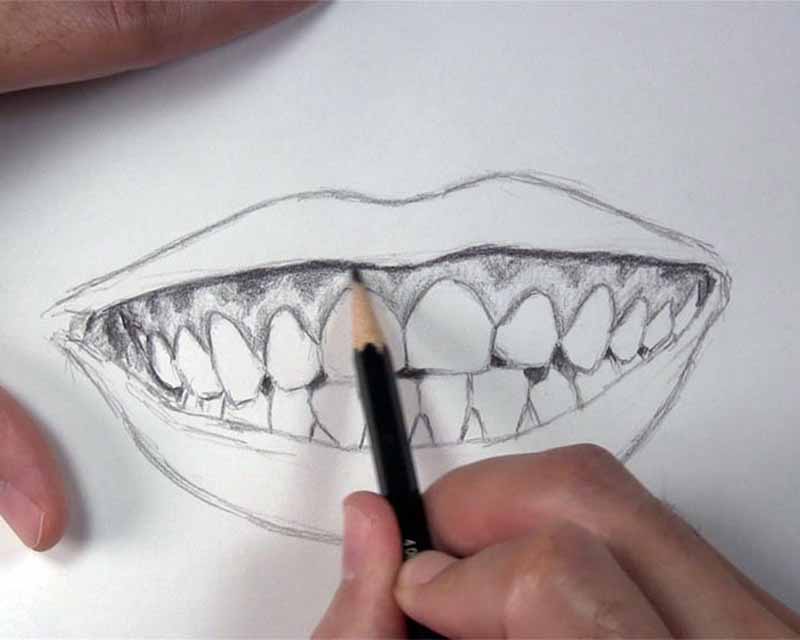
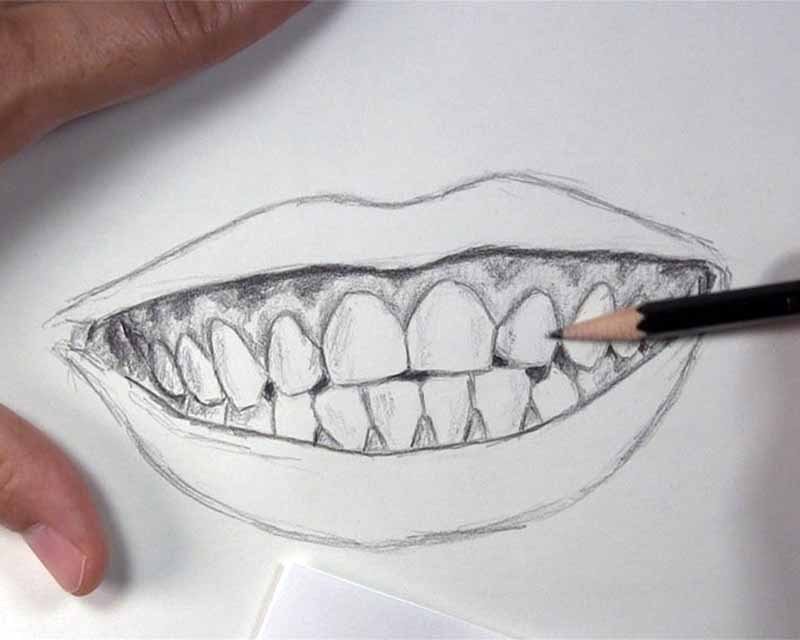
Sketch the Lips Around the Teeth
The lips play a role in helping to enhance the appearance of the teeth. This is because the lips are naturally paired together with the teeth when you draw someone smiling. Just as teeth play a role in establishing the likeness of an individual, so do the lips. Let’s sketch the outline of the top lip first.
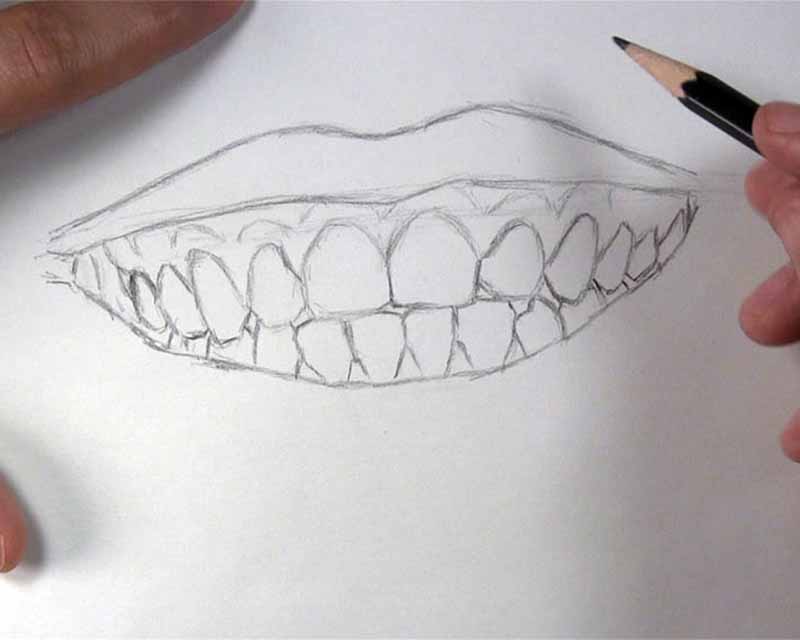
Sketch the outline of the bottom lip next. The bottom lip is generally thicker than the top lip. Using the reference photo, I can make visual comparisons between the thickness of the lips and the size of the teeth. Making observations like this throughout the drawing can help me confirm if my proportions are correct.
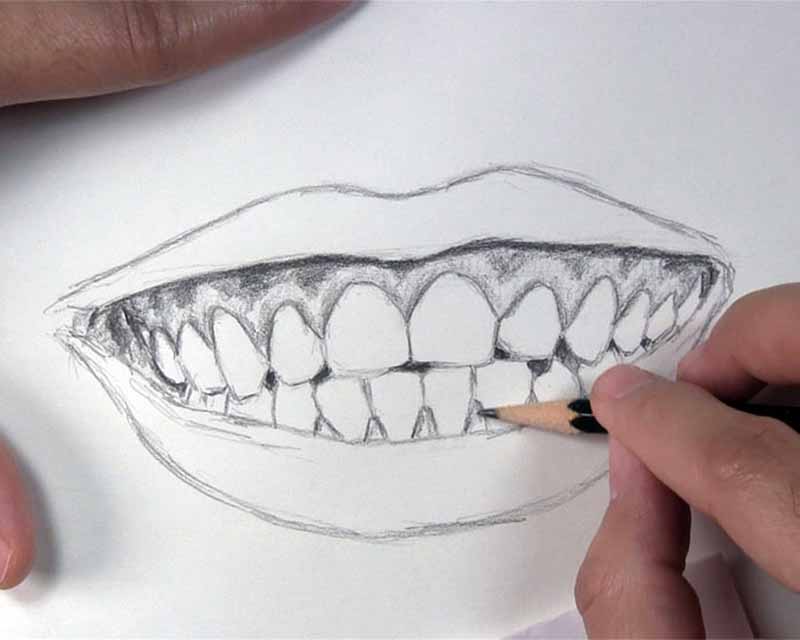
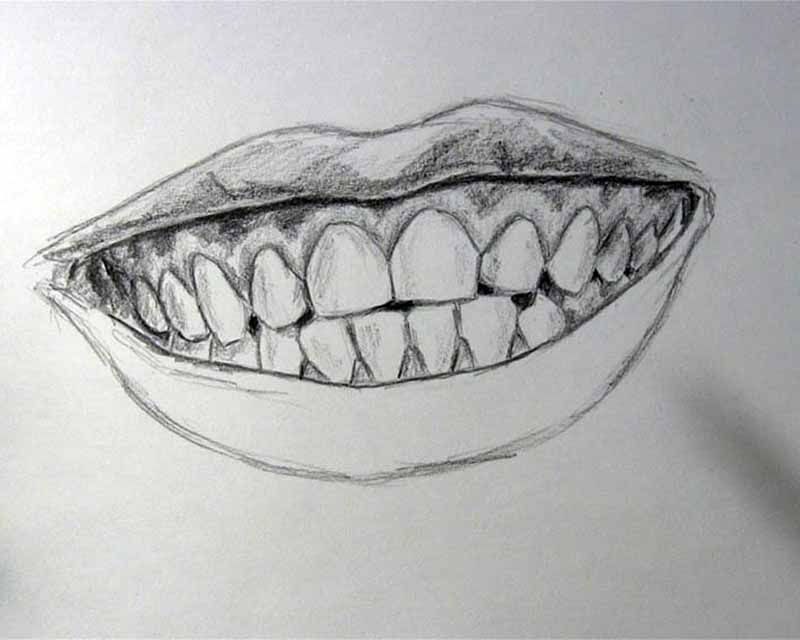
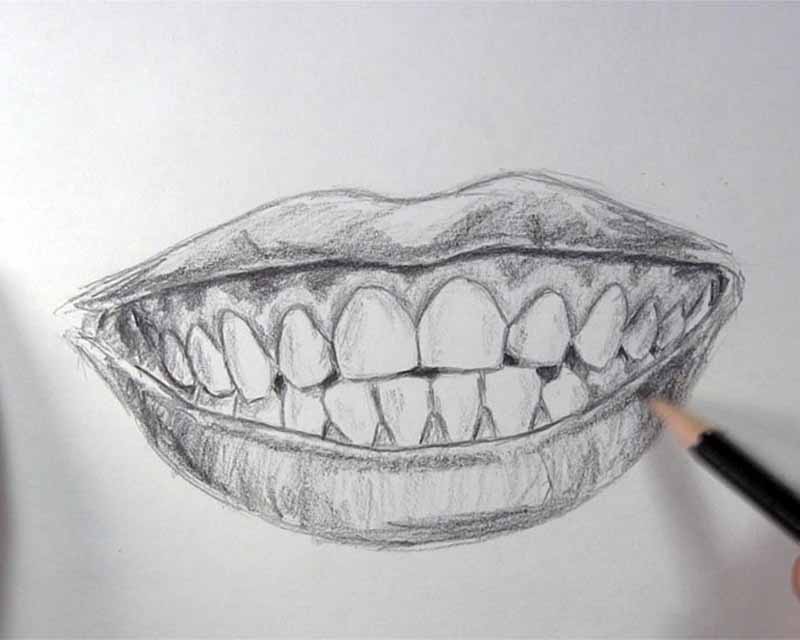
Shade the Inside of the Mouth
Now that the outline of the mouth is complete, we can add a little shading. We’ll start with the inside of the mouth. Use a sharp pencil and dark pencil marks. Fill in the negative space created by the shape of the teeth. Be careful not to shade over the edges of the teeth. Doing so will distort their shape.
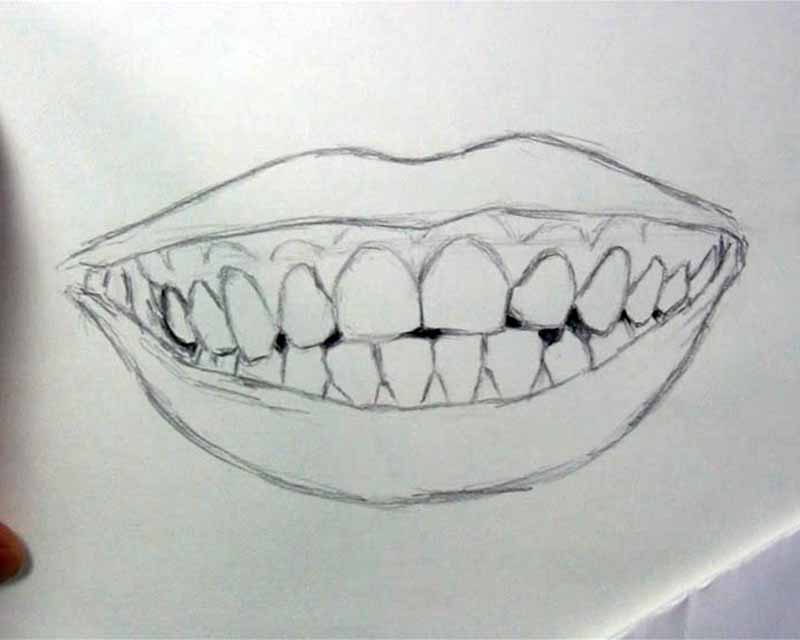
Next, outline the gumline. Doing this will help to establish more form on the gums when we shade them. Be careful with your tracing so you don’t change the shape of the individual teeth. Don’t forget to trace the gumline for the bottom teeth too!

Start shading the corner of the mouth. Before you shade any teeth, focus on shading where the top and bottom lip meet at the corner. Trace over your outlines and place some tones.
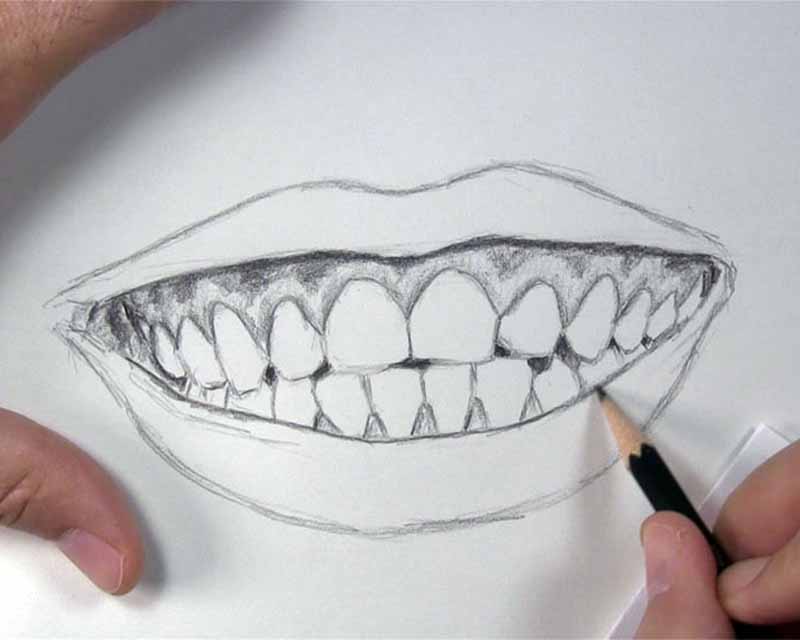
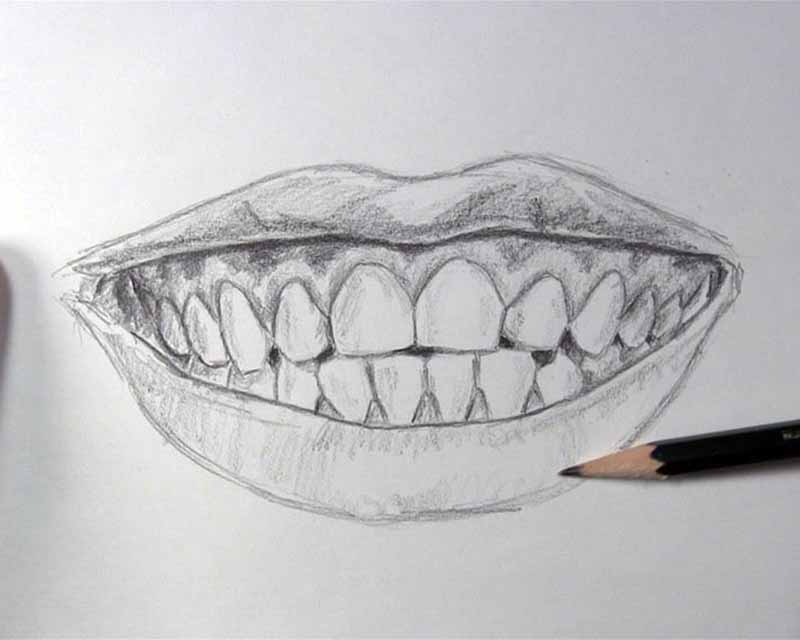
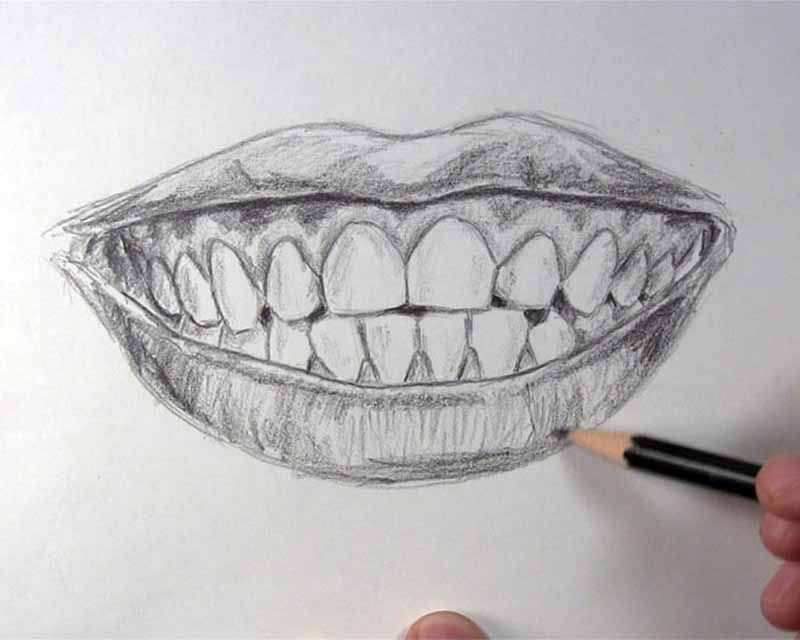
Shade the Upper Gums
Next, begin shading the upper portion of the gums. Shade above the curved ridges sketched earlier. Keep your pencil tones between these ridges and the top lip. This part of the gums will have a slightly darker value than gums closer to the teeth.
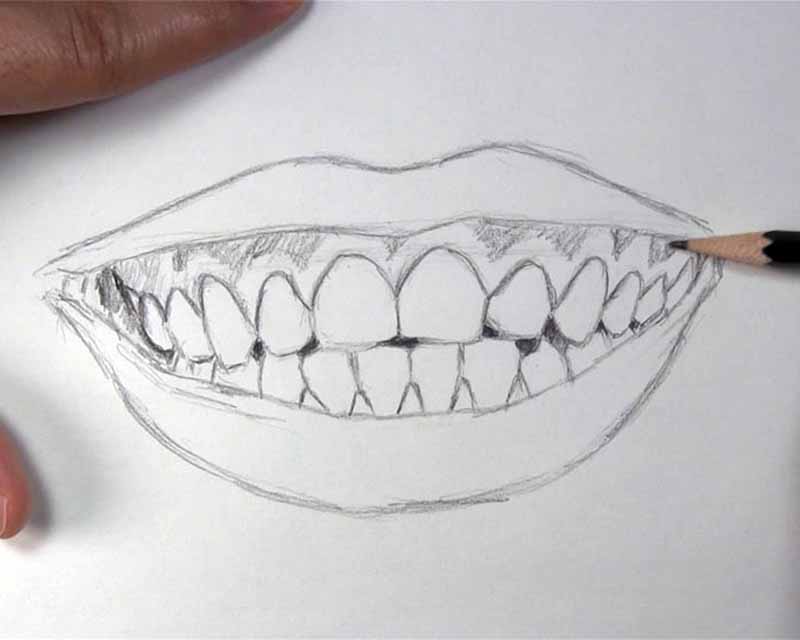
Now, lightly shade the portion of the gums just above the teeth. The darker tones above this area, along with the light values we are now applying and the outlining of the gumline we did earlier, all help to create some dimensionality to the gums, helping them to appear less flat.
Let’s not forget to shade under the top lip. Make a thin line of shading just under the lip. It’s important to remember this because when light shines on the top lip, the underside of the lip casts a shadow on the gums. The thickness of this shadow depends on the angle of the light.
Shade the Lower Gums
Although we don’t see nearly as much of the bottom gums as we do the top, we don’t want to neglect them. Shade the little triangular patches of visible gum between the bottom teeth. Keeping the middle of each triangular section a lighter value than the gumline will, again, give the gums form.
Underline the top line of the bottom lip. This is to better define the edge when we shade later.
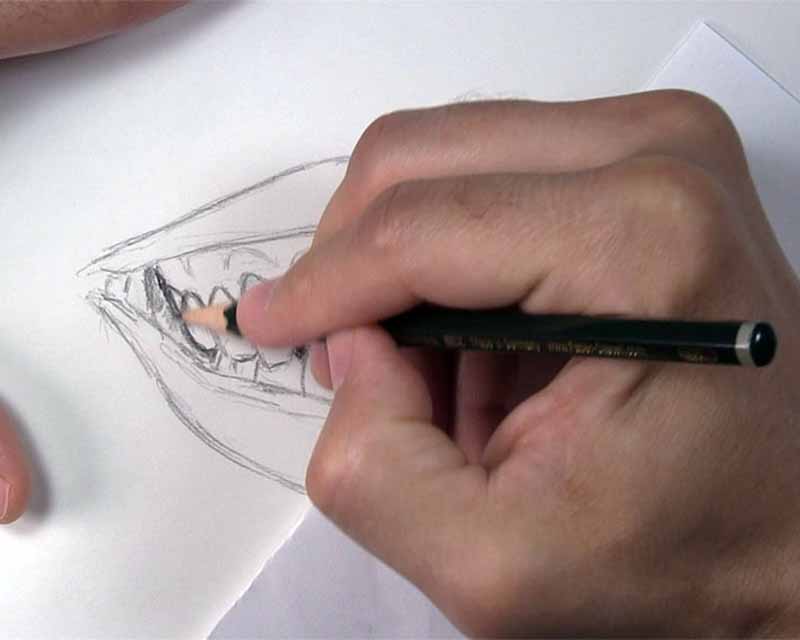
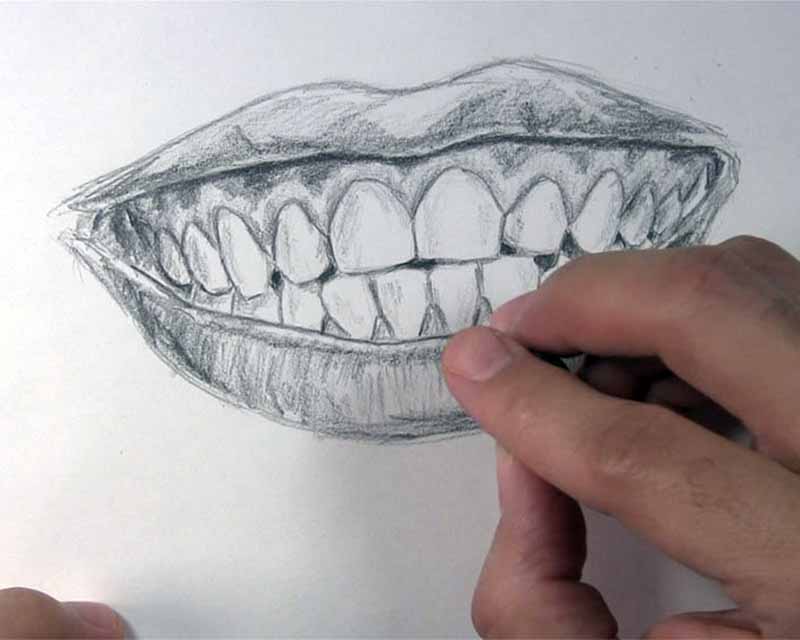
Shade the Teeth
Now that the gums are shaded, let’s shade the teeth. Start at the corners of the mouth. Remember that these teeth are receding into the background, so they will have slightly more shading on them than the front teeth. Also, be careful to not put too much shading on the teeth. They should still appear white compared to the gums.
Now, let’s shade the rest of the teeth. I’m using a very light touch. I want to use lighter values than I did for the teeth at the corners of the mouth. All that is needed is light shading along an edge or two of each tooth. A little shading helps to make the teeth look more three-dimensional.
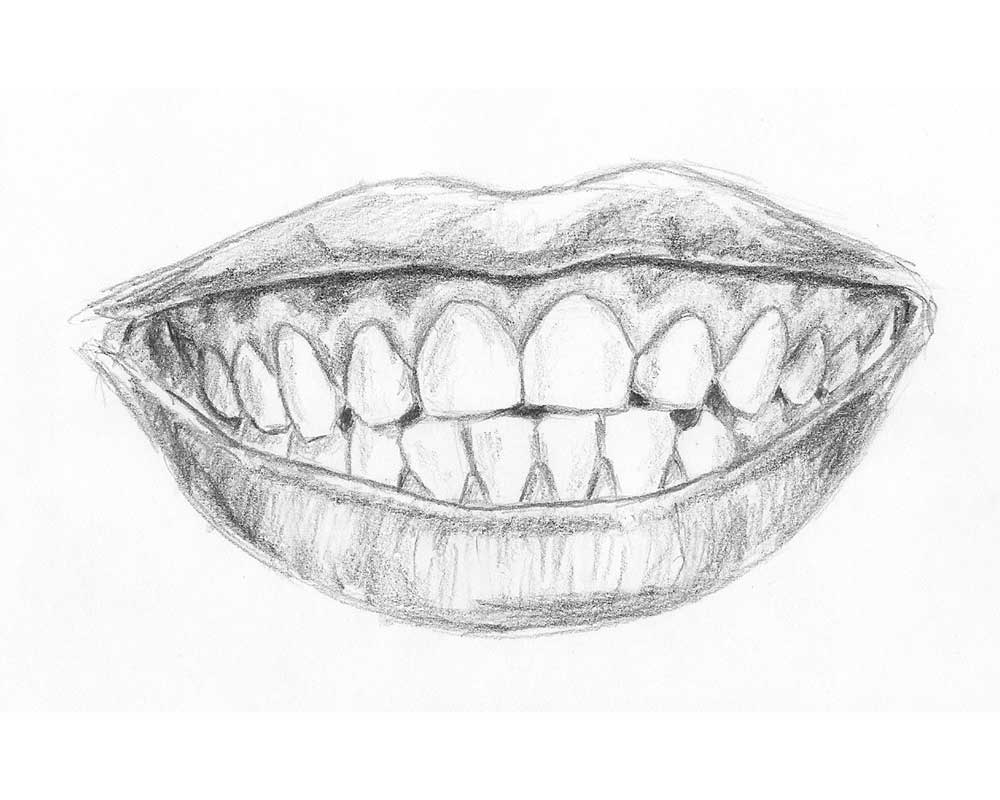
Shade the Lips
Okay, the teeth and gums are shaded, so now let’s do some work to the top lip. We’re going to just put some preliminary shading here first. I like to leave a little rim of reflected light along the bottom edge of the top lip, and I want to have more shading at the corners than I do in the middle.

I’m just building up another layer of values on the top lip. Again, I want to preserve some reflected light along the bottom edge. This helps to create an appearance of a curved surface on the lip.
For the bottom lip, I will do basically the same as what I did for the top. I’ll start with a base layer of tones. I’ll leave some reflected light, this time along the top edge of the lip. The bottom lip usually has more highlight in the middle than the top lip does.
We can go back now to put some darker values at the corner of the bottom lip. It’s a good idea to use a few curved strokes to aid in shaping the surface. We’ll do the same thing to the other side. It doesn’t hurt to go back to the top lip if necessary to maintain a consistency between the values of the top and bottom lip.
You don’t want to put as much shading in the center where the highlight is, but a few vertical strokes help to develop some texture.
You can use a kneaded eraser to lift some additional highlights. If you were drawing the lips from a different angle, the amount and positioning of the highlights would be different.
And that is how to sketch lips and teeth!
How to Sketch Better Teeth and Lips from Observation
This tutorial is meant to be a basic one to get you started. Your accuracy from pure observation will improve over time the more you practice.
To help you improve, I recommend finding pictures of mouths showing the teeth and lips and sketching them as often as possible. Find pictures of mouths that are smiling, laughing, or angry for example.
Alternatively, you don’t have to draw mouths or teeth all the time. Just the regular habit of sketching what you see will sharpen your observational skills, even if you are drawing other things. Then when you come back periodically to sketching teeth and lips, you will soon discover that you can sketch them much better.
If you want a more guaranteed method of drawing teeth and lips accurately, you can try this tutorial on how to draw the mouth using a grid. Whatever methods or techniques you use, don’t forget to practice regularly. Keep at it, and you will soon enough sketch lips and teeth effortlessly!