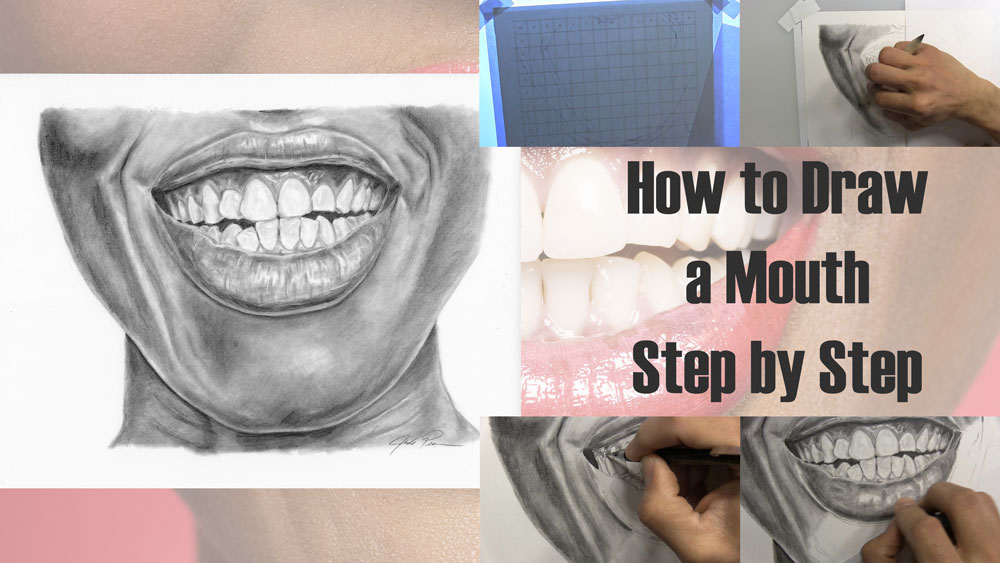
How to Draw a Mouth Step by Step
In this post, we are going to learn how to draw a mouth step by step!
If your goal is to be better at drawing people, then you have to know how to draw a face. The mouth is challenging to draw for several reason, one being its ability to transform into so many possible expressive positions! This in part is why the mouth is the facial feature that people struggle with arguably more often than any other part.
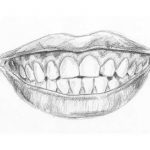
This will be a realistic representation of a mouth, lips, and teeth using an accurate grid drawing as a foundation and applying several layers of detailed shading to enhance realism.
Use a Reference Photo of a Mouth
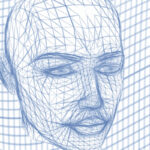
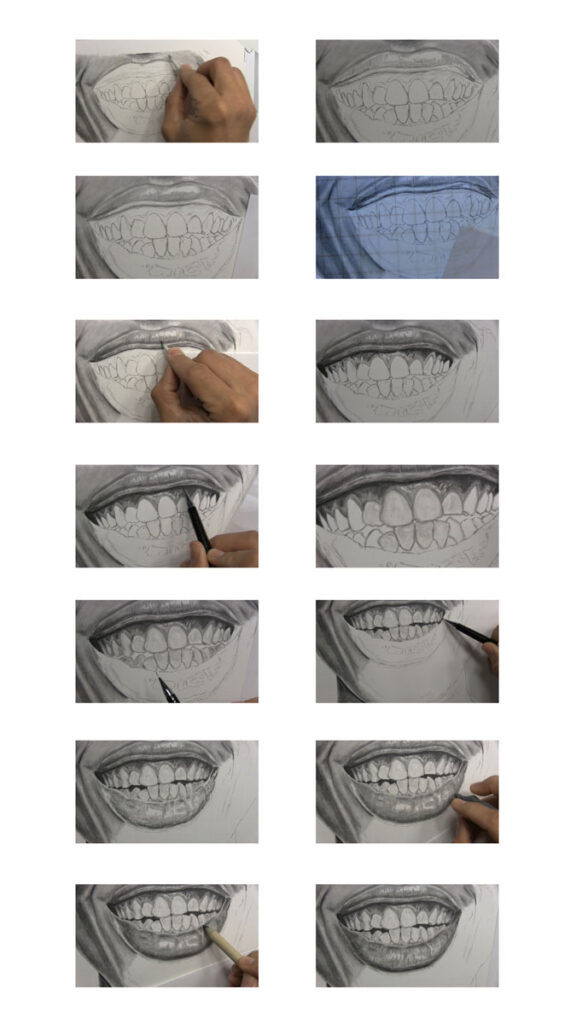
I’m using a reference photo as I draw this. Sometimes when you want to draw something complex, it’s helpful to use a grid. I have a grid on my reference photo, and as you can see in the video and pictures below, I have a matching grid under my drawing paper. I am drawing with a light box so the grid shows through my paper. This way, when I finish my line drawing, I don’t have to bother with erasing the grid lines before shading. I’ll even use the grid occasionally during the shading process.

I’m drawing the entire lower half of the face and neck, but for the purposes of this lesson, I’ll just briefly explain how to draw the lips and teeth of the mouth step by step before shading it all. It’s okay if you don’t have a grid and light box. You can still practice along with me on drawing paper.
How to Draw a Mouth Step by Step Video Tutorial
You can watch the time-lapse video version of this tutorial below. Watch it once all the way through to get a sense of the overall process. Then watch a second time and draw along with me, pausing as needed. If you prefer, you can use one of the links directly below the video to access the complete version of this tutorial. It will show you my process for how to draw a mouth step by step with video clips at normal speed.
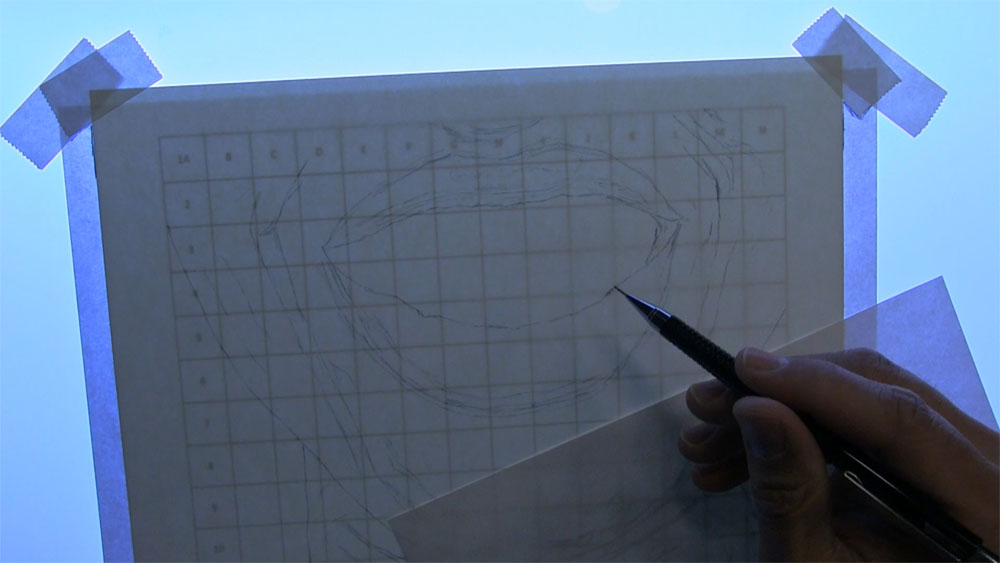
Draw the Top Lip
Let’s begin with the lips. We’re going to make the top outline for the upper lip first. Be sure to sketch the top part of the top lip just below the nose that takes a dip. This trait is very characteristic of lips in general. Stop at the corner of the mouth.
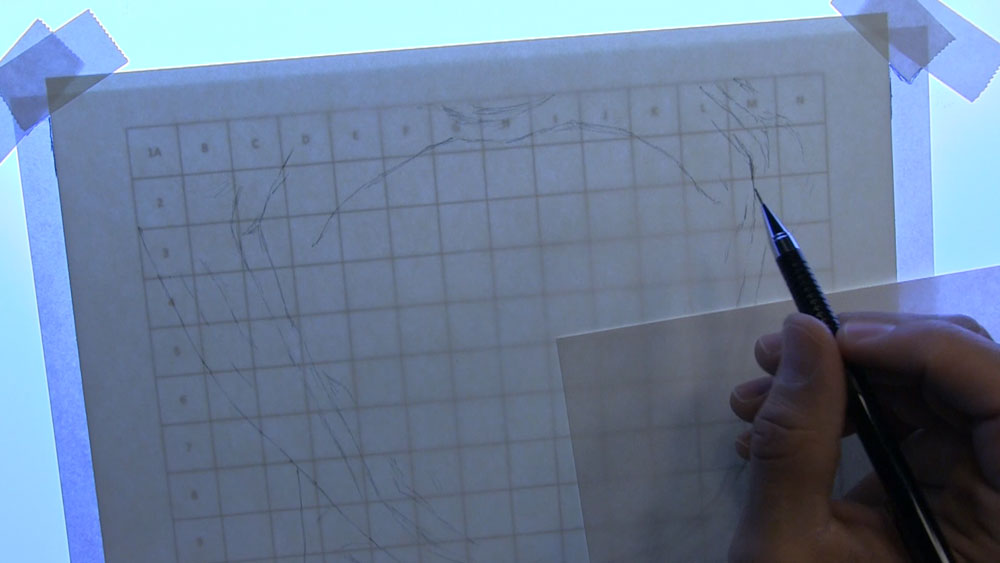
Continuing from the corner, we will curve up and keep going to draw the bottom part of the top lip now. Make sure to put the dip in the lower part of the top lip that is directly under the dip from the top part. Merge the line at the corner of the mouth to reconnect where you began.

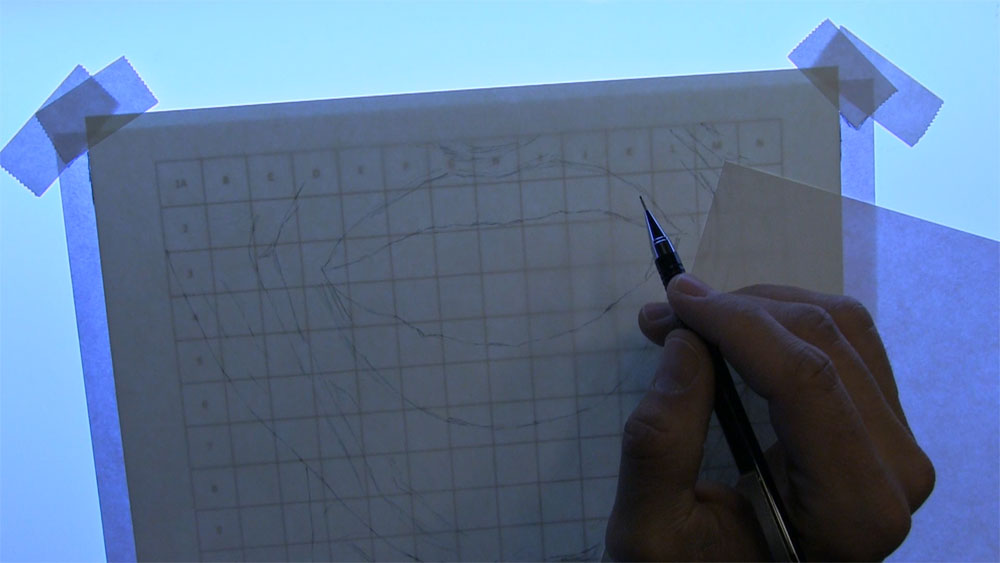
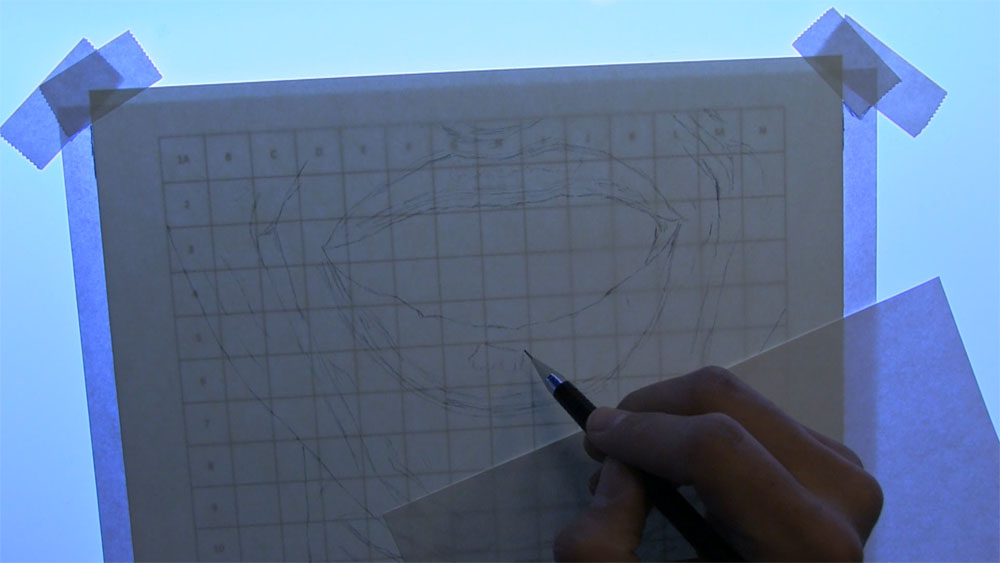
Draw the Bottom Lip
Now on to the bottom lip. We’ll sketch the top part of the bottom lip first. If you pay attention to enough reference photos of lips, you will notice some little dips and other subtleties in the outline of the lip. Draw the inner part of the inner corner of the mouth as you get to the end.

Now we’ll do the bottom part of the bottom lip. Start from this corner and work your way down the bottom curve of the lip. You should make the bottom lip slightly thicker than the top lip. Reconnect with the first corner.
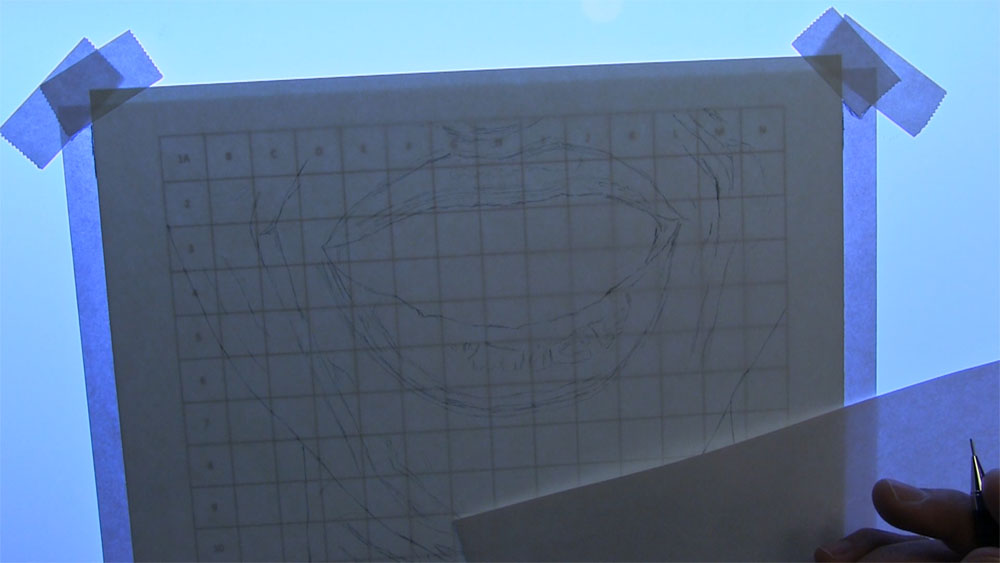
Add Details to the Lips
Put some light lines to indicate the value changes of the top lip. Try to define the border of the round highlight near the top of the top lip. It’s kind of spotty in some places and more solid in others. A big mass is good enough for now.
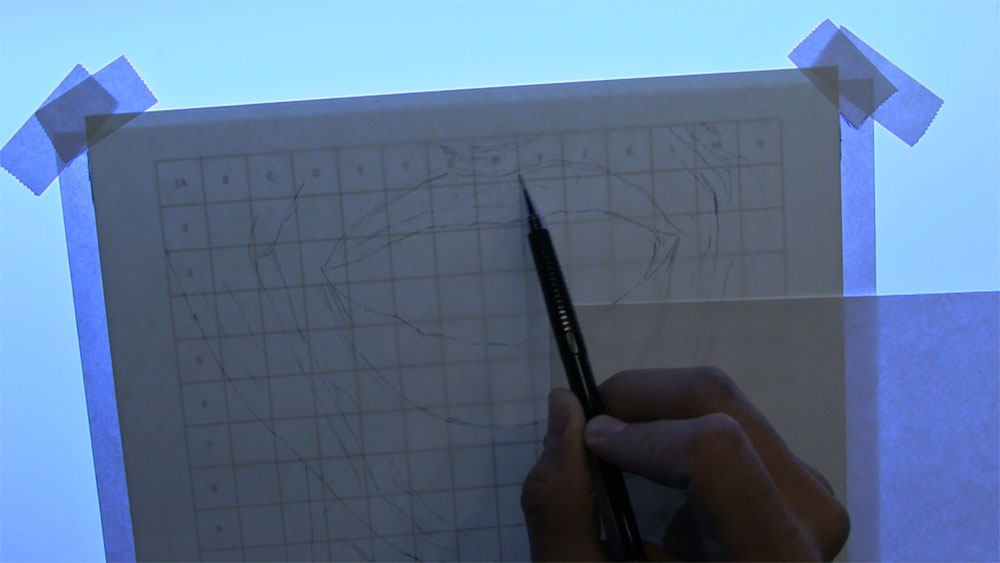
There is also a thin highlight underneath the big one that extends most of the length of the lip.
Repeat this process on the bottom lip, looking for and sketching areas where color values change from light to dark. Sketch the reflected light along the bottom rim of the bottom lip, as well as the thin sliver of dark shadow just under the bottom edge.
Sketch the basic shape of a highlight on the lower lip. The texture of the lip breaks the highlight up quite a bit. The idea for now is to sketch a very basic shape that we will polish later on.
Keep working to add more highlights. Don’t worry about getting all of it perfect. You just want to put some basic shapes in various places on the lip where light is likely to be hitting the lip.
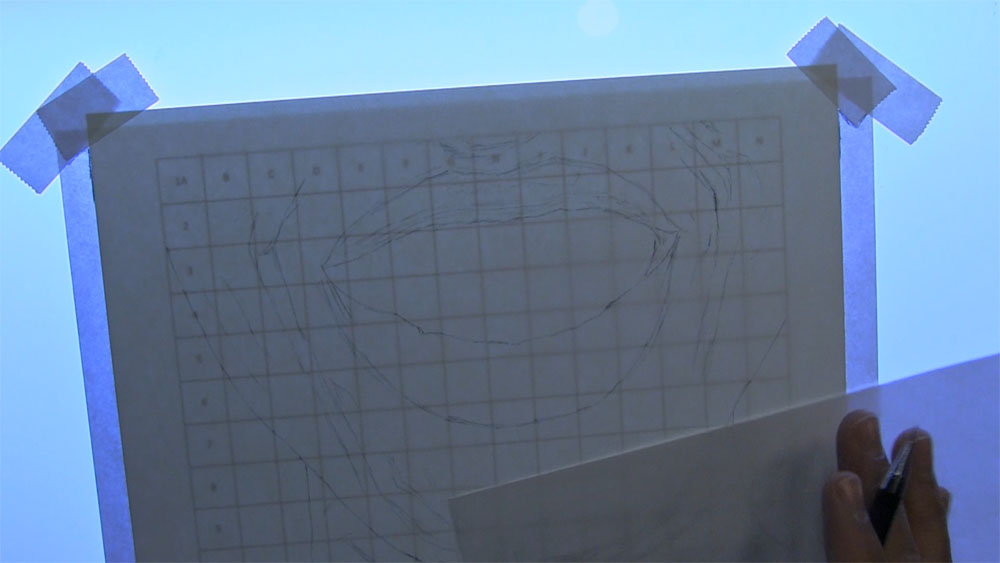
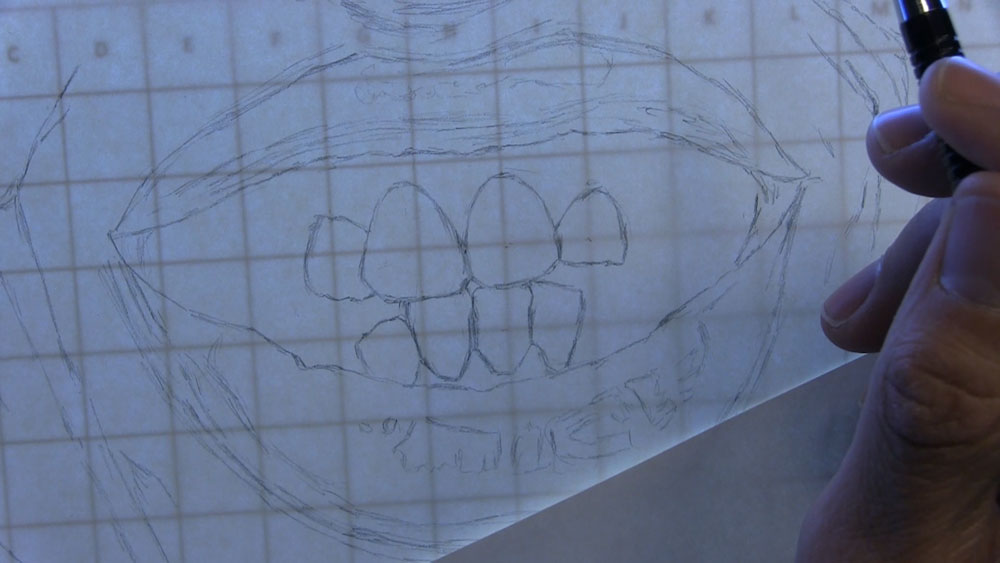
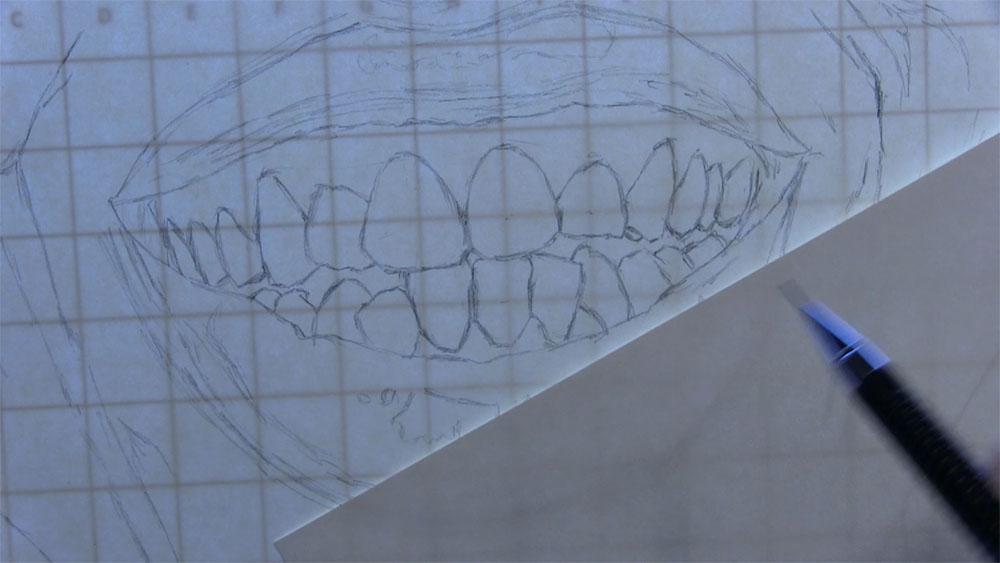
Draw the Front Teeth
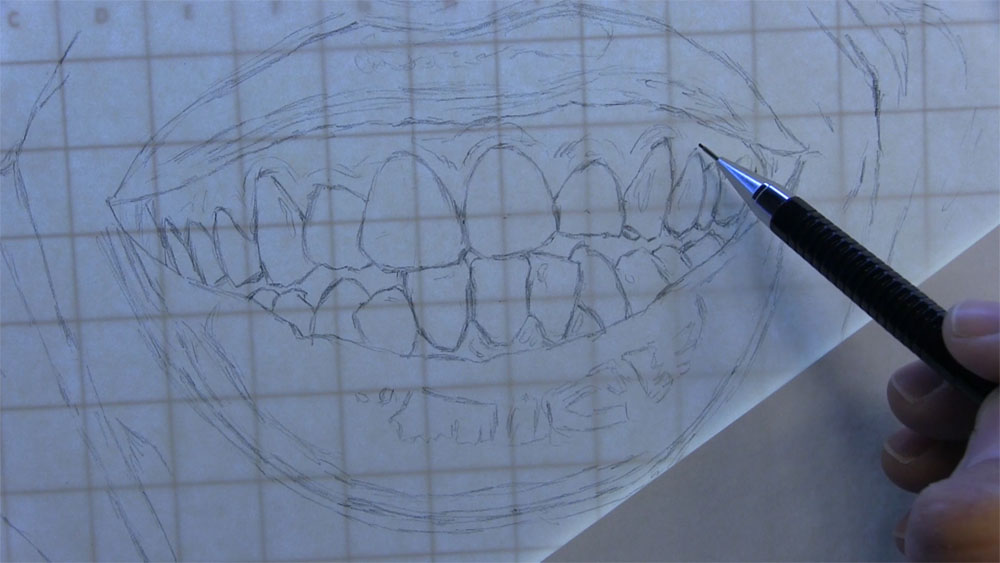
Okay, now let’s draw the teeth. Remember that teeth play a huge role in creating the likeness of a particular individual you may be trying to draw, so it is important to draw them properly. Teeth are very tricky to draw. Using a grid like I am now is very helpful, and with enough practice, will allow you to draw teeth more easily and more accurately without the support from a grid.
Let’s start with the teeth in the middle, the central incisors. As you draw any particular tooth, pay close attention to what is and what should be happening with the tooth and the others adjacent to it. As yourself questions such as, “Where and how should this tooth curve?” and “How does this tooth align with the teeth beside it?”
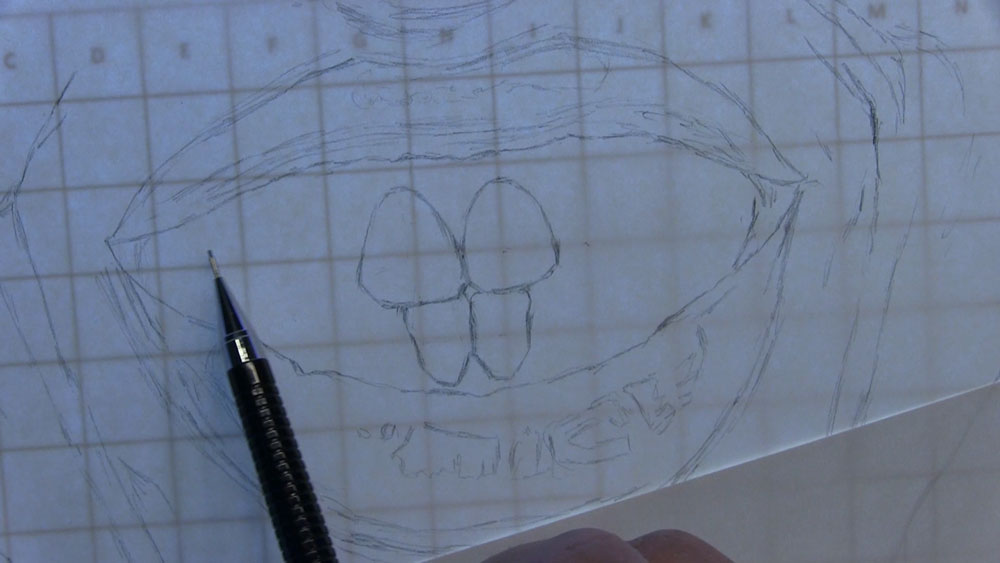
Keep working, moving to the lateral incisors. Try to capture the proper size and curvature of each tooth to the best of your ability. Also, pay attention to gaps between each tooth, where they occur, and how big they are. Take extra time to make sure the teeth are as accurate as you can get them compared to any reference photo you may be using when drawing teeth in the future. It’s far easier to fix mistakes now than it would be after we start shading.
Finish Drawing the Teeth
Next, we’ll do the canines, two on each side. There is a noticeable difference between the canines and the teeth adjacent to them. For this person, the top two canines should go high into the gum line. To see just how far, check the alignment of each canine with that of the two front teeth.
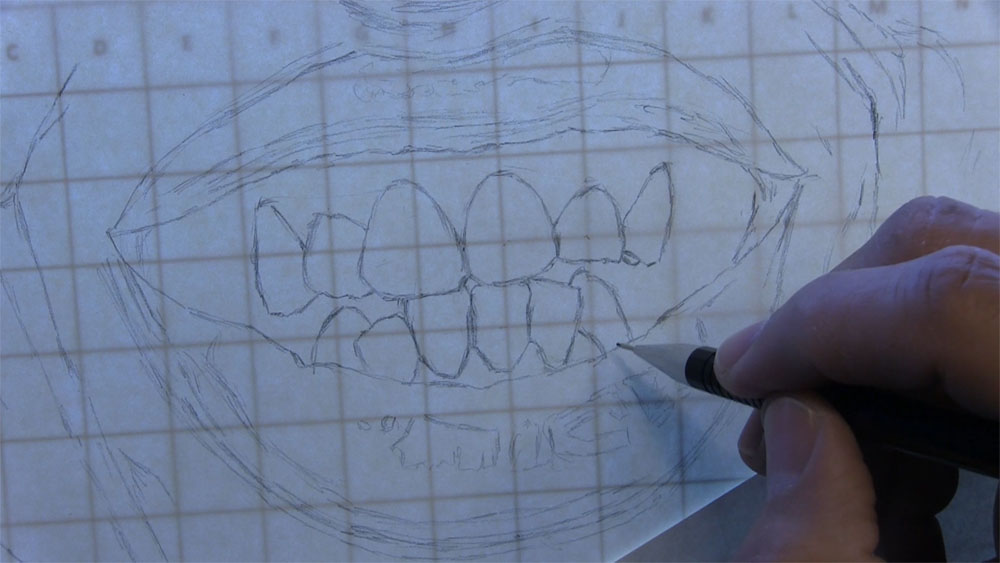
Draw the premolars next on our left side. Again, use the alignment of the other teeth you previously drew to decide how much height to give the tooth you are currently drawing.
Now draw the premolars on the other side. Since these teeth are receding farther into the back of the mouth, they should be getting smaller and smaller. You should also see more curvature along the side of these teeth.
Finish up drawing the outline of the teeth by drawing the molars in the very back of each side.
As far as the order in which you draw the teeth, you don’t have to always do it in the same order I did for this tutorial. I just did it this way to make it easier for you to identify which teeth I am drawing and to more easily follow along.
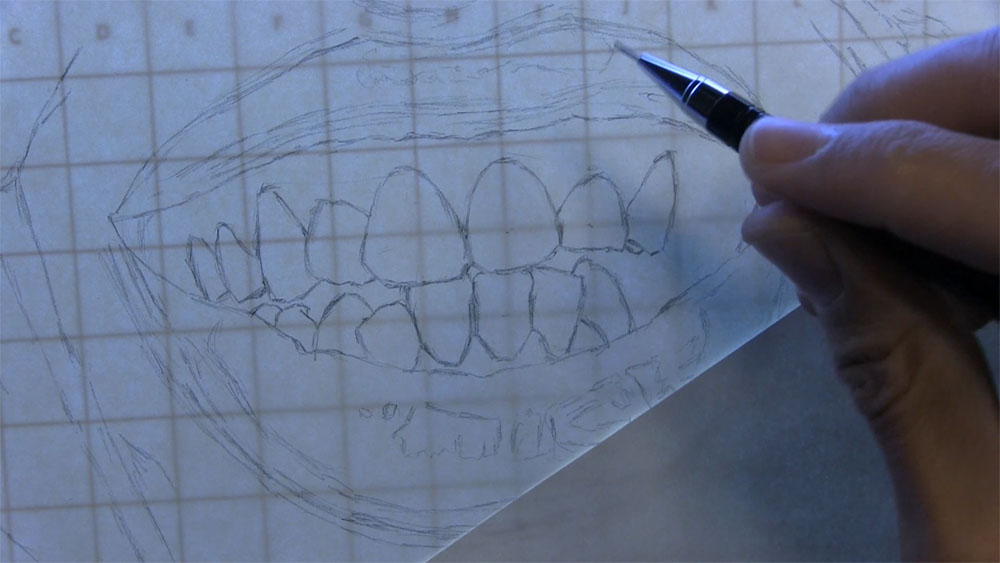
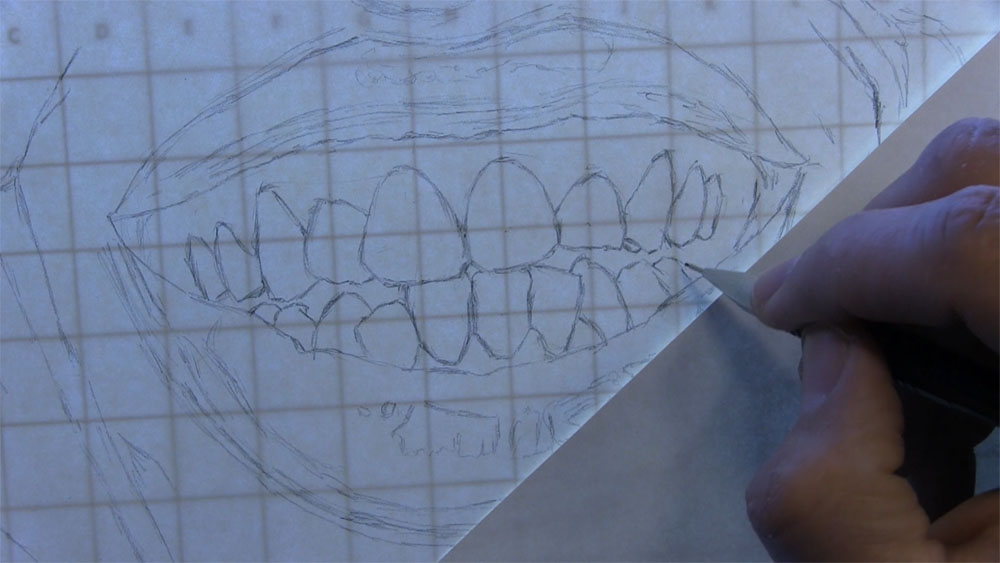
Just like we did for the lips, sketch some light highlights and value changes on the gums and teeth. We will use these to put more detail on these areas later on when we shade. Step away from your drawing and take a close and objective look. Make simple tweaks to fix anything that looks off.
Complete the Shading for the Mouth
Now that we have seen how to draw the step-by-step outline of the mouth, the next thing to do is add some shading.
Basically, I will be applying light and dark pencil tones, blending the tones with a tortillion or a blending stump, lifting highlights with a kneaded eraser, and layering additional details on top of what I already shaded to create even more realism.
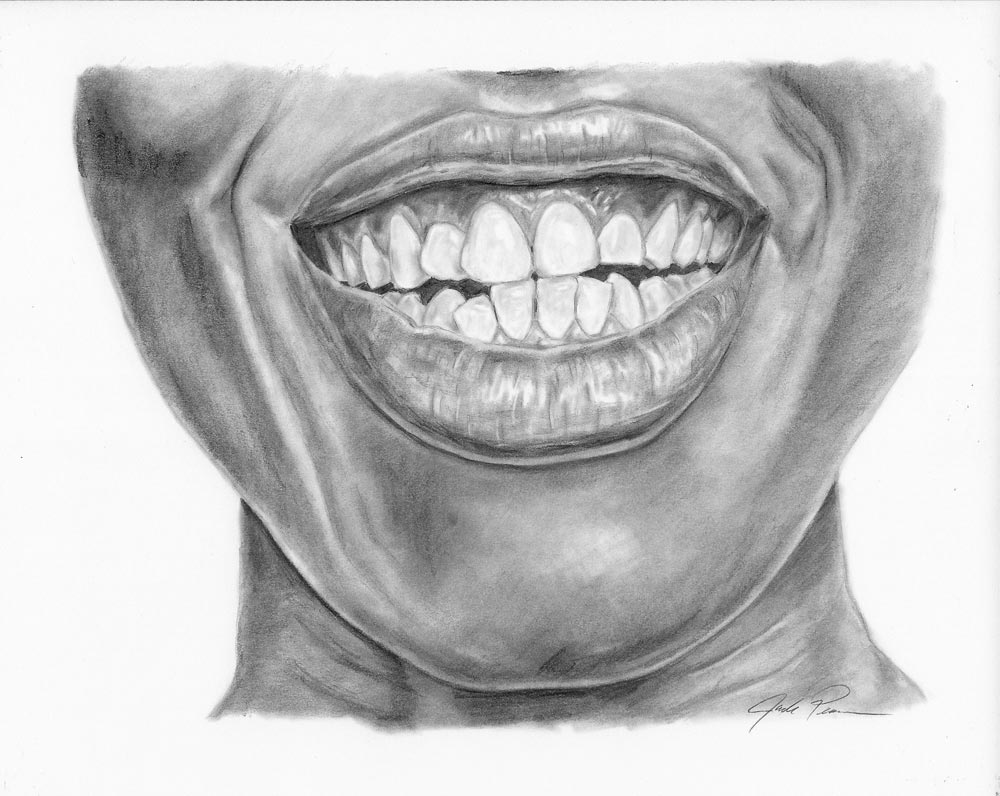
And that is how you draw a mouth with realistic lips and teeth!
If you’d like to know more about how to draw a smiling mouth without a grid, you can pick up some tips from this tutorial about how to sketch lips and teeth freehand.