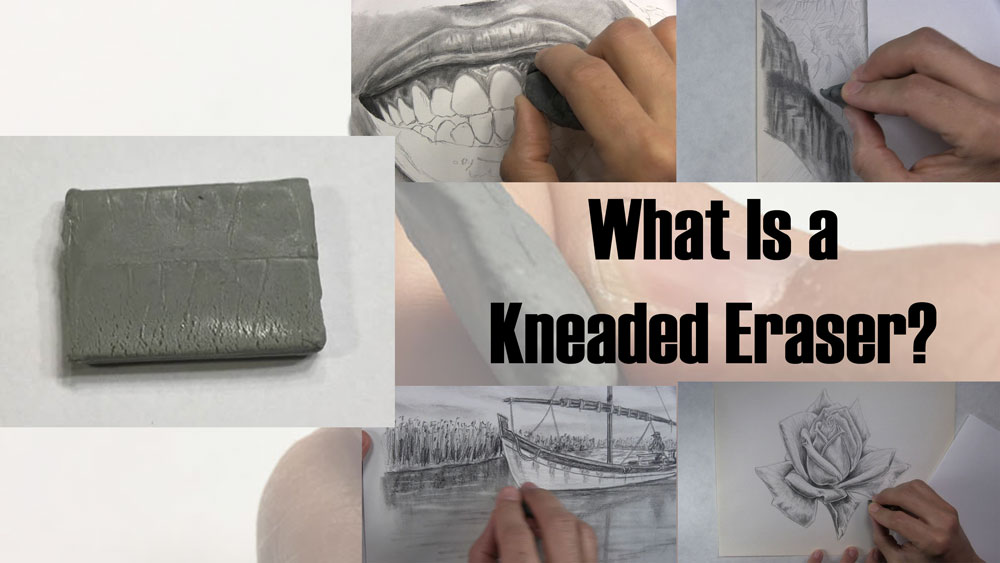
What Is a Kneaded Eraser? Meet Your New Best Friend
If you have ever known anyone who draws pencil portraits or other types of pencil art, maybe you have heard them mention using a kneaded eraser. If you are a regular reader of tutorials here on this site, then you have undoubtedly seen this eraser mentioned on more than one occasion.
But just what exactly is a kneaded eraser?
This article will explain everything you may have ever wondered about a kneaded eraser, from what it is to how to use it and clean it. We’ll even talk about different brands and how to make a kneaded eraser at home.
Table of Contents
What is a Kneaded Eraser?
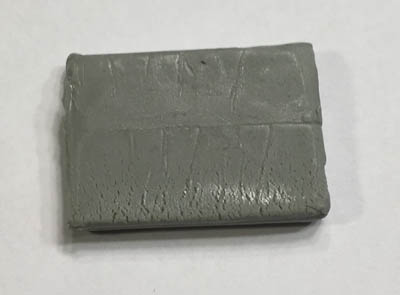
Merriam-Webster states the kneaded eraser definition as “a soft pliable eraser of unvulcanized rubber used especially to remove graphite or charcoal marks from drawing paper”.
In actuality, this eraser is known for removing not only graphite pencil and charcoal marks but also chalk and pastel markings.
So what’s so special about that? There are many other types of erasers that can “remove…marks from drawing paper”. Well, the kneaded eraser has some specific purposes and abilities that are very useful, valuable, and frankly difficult for most other erasers to measure up to.
A kneaded eraser is especially good at removing some of the graphite (for example) and purposefully leaving traces of the graphite on the paper for artistic effects, such as with reflected light or a midtone area that needs to be a slightly lighter value.
Kneaded erasers are fantastic for pulling brighter highlights out of tight areas. You can use a kneaded eraser to ensure that the whitest whites are reserved for areas such as the highlights on a shiny surface and portions of the whites of the eyes and teeth, for example.
In a similar fashion, you can use the kneaded eraser to pull highlights out of hair or fur. Additionally, some artists use it to carefully rub out loose strands of hair that overlap the general mass of hair on the head.
How to Use a Kneaded Eraser
If you’d like to know how to use a kneaded eraser to achieve some of the artistic effects mentioned above, it often comes down to molding it into a particular shape. Some tasks call for a rounded corner similar to a typical eraser. Some tasks call for a thin wedge. Other tasks require that it be twisted into a point.
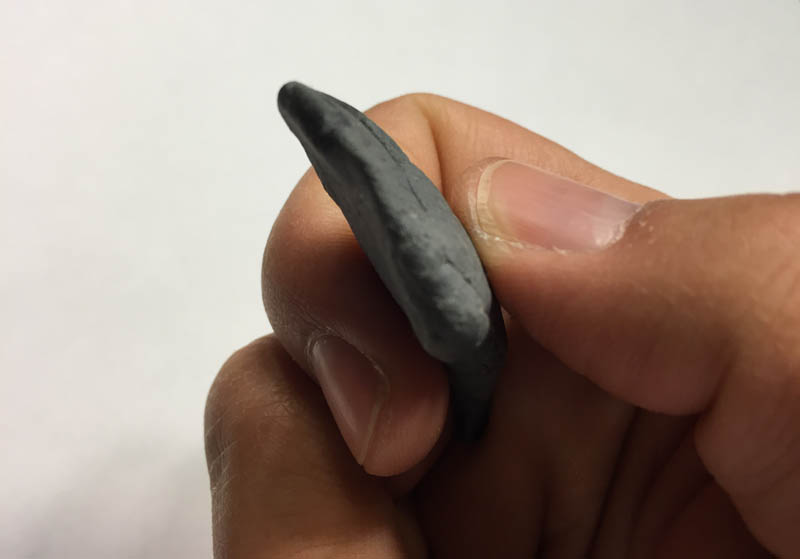
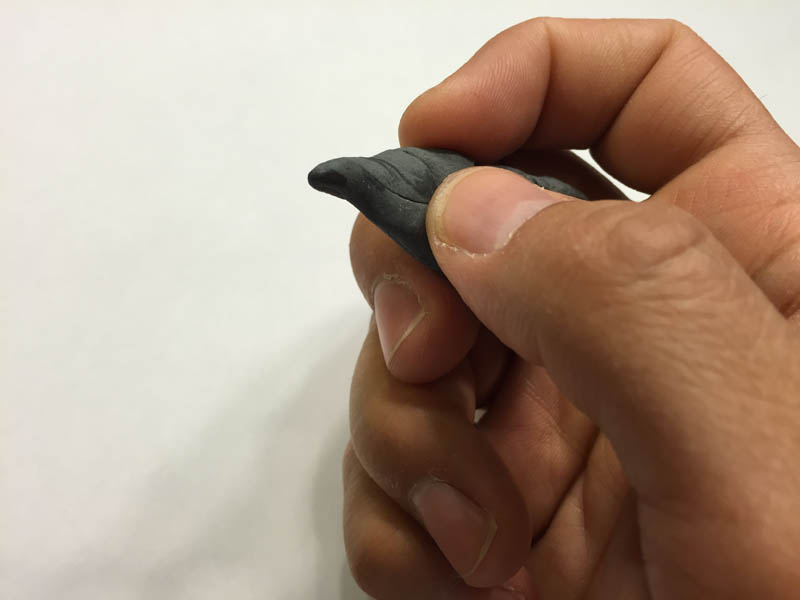
You can mold the eraser into these different shapes back and forth as you go along. Alternatively, you can mold it into a shape like the one below before you begin your project.
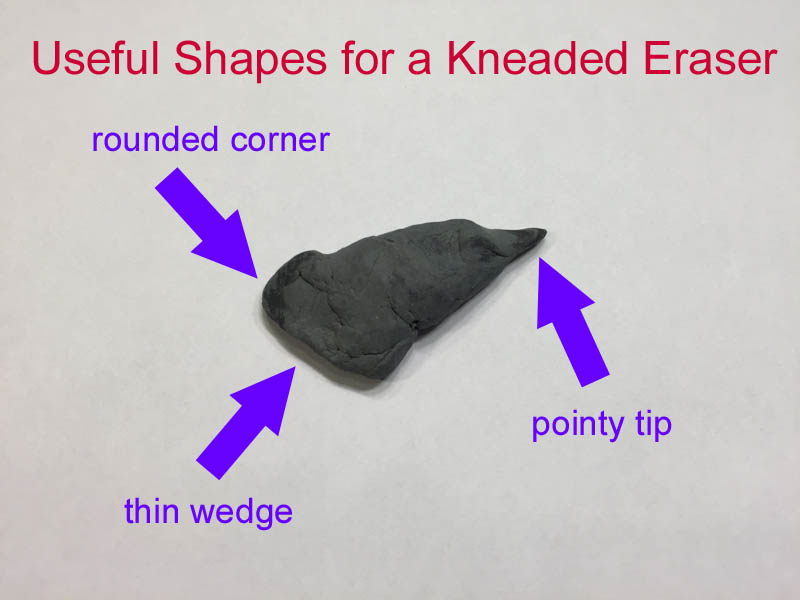
I find that mine naturally begins to develop into a shape similar to this over time.
Read on for a few examples that you can apply to portrait drawing and other types of drawings too.
Lightening Up a Midtone Area with a Rounded Corner
Let’s say you have applied some graphite to a skin tone and smoothed it out with a blending tool. Now, you realize that you want to make that area appear a little bit lighter in value.
Simply use a rounded corner or edge of your eraser to carefully pick at the area that you want to lighten. Don’t rub vigorously as you might do with a traditional eraser. Rather, almost think of it as you would “blot” a stain out of a carpet.
Making Use of a Thin Wedge
If you take a kneaded eraser and press along an edge to create a thin wedge shape, you can do some very cool things with your drawings.
One of my favorite things to create with a kneaded eraser is reflected light.
Reflected light is light that is reflected off of a nearby surface. It is usually evident along an edge where an object is curving away from the foreground. Reflected light plays a significant role in creating the illusion of three-dimensional realism.
To make reflected light, first shape your eraser into a thin wedge like this.
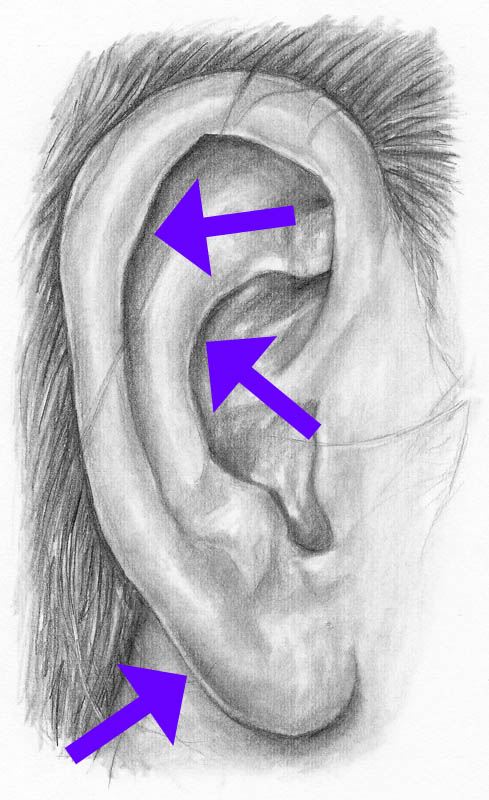
Then carefully and lightly tap or rub your eraser along the edge of the object with short upstrokes. In this example, I used a kneaded eraser to create reflected light along the edges of an ear. This helps to bring out a natural contrast of values and to realistically separate the forms.
But that’s not all!
Here are a couple of other things you can do with a kneaded eraser’s wedge shape.
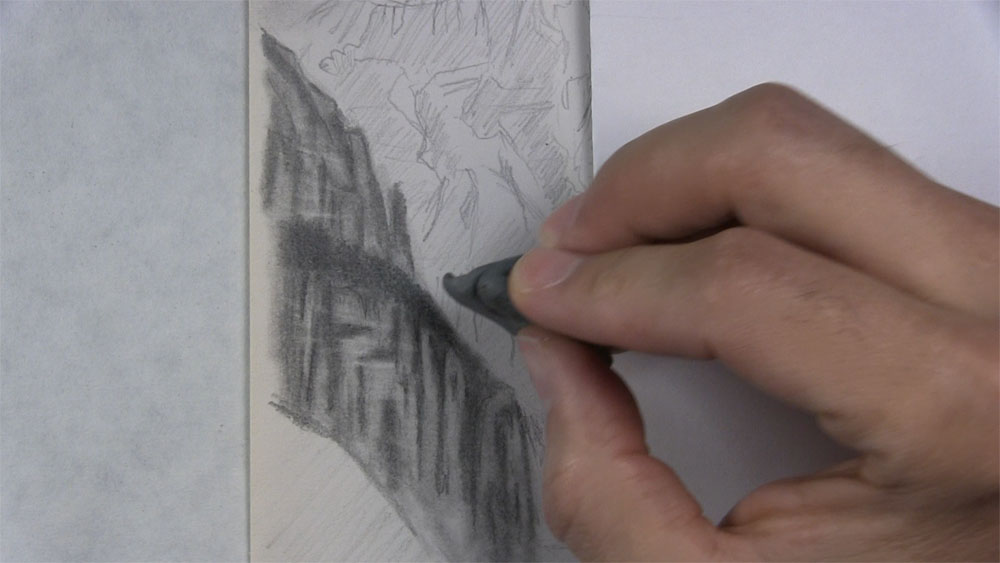
In this example, I used the thin edge of the eraser to create the strata lines on the side of a mountain.
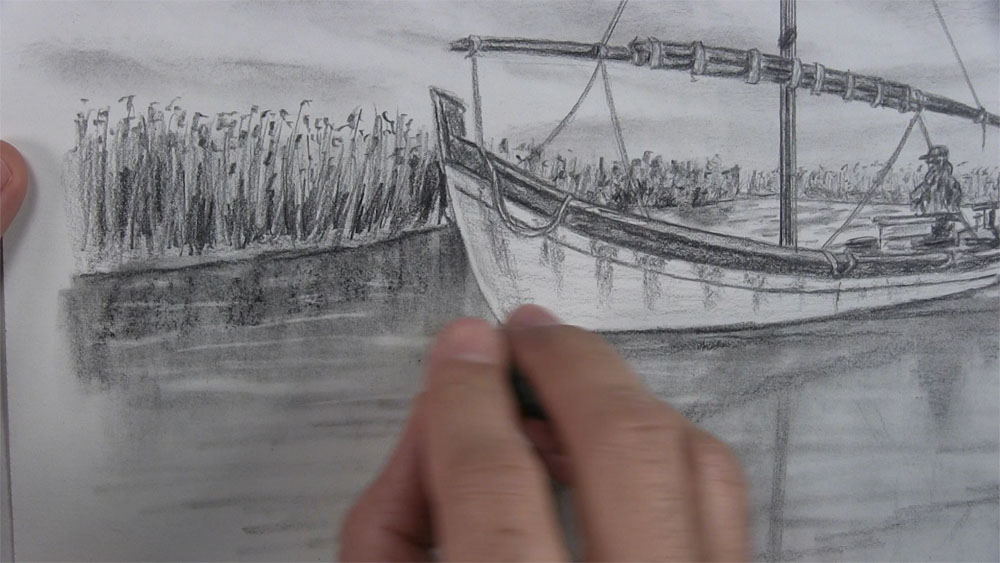
And here, I streaked the edge across the water to create ripple lines in the lake.
Using a Point for Tiny Highlights
To pick out a tiny area of highlight, such as the highlight of an eye or a shiny spot on a wet surface, twist your kneaded eraser into a point.
Then tap the area to make it white. Often times, you will intentionally leave this area white to begin with and shade around it. When you blend the graphite around it, some of the graphite will go into the area you leave white. The kneaded eraser helps to remove this blended graphite and also makes for a natural transition.
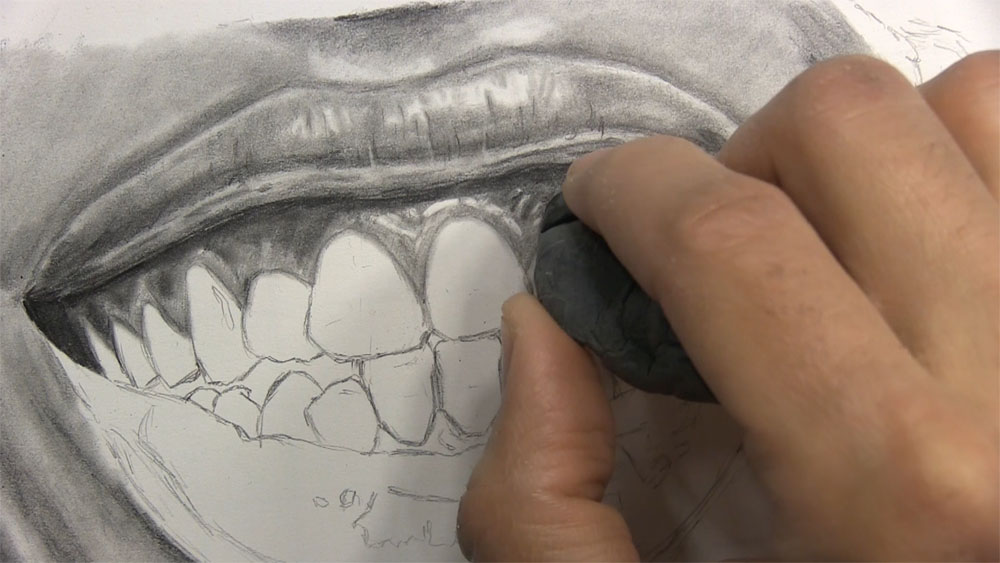
Here is an example of me using a pointy tip to lift tiny highlights from the gums.
Most eye highlights traditionally look round inside of the iris. At times though, a reference photograph may dictate a different shape for an eye highlight.
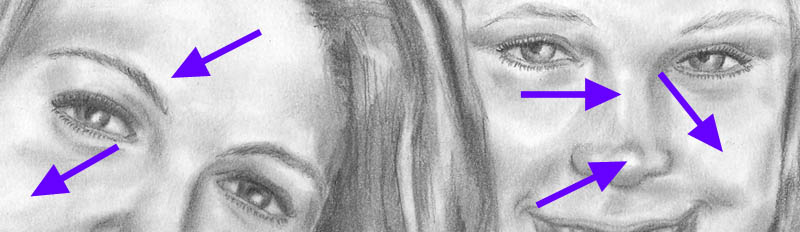
In the example below, you’ll notice a square highlight in the eye. The eyelashes above are casting shadows within this square highlight. There is also a round point of bright white that is barely noticeable within the square. This is a sort of “highlight within a highlight” if you will. This bright point was pulled out with the tip of a kneaded eraser.
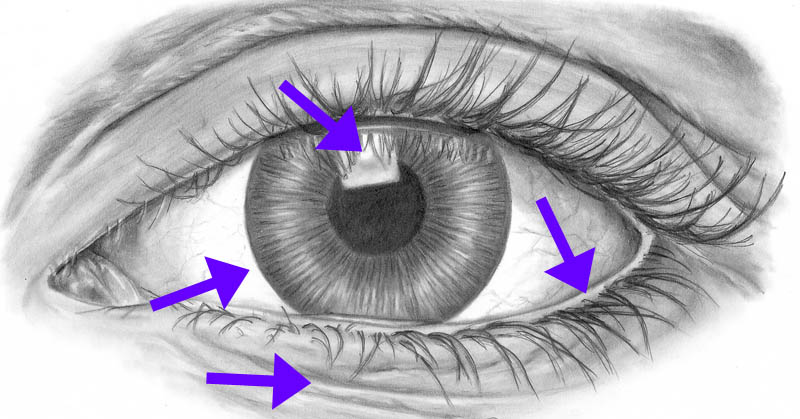
The arrows in this picture show a few other areas around the eye that the edge of the eraser helped to create. Most notable are the sharp edge of the iris against the white of the eye, the lower eyelid rim, and the wrinkles in the skin surrounding the eye.
How to Use a Kneaded Eraser for Drawing Hair
Realistic hair is drawn in layers. It is a process that involves laying down tones, blending the tones together, pulling out highlights, and repeating. The kneaded eraser does the job of pulling out the highlights. I mostly use one shaped into a thin wedge to accomplish this.
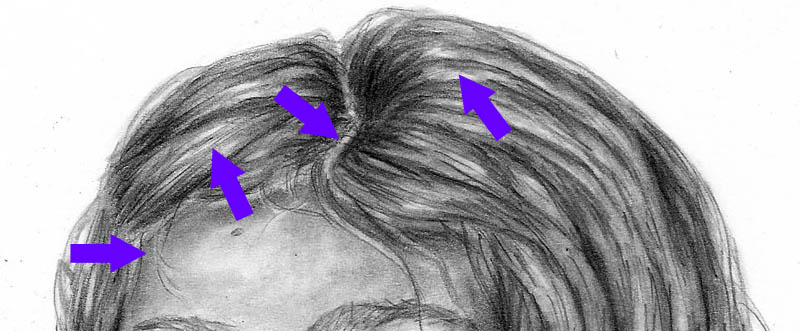
In the above example, I used the eraser to make the part in the hair, the highlights in the various sections of hair, and to accent a few stray hairs.
How to Clean a Kneaded Eraser
As you use your kneaded eraser, you will find that it accumulates all of the graphite or charcoal you apply to it. That might leave you wondering how to clean it.
Well, there’s no set way to truly get it clean. However, you can give a kneaded eraser the appearance of being clean by making new, clean spots on it and using it again and again.
This is achieved by doing exactly what the name implies…kneading the eraser. To do this, simply pull on the eraser so it stretches and fold it over upon itself to find a clean spot.

- Take a dirty, spotty kneaded eraser.
- Pull and stretch the eraser out.
- Fold the eraser upon itself.
- Smooth it out and you are done!
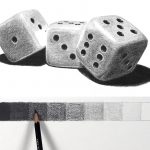
Repeat this process as often as you want. You will notice the kneaded eraser getting smoother and lighter in color as you continue to pull and fold it over.
Brands of Kneaded Erasers
Affiliate Disclaimer: The links below are affiliate links. I will receive a small commission if a purchase is made through one of these links. Learn more here.
There are different brands of kneaded erasers from which you can choose. Some artists have preferences for certain brands because they notice advantages and disadvantages between the brands.
Which brand is the best kneaded eraser?
Some like the Sanford Design because they think it can best hold its shape if molded into an edge or a point. I have heard of other artists stating a preference for the Faber-Castell eraser, claiming that it does a better job of pulling the medium off of the drawing paper.
Quite often over the years, I have used the Prismacolor brand. I am very satisfied with its ability to hold its shape as well as its ability to pull graphite.
In my personal opinion, I don’t notice a significant enough difference between brands to justify one being better than the other.
I am currently using an assortment of different brands collected over time either individually or as part of art or pencil kits.
Ultimately, the best kneaded eraser comes down to your personal preference; that is, if there is even a best one at all.
Making Kneaded Erasers
If you have ever wondered what kneaded erasers are made of, they can be broken down into a few key components. One ingredient includes factice, which is a soft rubbery substance that is derived from vegetable oil. Other common ingredients include natural rubbers, synthetic rubbers, and coloring agents.
A kneaded eraser is a very inexpensive art tool. However, if you are very frugal and do not want to buy one, and if you have lots of time on your hands, you can make your own.
Here is how to make a kneaded eraser…
First of all, you will need a regular eraser and a pad of sticky notes. Take one sticky note and flip it over so the sticky glue side is facing up.
Rub the eraser on the sticky part of the sticky note. Rub firmly enough that eraser shavings are coming off of the eraser and the glue is coming off of the sticky note, yet rub gently enough so that you do not tear the sticky note.
Gather the eraser shavings together. Repeat this process with all of the sticky notes. Clump the pile of eraser shavings together, and now you have a homemade kneaded eraser!
The Best Eraser for Drawing
There are many erasers available to a pencil artist with a variety of purposes. Now that you know the answer to the question “What is a kneaded eraser?”, you may be wondering how it measures up to the multitude of other art erasers.
Speaking in a very general sense, it’s my opinion that the best eraser for drawing pencil art is hands-down the kneaded eraser. It does wonders for creating realistic effects.
I drew the picture below for my wife for Valentine’s Day. It is a picture of us when we visited Bryce Canyon. She insisted that I share it somewhere on my website, so here it is!
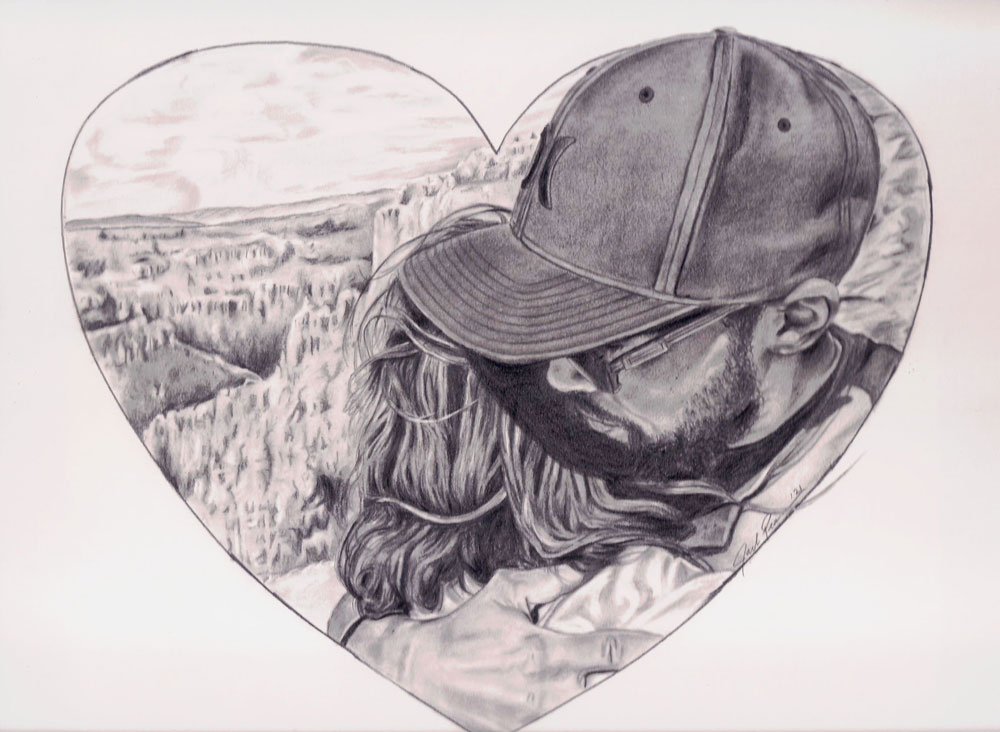
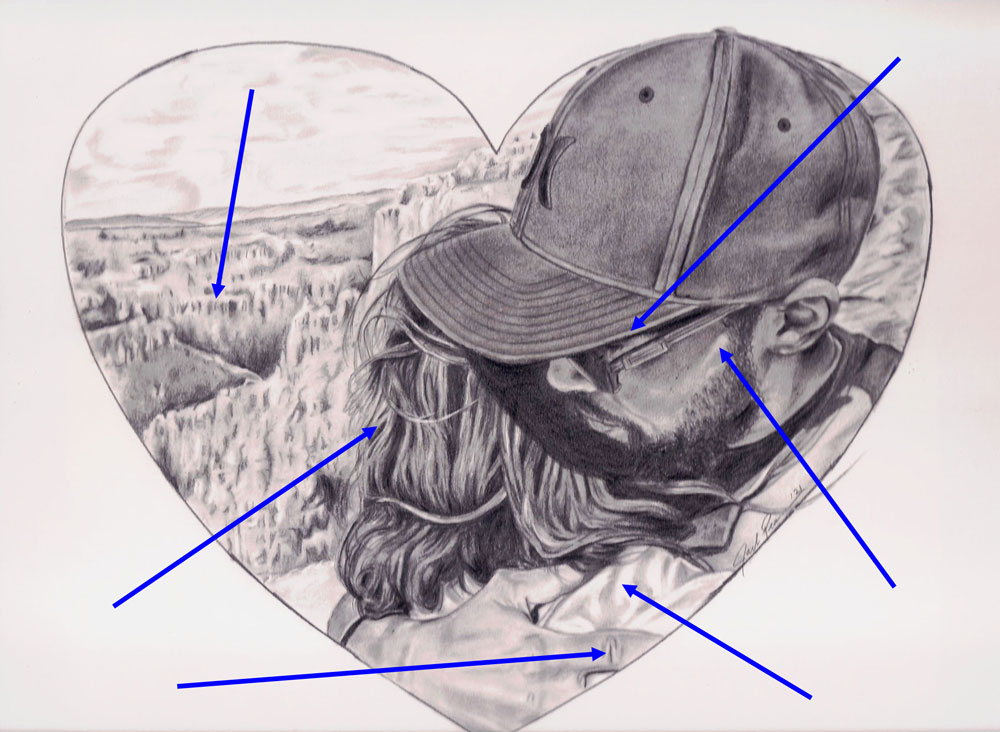
While I was drawing this, my kneaded eraser was all over the place! Can you find some of the spots where I used it?
There are too many to name all of them! A few spots where the eraser was very useful include light areas on the mountains, my cap brim, where the sun was shining on my face, wrinkles on my knuckles, my wife’s shirt, and of course, my wife’s hair.
A kneaded eraser is very adaptable and user-friendly, allowing you to remove just the right amount of graphite for your needs. Speaking from my own personal experience, I get at least twice the use out of my kneaded eraser than I do out of all of my other erasers combined!
If you have never used a kneaded eraser before, I suggest picking one up and experimenting to see what it can do. Once you get accustomed to using one, it will be difficult to imaging going without one!
I have gained an added appreciation for the kneaded eraser! Thank you!!
My pleasure!