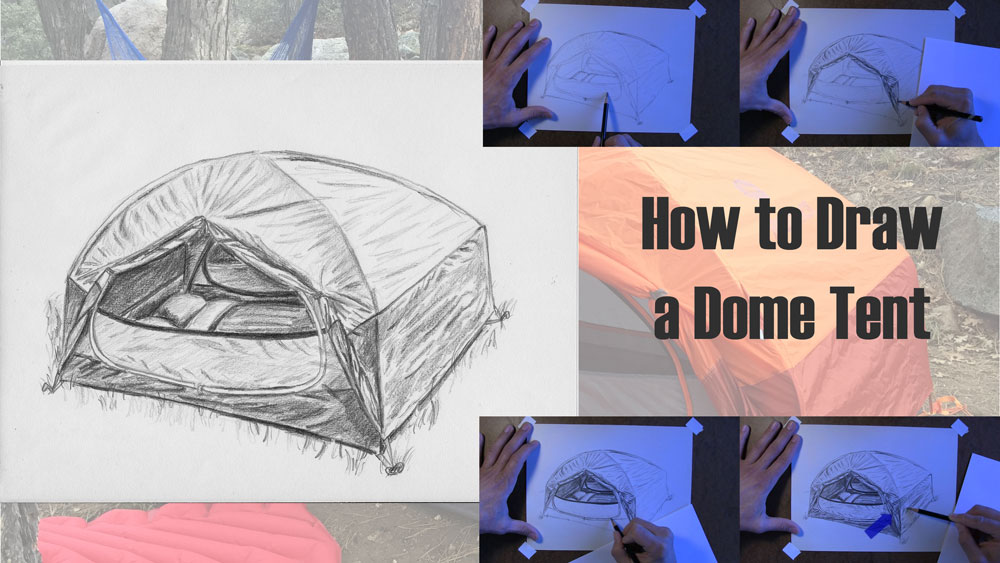
How to Draw a Tent with a Dome Shape
If you want to learn how to draw a tent, then this tutorial will show you a simple way to get started.
We’re talking the more common dome tents of today as opposed to the traditional A-frame tents.
I will show you how to draw a tent using some simple shapes to establish the outline. Then I will show you my shading process. The end result will be a detailed tent pencil drawing!
Learn how to sketch the entire outline of the tent. I’ll show you how to sketch the outside border, the front of the tent, the inside, and then how to add details to the tent. Then you can watch how I shade the tent from start to finish.
Use a Reference Photo of a Tent
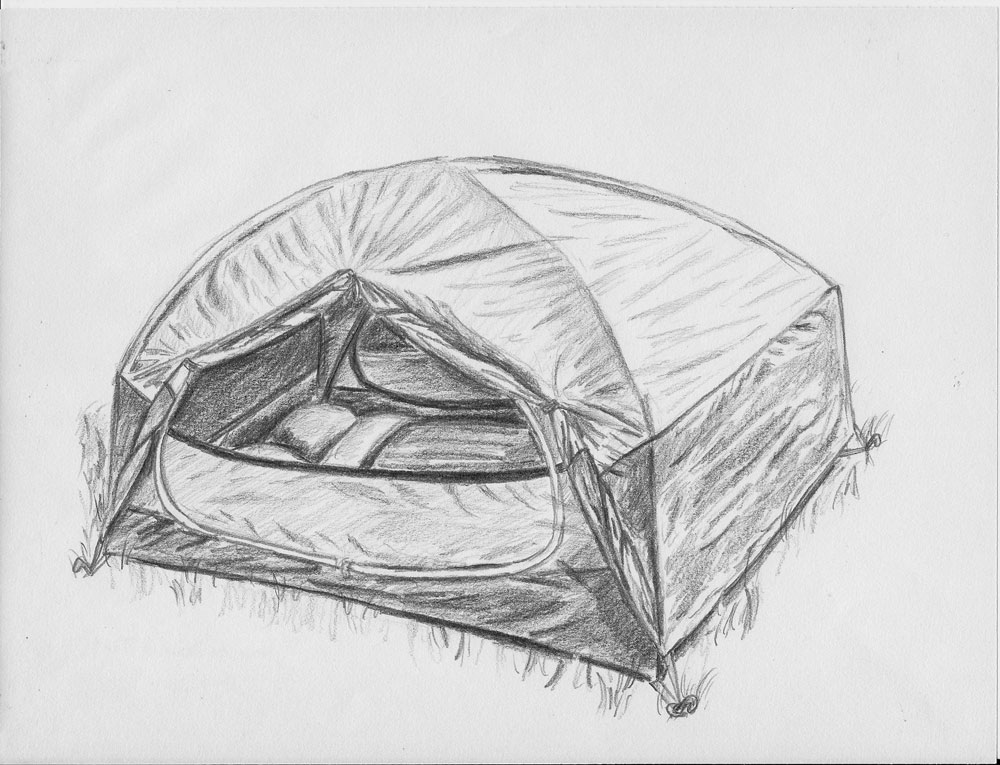
In this tutorial, we will draw a dome tent rather than a traditional tent that looks more triangular. I will be using this reference photo as a guide. This is the tent my wife and I use when we go camping. 🙂
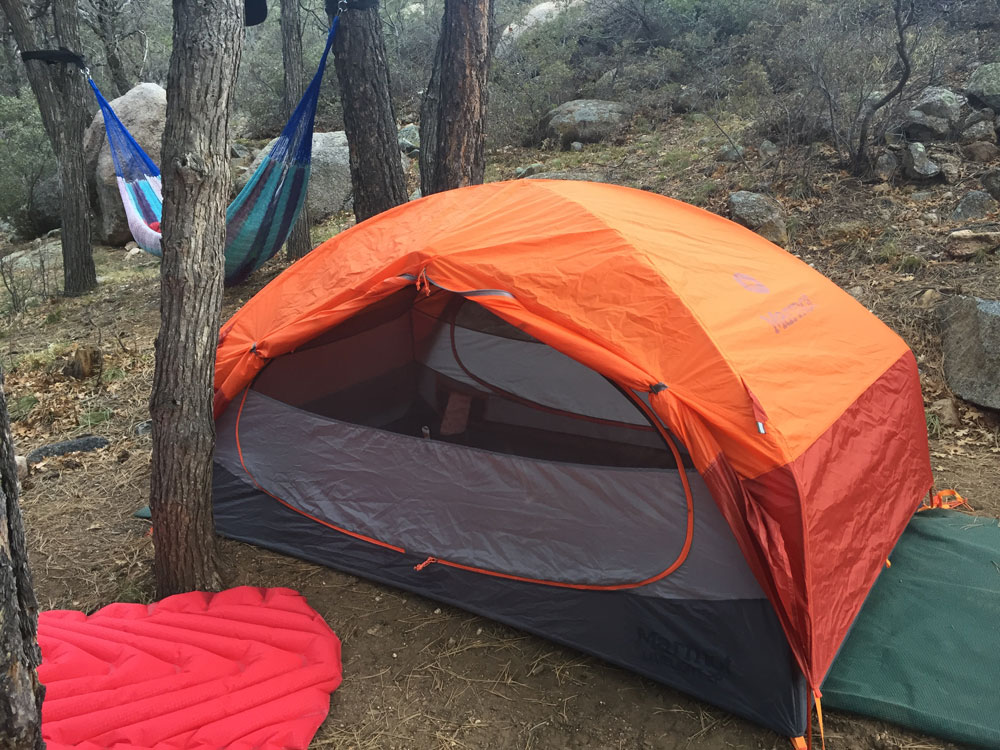
You can use the basic concepts you learn from this tutorial and apply them to drawing other tents. Tents come in many different styles. If you want to draw a tent that looks realistic compared to a particular style, then using a reference photo is a good idea.
I used a 2B graphite pencil for the outline and light sketching and shading. I used a 4B graphite pencil for shading the darker areas.
How to Draw a Tent Video Tutorial
You can watch the time-lapse video version of this tutorial below. Watch it once all the way through to get a sense of the overall process. Then watch a second time and draw along with me, pausing as needed.
If you prefer, you can use one of the links directly below the video to access the complete version of this tutorial. It will show you my process for how to draw a tent step by step with video clips at normal speed.
Draw the Outside Border of the Tent
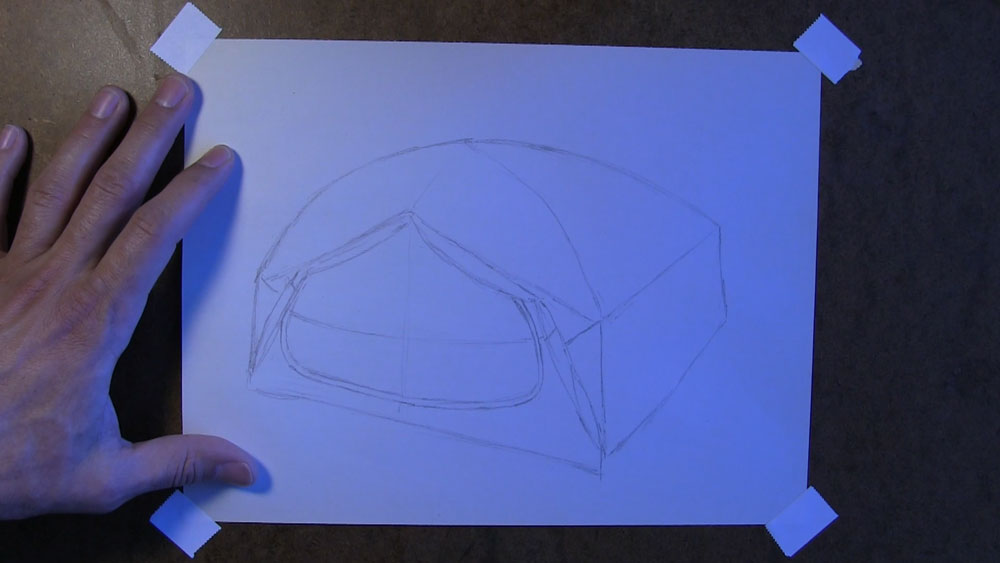
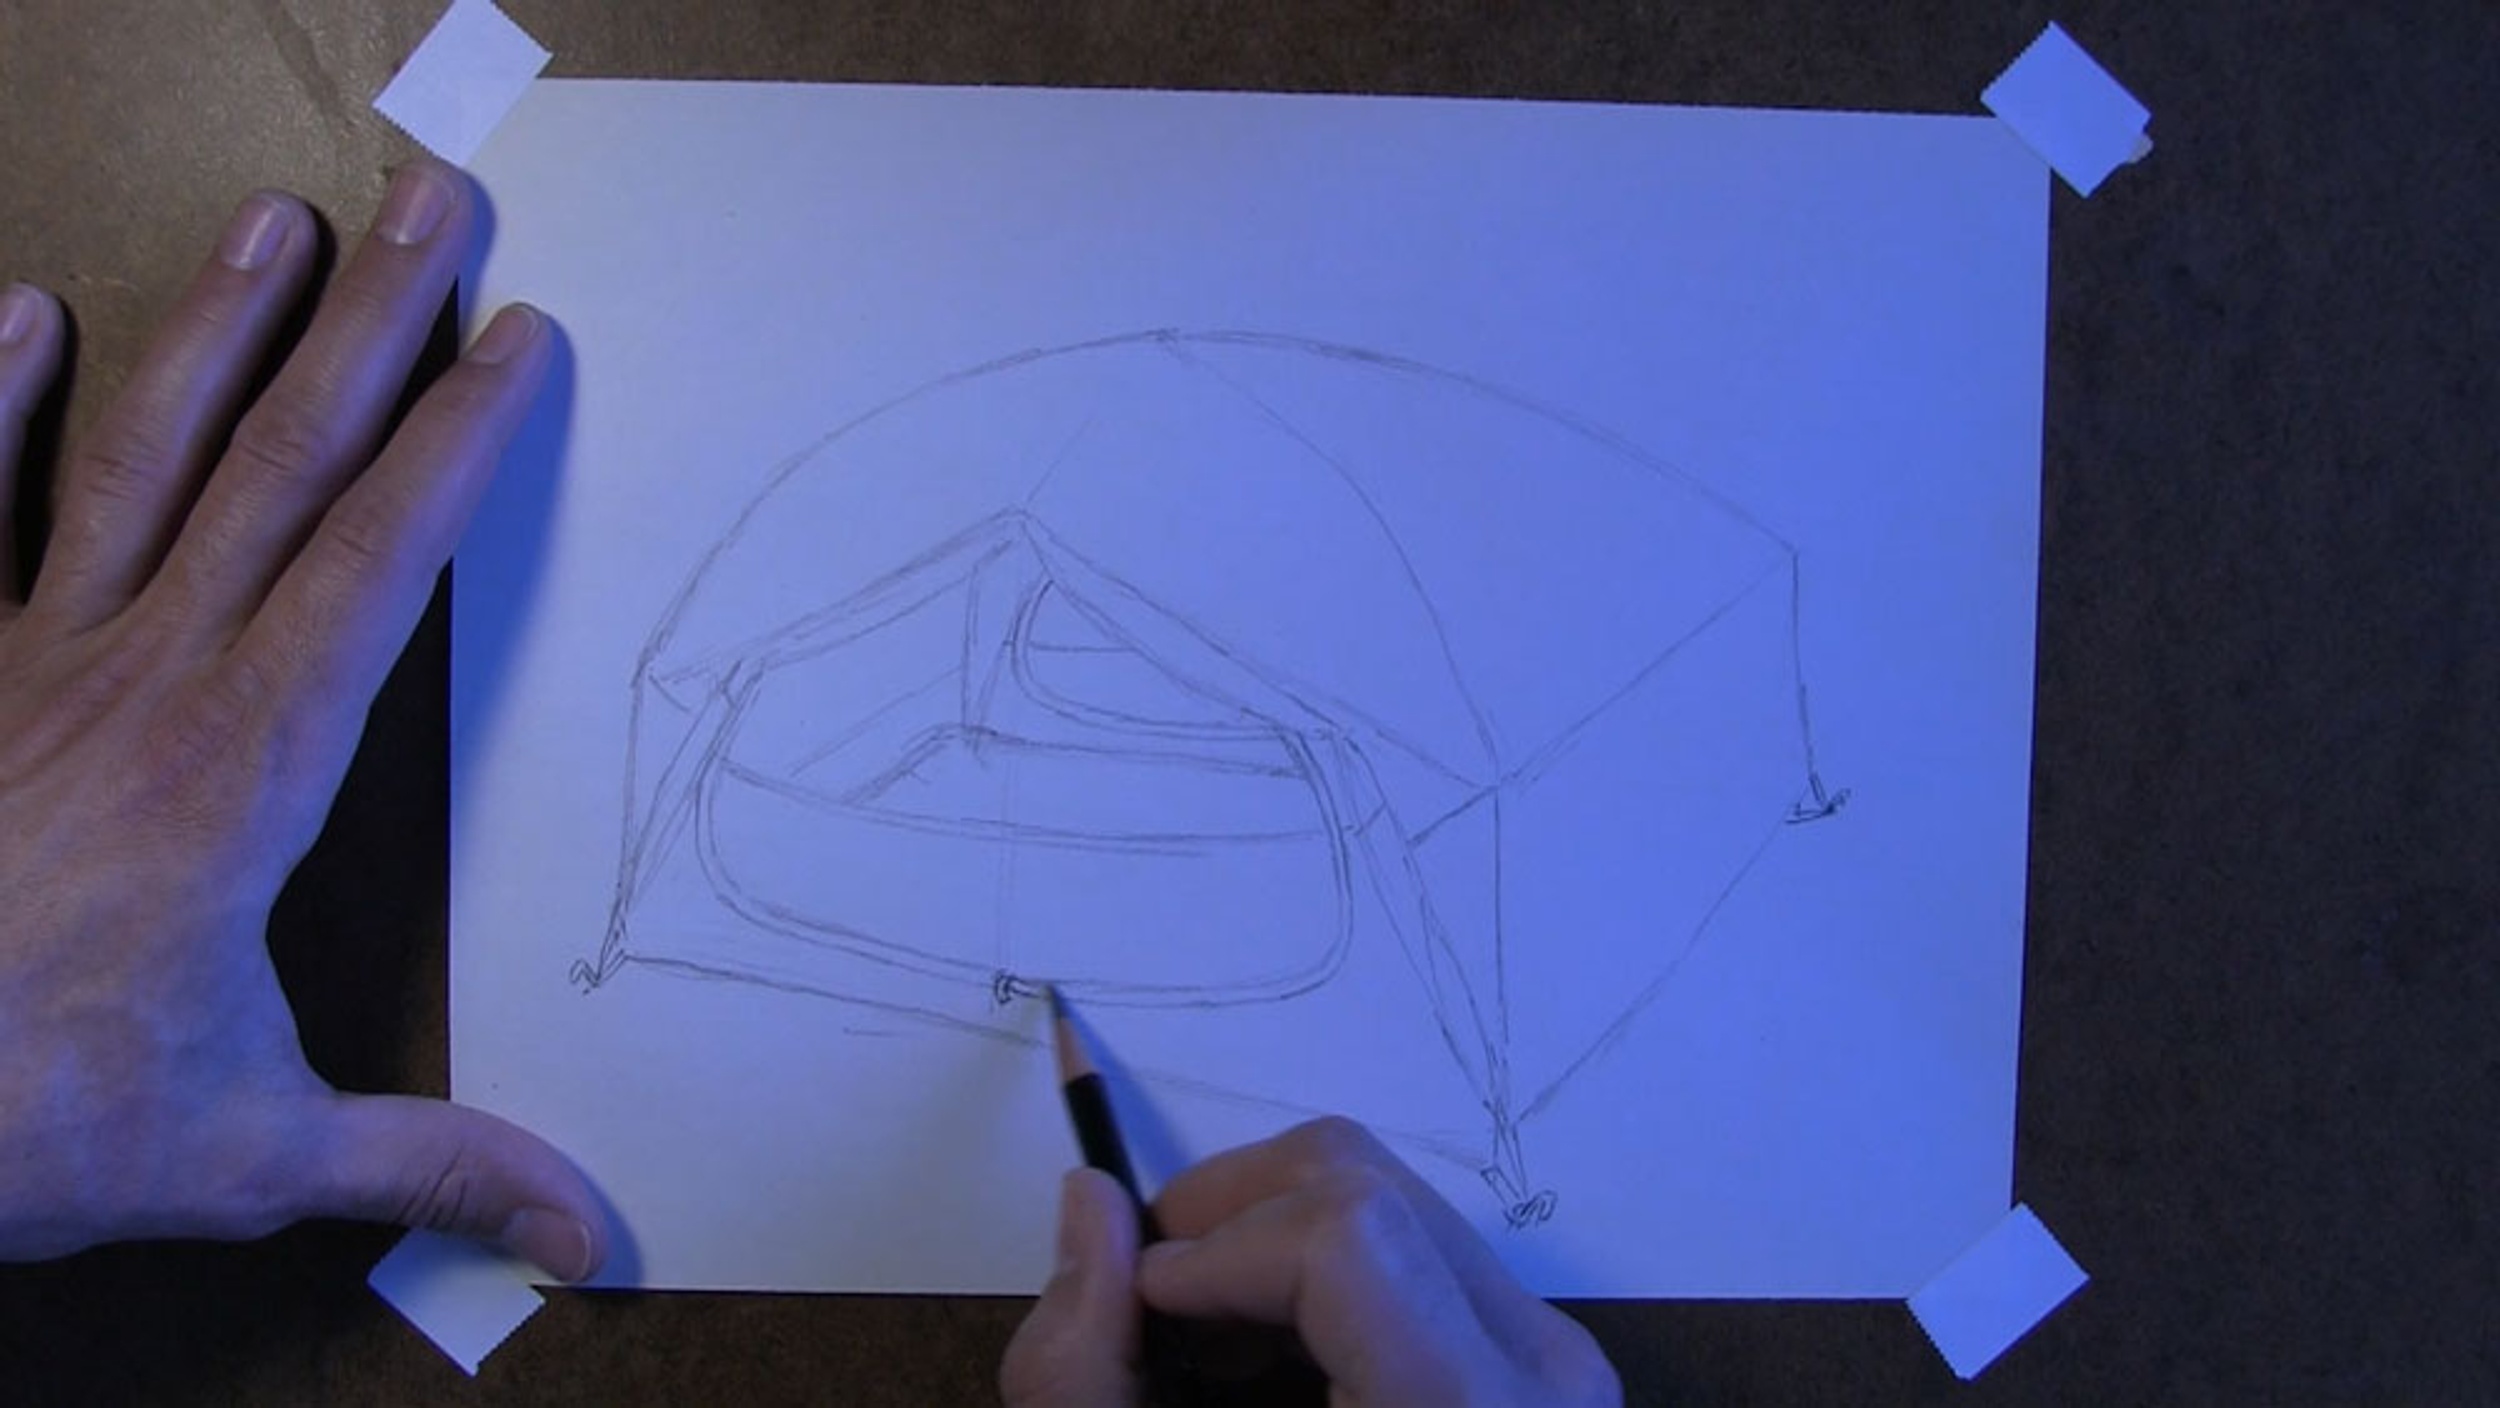
The first thing we need to do is sketch the outline of the tent. We’ll begin with the outside border.
We will use a 2B pencil for the first part of this drawing.
Let’s start off by sketching the side of the tent. When sketching the side, make sure to make the first vertical line slightly taller than the second. This is because the side of the tent will be receding into the background.
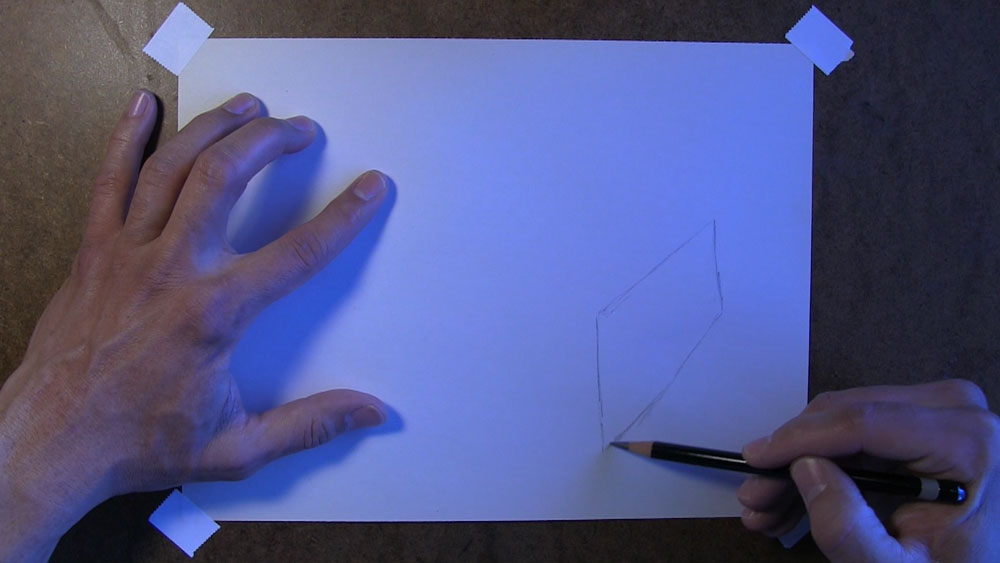
You’ll notice that these vertical lines aren’t perfectly vertical. This is okay. The tent is anchored on these two long poles that cross over each other at the top and then bend toward the ground in an almost vertical position as they approach the ground. So, a slight tilt in the angle is okay.
Next, start drawing the outline for the top of the tent. The sides of this sort of curved triangular wedge shape represent a continuation of the poles I was talking about. The tip of the triangle here is the top of the tent, which we can also call the pole hub.
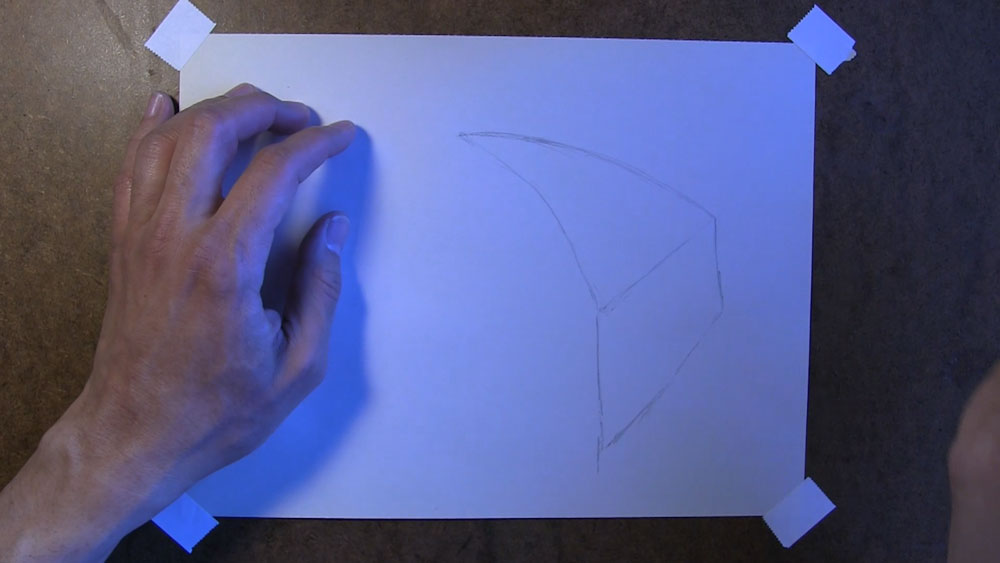
From the top of the tent or pole hub, you will have to make a curved line to a corner, and then change it into a more vertical line to complete this side. You’ll notice that I decided to erase this top corner and make it lower in order to align with the top corner of the first edge we drew.
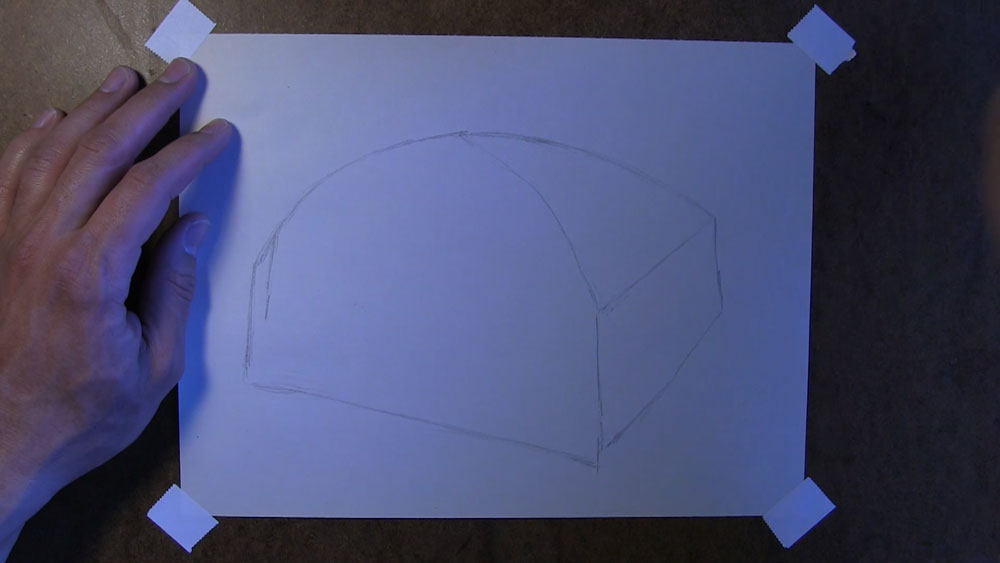
I also sketched the bottom of the front face, which completes the outside border of the tent.
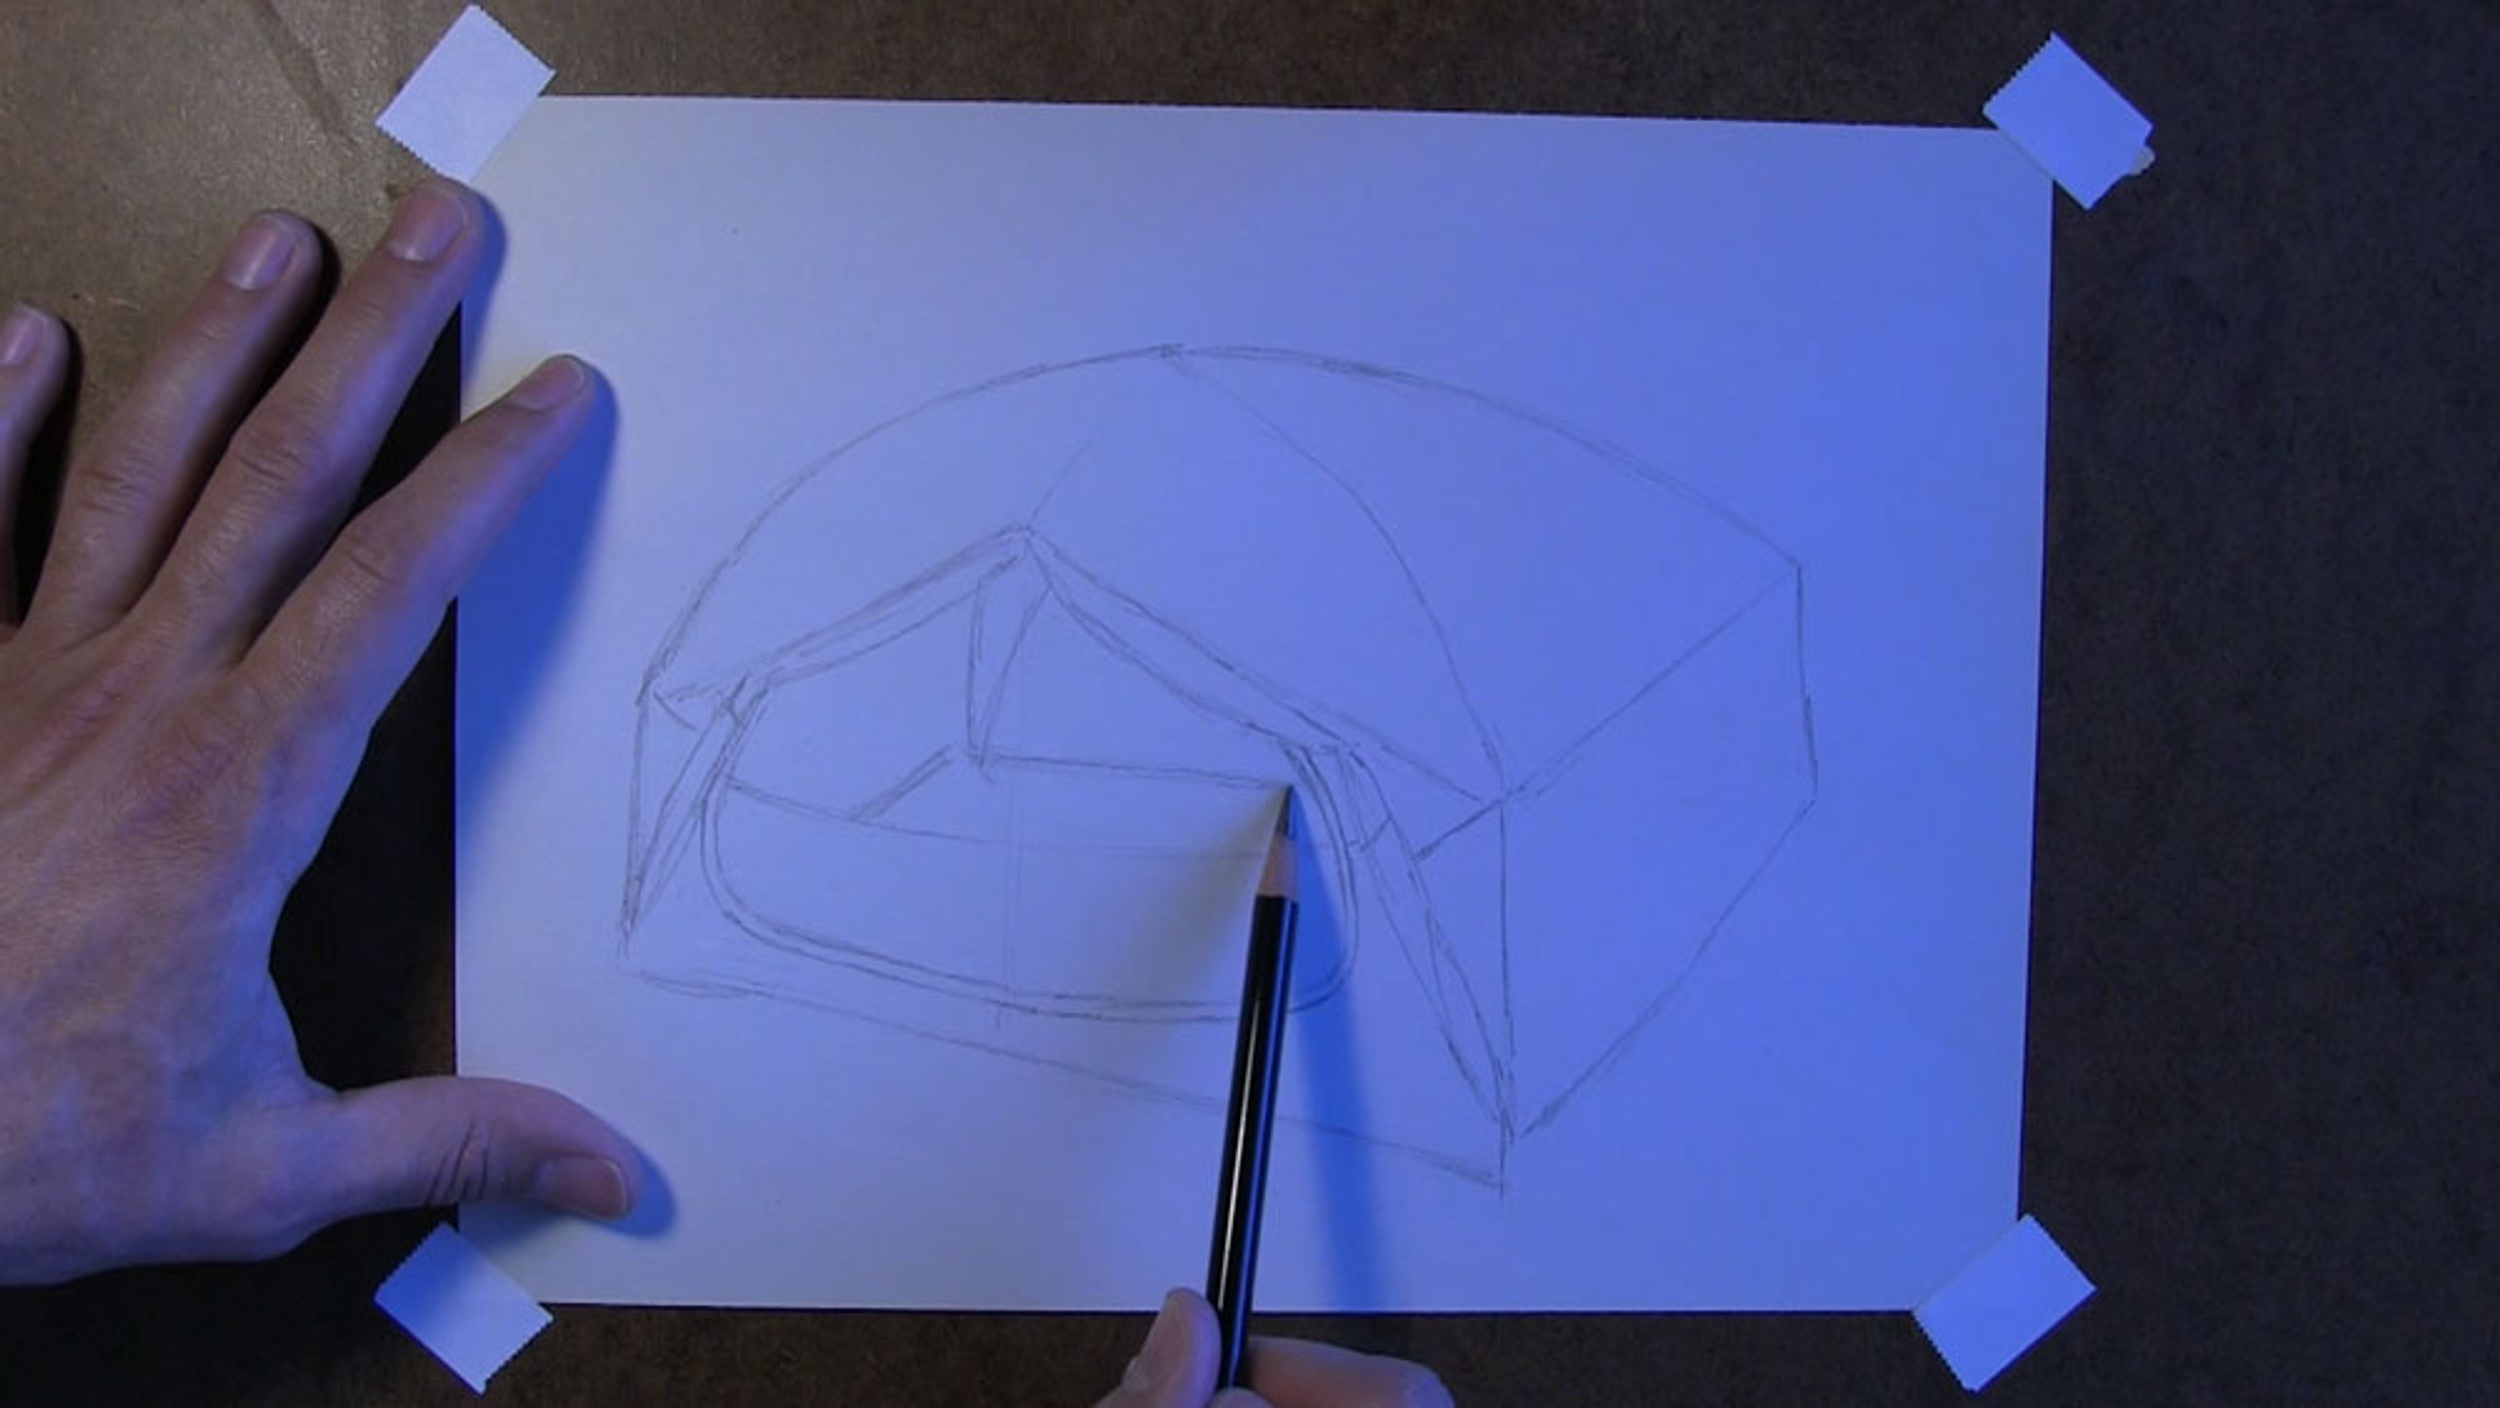
Draw the Front of the Tent
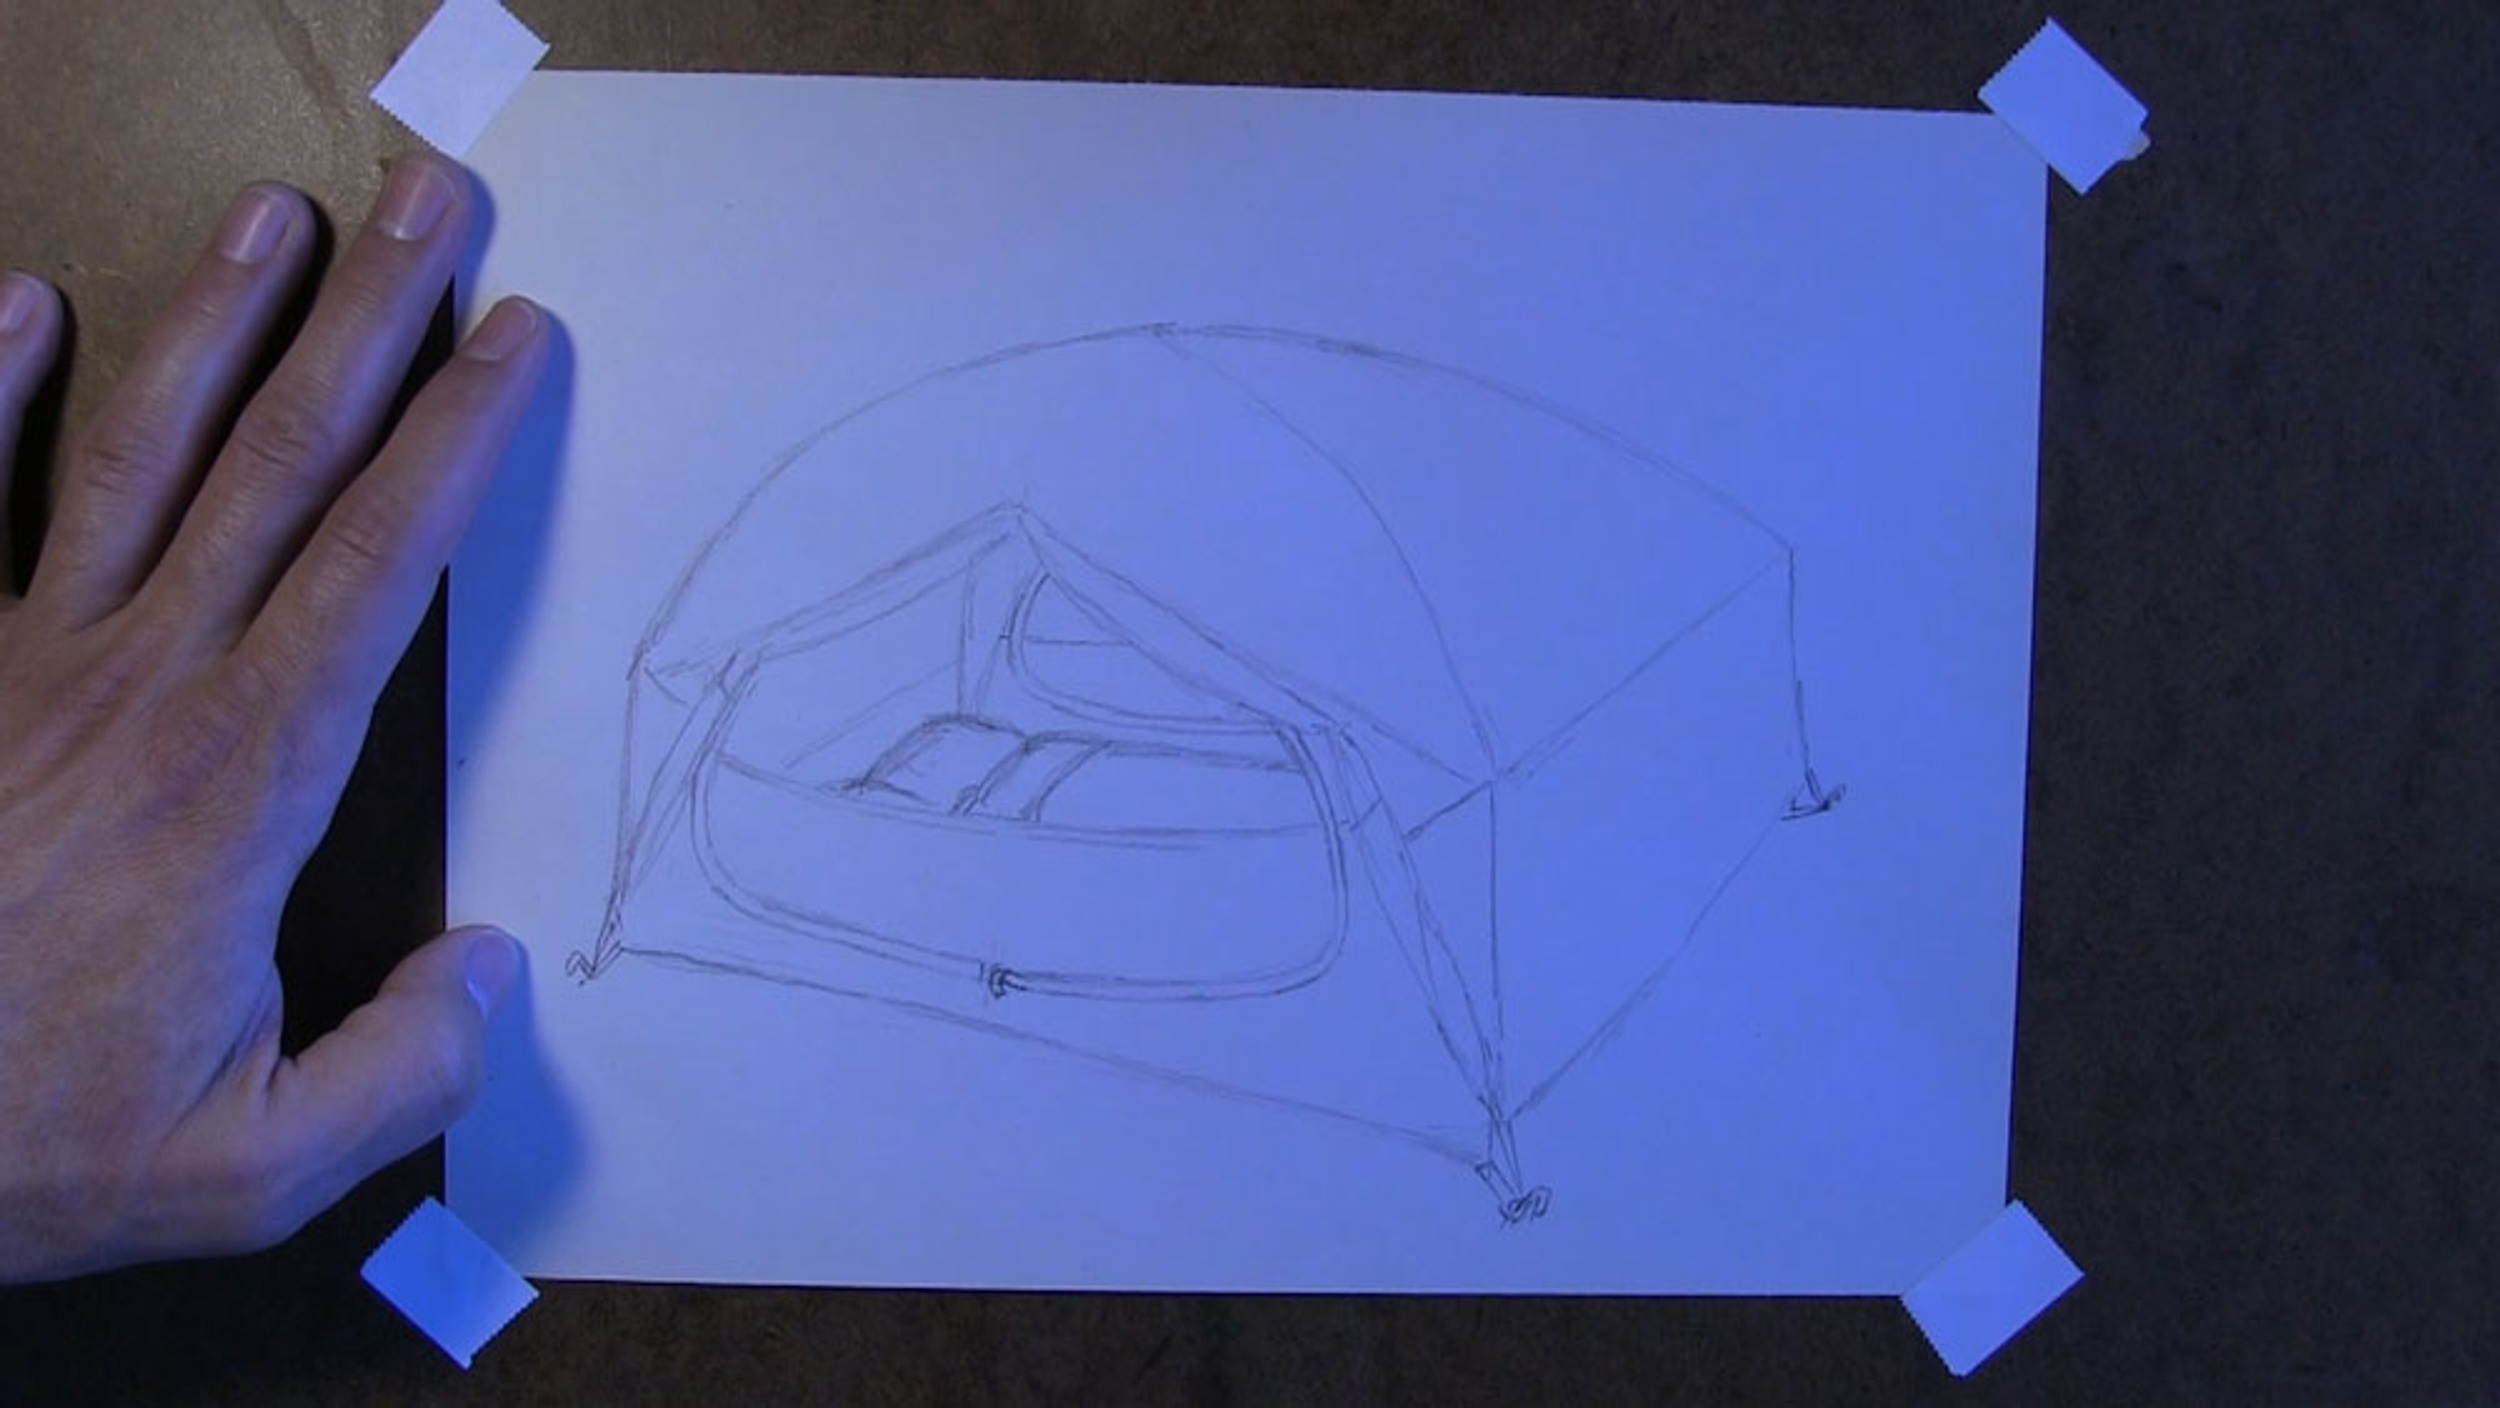
Now let’s sketch the front of the tent.
It’s helpful to draw these guidelines on the front of the tent. Not only do they help to frame the opening, but they come in handy when sketching the rolled-up tent doors.
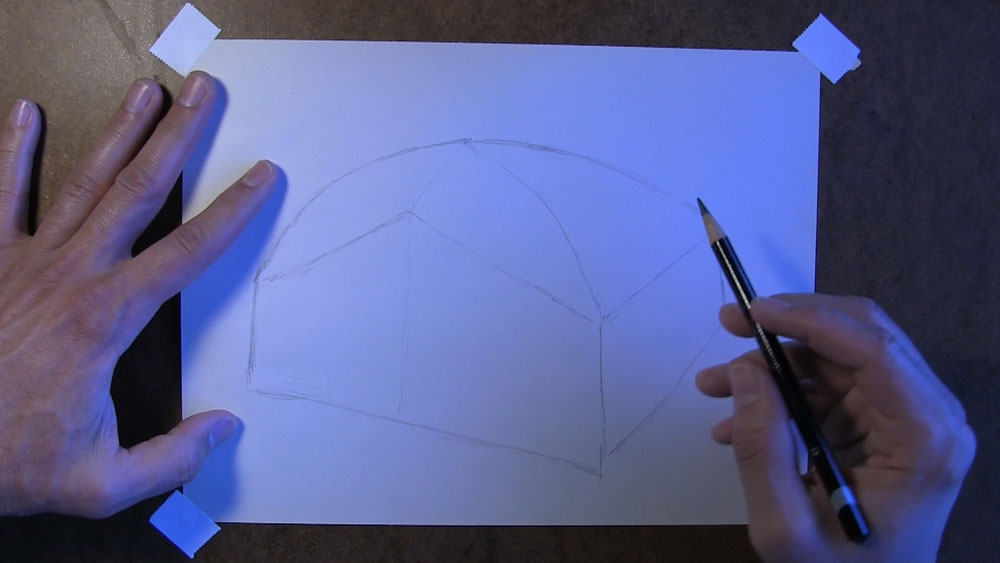
When sketching the tent doors, remember that they are held in place by door tie backs. That’s why there is this bend from the tie back to the bottom corner of the tent.
This big round oval shape I’m drawing now is the mesh door of the tent. For the purposes of our tent drawing here, this door is zipped closed, but it has a mesh material on the upper portion of the mesh door to keep the bugs out, and we can see through it to the inside.
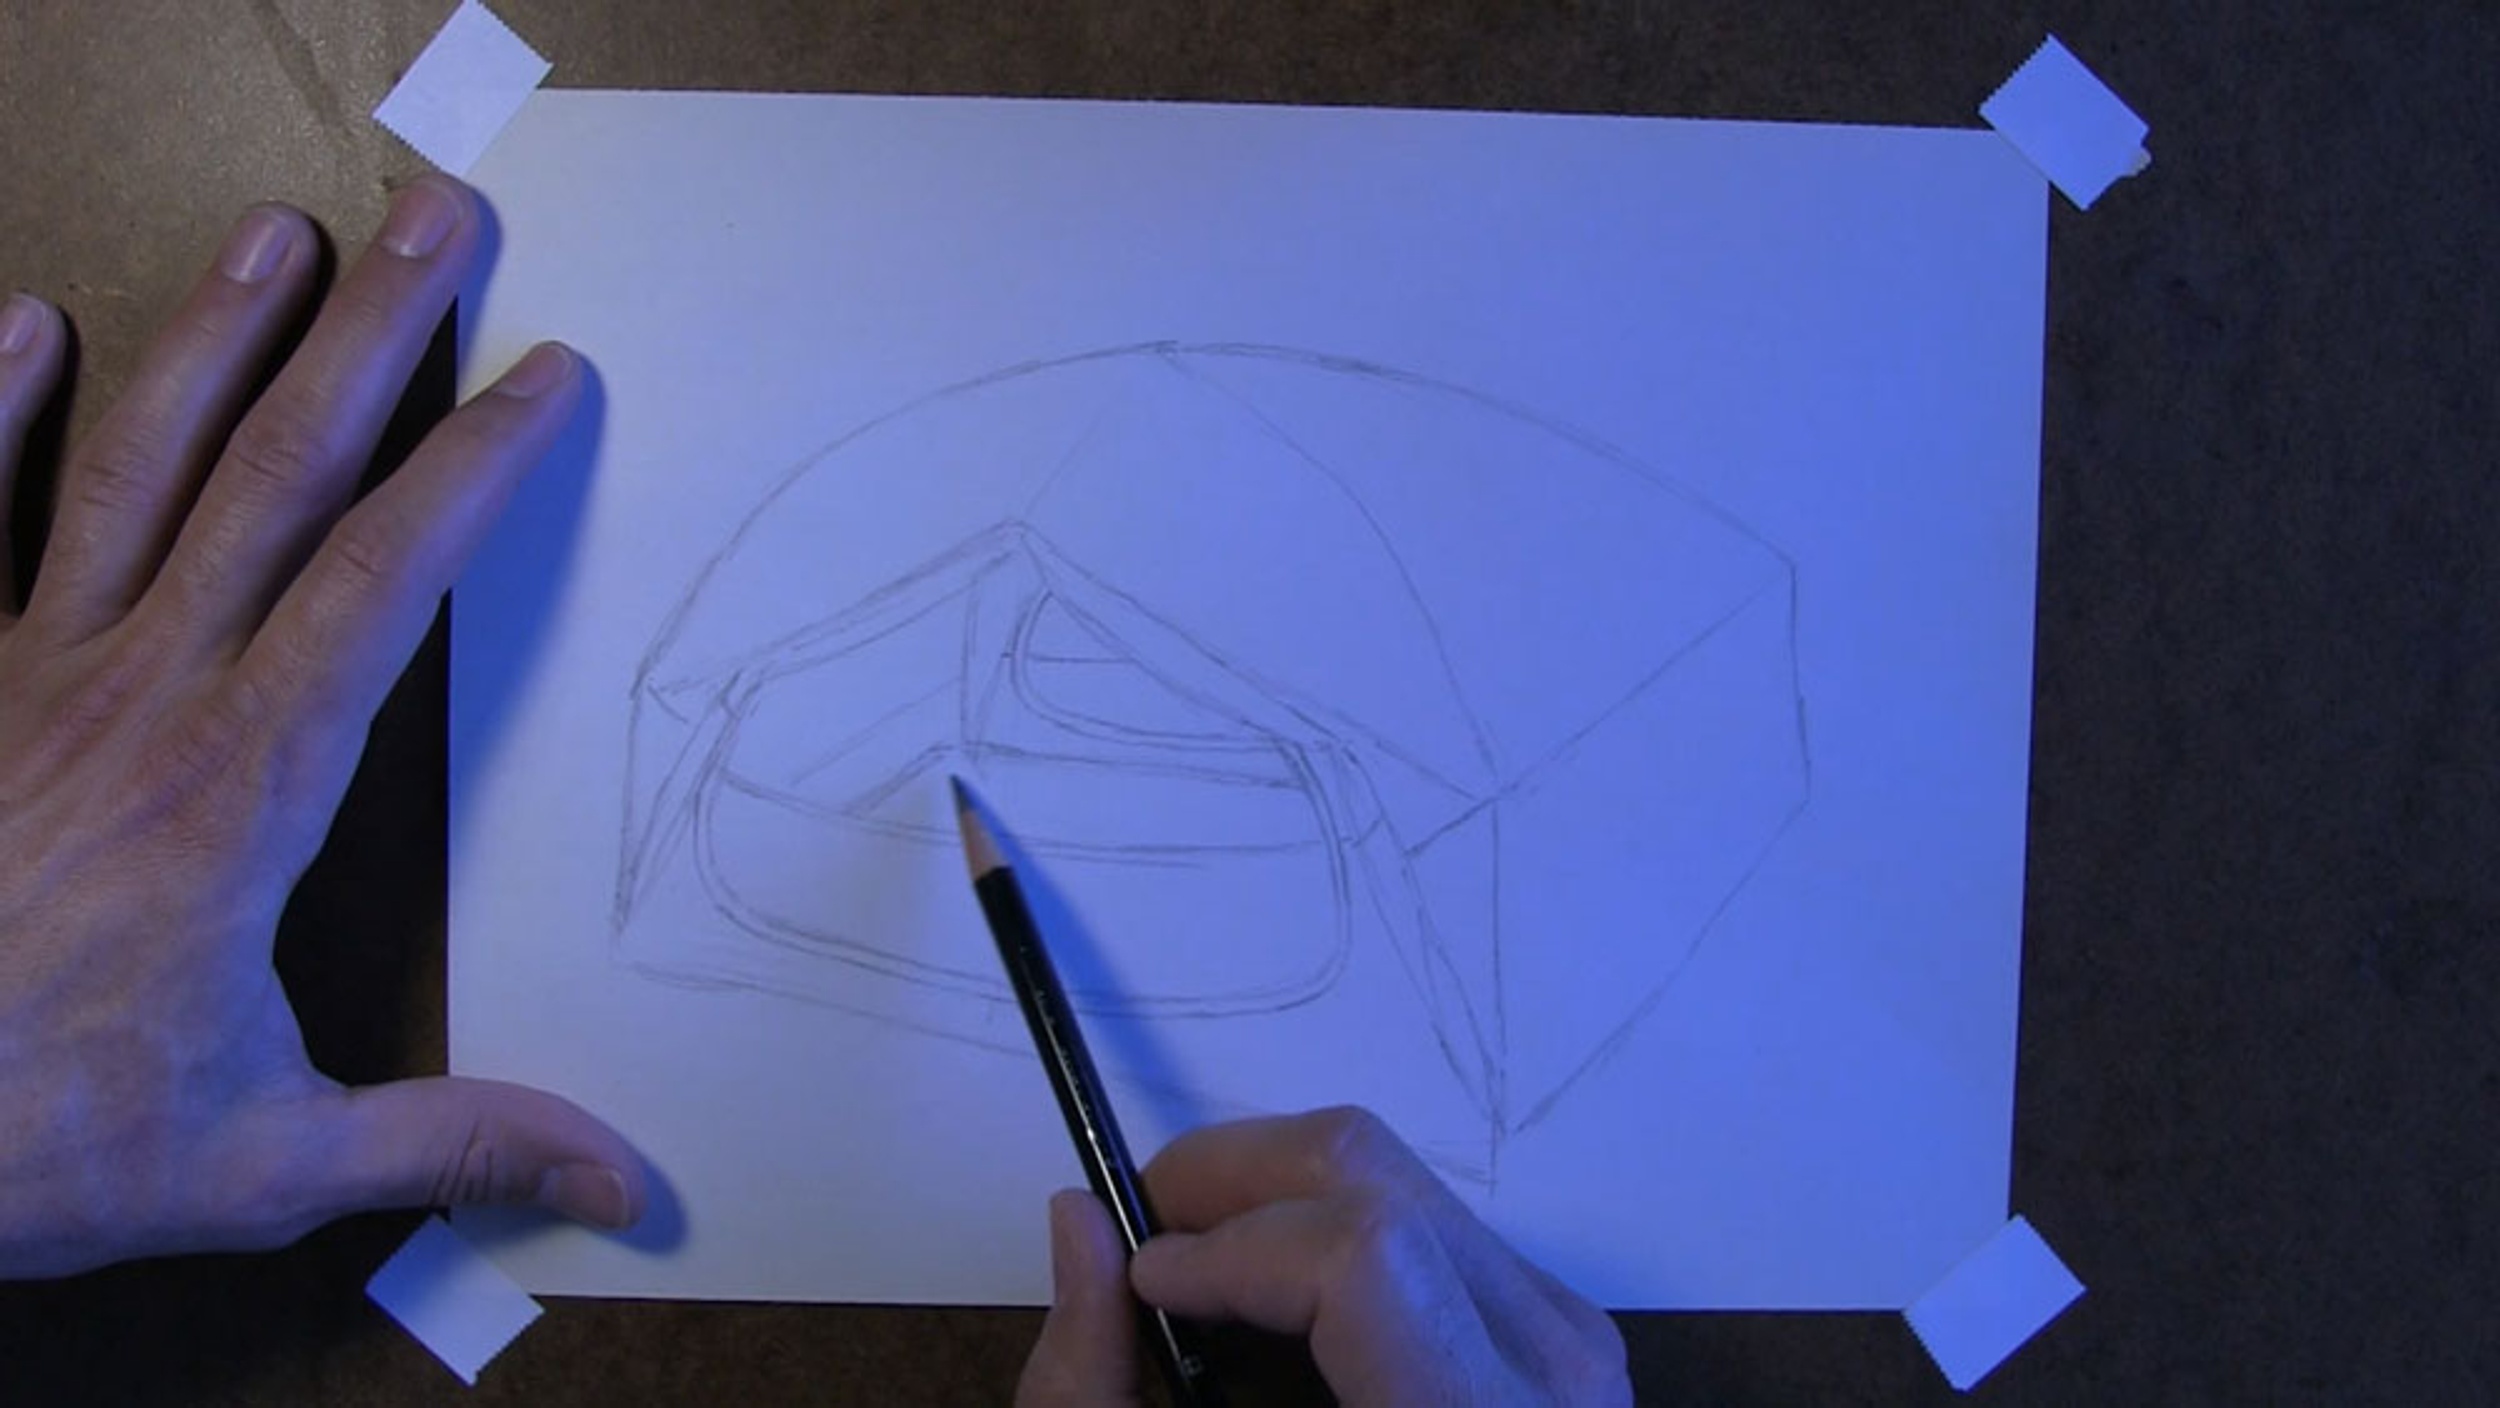
Draw the Inside of the Tent
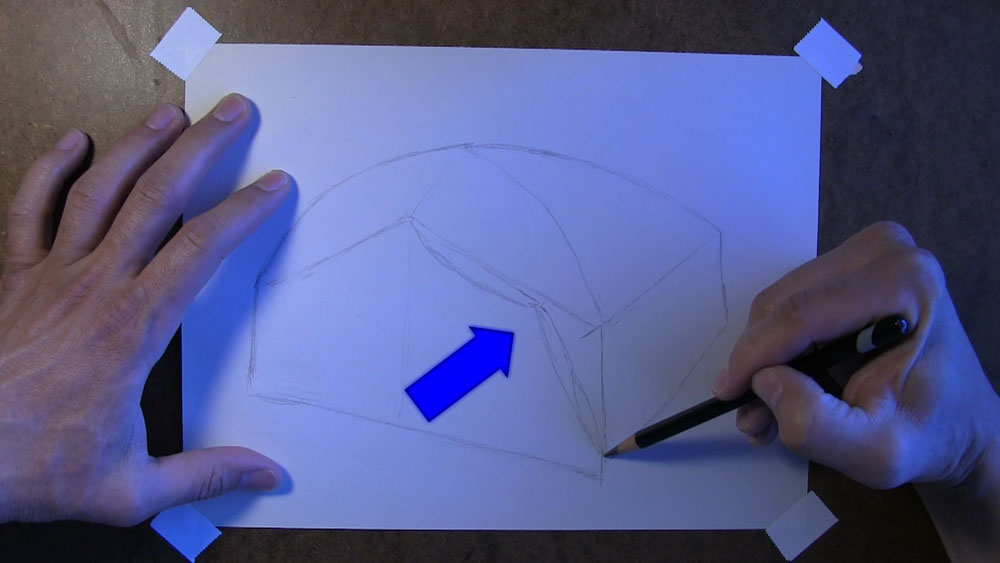
For the inside of the tent, start by drawing the back corner and the floor of the tent. Line up the edges of the floor with the front and back corners of the tent.
Draw the mesh door for the other side of the tent. Then lightly sketch a guideline for the other wall that serves as part of the tent’s design.
Before finishing the inside, I noticed a little detail I left out when drawing the outer portion of the tent. That little detail would be the stakes that hold the outer tent (or rain fly) and the inner tent to the ground. Let’s draw these stakes now, along with the straps that are pulled by and wrapped around the stakes.
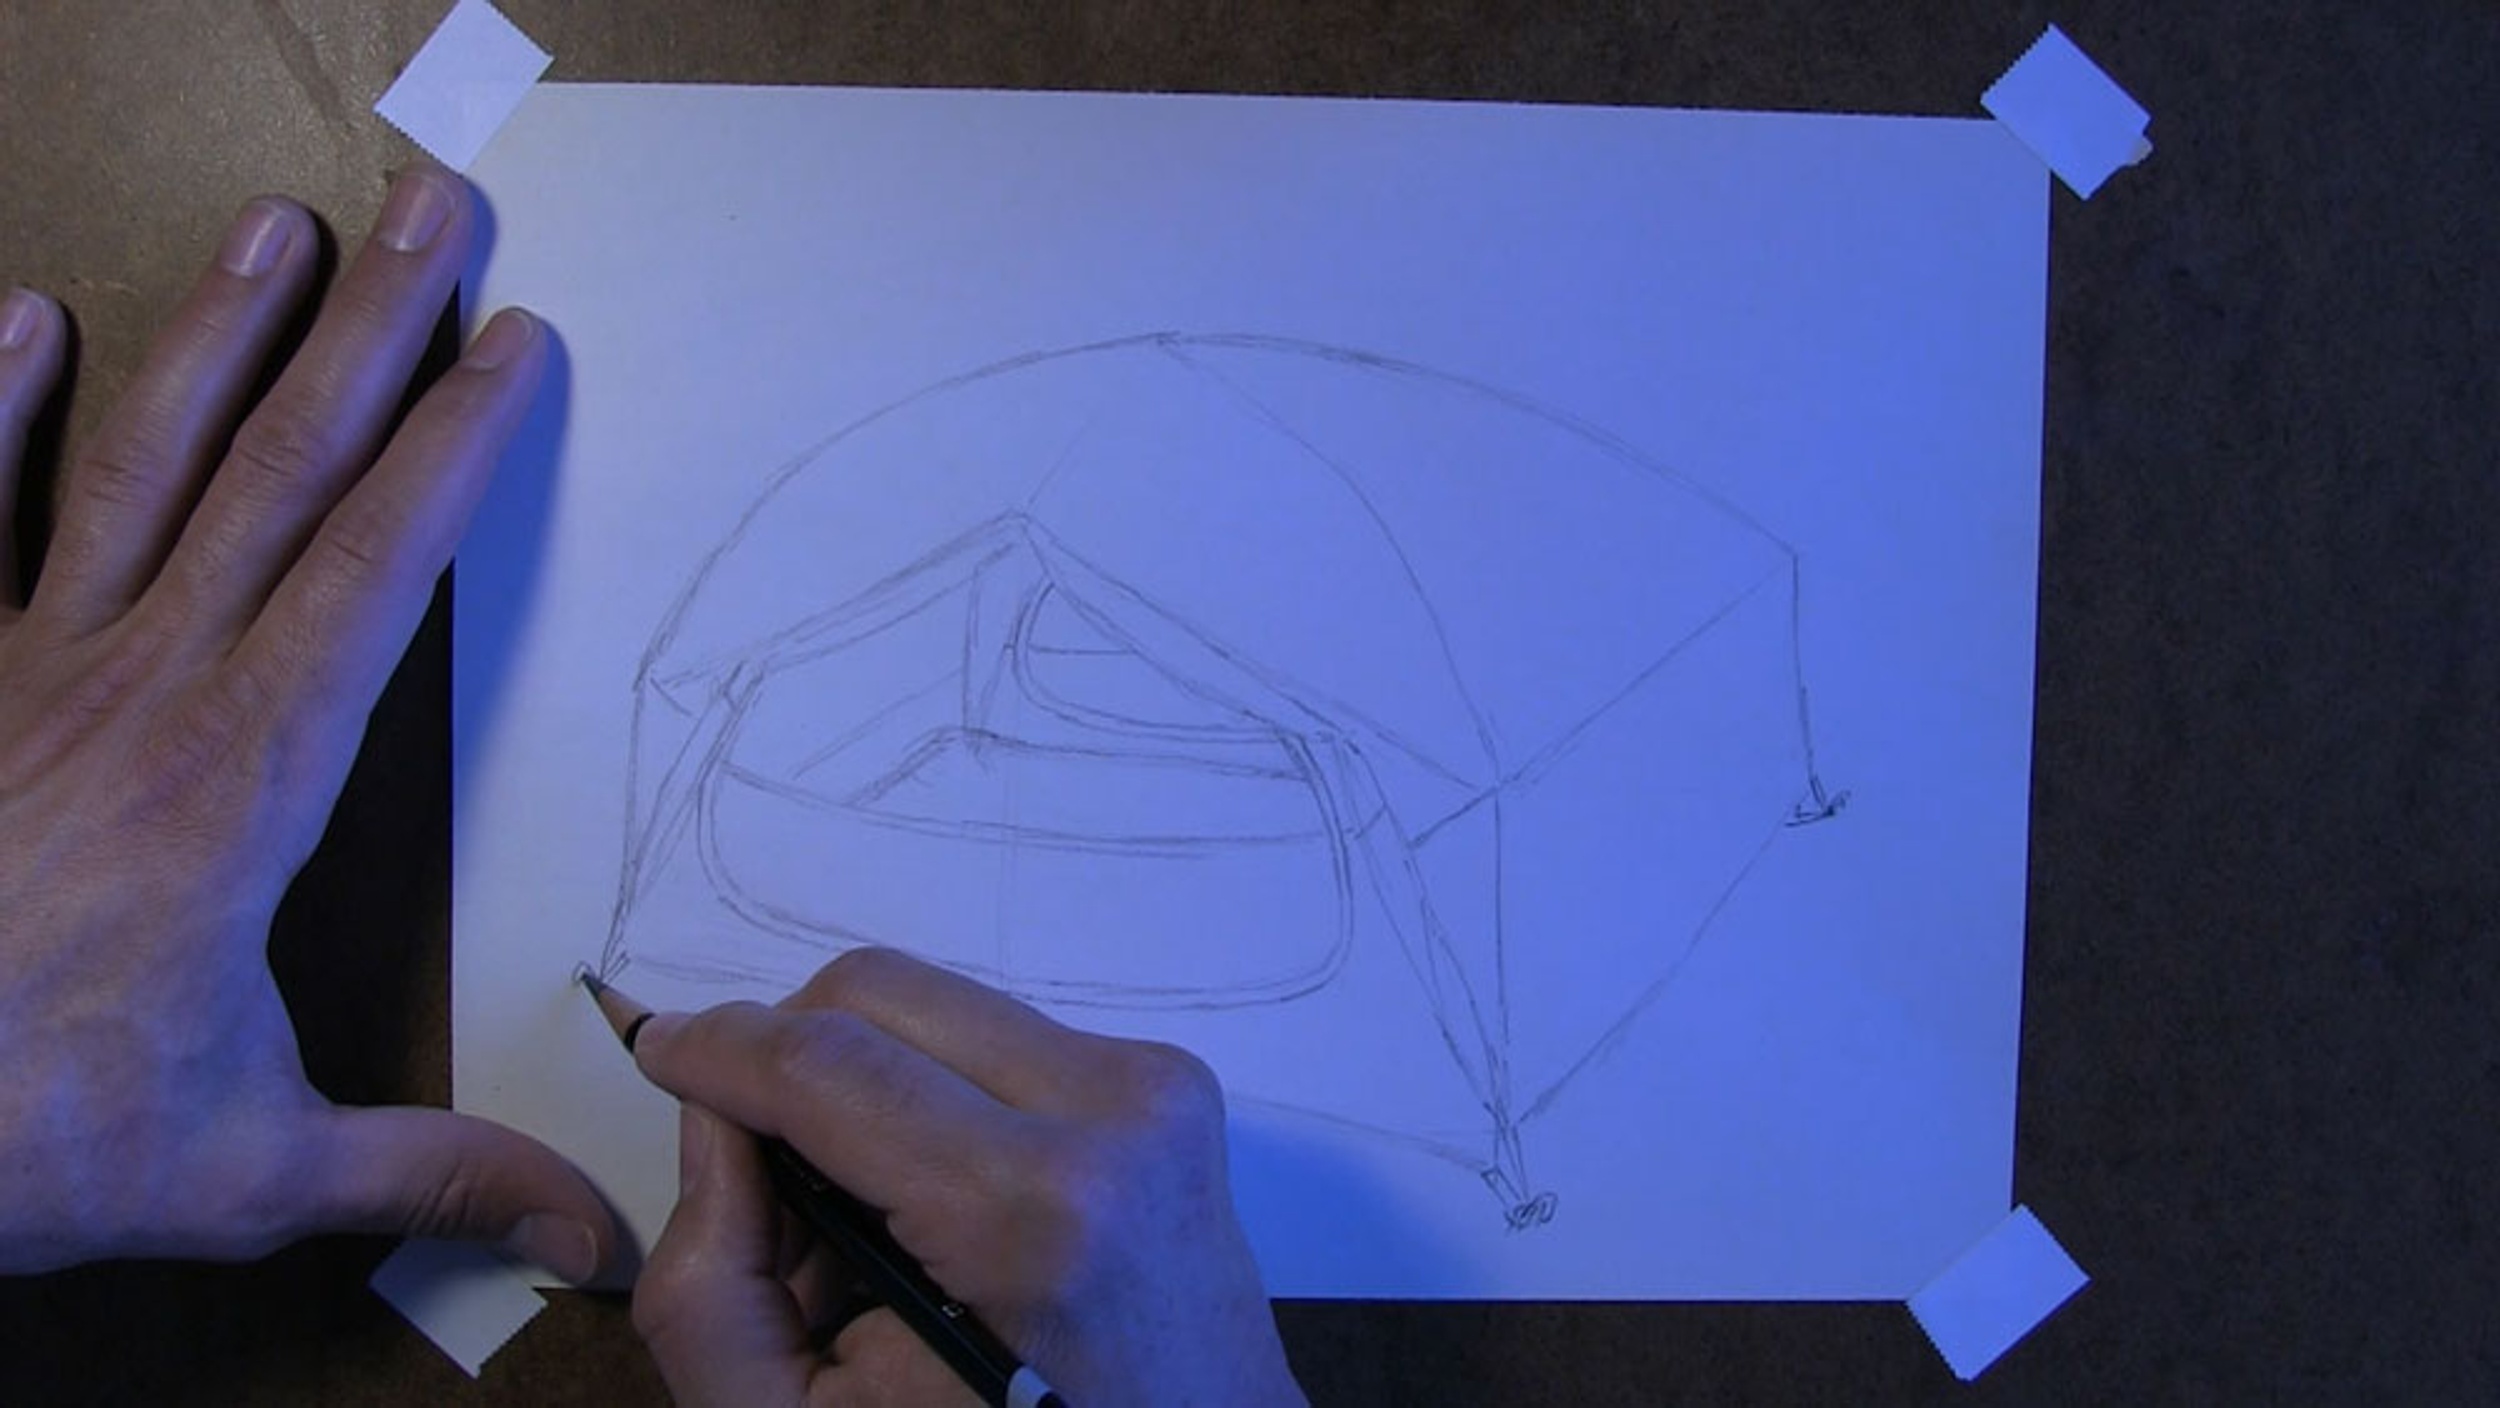
Let’s also put where the zipper begins for the front mesh door.
Now back to the inside. You can leave this empty like you see in the reference photograph, or you can draw sleeping bags or whatever else you usually have inside your tent. When my wife and I go camping, we bring our sleeping bags, but we also bring pillows, blankets, and/or other bedding to be cozy and comfortable. So that’s what I’ll sketch here.
Add Details to the Tent
We’re almost finished with the outline of the tent. Let’s add some final details before we get into shading.
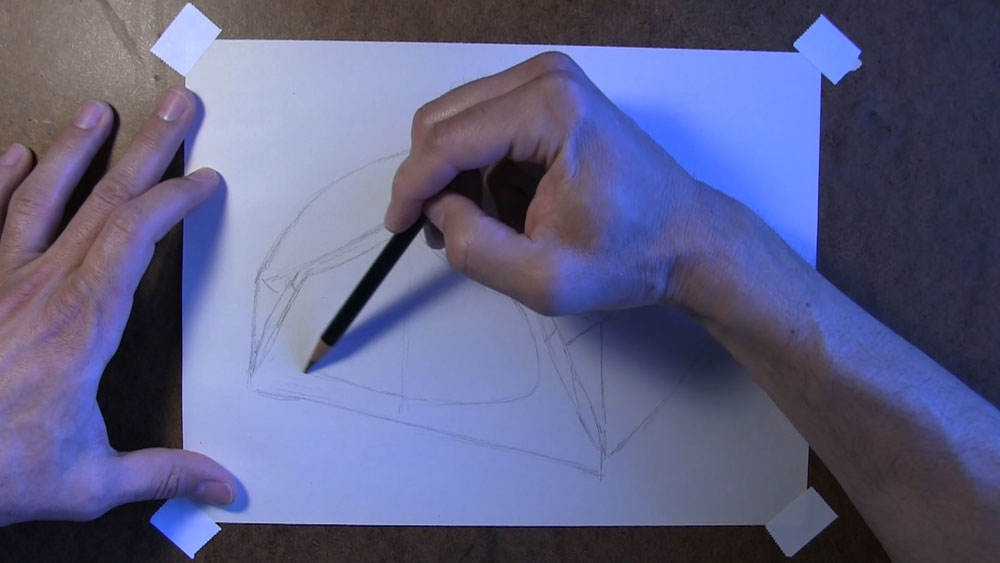
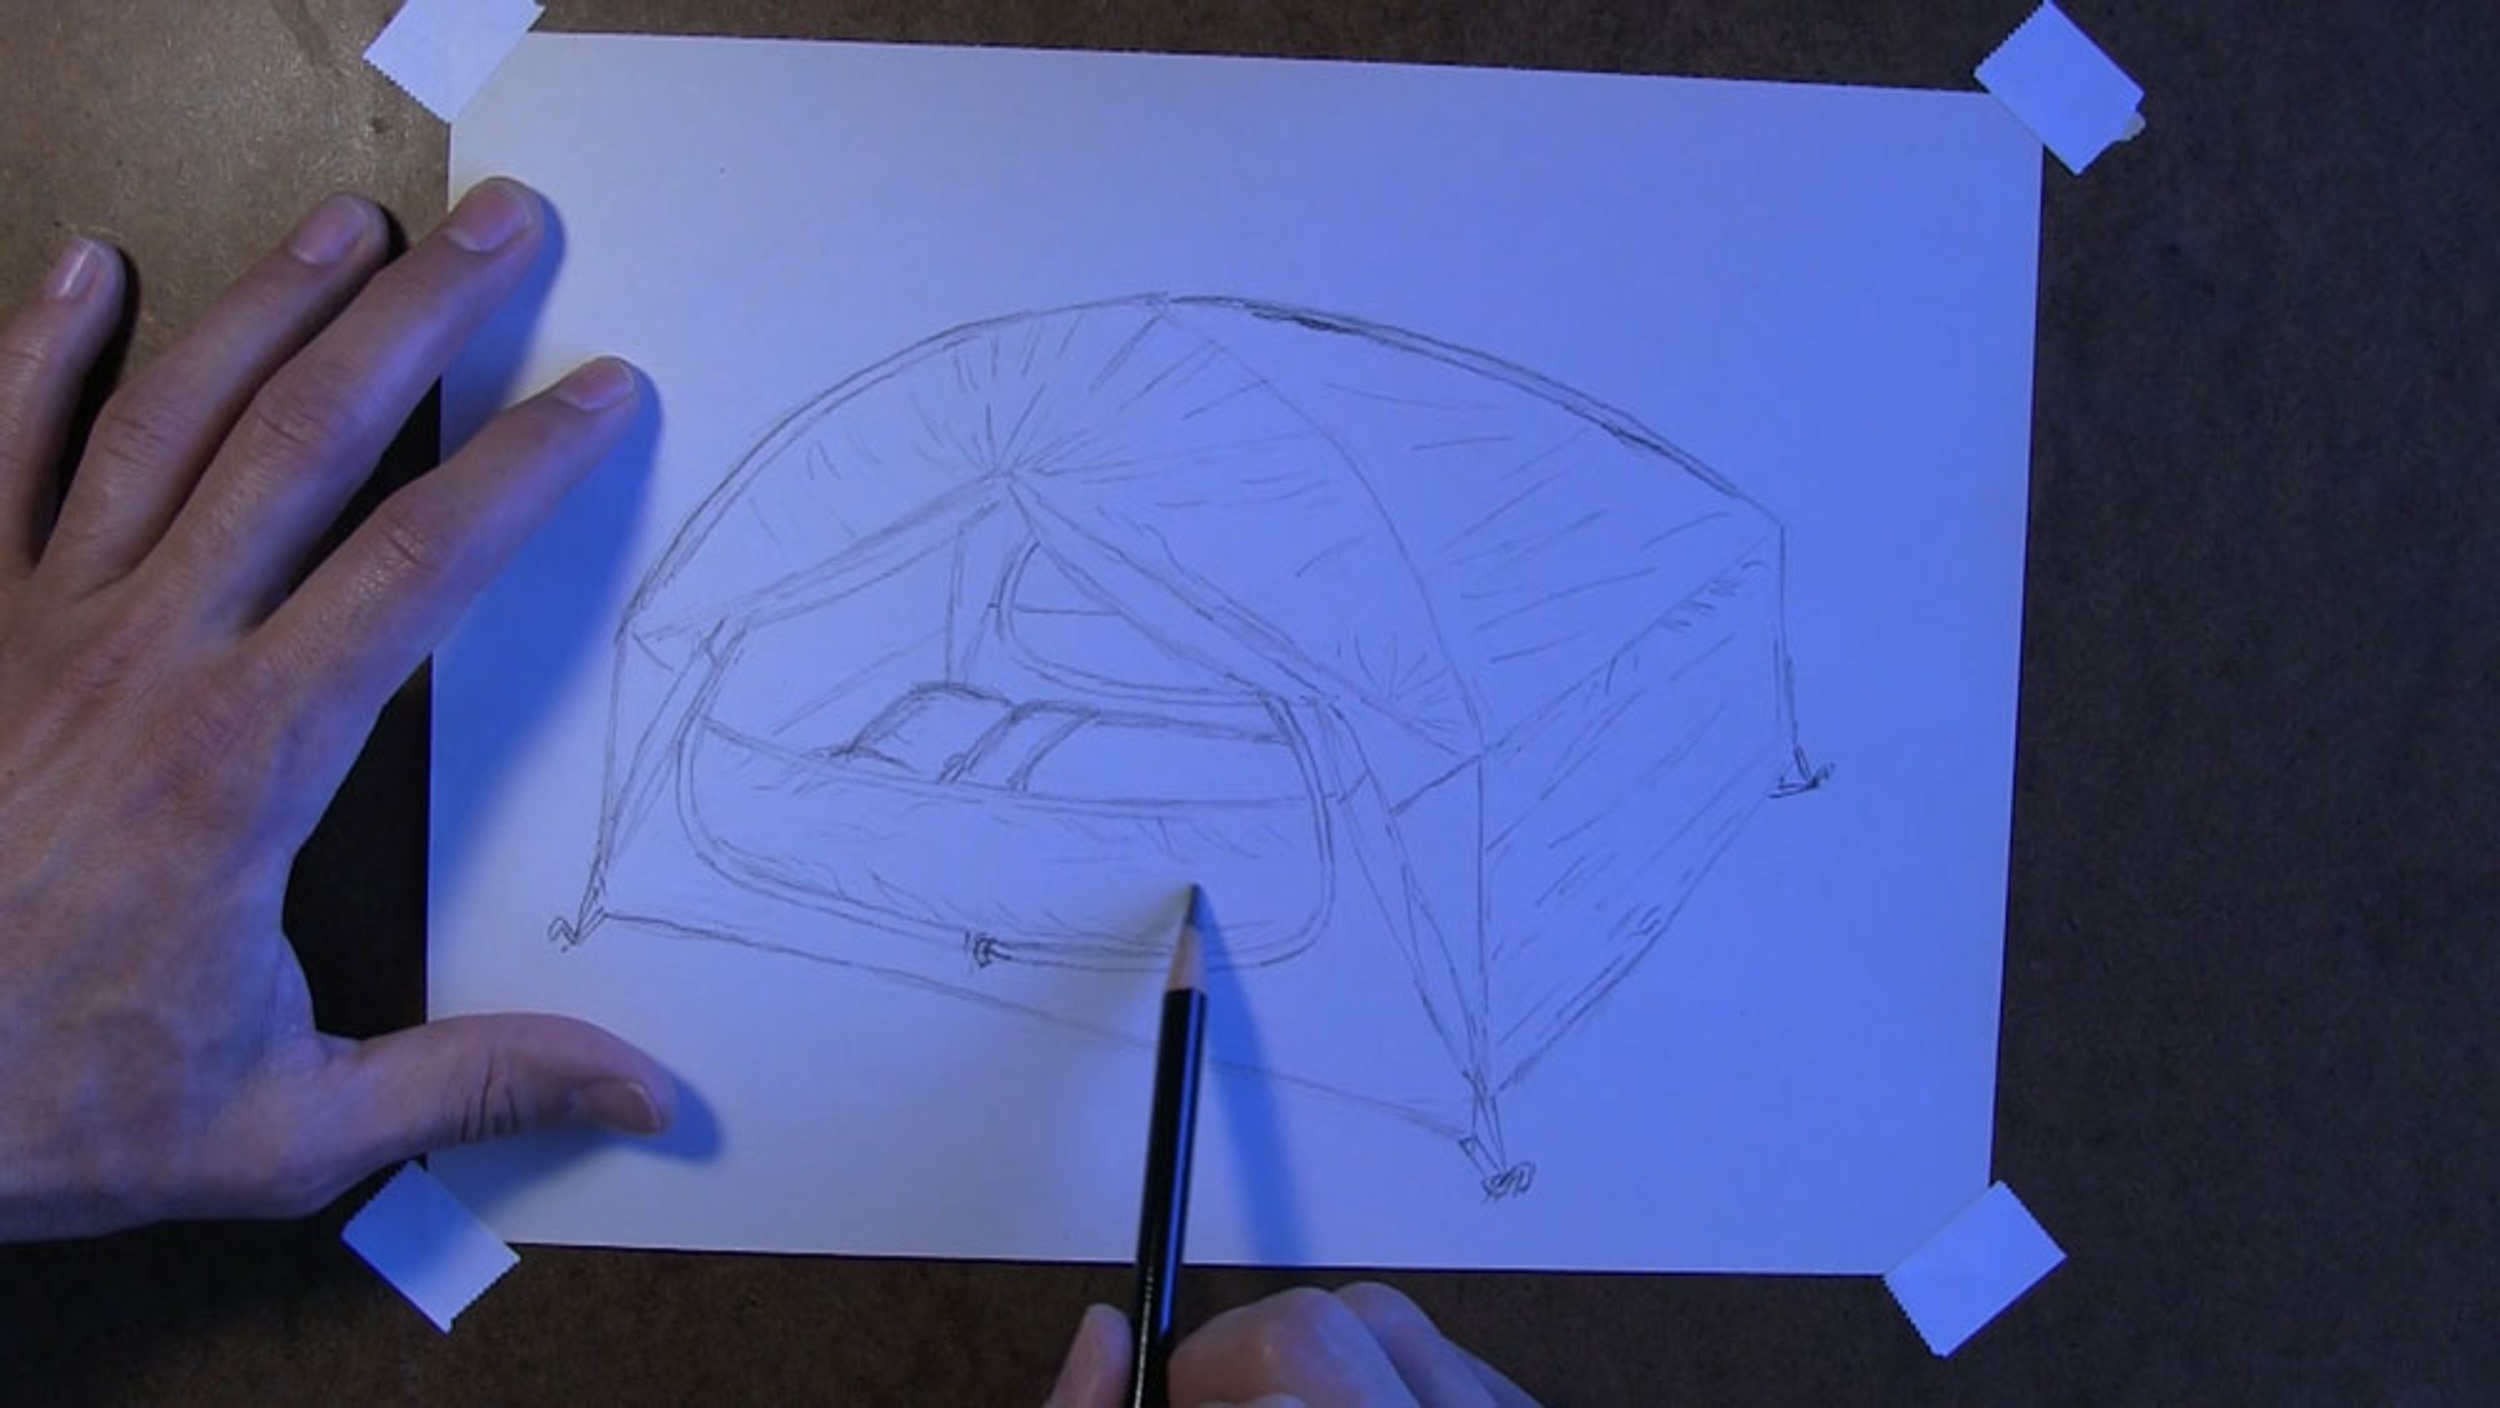
Sketch some lines to represent folds or wrinkles on the outer surface or rain fly of the tent. This will add a touch of realism to our drawing. Begin with the top of the front opening.
Draw lines that radiate from the top of the opening to the poles that frame the tent. These lines exist because the poles tug and pull on the fabric.
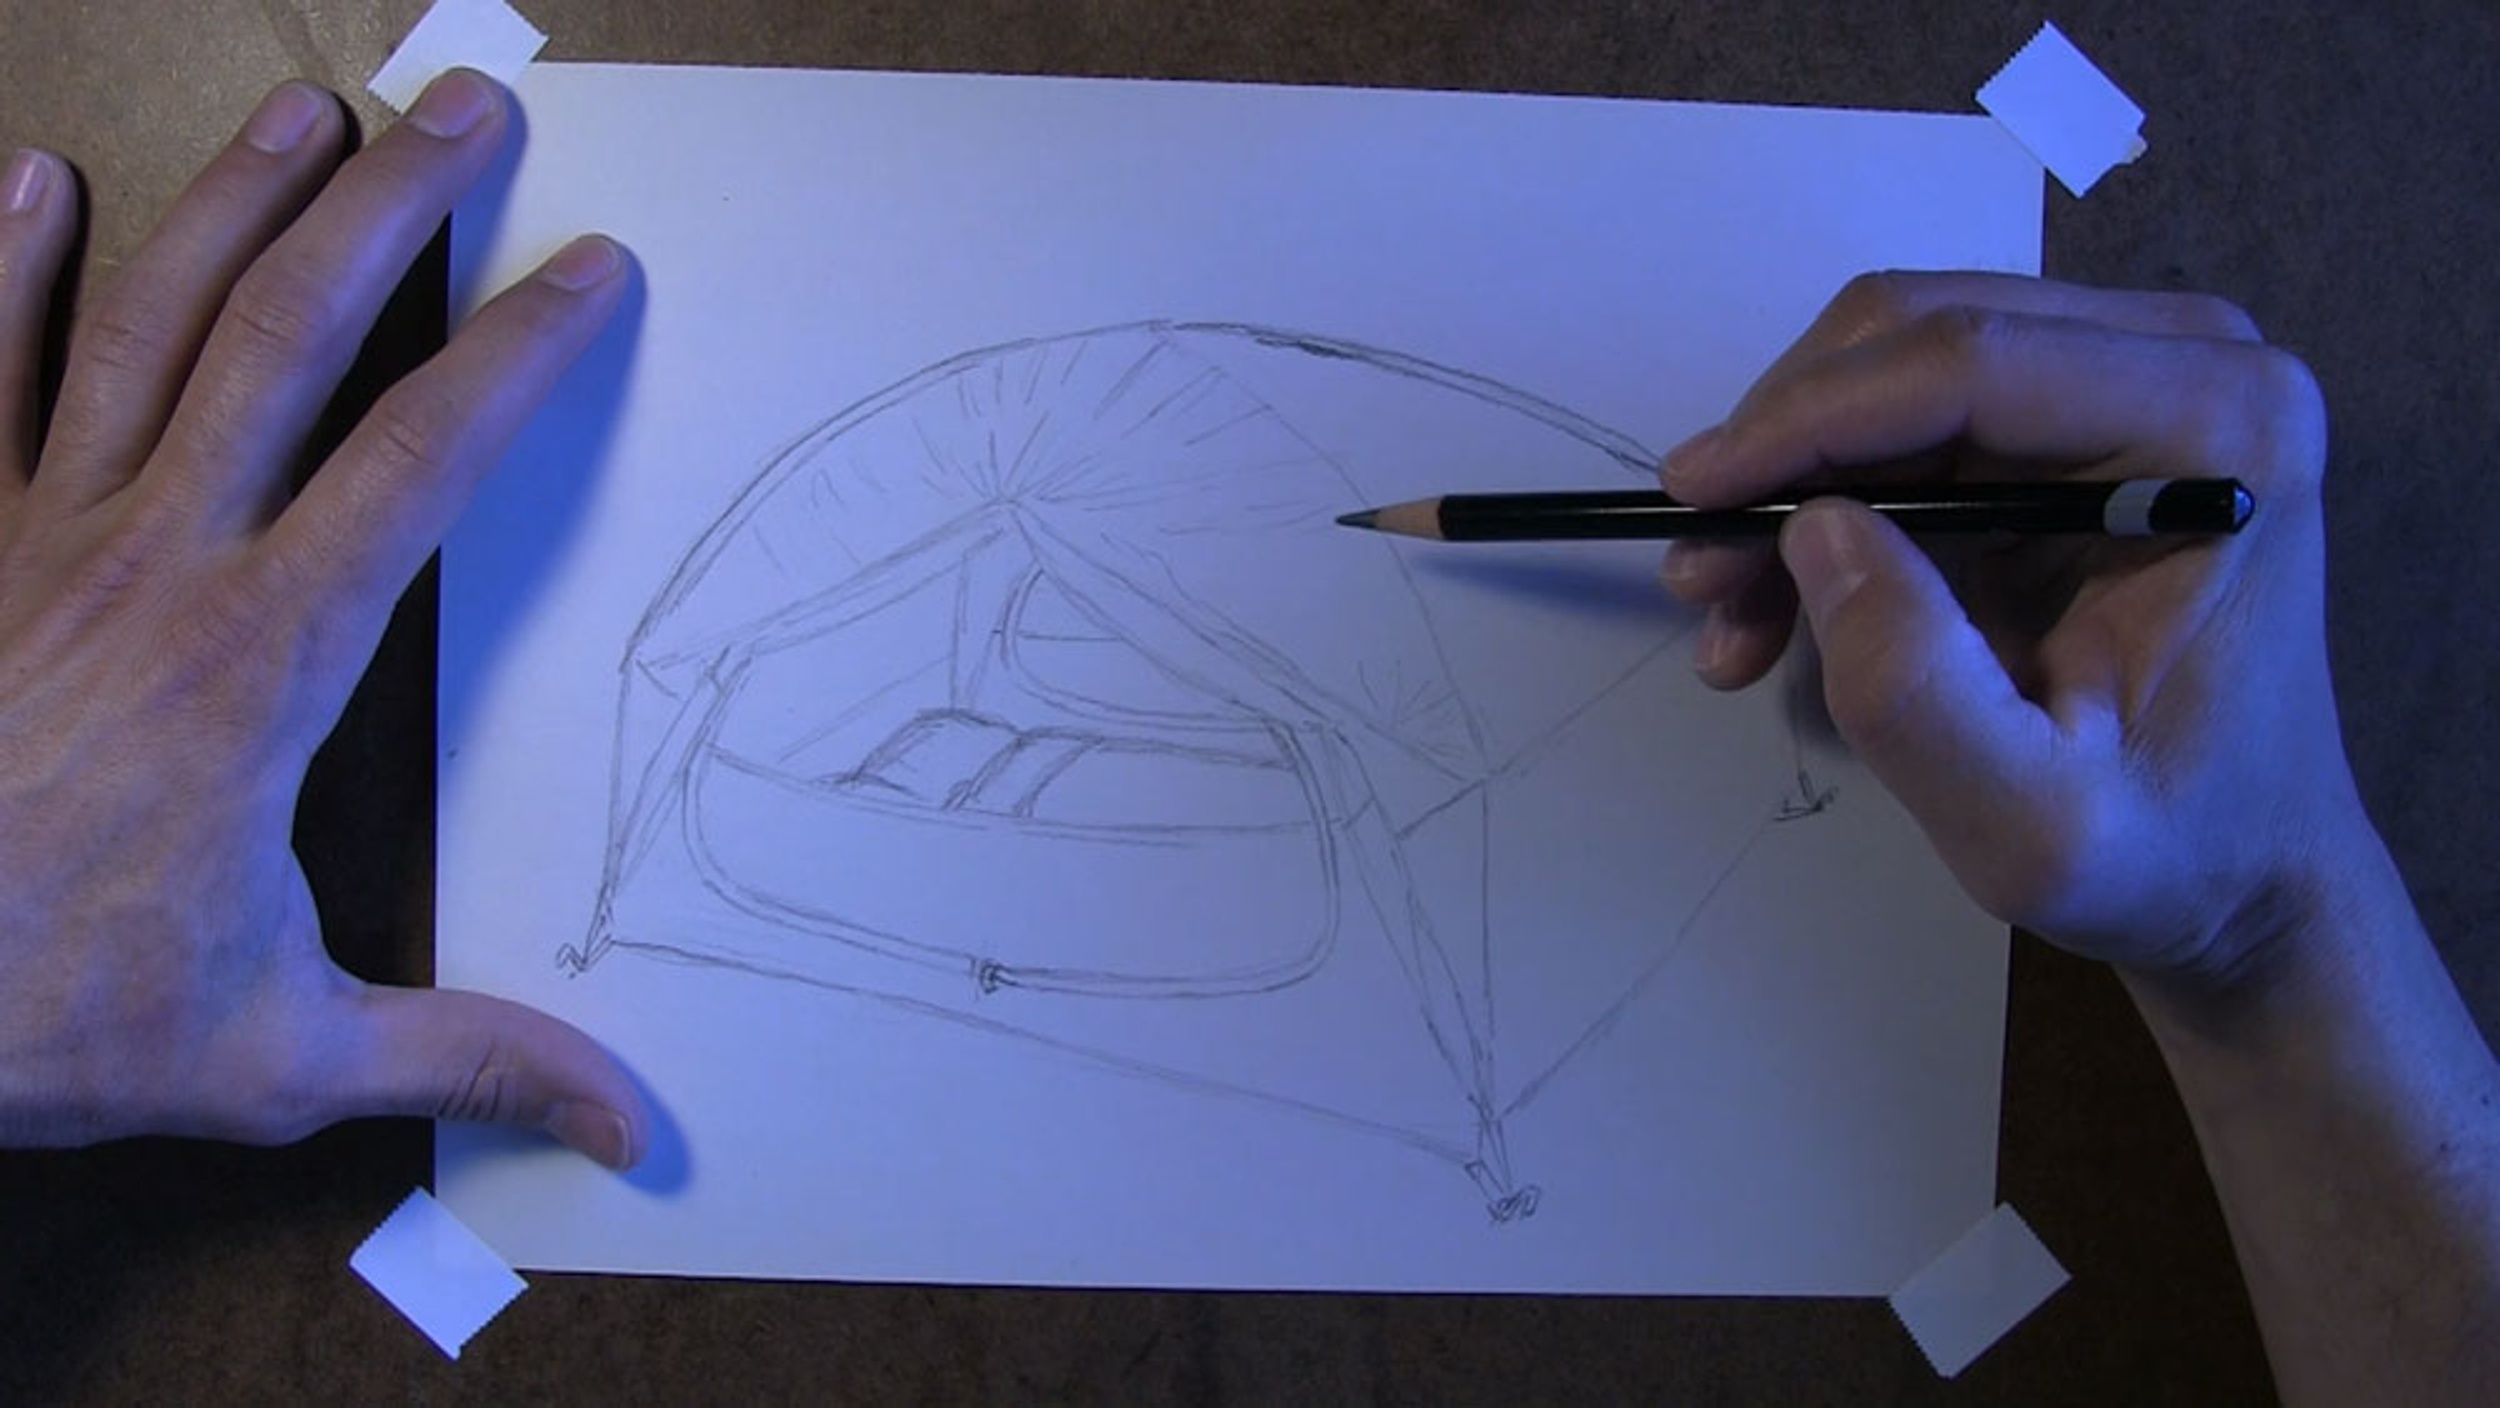
Keep drawing these lines between the poles on other parts of the rain fly, like the rest of the top and the side of the tent.
Look for other parts of the rain fly where smaller folds in the fabric can be found, like along the edges and on the bottom of the mesh door.
Along the very bottom edge of the mesh door on either side, draw a horizontal line that serves as a design element of the tent.
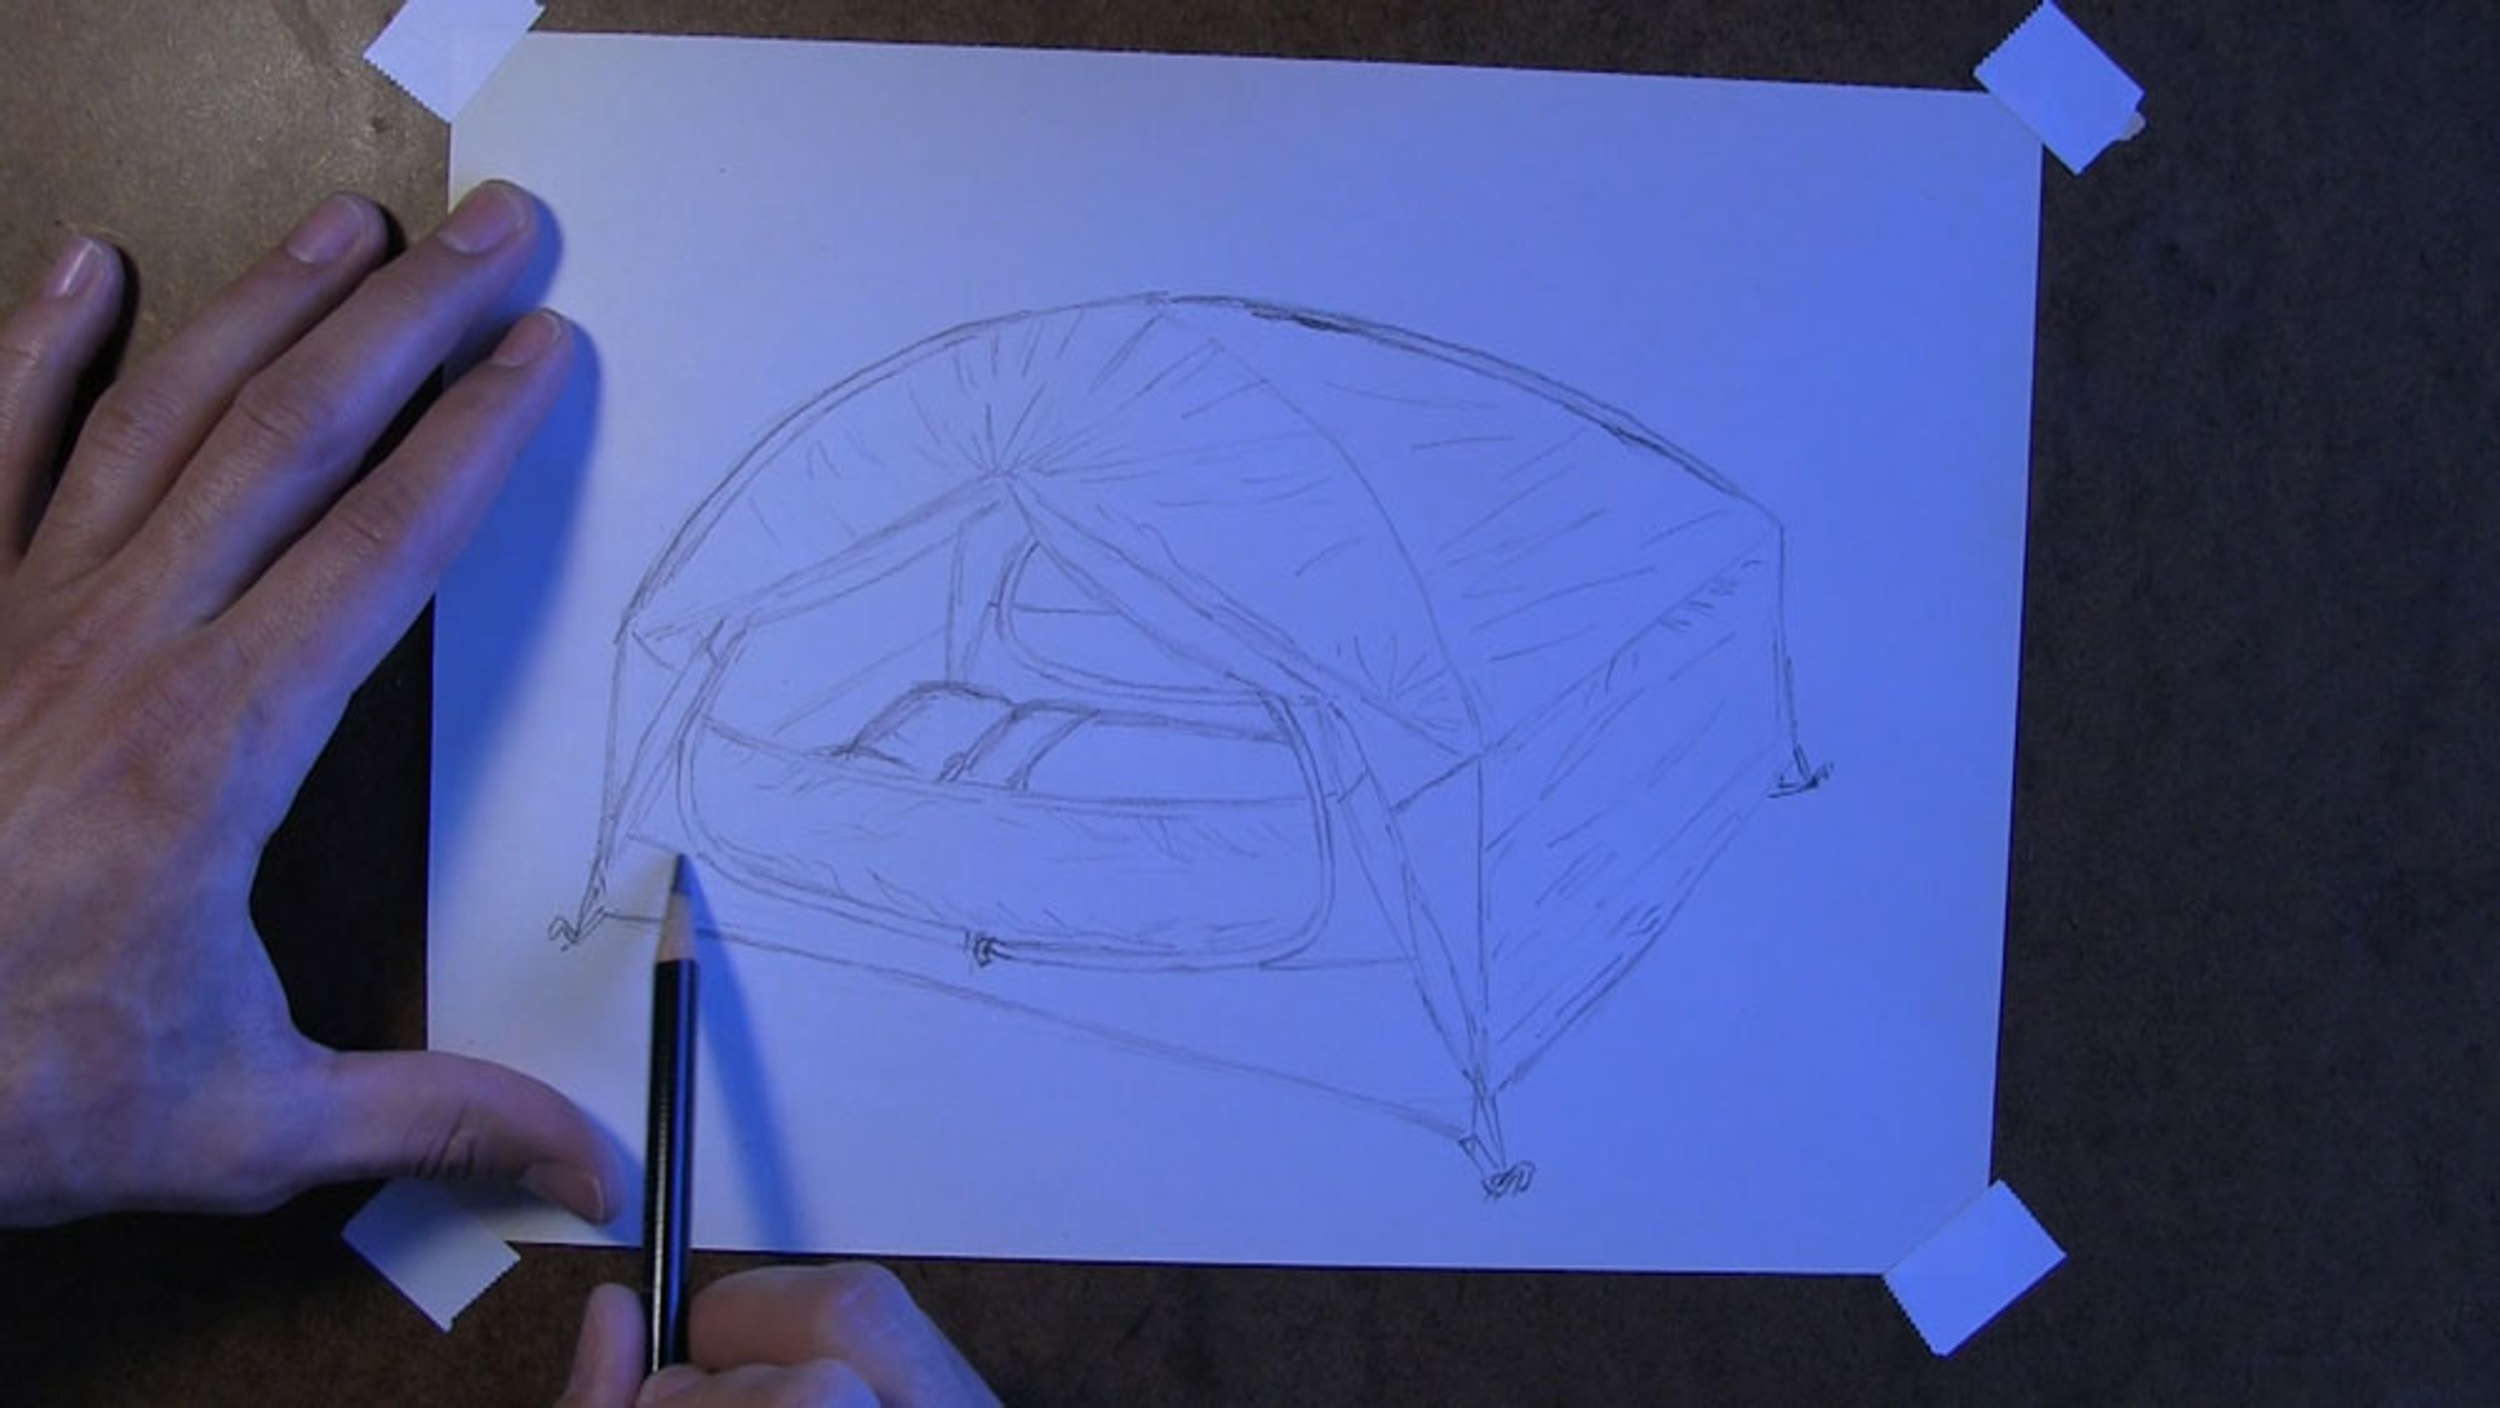
Add a few sprigs of grass along the ground, and we are done with the outline for our tent!
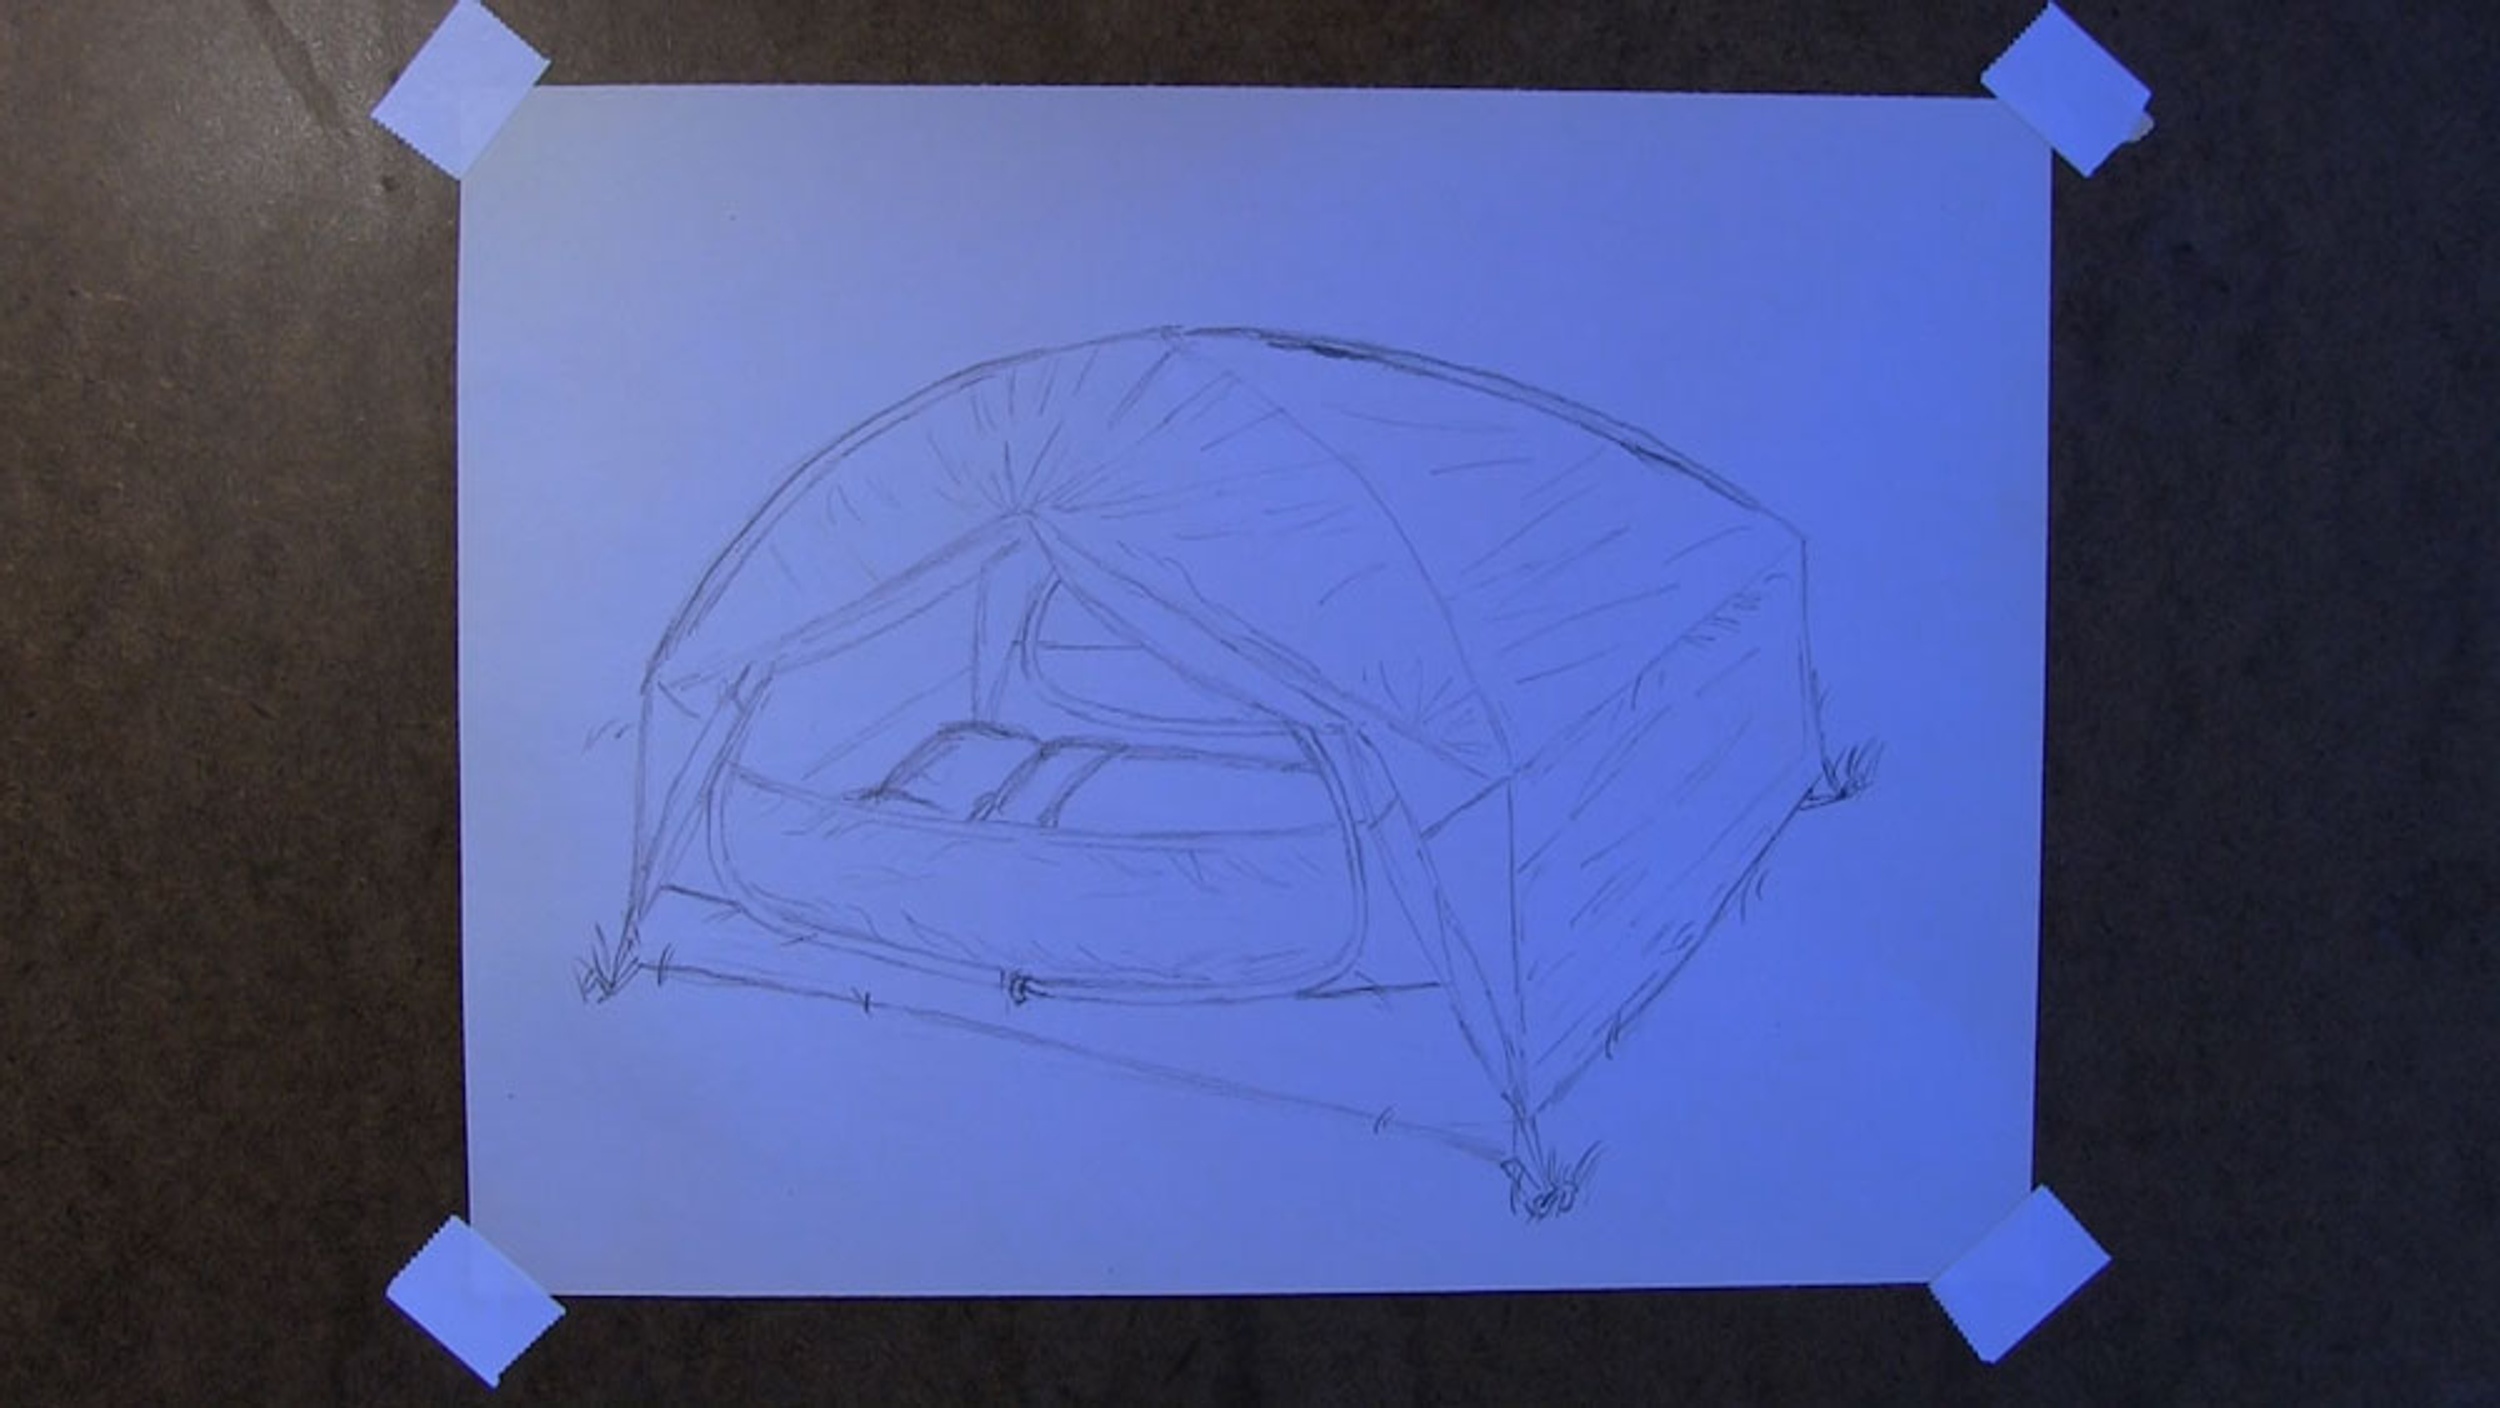
Complete the Drawing of the Tent
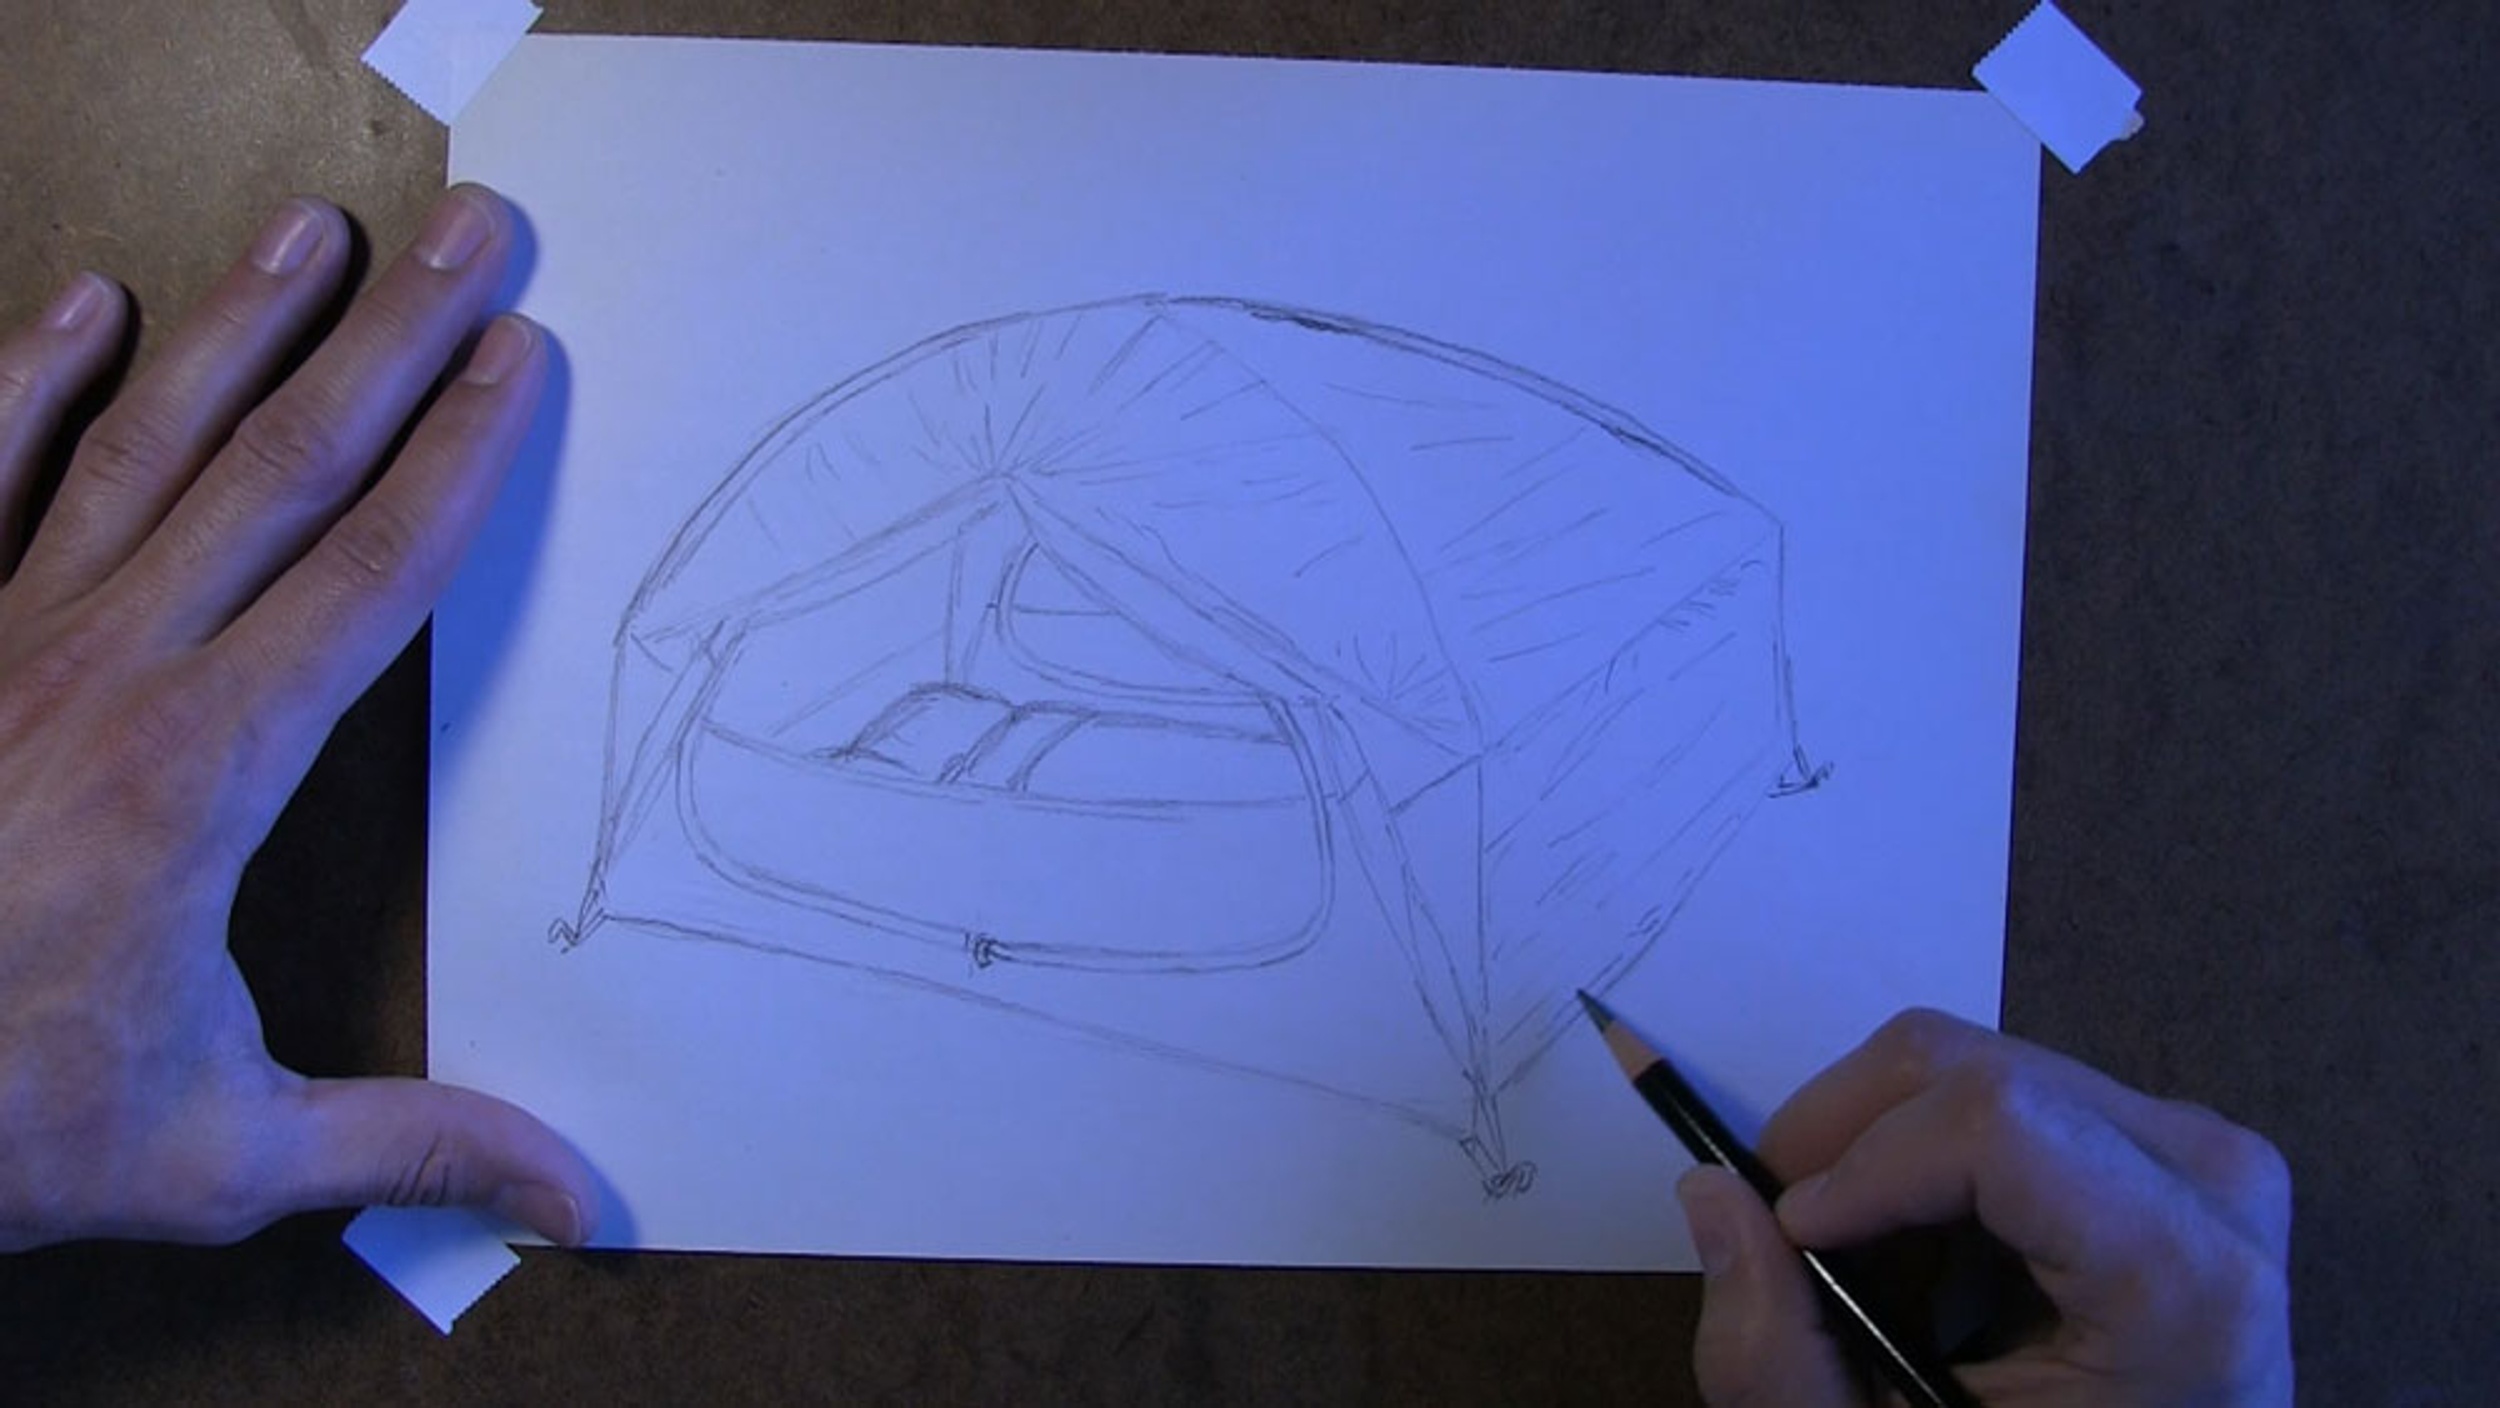
Now that we have completed the line drawing of the tent, the next thing to do is add some shading.
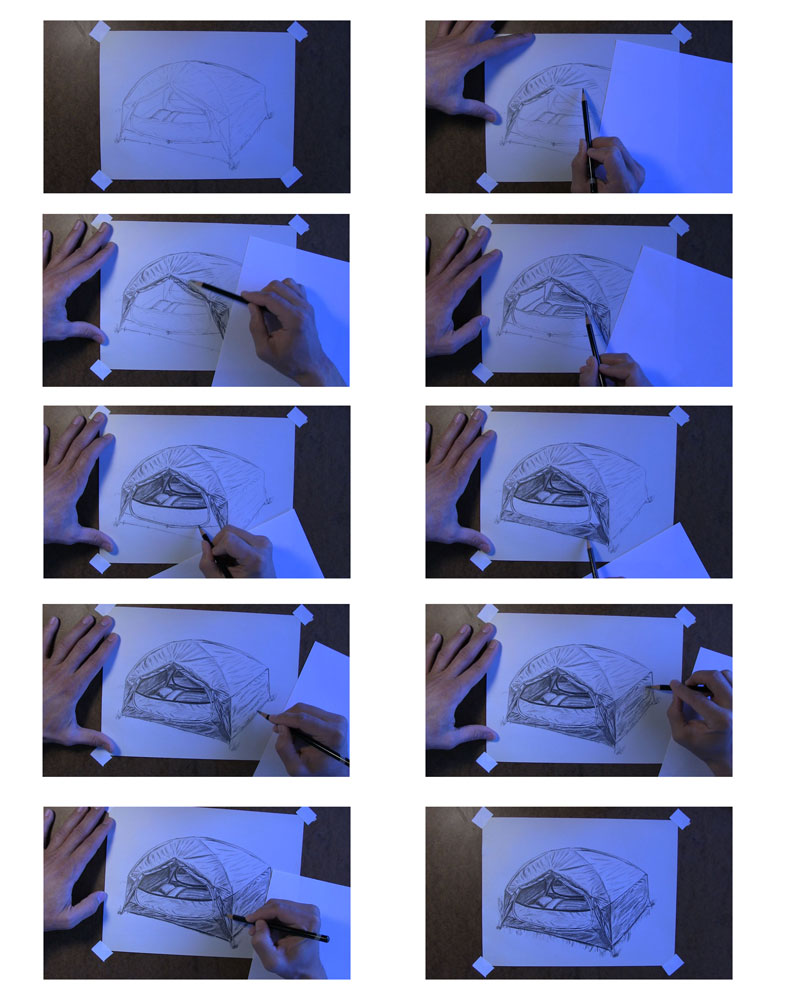
And that is how you draw a tent!