Drawing Plants Easily with a Scientific Approach
I learned a valuable lesson about drawing plants without actually having to draw them.
When I was a first-grade teacher, I taught some of my students how to plant Brassica seeds. As their plants grew, I taught them how to make careful observations.
Then, the students were to draw their plants in their science journals. They were not allowed to draw a cartoonish version of a flower from their imagination. Instead, they had to draw their Brassica plant exactly as they saw it. They were to include specific details about the stems, leaves, buds, and even the roots they could see under the soil that were pressed against the clear planter cup.
The objective of the lesson was not to make a good plant drawing. The objective was to learn more about Brassica plants. The students had to repeat this journal entry every few days to look for changes in the growth of their plants.
By having to think like a scientist, make careful observations, and record those observations in picture form multiple times, the students learned a great deal about the characteristics of the Brassica plant as it grew from a tiny seed.
Over the course of teaching this unit, I learned how powerful drawing can be to the learning process. I discovered that you can learn a lot about plants (or many other topics) simply by drawing them.
Table of Contents
Draw Plants Better By Thinking Like a Botanist
The science lesson I described above was likely my first graders’ first introduction to botanical illustration. Simply put, botanical illustration is the concept of drawing realistic representations of plants for the purposes of science rather than art.
Because you must make such close and careful observations as you draw, drawing plants helps you to learn more about them. It will help you to more easily identify different kinds of plants and their characteristics.
If you don’t know much about drawing plants, maybe it’s because you don’t know much about plants.
I’m not saying you have to know a lot about plants to draw them. Also, there’s no need to draw them as realistically as you would by making a botanical illustration. You can draw plants for artistic enjoyment instead of scientific purposes, and you just might learn a little bit about them in the process. Win-win, right?
Read on to learn more about how to draw plants.
Some Basics About Drawing Plants
When you draw plants, you can draw from a photo or a real-life plant. If drawing from a real plant in front of you, a magnifying glass would be helpful for making closer observations and drawing finer details.
Begin by sketching out the basic shapes of the plant. Then, make specific observations. For example, if drawing a small plant or flower, count how many leaves or petals and draw the exact amount. Look for information about the length and size of the different characteristics as well.
Of course, you would not get so specific when drawing a tree. You would instead make close observations of small shapes that make the bigger composition of the tree and then make more suggestive representations in your drawing.
Some artists make incredible realistic representations of trees. Even so, there is still a level of suggestion that allows them to avoid drawing on a magnified level like with a plant.
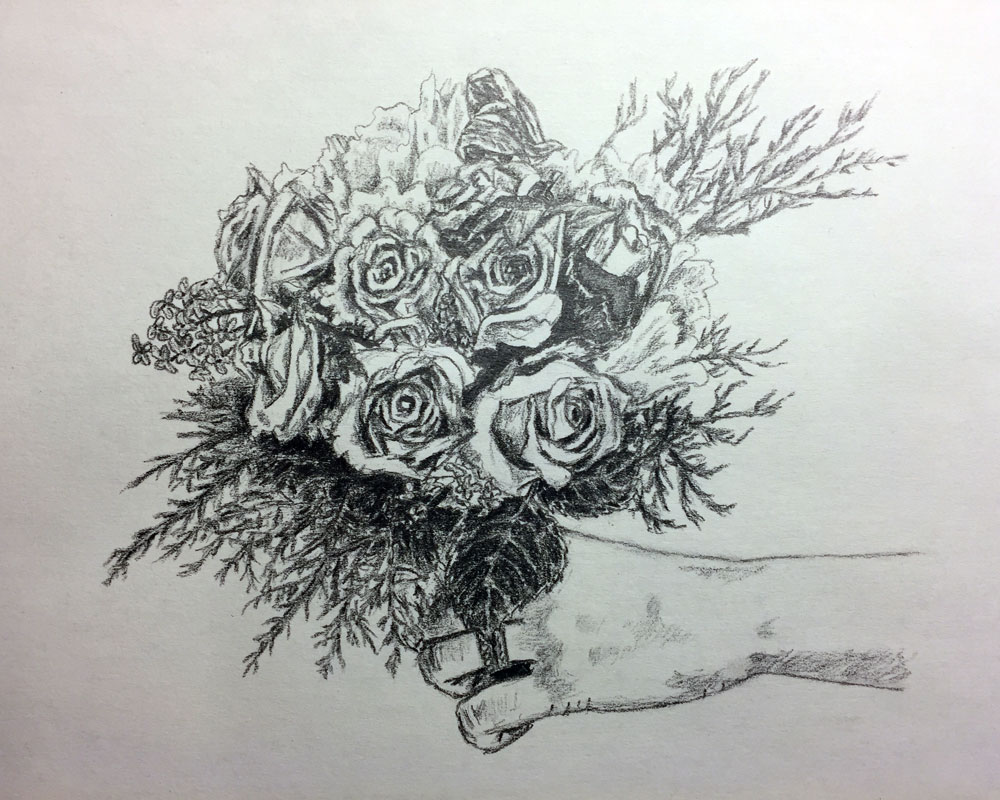
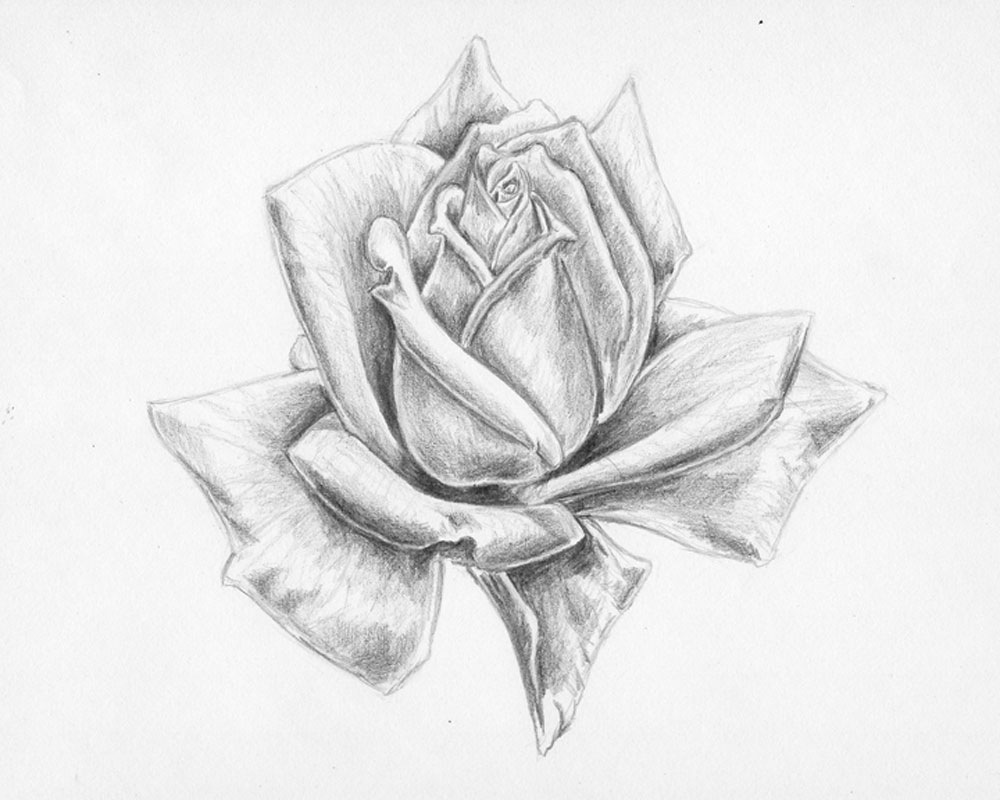
Drawing Flowers
There are many approaches to drawing flower petals. This is mainly because there is such a vast variety of flower petals in nature.
One simple method is to sketch a big circle to represent the outer edge of the petals and a smaller circle in the middle to represent the center of the flower. Then you can draw petals from the inner circle to the outer one. Then you can erase your big circle since it served as a guideline. This will help you to create uniformity in the length of the petals. It can also help a little with symmetry.
The above method only works when you are drawing flower petals from a direct view. The tricky part comes when drawing flower petals at different angles.
You could try the above method with a tilted circle (or an ellipse). That would allow for some foreshortening.
If you are looking from a perspective where the petals are at different angles and varying planes, I would recommend resorting to sketching basic shapes of the petals and working final details from there.
Keep in mind the many other characteristics of various flower species. Petals have vastly different shapes that you must learn to sketch. Their stems look different. Some stems even have sharp prickles. The leaves may look different too.
Regardless of the differences between flowers, remember the general premise of sticking to basic shapes and gradually adding detail. You are certain to draw very pretty flowers in no time!
Drawing Flowers Tutorials
Here are links to tutorials on how to draw roses.
Drawing Leaves
Before drawing leaves, let’s take a look at their basic structure.
A leaf consists of a stalk (called a petiole) at the base that extends up the center of the leaf. This forms a middle vein, or midrib. From the midrib, you will see other major veins branching out.
Extending from these major veins are a set of secondary veins. Extending from the secondary veins are tertiary veins.
When drawing a leaf, I suggest beginning with a very general sketch of the outline. You can then draw the stalk and the midrib. Then draw the major veins that branch away from the midrib. Just draw the major ones first, not the smaller ones. Pay attention to the direction of the veins in the leaf and how they flow.
Keep in mind that the shape of leaves can be very simple or very complex. Some are symmetrical while others are asymmetrical.
From the basic outline, you can add details to the border. A leaf may have either a smooth edge or a jagged one.
After you have your basic leaf shape and major veins, you can draw the secondary and tertiary veins.
Leaves can be made to look realistic by shading with hatch and crosshatch lines and adding closely observed details on the leaf, like spots, tears, or other imperfections.
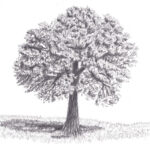
Drawing Bushes and Trees
Trees have branches that intertwine toward you, away from you, and to either side. Understanding this is essential to understanding their structure and therefore better representing a tree in your drawing.
A good way to understand this is to compare the same tree in summertime and again during winter without its leaves. Seeing a tree without leaves is like looking at a skeleton and understanding how the entirety of the tree is held together.
Often times, a reference photo that does not show explicit details is more beneficial than one that does. This is because you can focus more on the forms that make up a tree or bush and see it as individual sections.
Negative space is a key factor in creating a realistic representation of tree foliage. Patches of foliage can be made to look real by shading on the opposite side of the light source that also forms the boundary of a particular collection of leaves.
How to Draw Foliage
In order to draw a tree or bush, sketch the different patches or sections of foliage that you see. As you sketch each section, pay attention to how it relates to the surrounding patches and the overall composition of the tree or bush.
Think about the underlying branches and how they hold the foliage together. Be sure to sketch any visible branches that are important to the structure of the bush or tree.
After outlining a section of foliage, establish the lightest and darkest areas. You can use random scribbles or even short, straight hatch lines to suggest the appearance of the leaves. Then, work in the midtones in a random manner. Go back over the darkest areas to bring out contrast.
By working in a number of layers of detail, you will begin to see your foliage take shape and appear more and more like the tree or bush you hoped you would draw.
Tutorial for Drawing a Tree
Here is a tutorial for how to draw a tree with leaves.
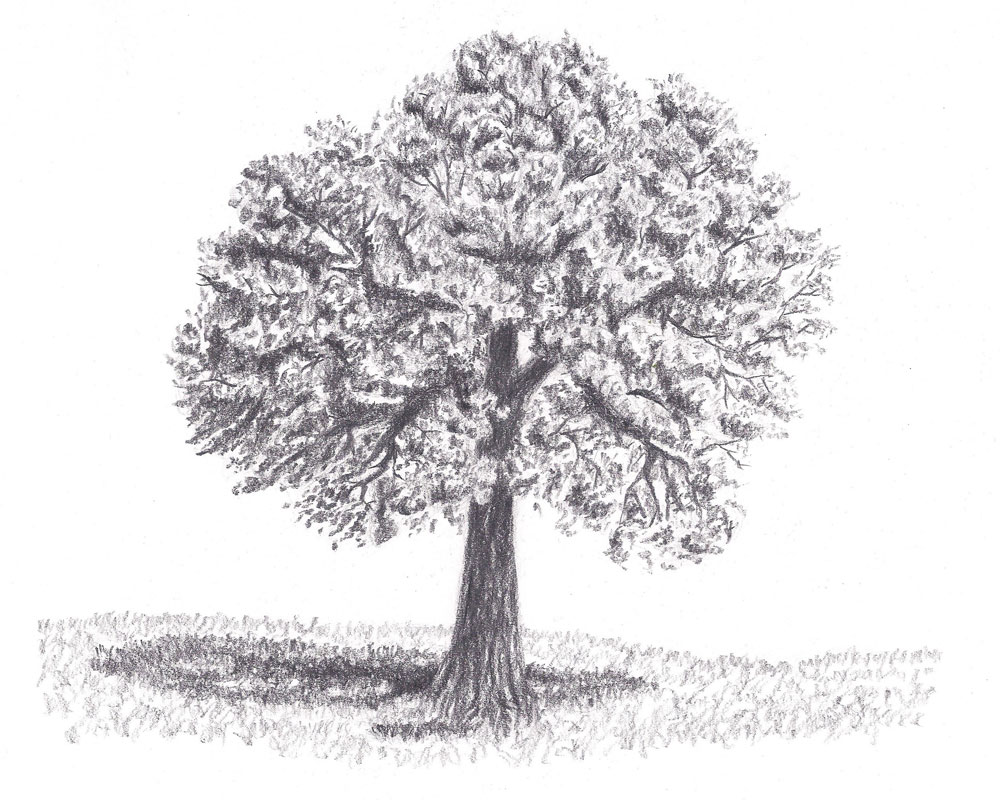
Drawing a Tree Trunk
Most people are less intimidated about drawing the trunk of a tree than they are about the foliage. Even so, here are a few tips that will make you draw a convincing-looking tree trunk.
To draw the trunk of a tree, you need to show that it has a round circumference. This is achieved by shading one side of the trunk more heavily than the other.
You also need to convincingly show the texture of the tree’s bark. Study the shape of the bark to decide on a similar line pattern. The line pattern and pencil strokes you choose will vary based on the type of bark.
Use a repeating pattern of short lines that closely resemble the shape and pattern of the bark texture. Increase the amount of bark lines you use on the shaded side of the trunk.
Look for imperfections on the surface of the trunk. Be sure to draw these cracks or crevices along the edges of some of the bark.
Drawing Tree Roots
If you want to draw thick, prominent tree roots that stick above ground, imagine that you are drawing tree branches, only upside-down.
Some of these roots should stick above the ground only partially. Other roots should be looping completely above ground, with a gap between the root and the ground, before returning under the soil.
Drawing Vines
Drawing vines wrapped around trees does wonders for setting the mood of a jungle or forest drawing.
Draw vines on the ground, wrapped around a trunk, hanging from a branch, or even clinging to the branches of multiple trees.
Vines often loop around each other, especially in the jungle.
When drawing vines, begin by sketching a line to represent one side of the vine. Provide slack in some places of the vine. Decide where in your drawing your vine will travel. Then draw the other side of the vine running parallel to the first line.
Draw vines of varying thickness if drawing more than one. You can also draw some vines wrapping around each other.
Then focus on adding details to your vines. Draw leaves in various spots. Also, draw some twists in the vines themselves, especially in spots where the vines begin to wrap around another object.
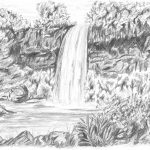
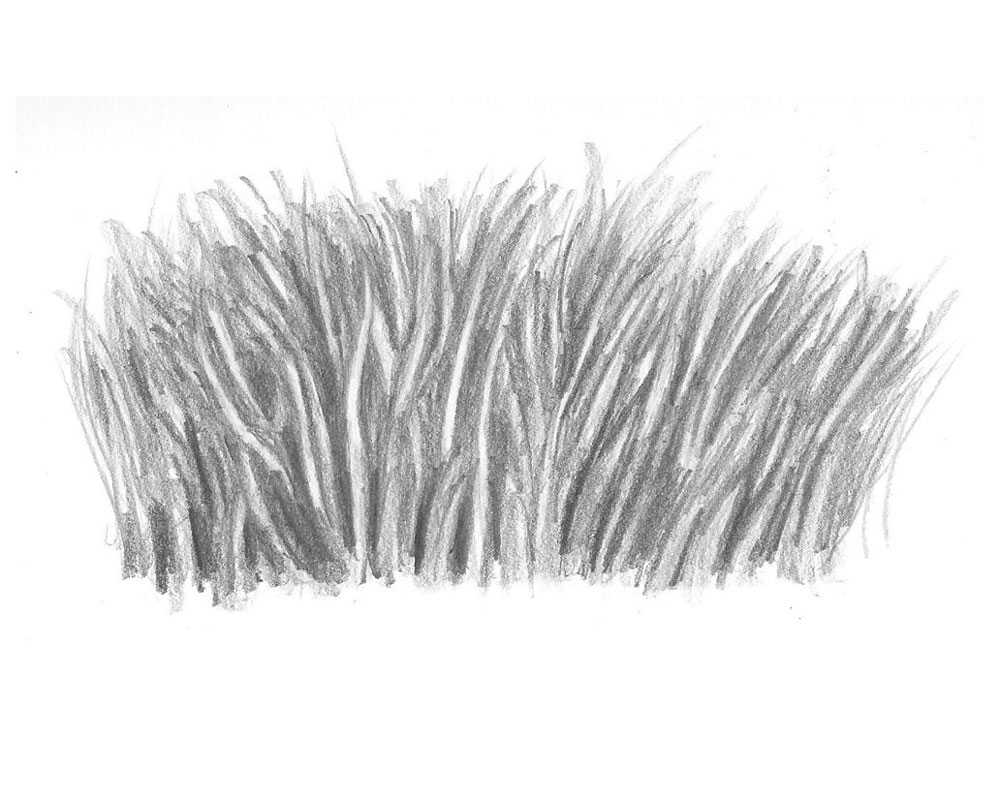
Drawing Grass
Grass is an important element of a landscape drawing. You can draw an open field of grass, grass along a riverbank, or the grass at the foot of a tree.
To draw grass, you can make swift pencil strokes, leaving some negative space between some of the blades. You do not need to draw every blade of grass. Use a kneaded eraser with a sharp tip to draw or lift out blades. You can then sketch additional layers for more depth.
Use a pencil with a sharp tip and stroke from the ground up so the grass blade tapers. Vary the direction and length of the grass.
Just as with foliage, build up the thickness of your grass by drawing it in layers until it is just the way you want it.
Tutorial for Drawing Grass
Learn how to draw grass with the following tutorial.
Conclusion
Plants were never my favorite drawing subject. This was mostly due to the fact that I knew so little about them. Like anything, we gravitate toward familiarity and comfort. The things with which we are most familiar and comfortable tend to be where we focus the majority of our time.
Therefore, if given a choice of what to draw, I much preferred drawing people, animals, or random things over plants.
Truth be told, I still like drawing these things more than plants, but now that I draw plants more often, I learn more about them with each drawing, and I don’t fear or dislike drawing them as much. I actually look forward to it now.
I hope you find the tips in this post helpful, and I hope you look forward drawing plants more often too!