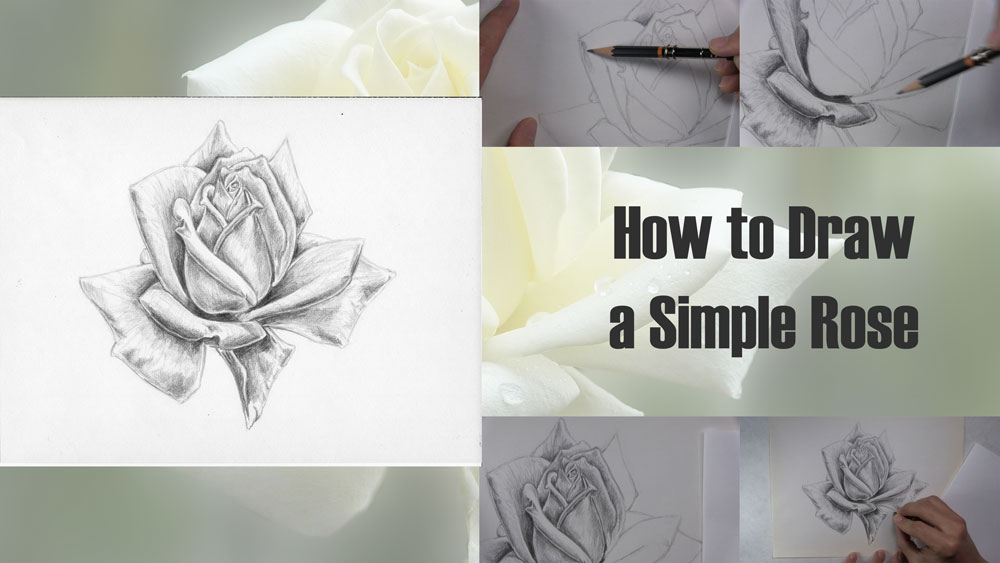
How to Draw a Rose with Simple Shading
Although many people find that drawing a rose presents some challenges due to all of the overlapping petals, it doesn’t have to be difficult at all. In this tutorial, we’re going to learn how to draw a rose by breaking the rose down into sections of petals and drawing one petal and one section at a time, making the process much easier.
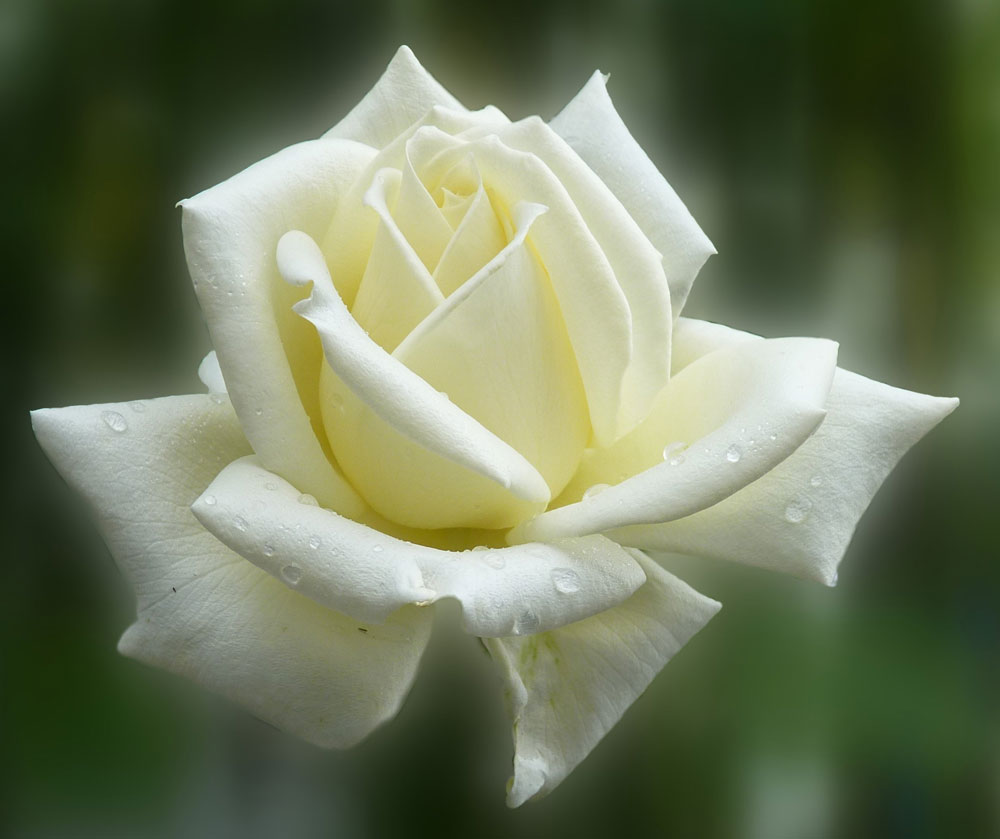
Use a Reference Photo of a Rose
The reference photo I am using for this drawing is a photo of a beautiful white rose. Interestingly enough, this rose has some sharp corners on several of the petals that differ from the rounded edges I see with most roses. Also, you cannot see the stem of the rose in this photograph!
I chose to omit the stem in my drawing as well. For simplicity’s sake, I also chose to leave the water droplets out of my drawing. However, if you feel the need to add a stem, leaves, droplets, or any other details to make this rose drawing your own, then just go for it!
By the way, the same goes for any other drawing you make. Always remember that you have the freedom to insert your own creativity into any drawing tutorial.
You can use the basic concepts you learn from this tutorial and apply them to drawing other roses. Keep a reference photograph nearby to guide you as you draw various roses.
I used a 2H graphite pencil for the outline of the rose. Afterwards, I used a 2B pencil to apply shading.
How to Draw a Rose Video Tutorial
You can watch the time-lapse video version of this tutorial below. Watch it once all the way through to get a sense of the overall process. Then watch a second time and draw along with me, pausing as needed.
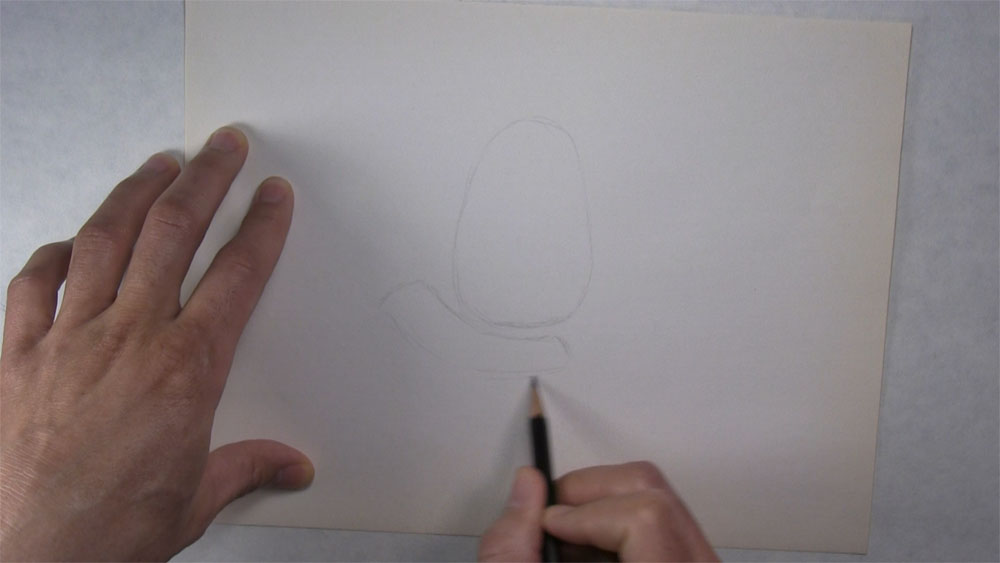
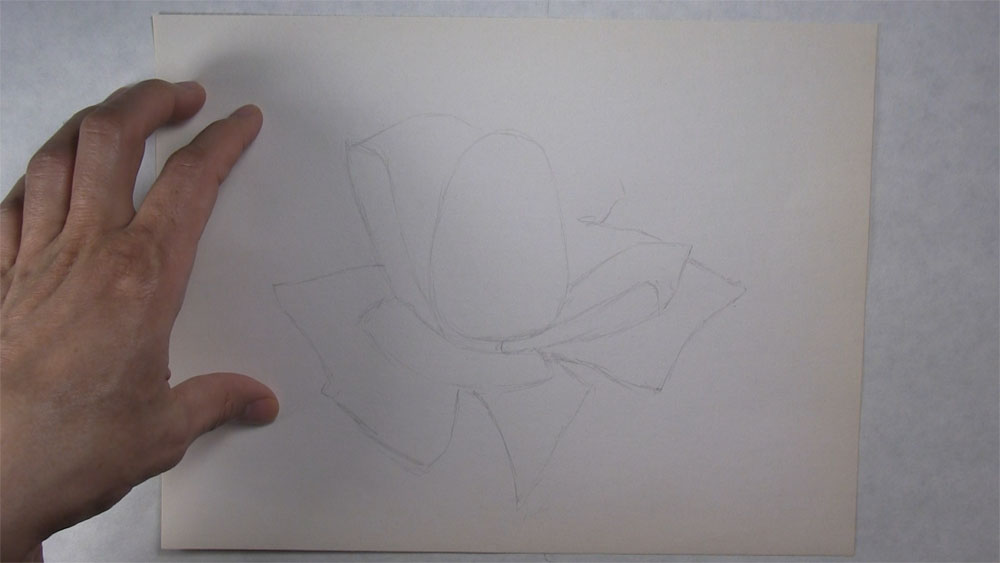
Draw Some Basic Shapes for the Rose Petals
Let’s begin drawing the rose by establishing some basic shapes. Begin with a 2H pencil at the center of your paper and sketch what is almost an egg shape. This will be the center petals of the rose. Next, sketch a curved shape underneath the oval or egg shape.
Now, we’re going to sketch two large petals on either side of the middle. Both of these petals have thick sides, so I’m sketching a rough guideline for the sides of each petal. Each of these petals emerges from the bottom of the center.
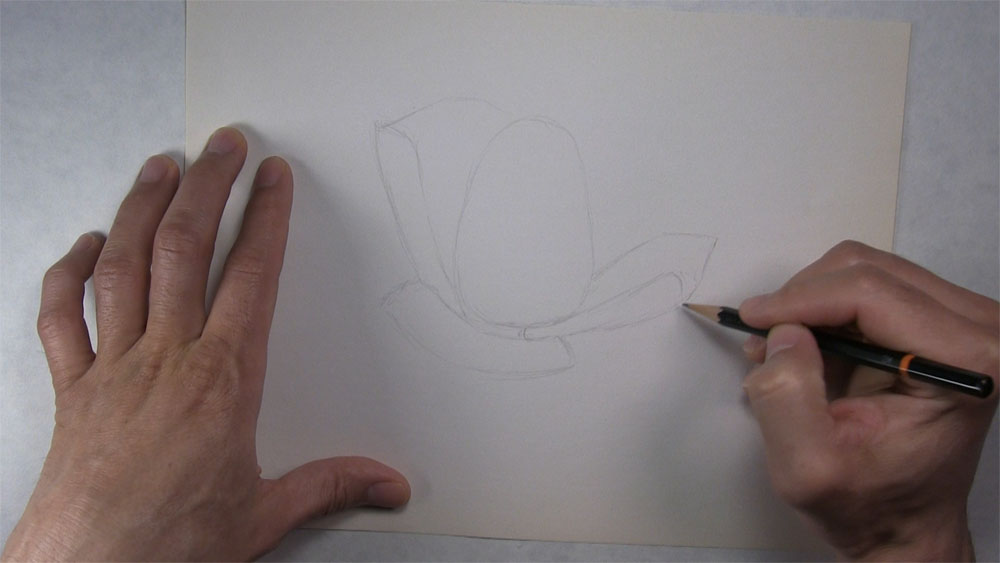
Now, lightly sketch the outline of three additional large petals. These petals will be underneath the ones we already drew.
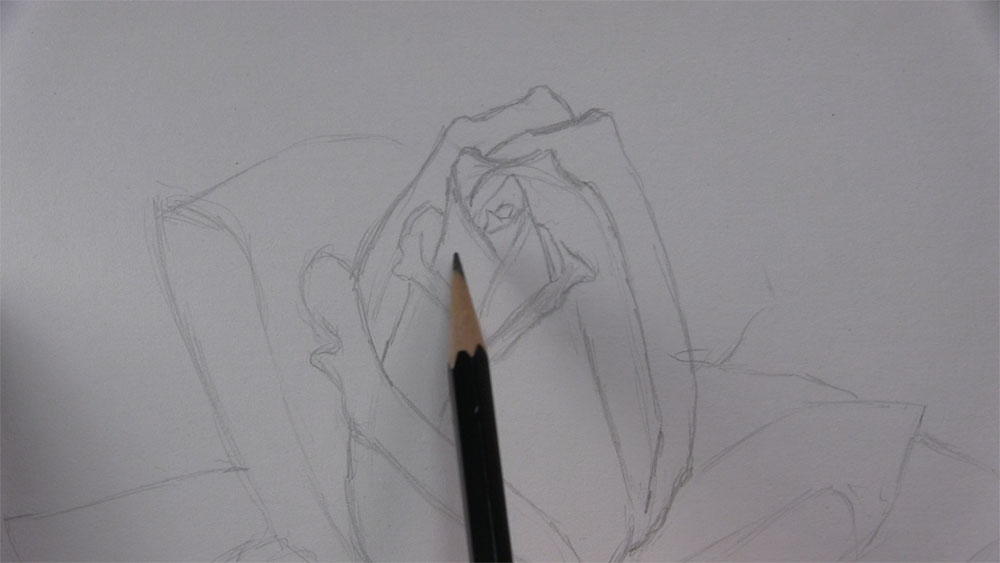
Complete the Outline for the Middle Petals of the Rose
Next, let’s focus on developing the middle petals a bit more. Start with a diagonal line that extends from the bottom and then beyond the outer edge of our egg shape. Then loop it back around to where you began. This will represent the outer flap of a petal curling away from the center. Make sure to erase where the overlap is.
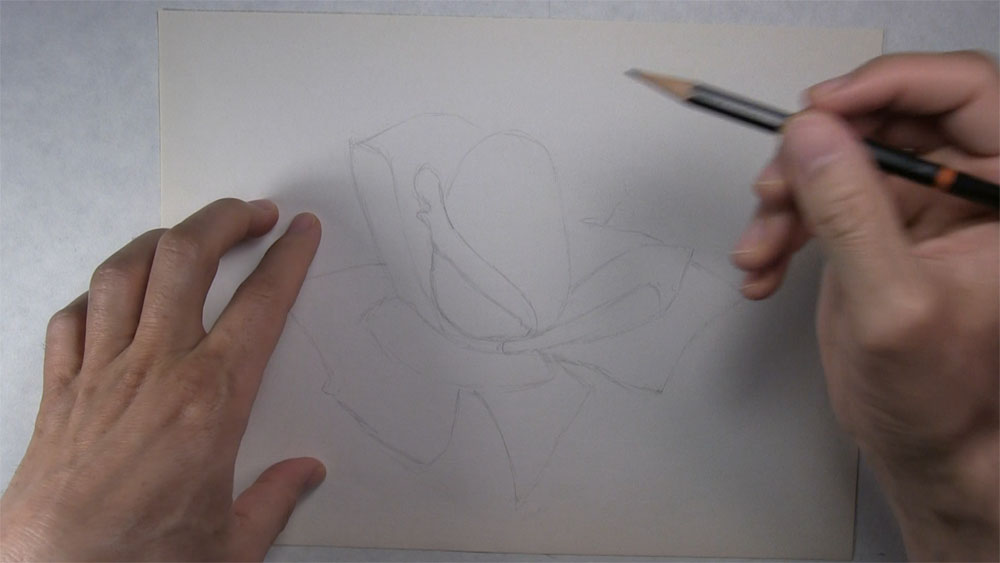
Okay, this egg shape we drew at the beginning only serves as a basic outline for what we will now fine-tune. I’m going to make these center petals a bit smaller than what my original egg shape outline was. The petals and the outer flaps get smaller and smaller as you get closer to the center of the rose.
Now we will make even smaller petals wrapped around each other. Stay aware of the larger petals in the foreground as you draw the smaller petals behind them, and make sure the edges of these inner petals are inside the edges of the larger outer petals.
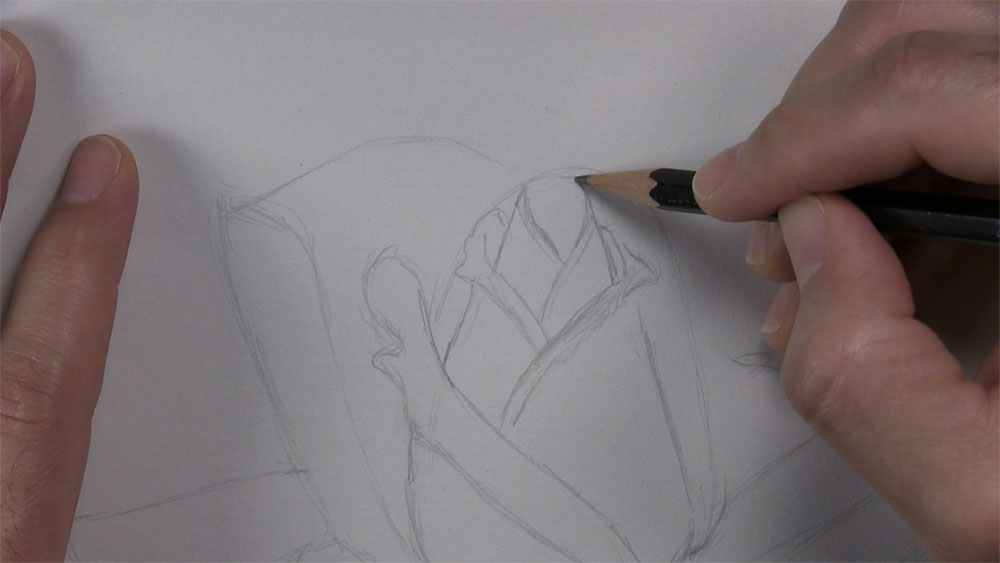
Let’s next draw the pointy tips of the petals in the very center of the rose. This is also where you would find the stigma of the rose if it was opened up a bit more, but the stigma and other parts of the rose’s insides don’t seem to be apparent in our reference photograph here.

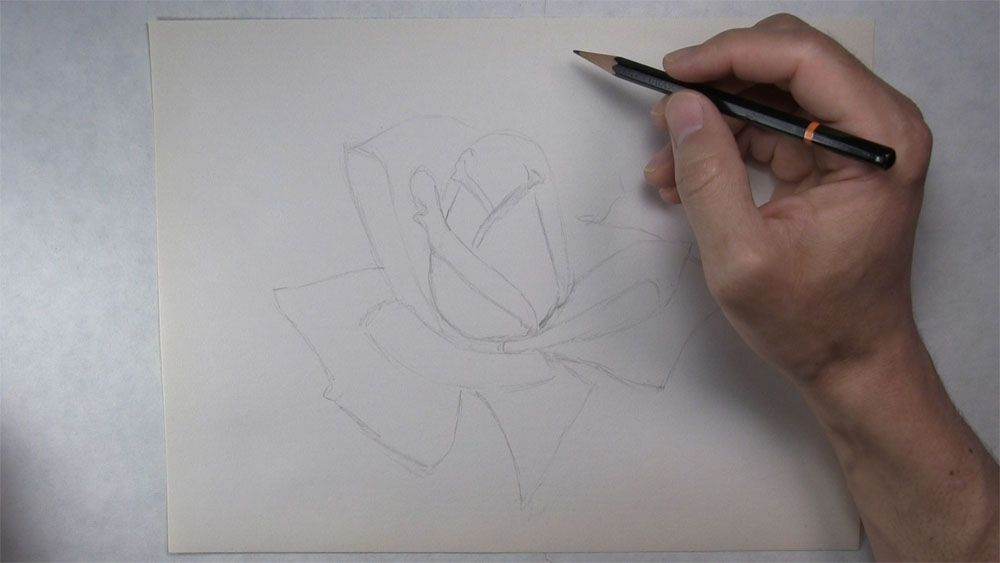
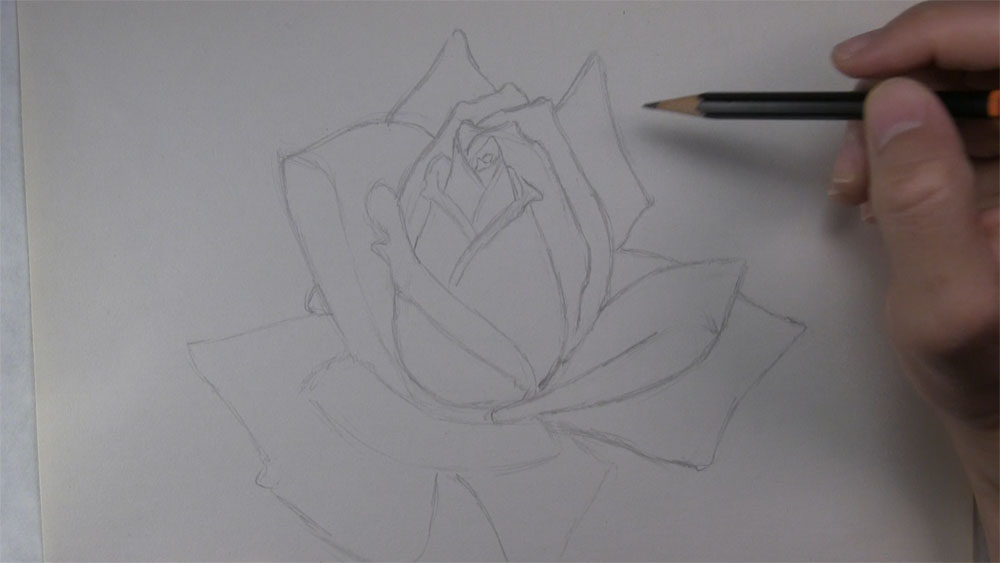
Sketch the Outline for the Rose’s Outer Petals
Draw more of the outer petals. Staying near the center, sketch two tall petals with points near the top.

Here, I’m going to make this tiny petal near the center stick out a little bit more before completing this larger petal in the rear.
There are two large petals in the very back that almost look like diamonds. For this first one, I’m sketching a light vertical guideline just so I can align the tip the way I want it with the petals below. Before I do this other one, I’m not really satisfied with the look of these tall petals I did, so I’m going to play with the shape a little. Then, connect the corners to complete the second large rear petal.

Trace along the edges of the next two petals below to make the guidelines a little sharper. Make sure to erase any guidelines that are behind an overlap or that need to be cleaned up from a sharper edge. If anything looks off in your drawing, or you feel like you want to make any part of your drawing a closer resemblance to your reference, feel free to resize, reshape, or adjust as you see fit. Although it’s not super necessary, that’s what I am doing now.
Go over the edges of the remaining petals. Sketch in bends, curves, folds, or other imperfections in the petals that will give the rose a more natural appearance.
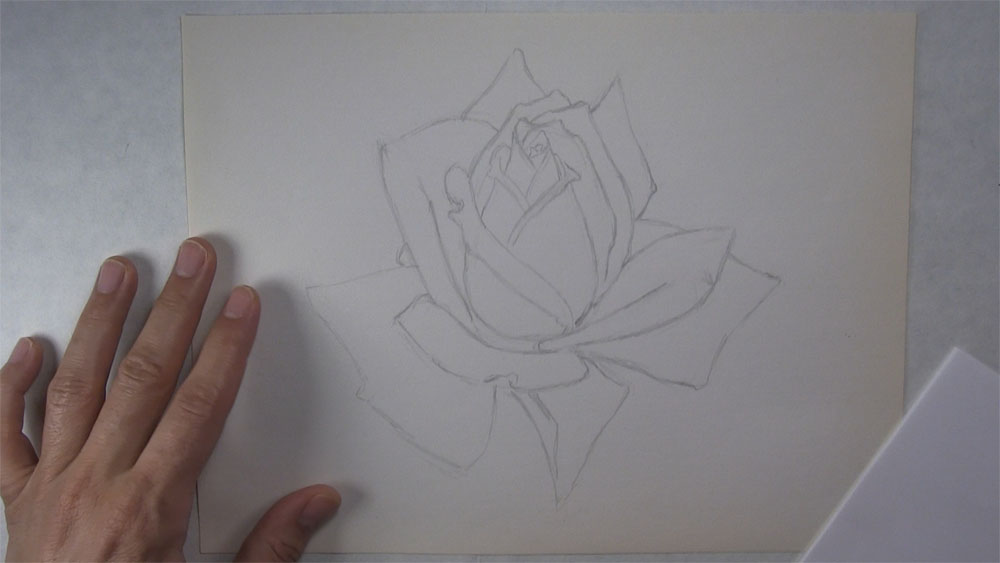
How to Draw a Realistic Rose by Adding Shading
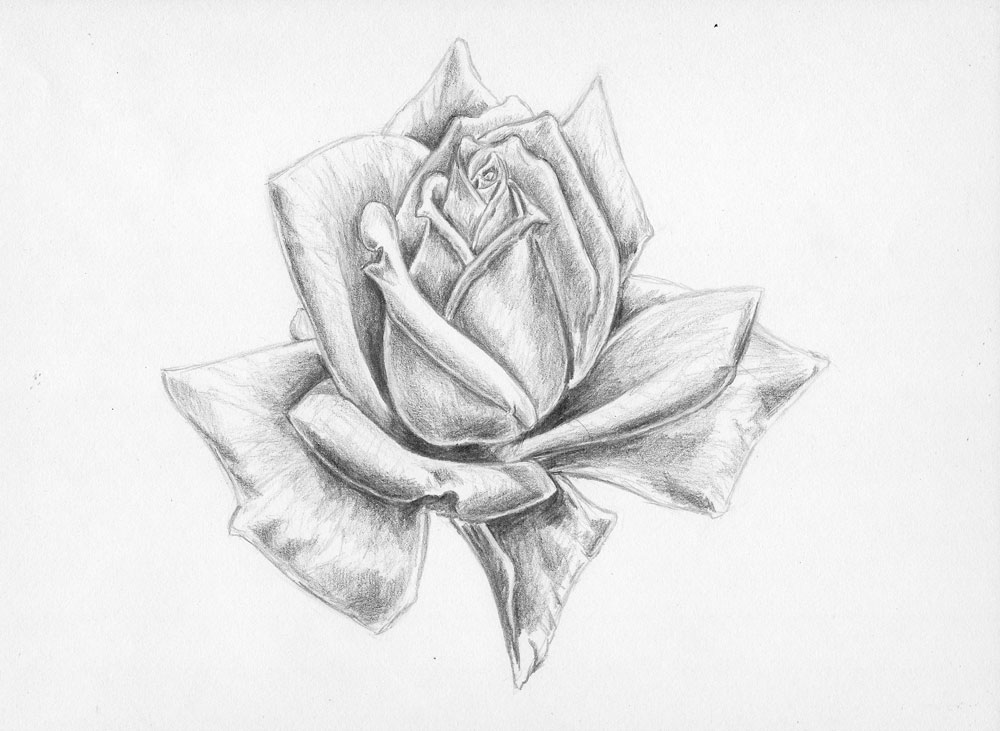
Now that we have completed the line drawing of the rose, the next thing to do is add some shading to make it appear more realistic.
The video at the beginning of this tutorial post will demonstrate how I apply shading to this rose. My main strategy was to focus on one petal at a time, applying a mixture of light and dark tones. Also, I was very careful near the edges of the petals to leave some reflected light to separate tones of similar value.
The image below shows a quick progression of shading steps from the outline of the rose to the final drawing.
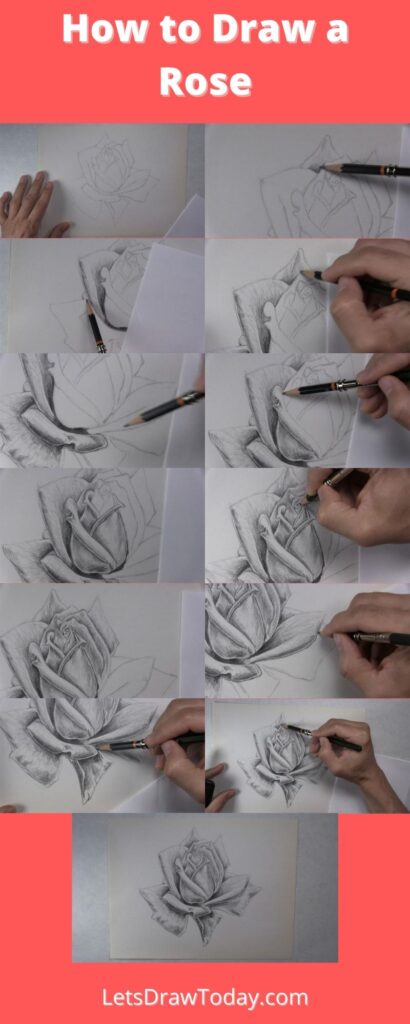
And that is how to draw a rose!
Now that you know how to draw a rose, challenge yourself by drawing multiple roses. You might even want to try drawing an entire bouquet of flowers!