How to Draw a Bouquet of Flowers
If you are uneasy about the idea of drawing even one flower, I can understand how drawing a bouquet of flowers might be intimidating, even if it is something you wish you could draw.
However, drawing a bouquet of flowers isn’t really all that difficult. Like any other picture you draw, it’s just a matter of tackling it one piece at a time.
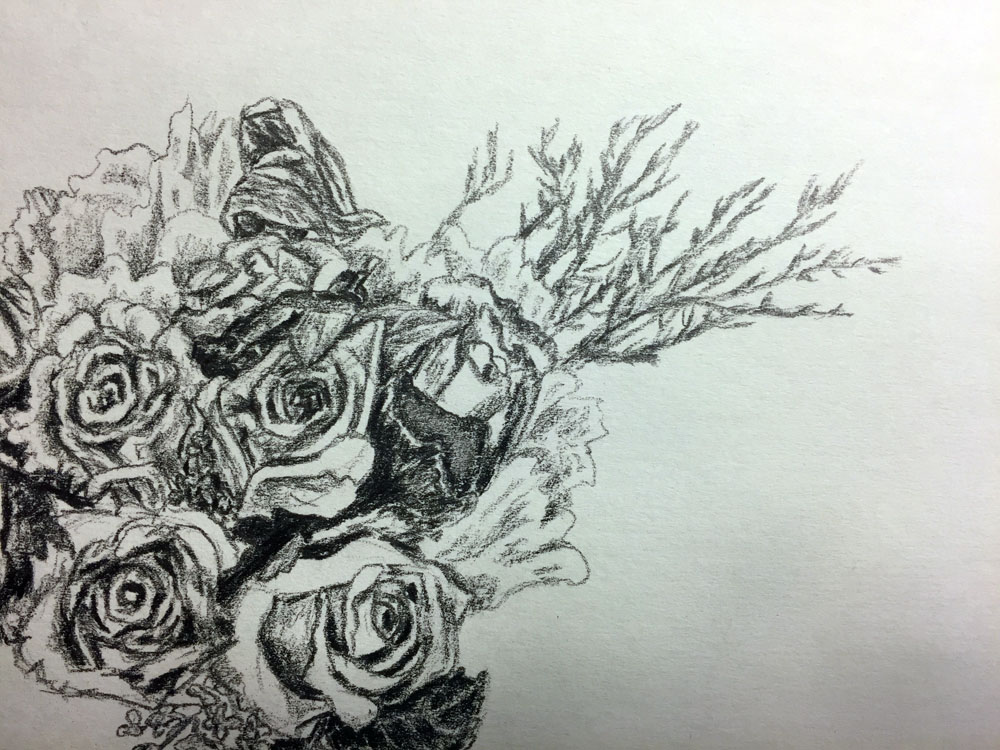
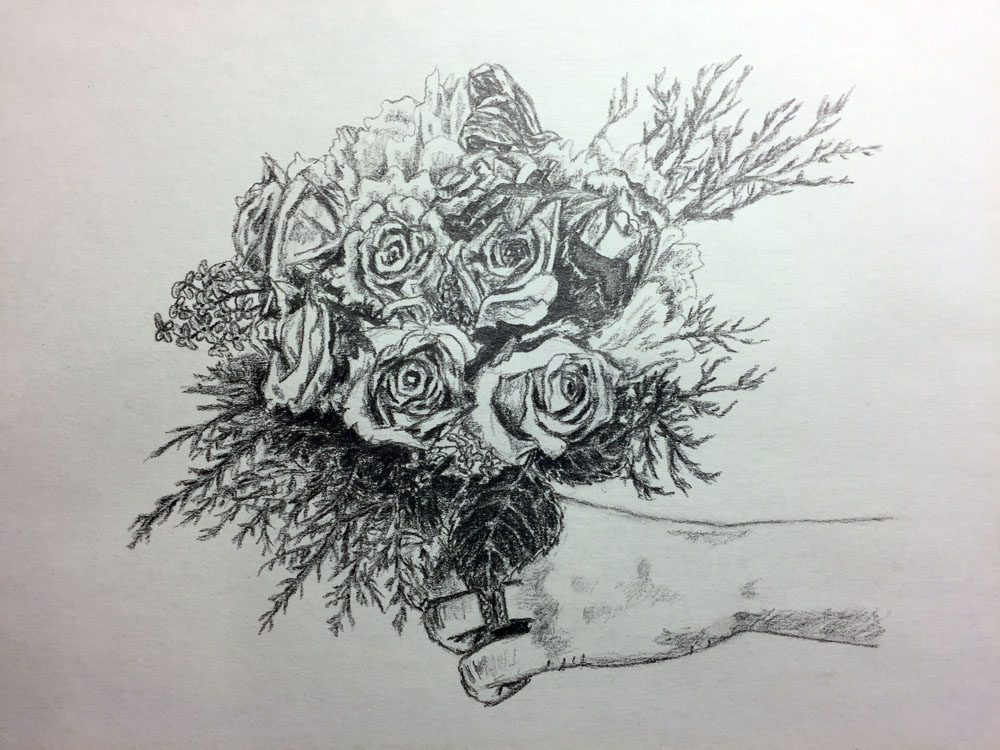
This was my first full bouquet drawing. Admittedly, I didn’t know what to expect, but I was pleased with the result. The aim of this tutorial is to bring you the same result.
Now, although I can teach you how to draw flowers, I do not claim to know a lot about different types of flowers or bouquets in general. So, please forgive me in advance if I misidentify a particular flower or part of the bouquet during this tutorial!
Table of Contents
Reference Photo and Materials
I used this reference photograph of a bride standing next to her groom and holding her wedding bouquet.
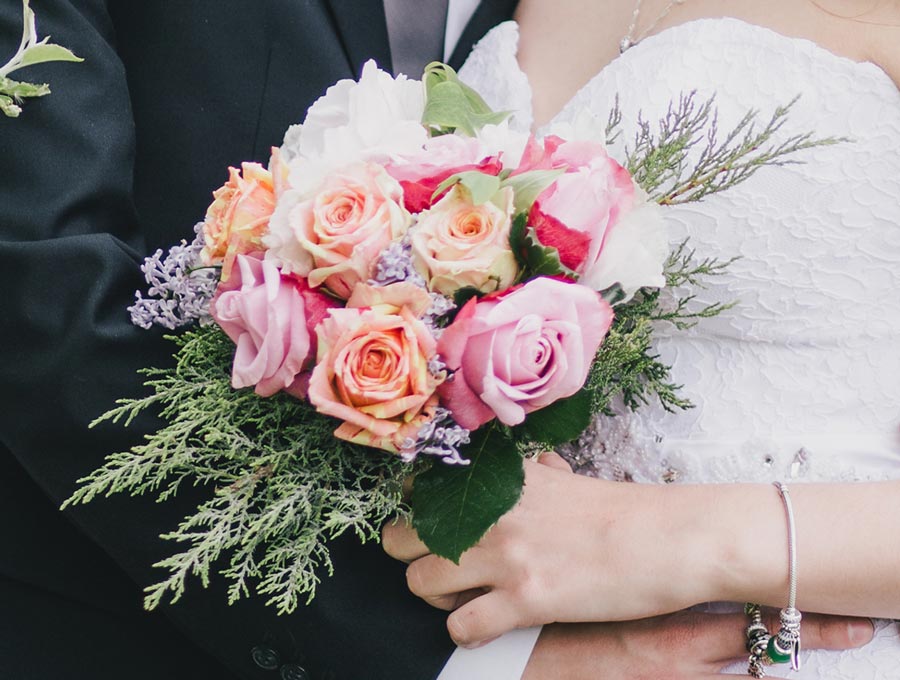
Since the focus of this tutorial is the bouquet itself, I left out the groom and the bride in the background, but I did decide to draw the bride’s hand holding the bouquet.
Aside from the reference photo, all I used for this drawing was a 2B pencil, a sheet of drawing paper, and a standard eraser. You can use a standard pencil too, if you wish.
So without further ado, let’s learn how to draw a bouquet of flowers!
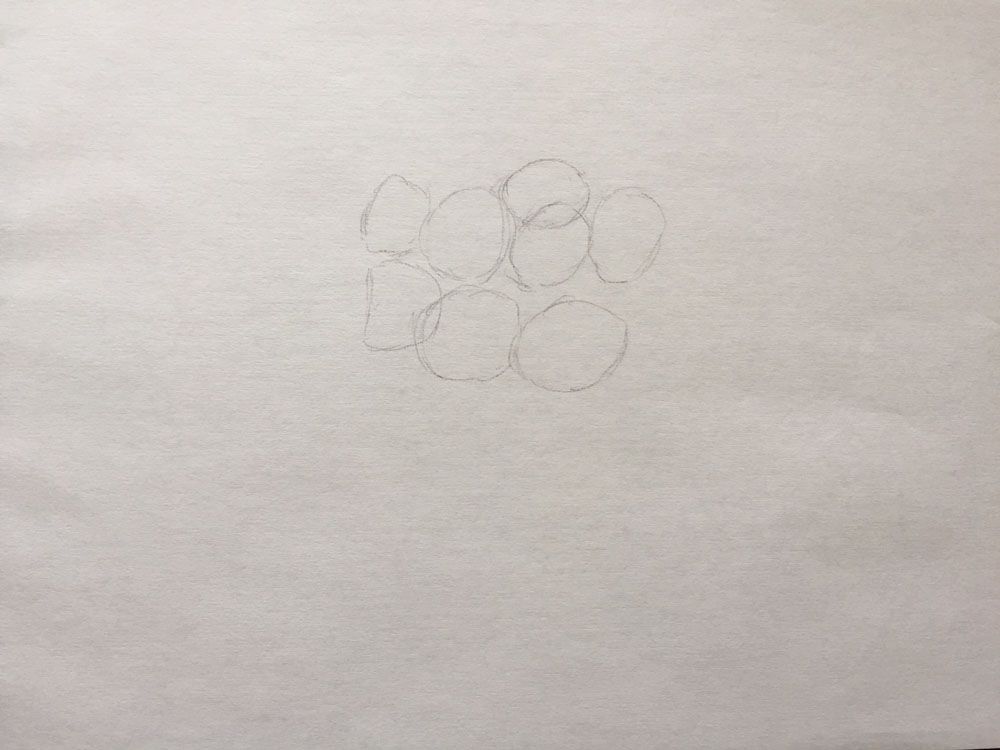
Draw Guidelines for the Main Flowers
Drawing a bouquet of flowers is simply a matter of focusing on one small part of the bouquet and drawing a few simple shapes at a time. Step by step, you allow these shapes to compose themselves into the finished bouquet.
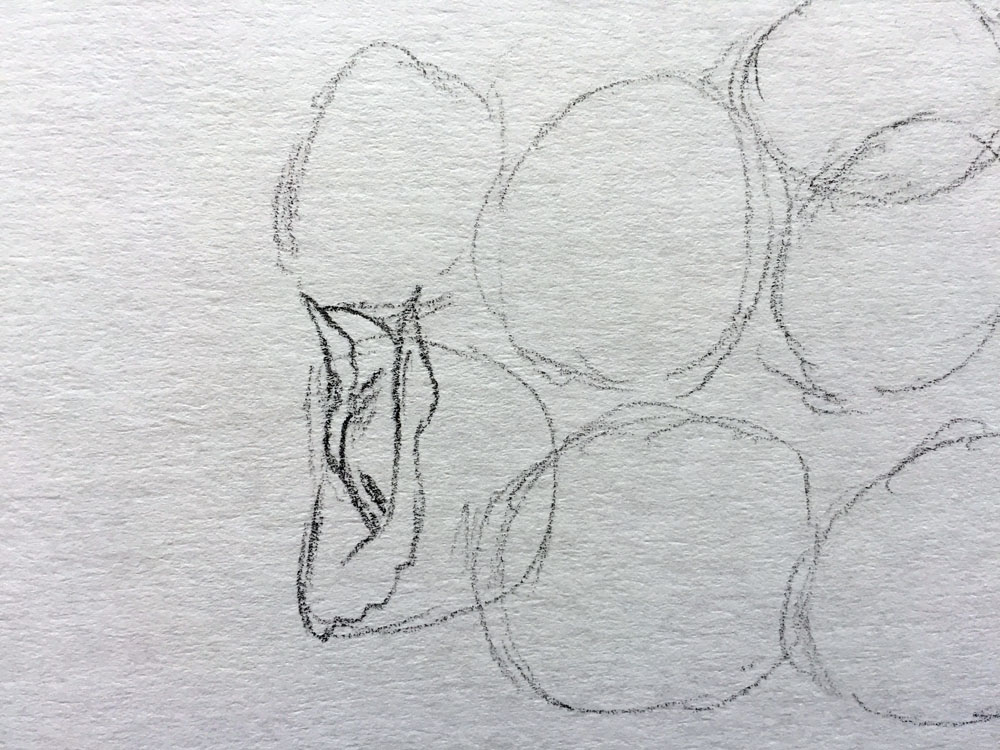
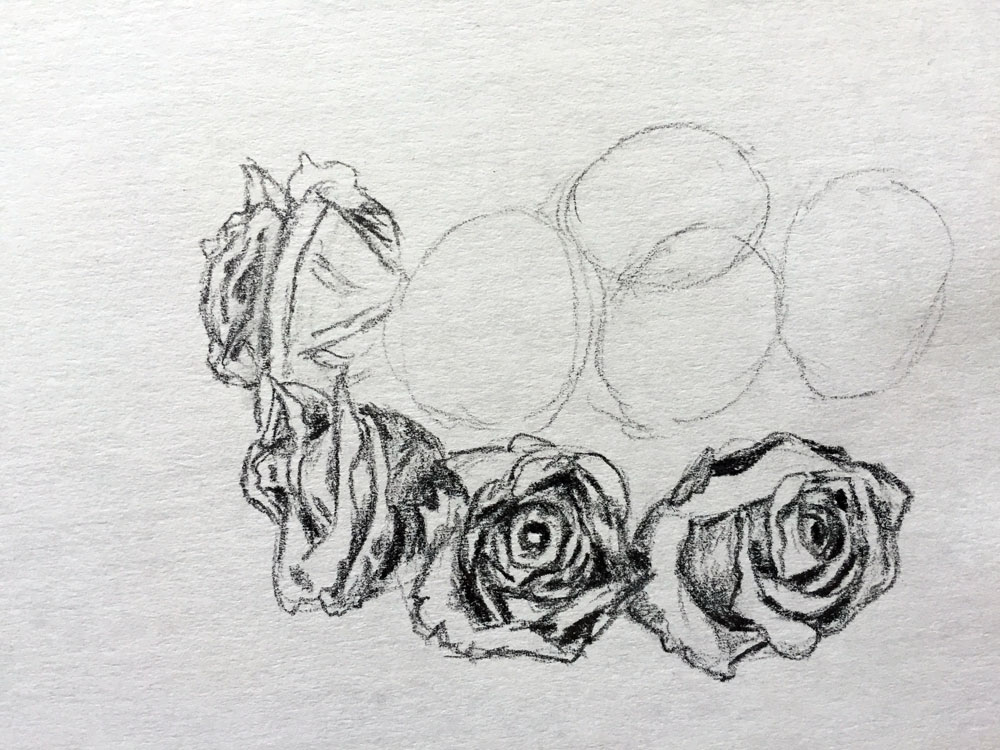
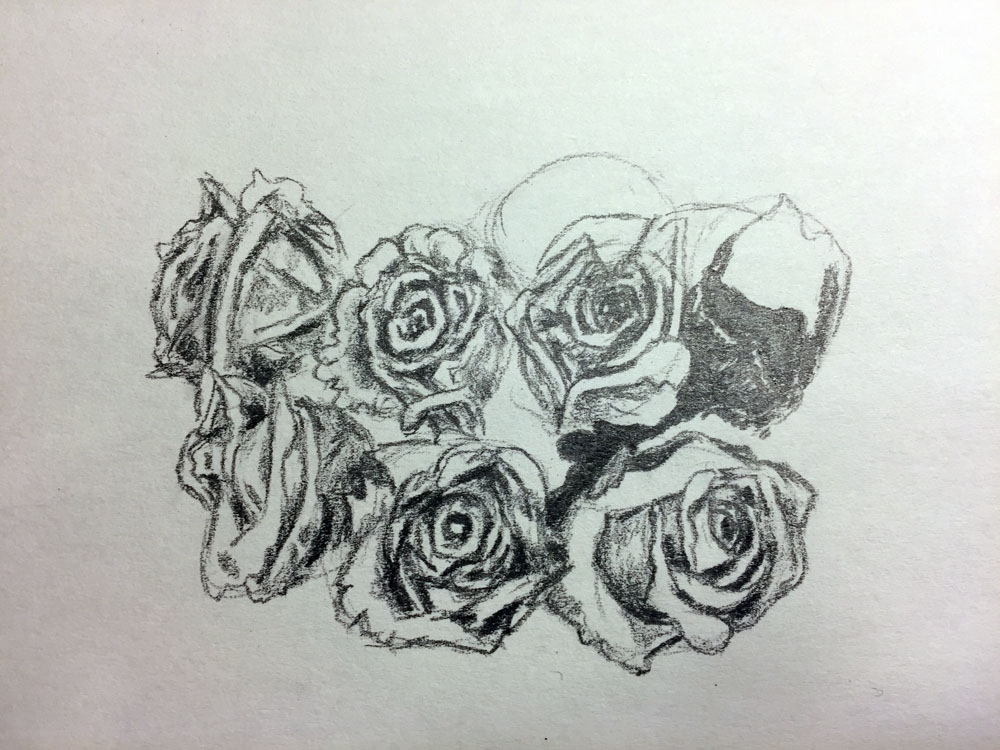
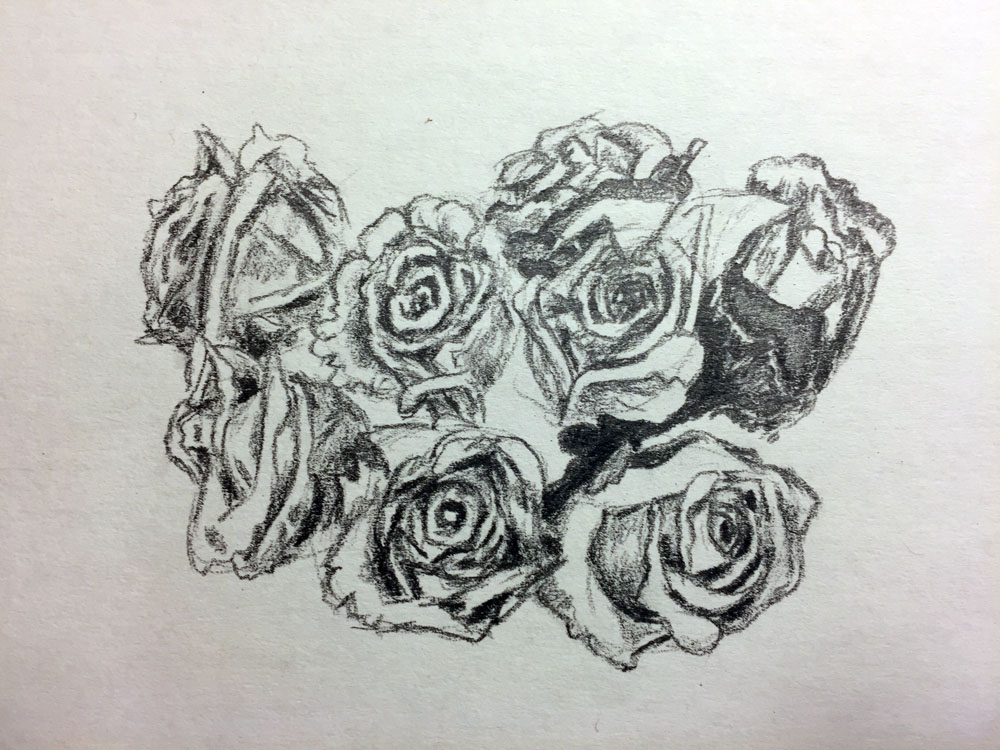
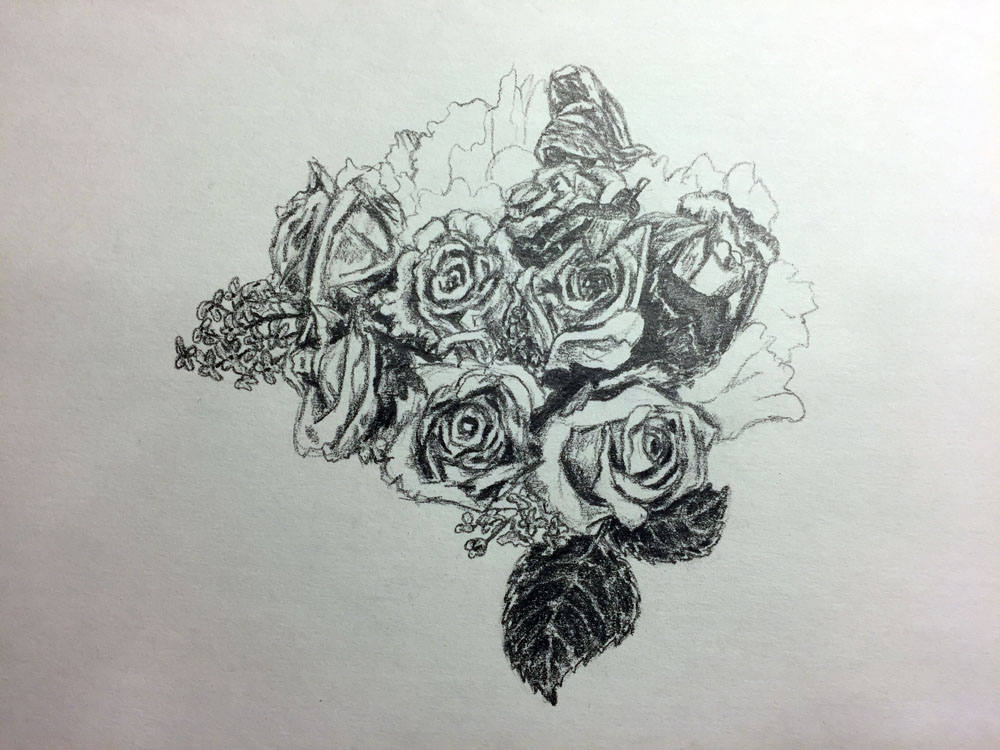
Let us begin by sketching eight circular shapes to represent the main flowers, which appear to be roses.
(On a side note, if drawing eight roses seems overwhelming, you may want to start with my tutorial on drawing a single rose.)
These should not be perfect circles. Use the reference photo to “shape” each circle so it resembles the basic outline of each rose. As an example, the shape of the first rose on the bottom looks something like a capital “D”. Overlap your shapes as necessary.
Draw the Bottom Flowers of the Bouquet
Start drawing the petals of the first flower on the bottom row. Look at the reference photo and draw the shape of the first petal as you see it.
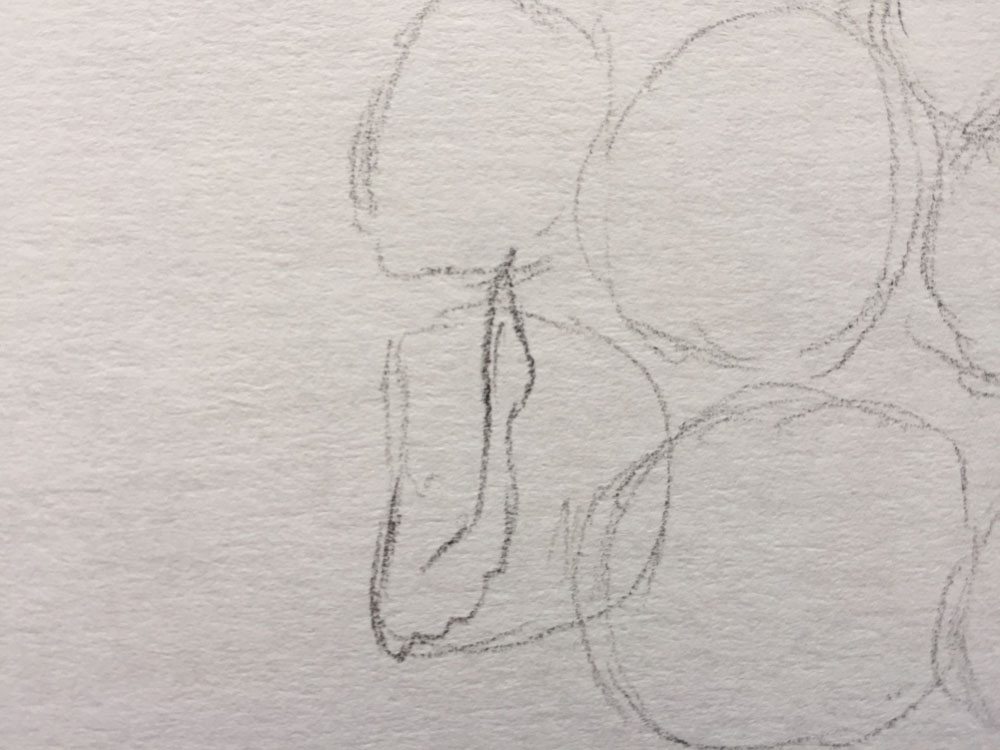
Continue drawing the inner petals of the first flower. Some of these inner petals protrude from the outer petal from the previous step.
Make another outer petal below and around the first one on the outside. Draw a few lines of detail on some petals.
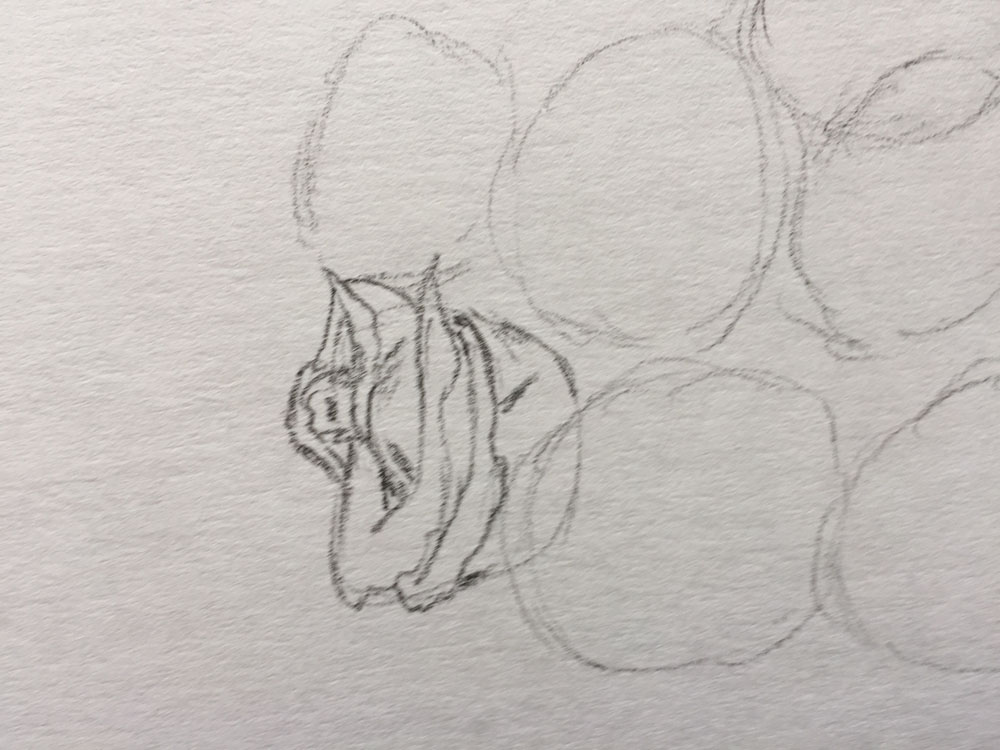
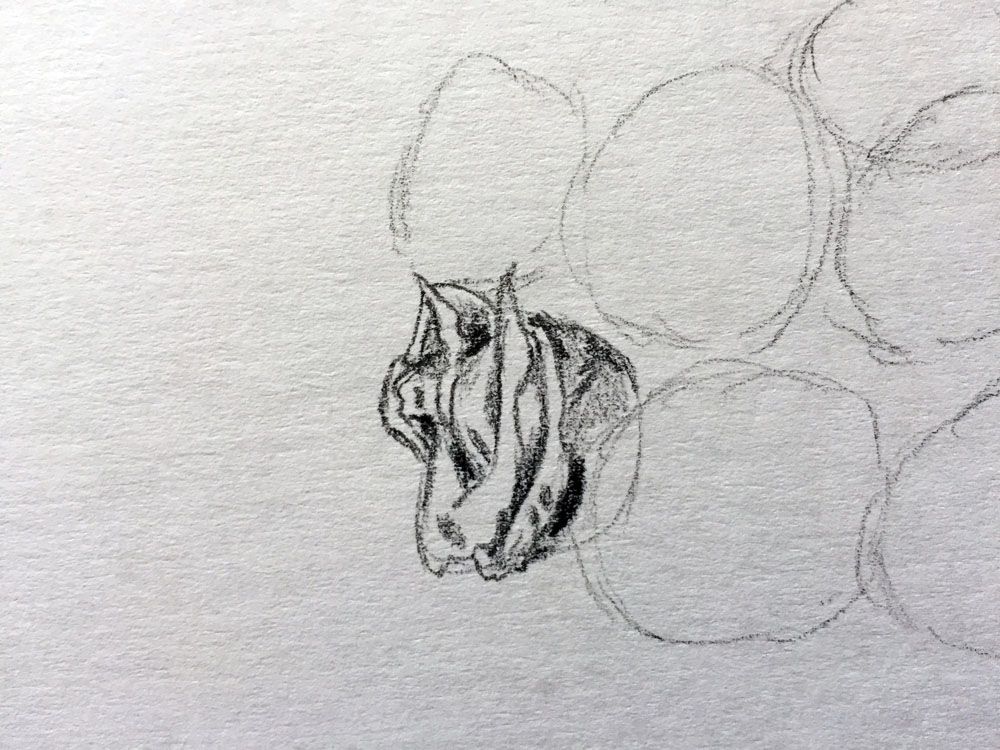
Now add some shading to the first flower. Use mostly midtones while leaving light areas white and darkening shadows.
Begin sketching the outer petals of the second flower. Make some edges sharp and others curved.
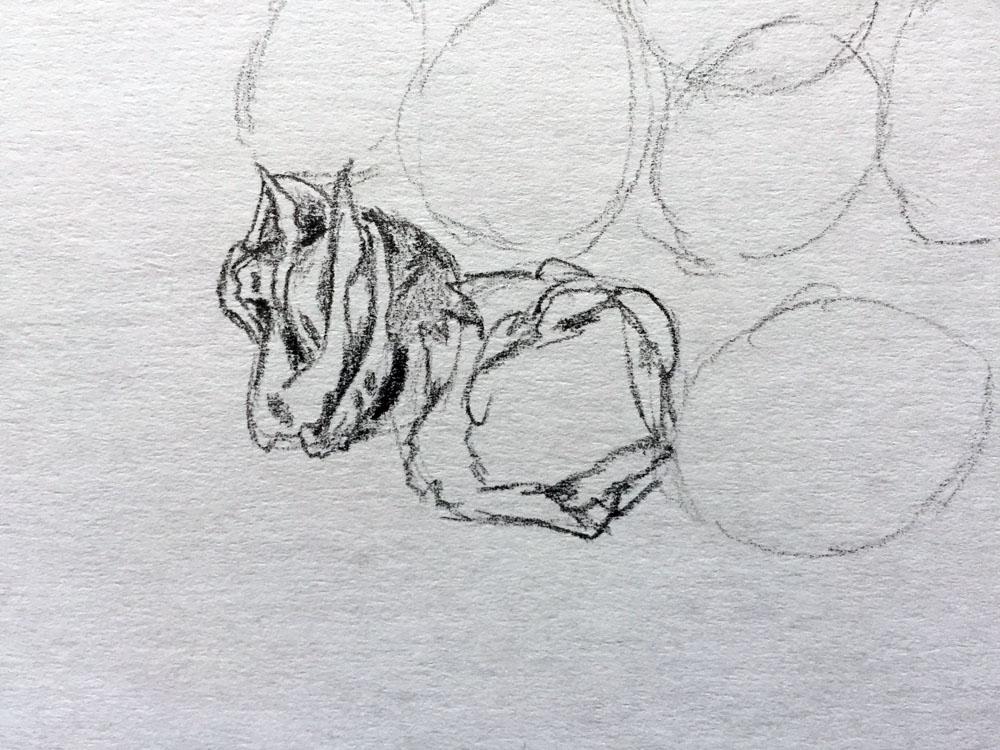
Work your way toward the center of the rose. Draw an inner ring of petals next to the outer ring.
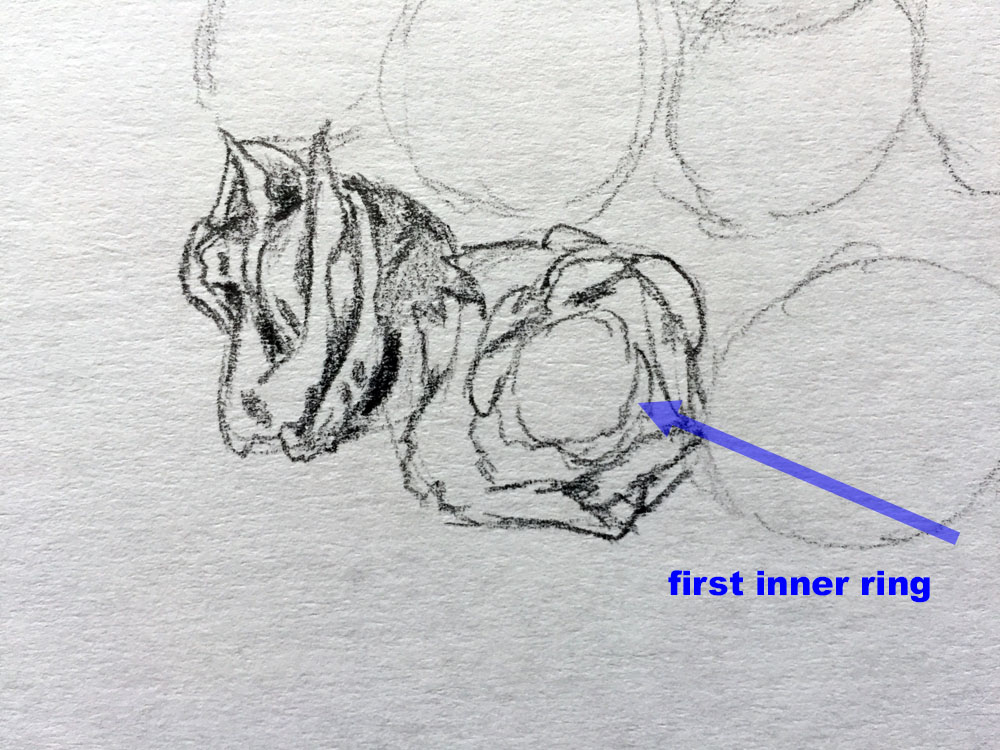
Finish drawing the innermost ring of petals to complete the center of the rose.
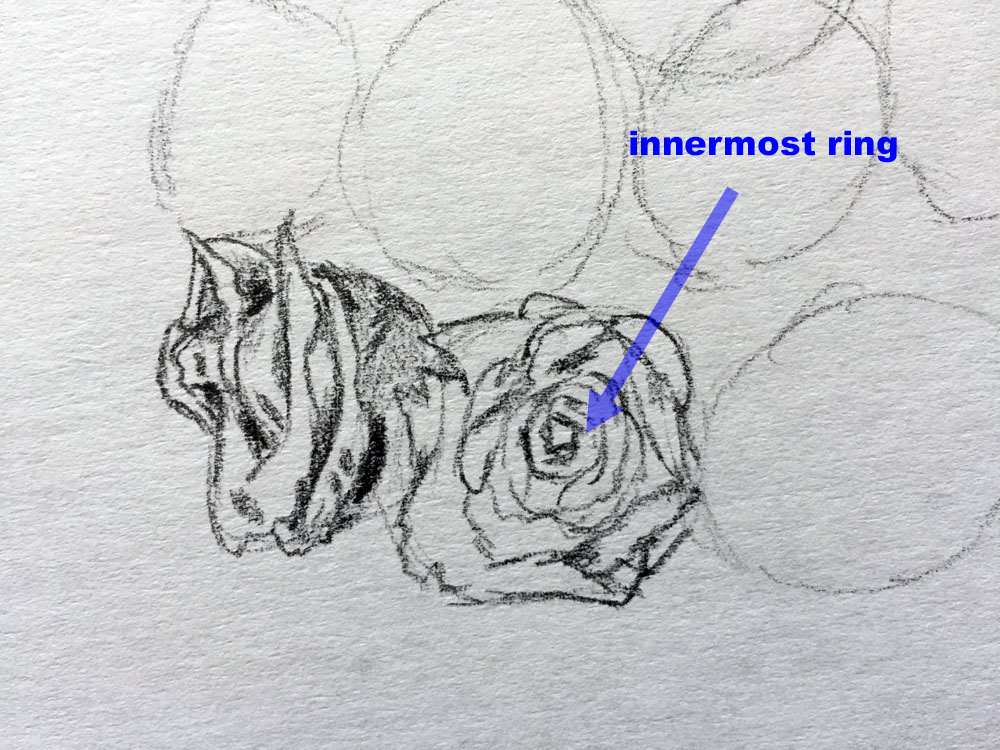
This rose is lighter in color than the first one, so I mostly skipped midtones and left it mostly white, except for a few pockets of shadow I made with dark tones.
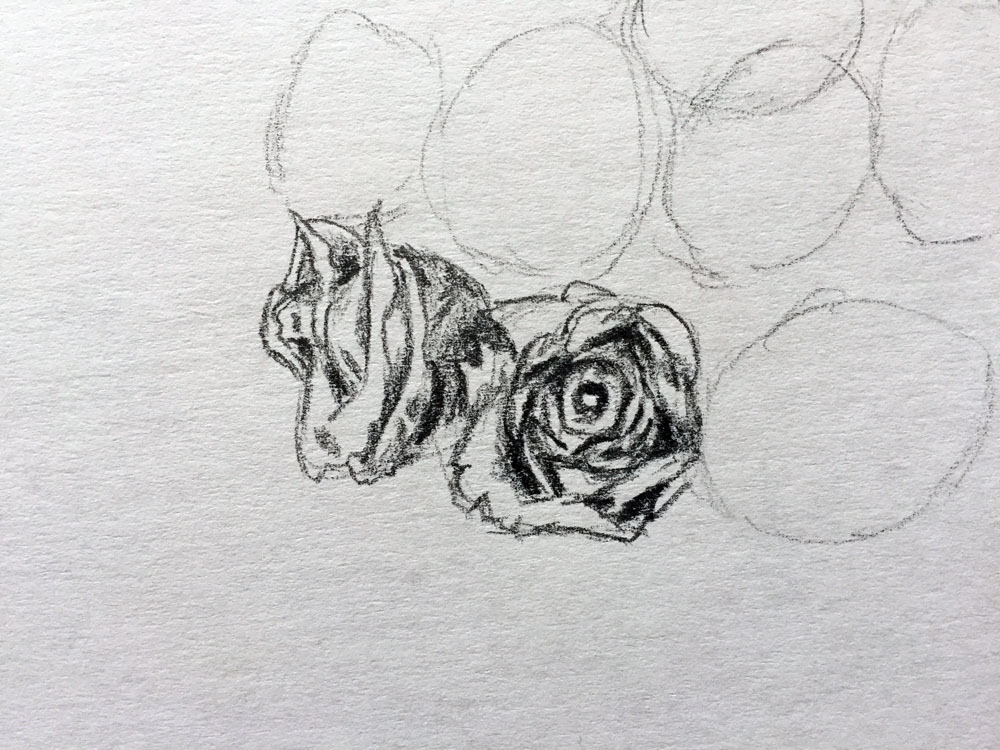
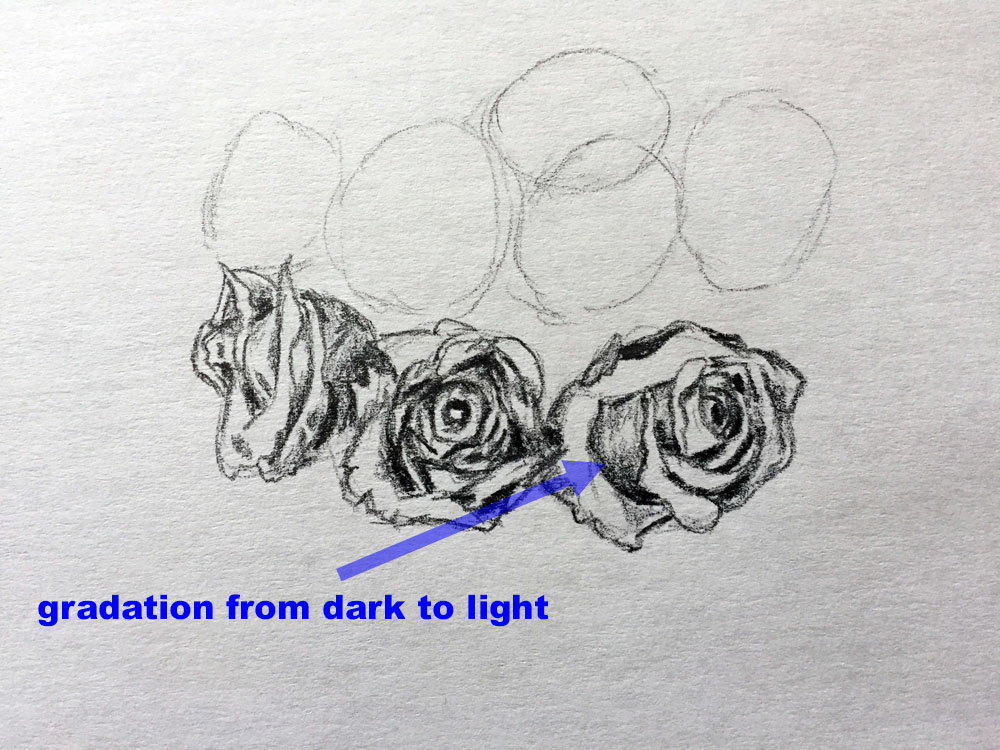
Draw the outline of the third rose. This time, I drew the outer and inner petals as a single step.
Shade the third rose. Make dark shadows on the inside and outer edge. Leave some petals light. Look for gradations from dark to light on some of the side petals.
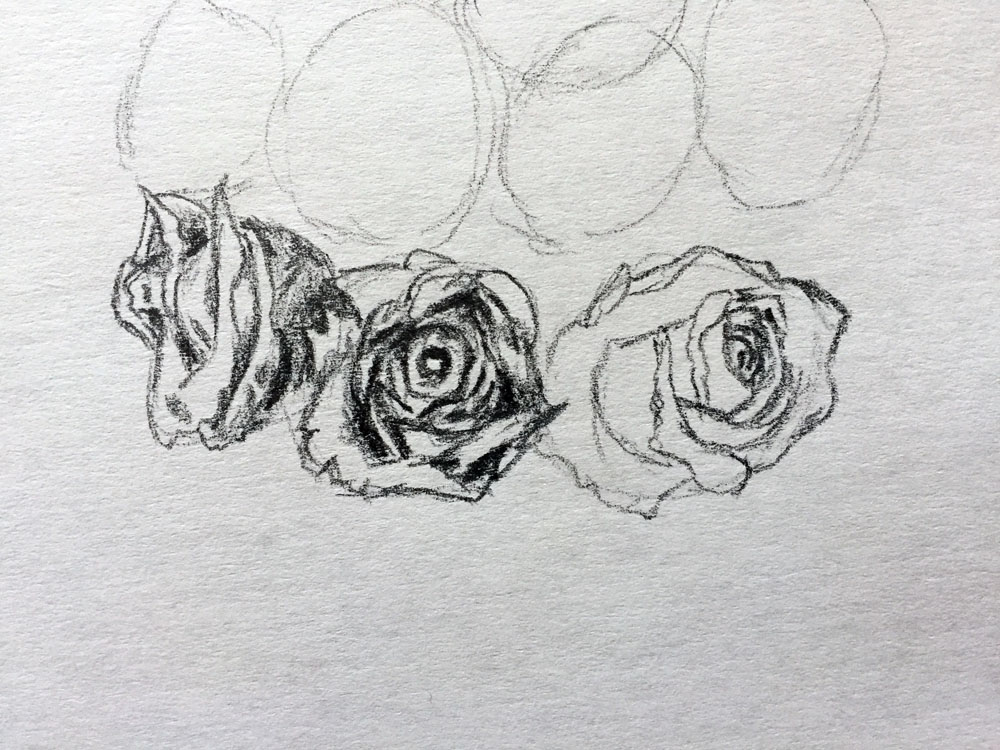
Begin to Draw the Top Flowers of the Bouquet
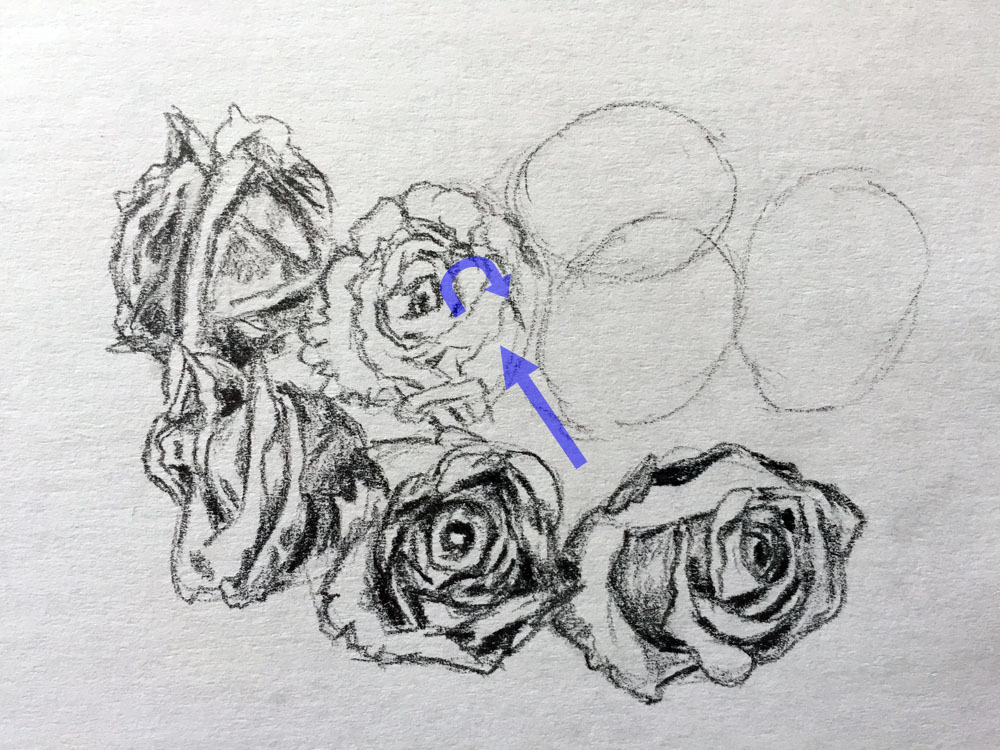
Draw the outline for the first flower on the top row. Start with the outer petal. Then draw some of the inner petals sticking out.
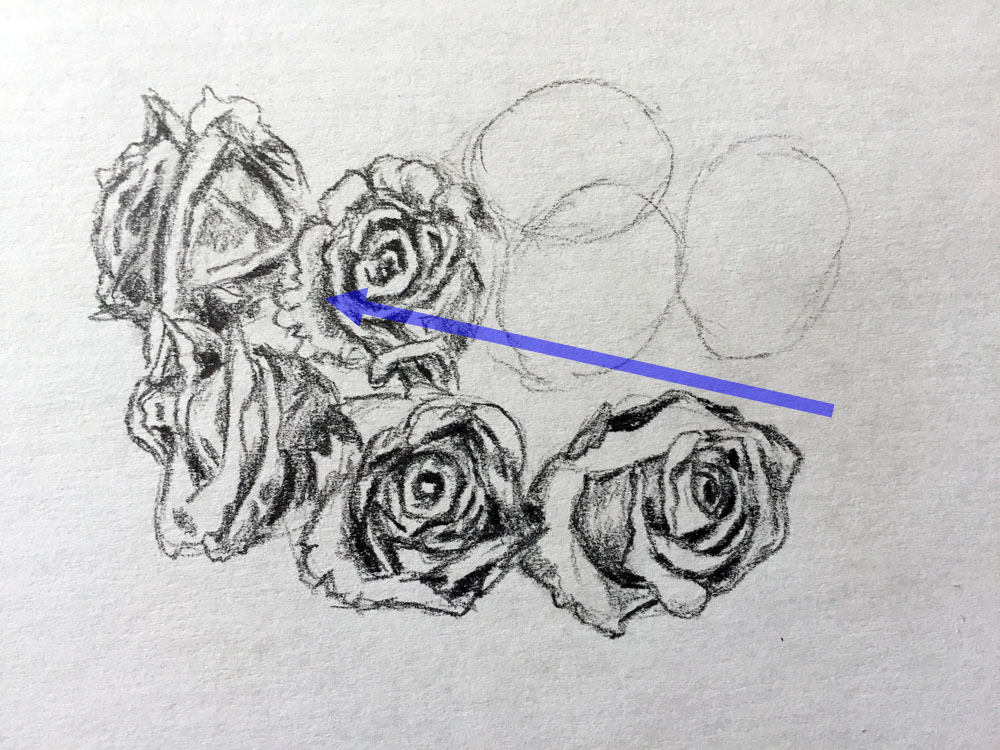
Add some shading to the first flower. Then draw the outline of the second flower. Notice how the petals come forward from the rear but curve outward and coil around the center.
Shade the second flower. Add tones next to where outer and inner petals touch. This is due to one petal casting a shadow on the other.
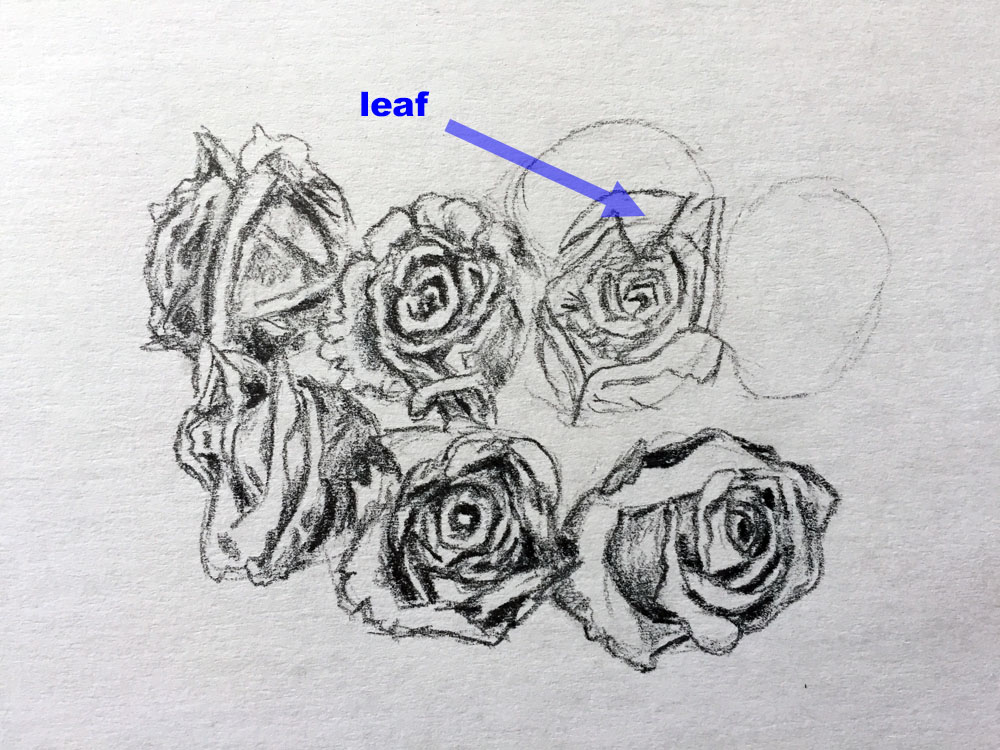
Draw the third flower on the top row. This rose looks similar to the last one and the others. Draw a leaf on the top of the rose. This leaf overlaps the front of the rose with a triangular point.
Add some shading to this rose. Make the center slightly darker due to more shadows.
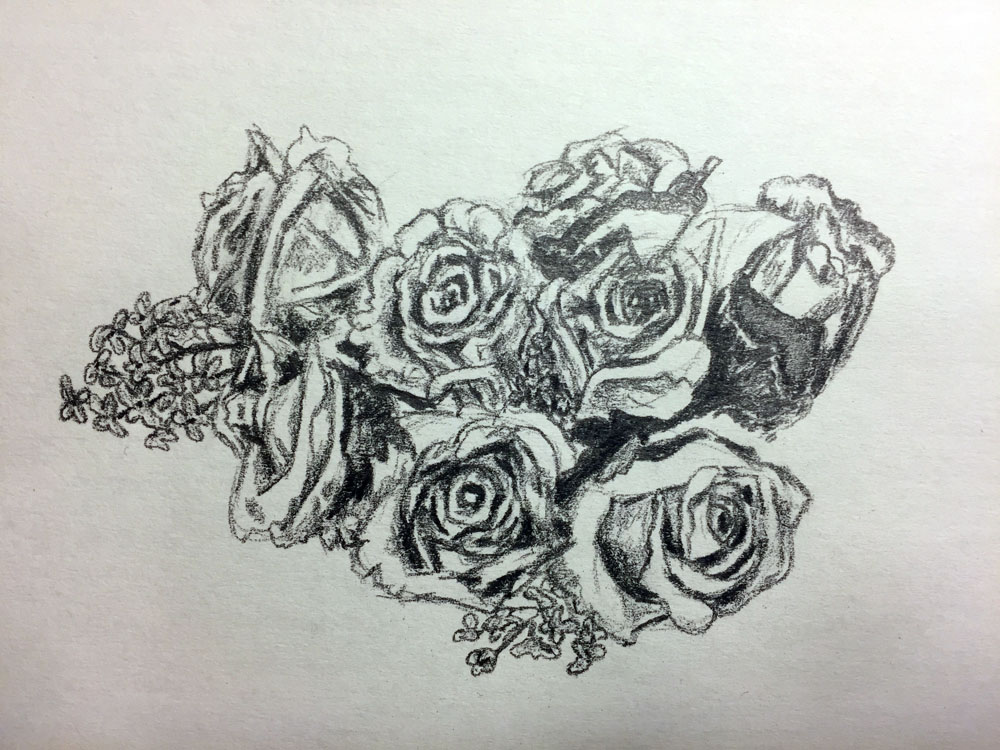
Finish Drawing the Bouquet’s Top Flowers
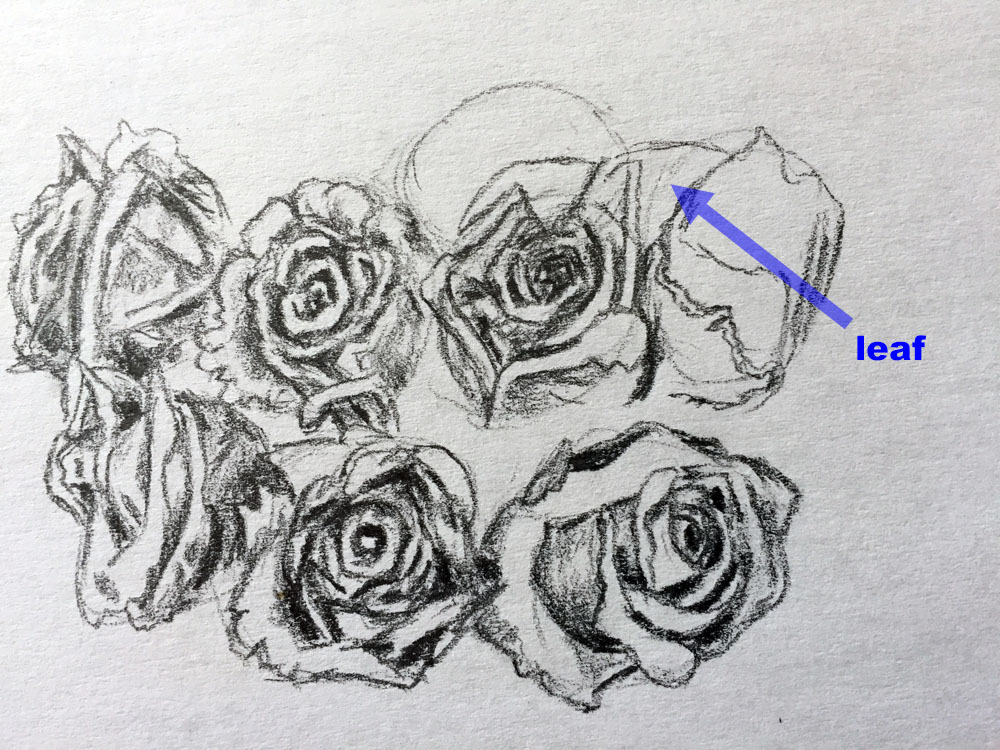
Draw the outline of the next flower. Again, I am not an expert on flower types. Although it resembles a tulip, I am assuming it is the side view of another rose, so we will just go with that. Draw the outline of another leaf between this rose and the previous one.
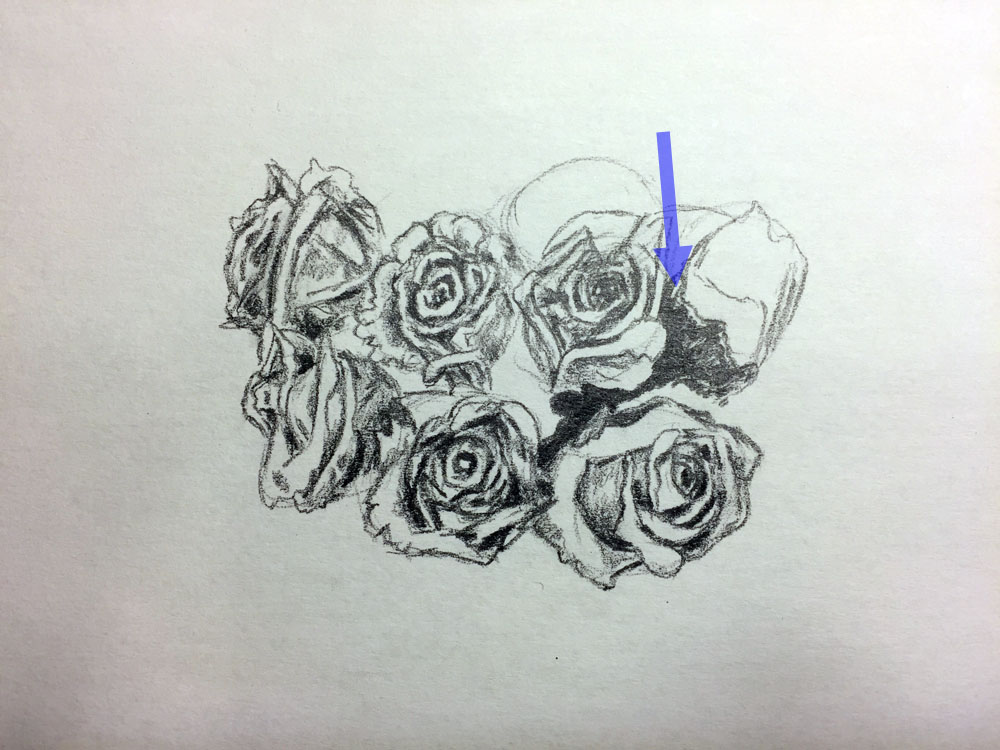
Shade the bottom part of this rose, which I believe could be referred to as the sepal leaves. This is a very dark shade of green on our reference photo, so use lots of pressure with your 2B pencil. Keep shading toward the center of the bouquet, under and around nearby flowers. Leave a rim of white value near the rose petals to represent the upturn of the green bottom.
Next, shade the outer petals. These petals are a rich dark pink color, so I used a darker value of graphite here too.
Add a little lighter shading to the rest of the petals. Leave some areas untouched to resemble these softer colors.
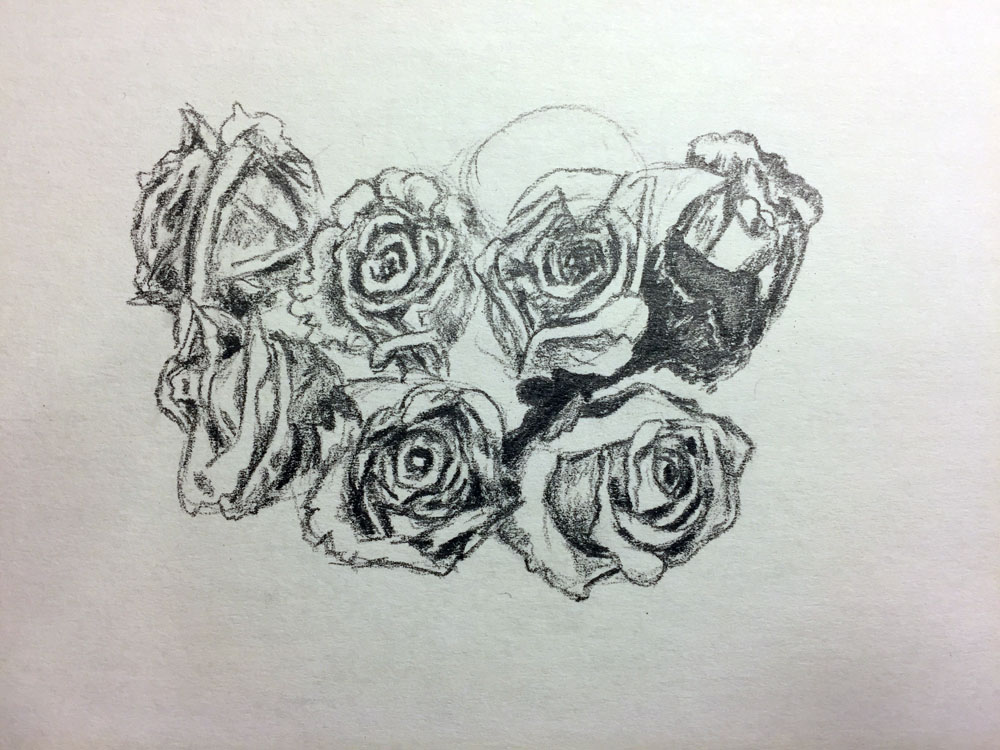
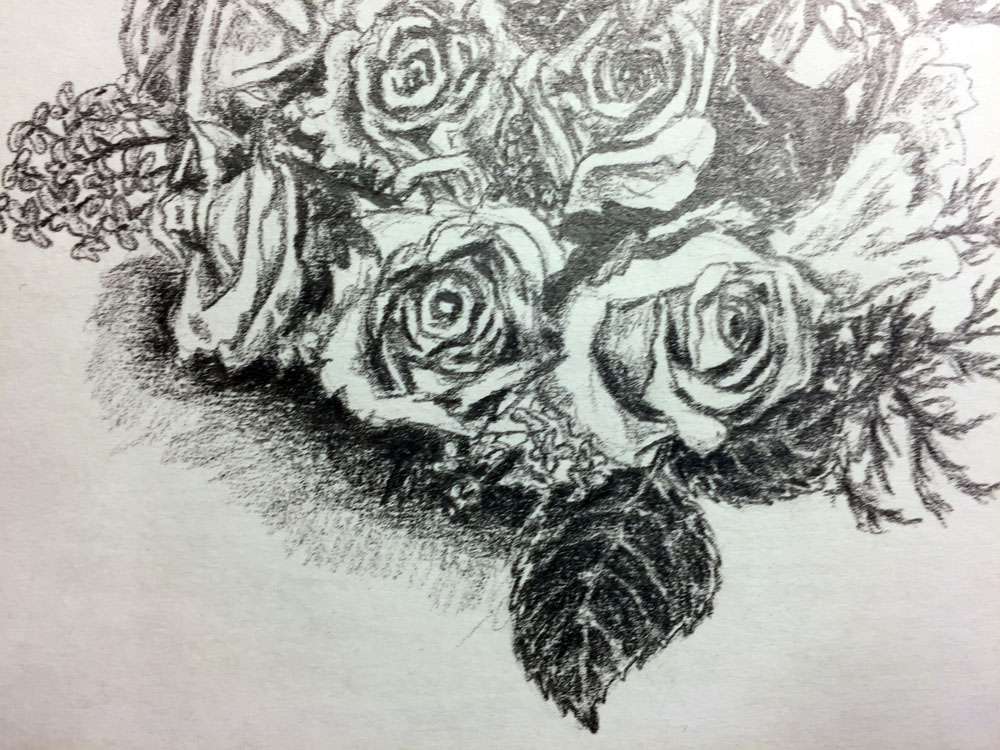
Draw the outline of the last rose, which is partially hidden behind the two middle flowers of the top row.
Shade the bottom portion of this rose, which is the same color as the last flower we did. Therefore, use dark tones.
Just as before, soften your grip and pencil pressure as you mark lighter tones in the center petals of this last rose.
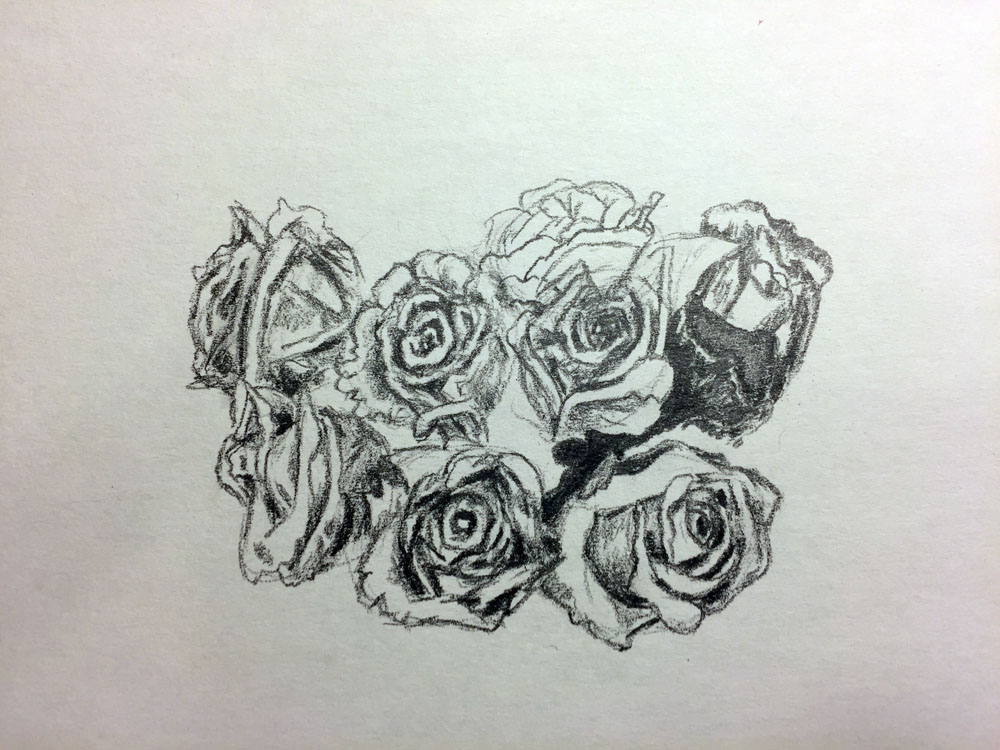
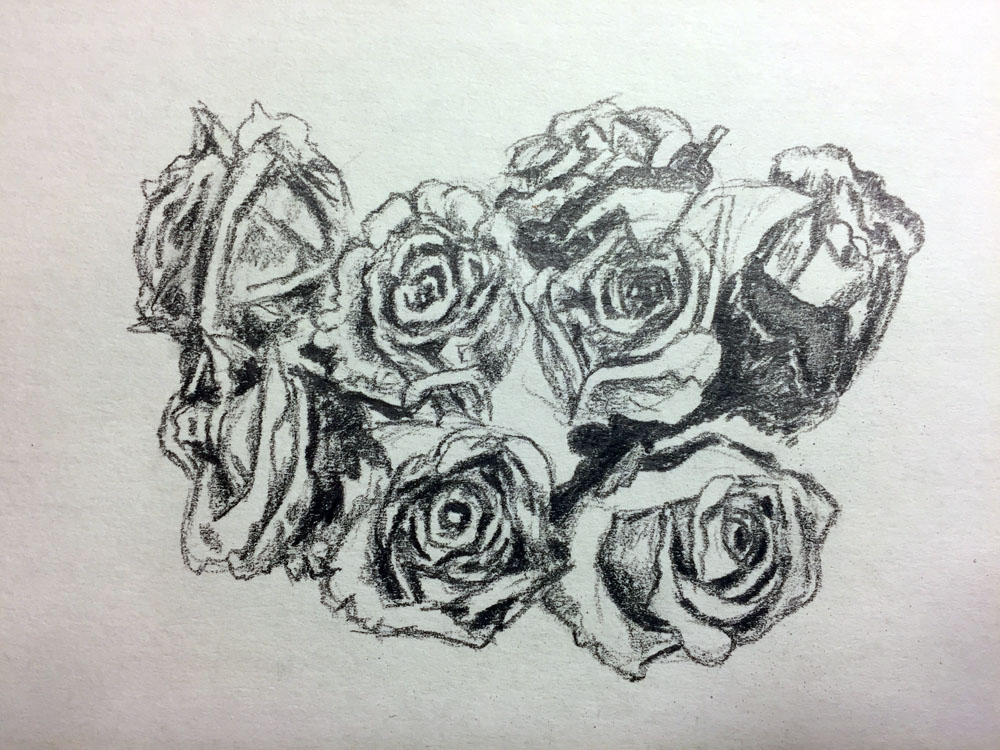
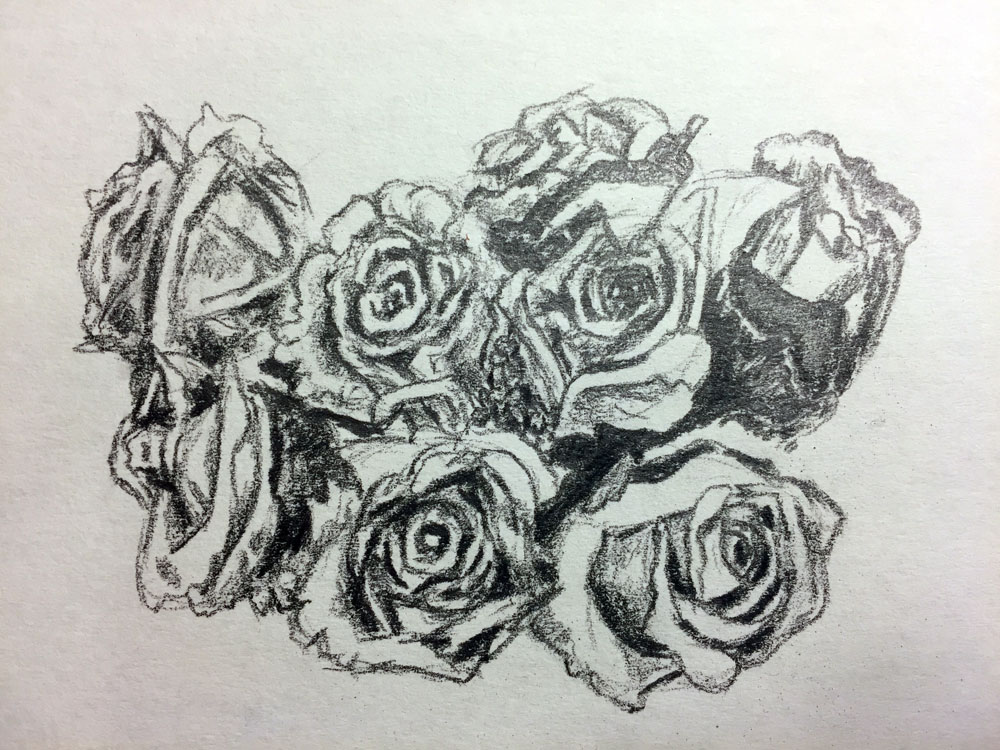
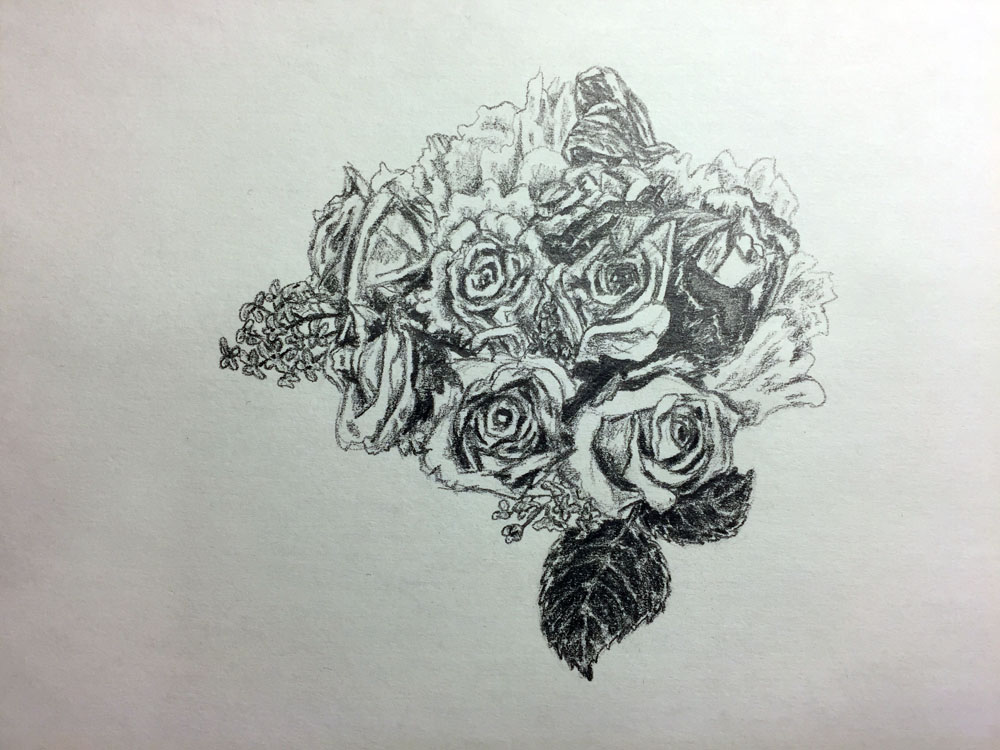
Begin to “Fill” the Bouquet
Now it is time to “fill” in the gaps between the big flowers and fluff up the outer edges.
As I drew this bouquet, it was during this step that I took a closer look at the photograph and realized that the very first rose in the bottom row is the same color of dark pink as the others. Therefore, I went back to the first rose and shaded it darker to match.
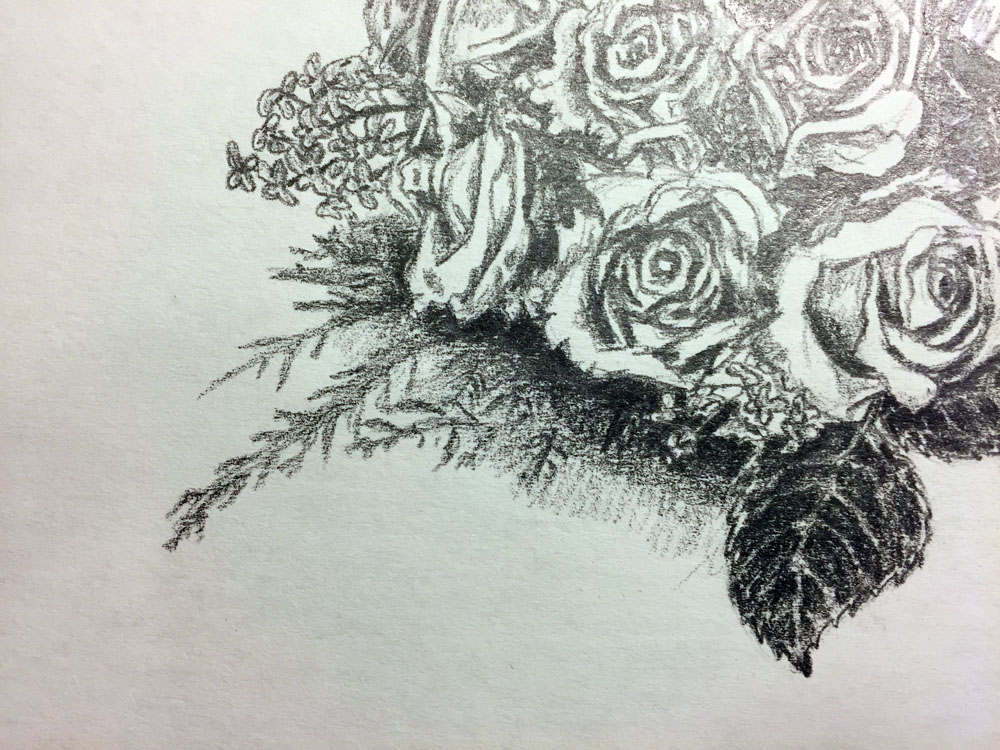
In the center of the bouquet, there are some smaller flowers acting as “filler” flowers. In the reference photo, they appear to be a lilac or lavender color. Draw the individual filler flowers with three or four visible petals. If it helps, I was thinking about 3- or 4-leaf clovers as I drew them. Then put some shading inside each one.
Draw the outline of more filler flowers on the left and bottom of the drawing. Draw dots in the center of some and draw stems from a few of them that retreat toward the bouquet.
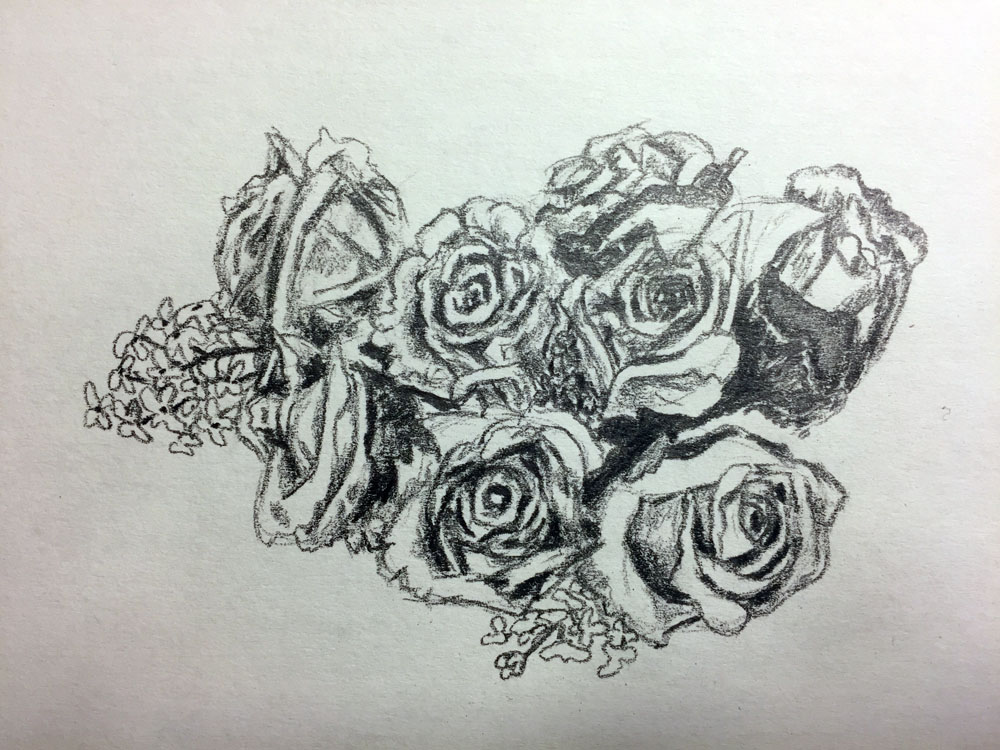
Add some light shading to each individual filler flower.
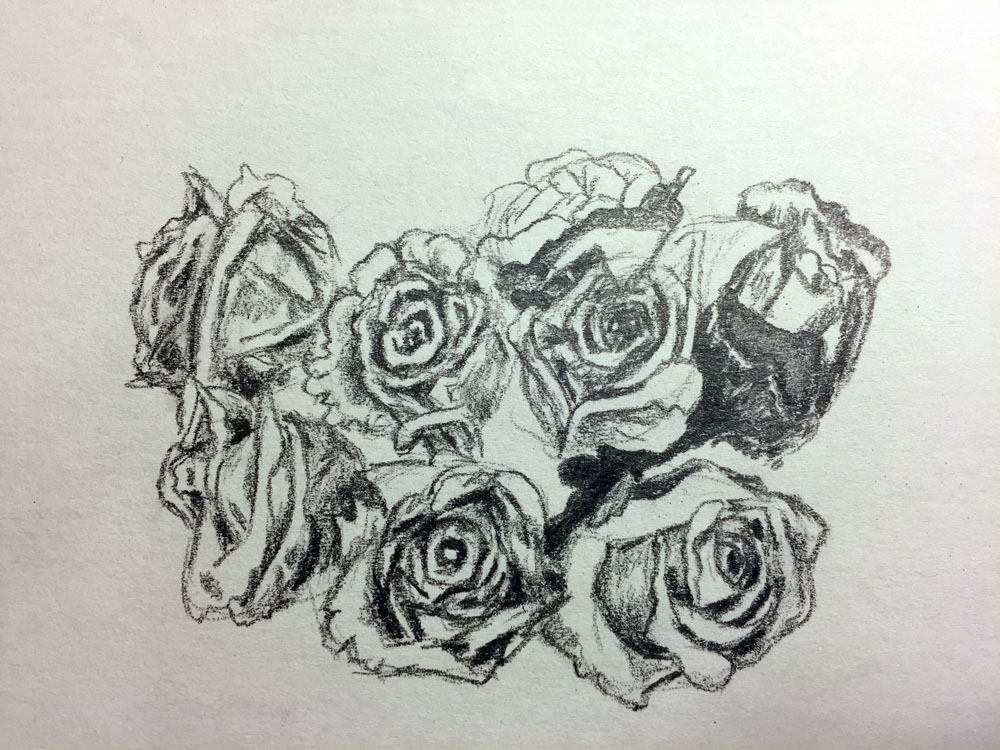
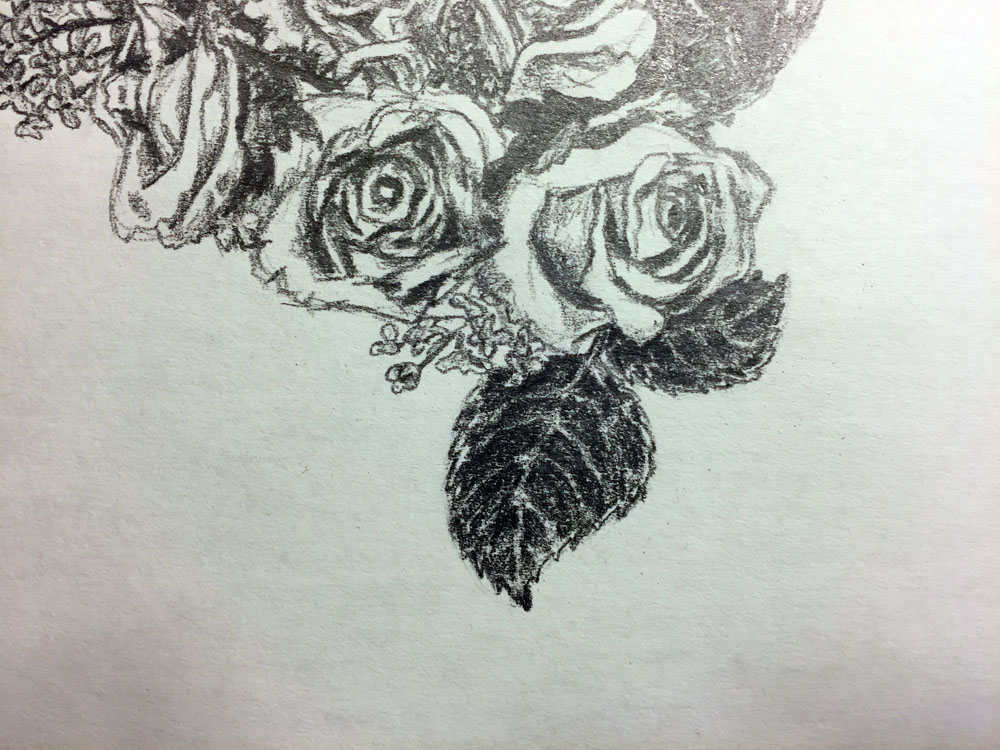
Draw the Leaves of the Bouquet
Remember the two big leaves near the top? Let’s go back and shade those now. Leave some thin highlights to represent the major veins of the leaves.
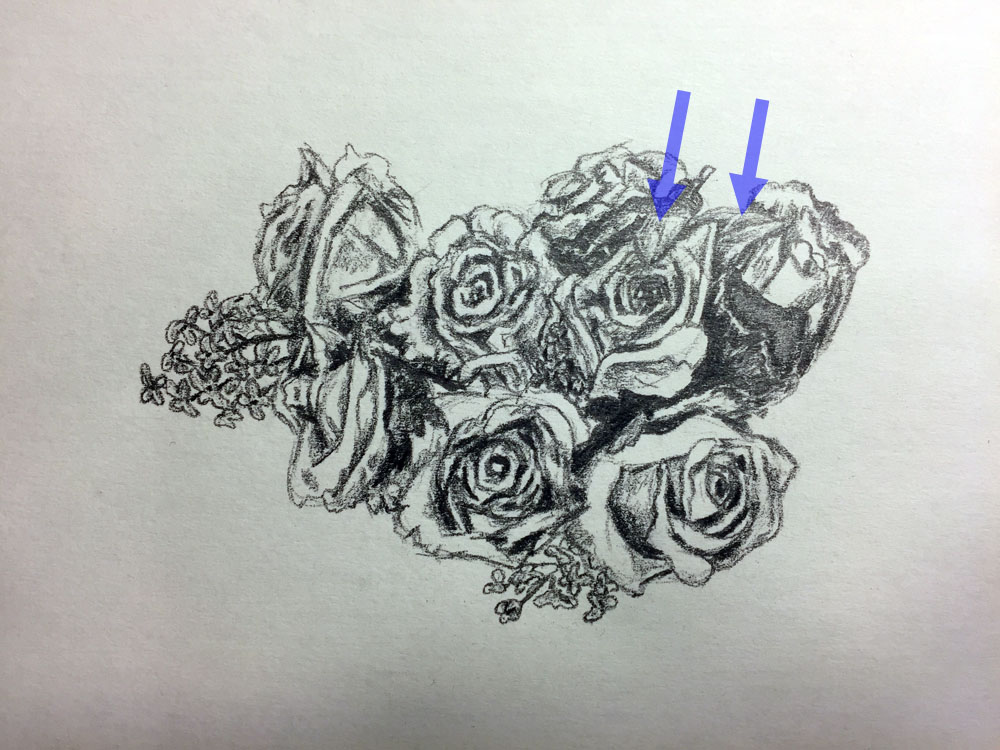
At the very top of the bouquet, draw two more large leaves that are drooping over. Draw a few of the visible veins.
Shade each leaf. Make the underside slightly darker. Leave a few highlights along the edges and some of the veins.
Next, draw the outline of two big leaves in the bottom corner. I did this by lightly sketching the basic shape first. Then I went back with a sharp pencil to draw the jagged blades around the border of each leaf and the veins in the center.
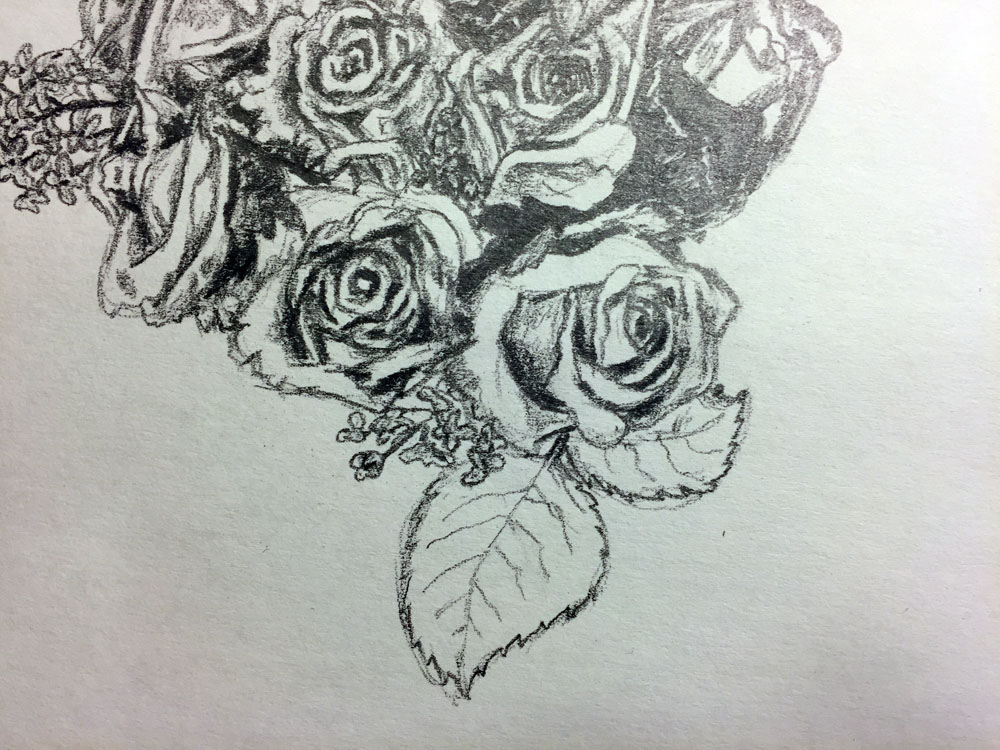
Each leaf is a very dark shade of green, so use lots of pressure to shade each leaf. To begin with, shade around the veins.
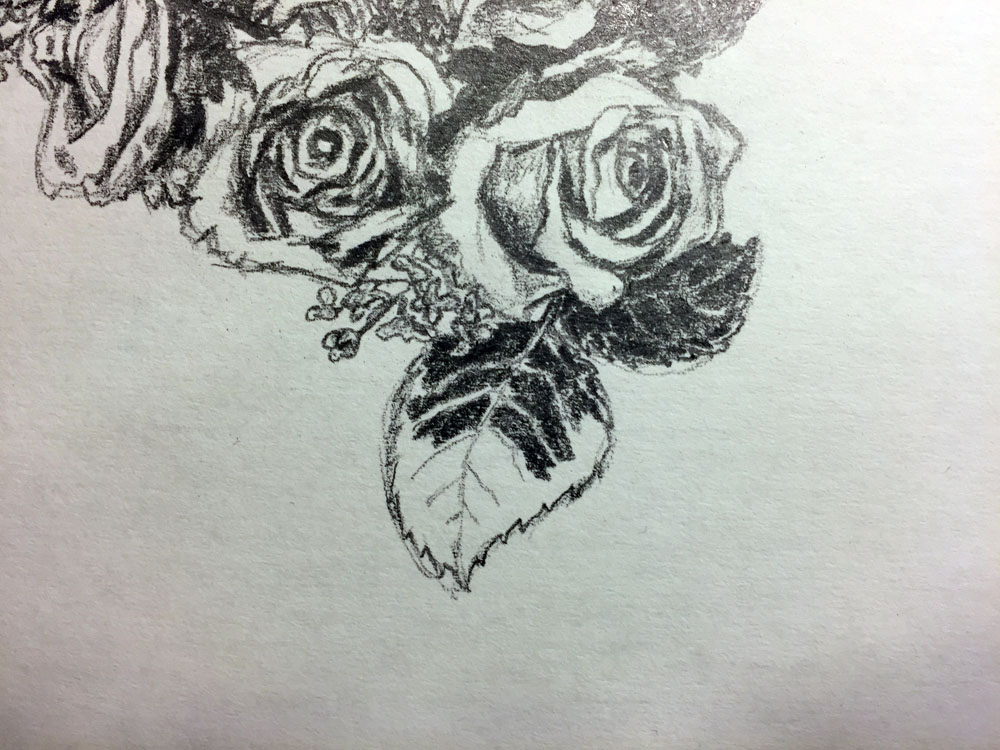
Continue until the entire leaf is shaded but the veins are still highlighted.
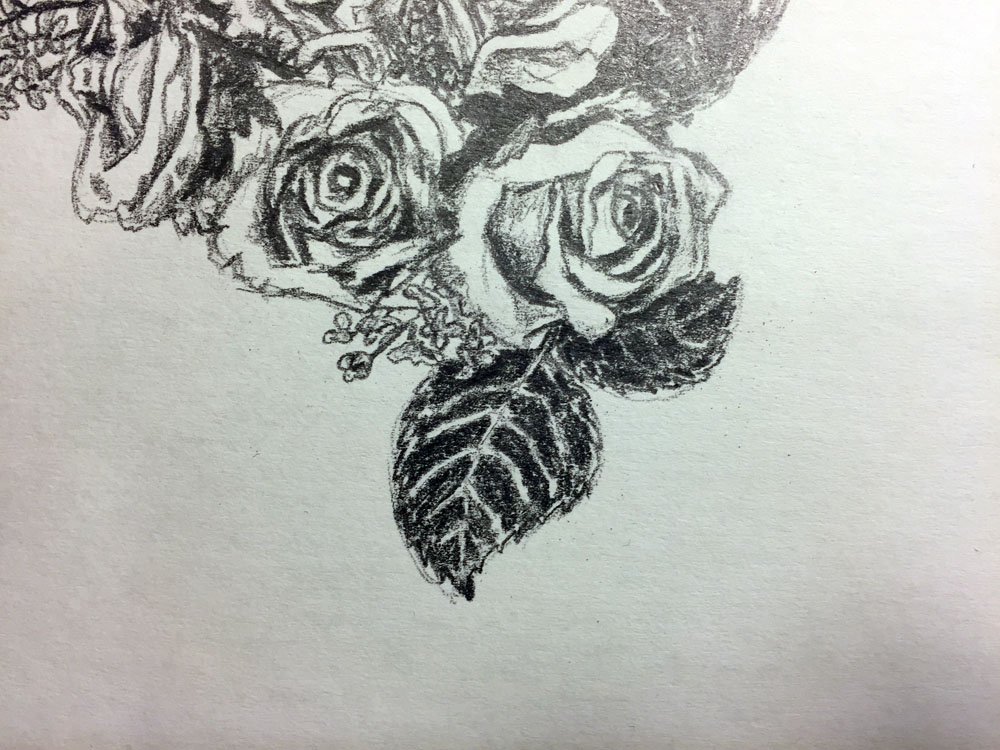
With a soft touch, shade inside the veins so they are a lighter value than their surroundings. After that, erase the rough sketch around the leaves that helped us with the initial shape.
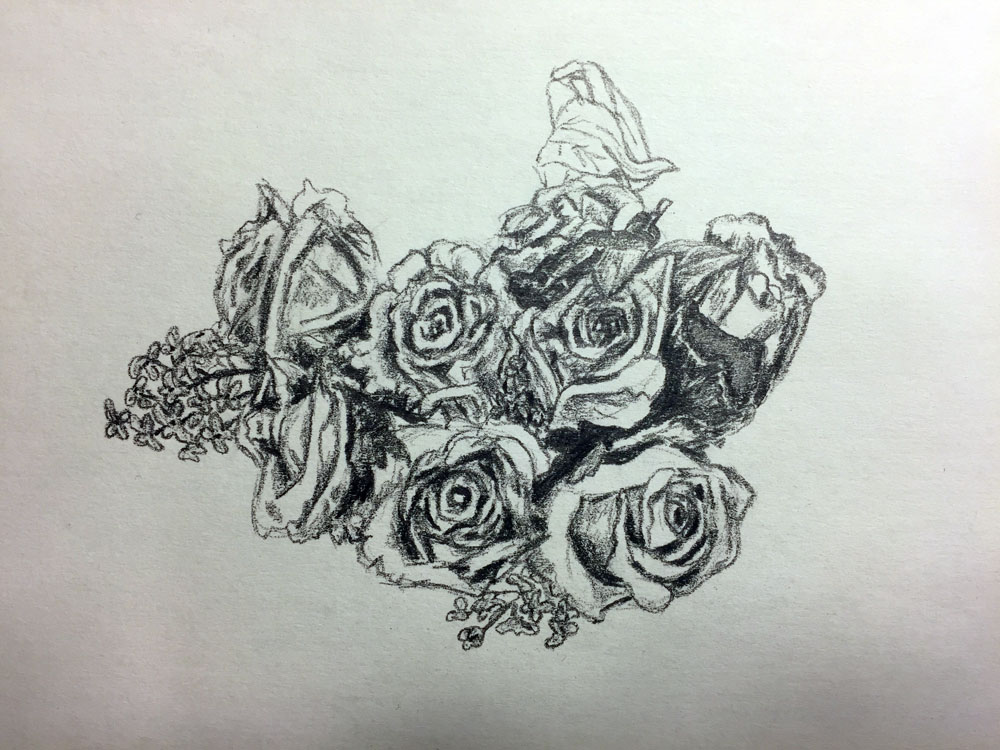
Draw the White Flowers Along the Outer Edges
This bouquet has large white flowers billowing on the outer edges to make it appear even fuller. Sketch the outline of these flowers next.
Since these are so white, they require little shading. Put some light tones near the bottom, leaving the upper rims white.
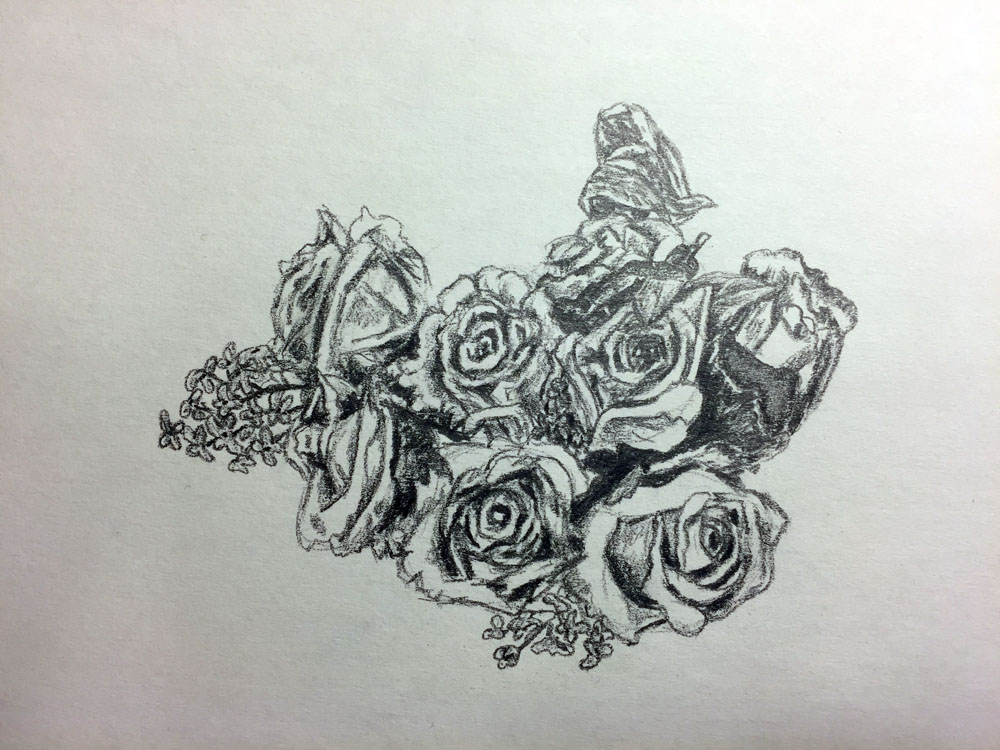
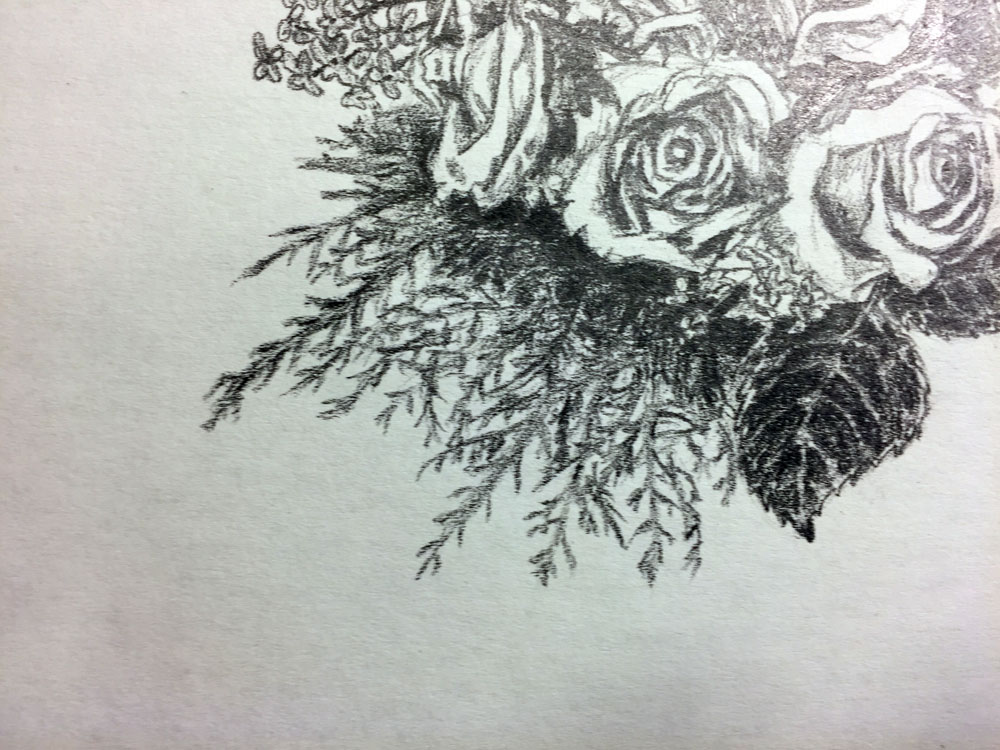
Begin to Draw the Outer Long Fillers
The rest of the bouquet consists of outer long filler greenery. Based on a little research these are perhaps Leyland Cedar, but I’m not sure. As I drew these, I noticed it was a similar method to drawing regular branches (at least the top and side).
With your pencil tilted, use the side of the lead to sketch branch-like shapes in the same direction in which they would grow. In other words, work your way from the bottom, thicker parts, outward to the top, very thin parts.

With the tip of your pencil, put some darker shading along small portions of the plant.
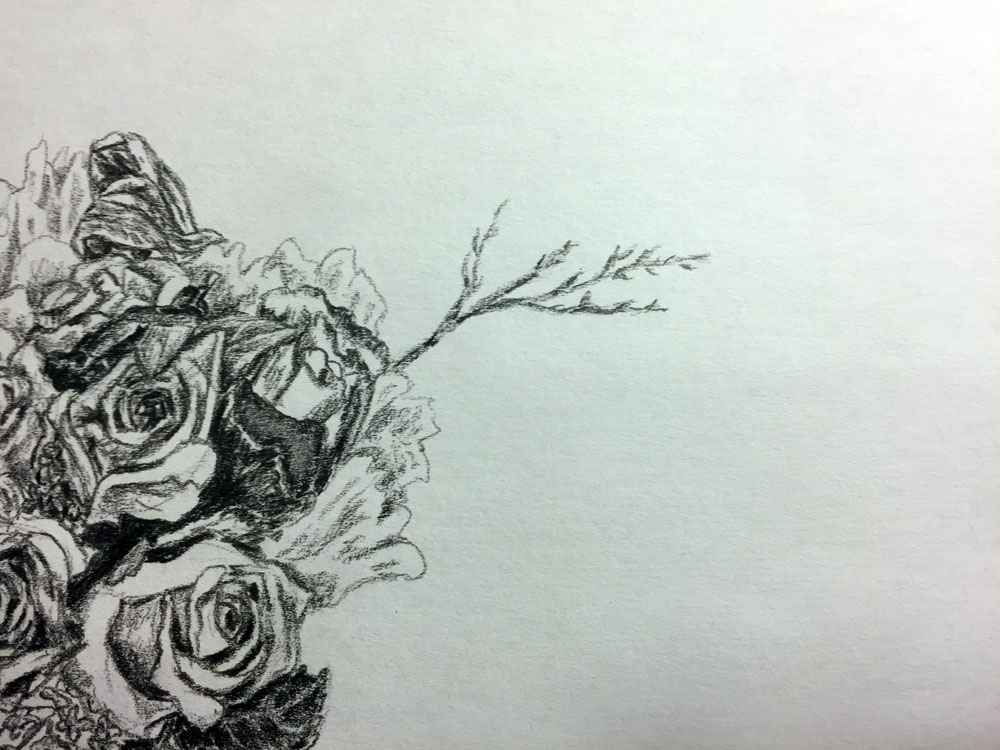
Keep building or “filling” up the greenery by making more branches and extensions. Expand it to become larger and larger.
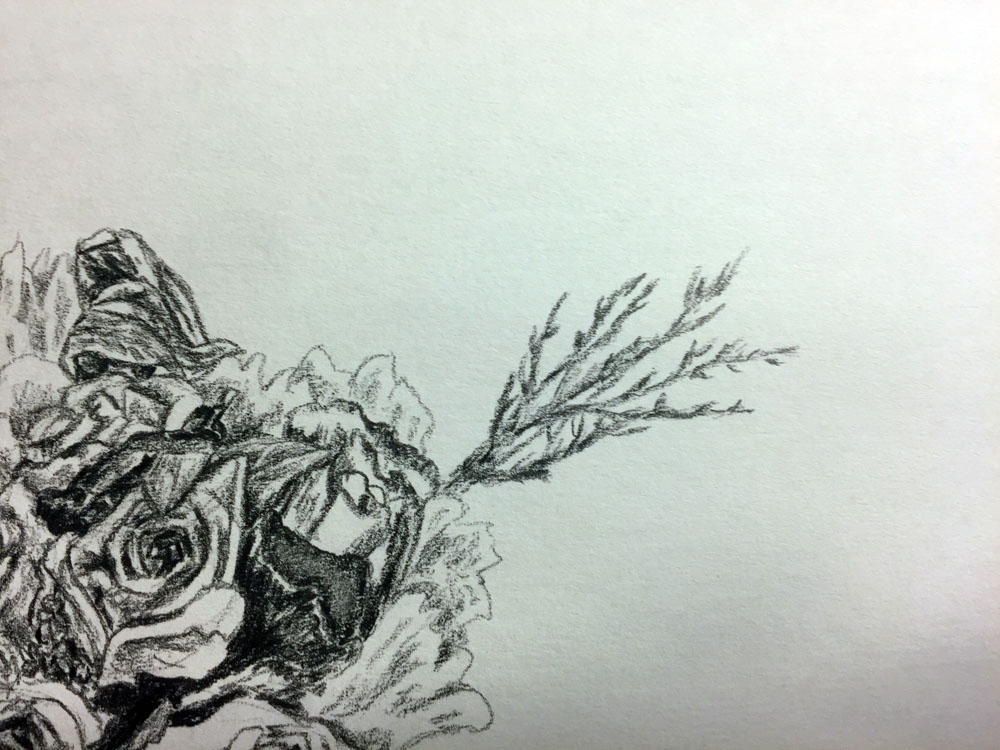
Make other nearby branches next to each other in the same manner. Use the photo for guidance, but also allow yourself a little freedom to make it your own.
Repeat this same process for the fillers at the bottom corner of the bouquet.
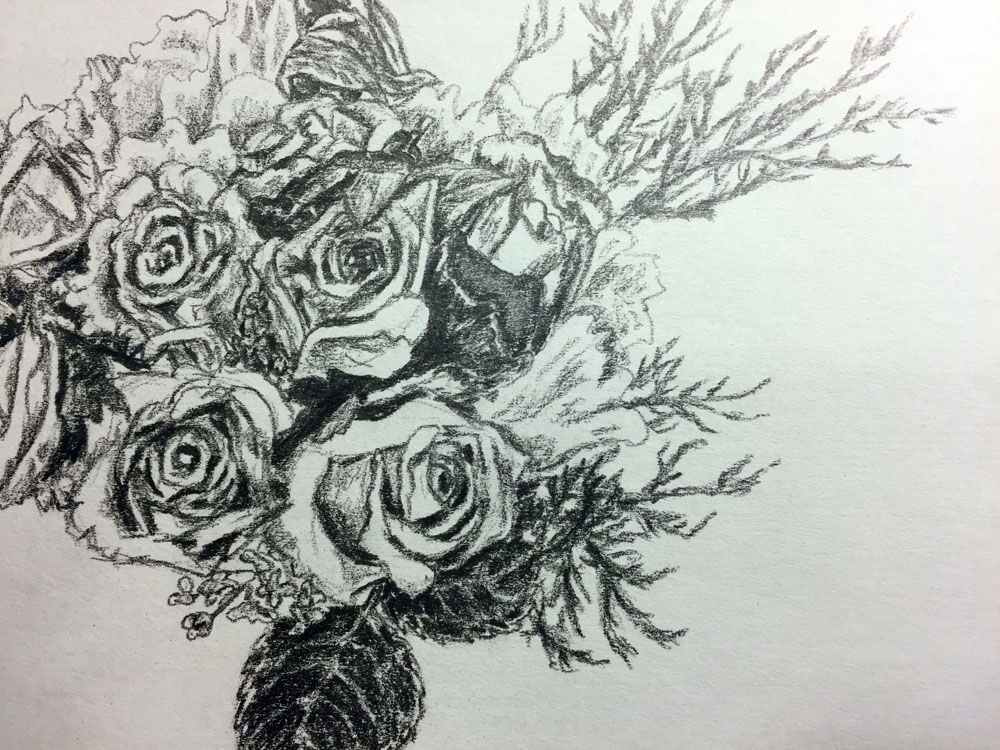
Finish Drawing the Outer Long Fillers
For the bottom filler plants, begin by shading the area under the roses you drew earlier. Shade dark tones next to the roses and lighter tones away from the roses. The roses cast a shadow on the filler plants, and the filler plants emerge from this shadow area, so this is a necessary step.
In the same manner as before, draw the long filler plants from the root area to the outer tips. Since these are longer and fuller than the earlier ones, they should look a little less like branches and have a few more apparent leaves.
As you draw the filler plants, remember to use your pencil tip and add a little shading along each plant to create some form and depth.
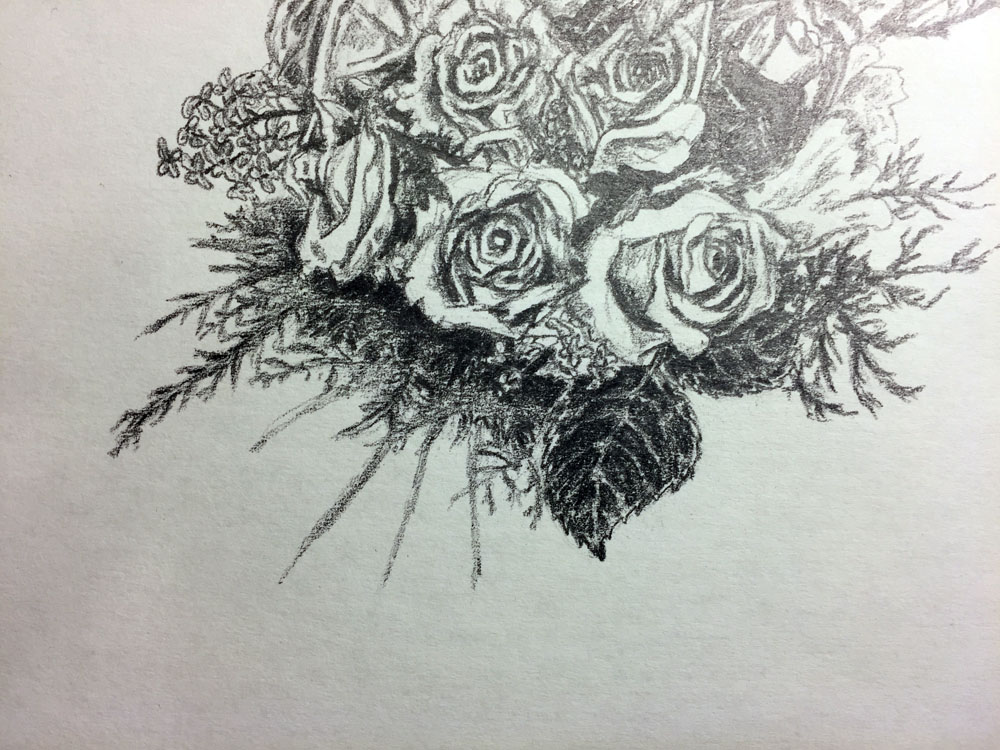
Take note of the longest filler plants and draw shorter plants between them. Although the plants are generally pointing in the same direction, draw them with some slight curves to make them appear more natural.
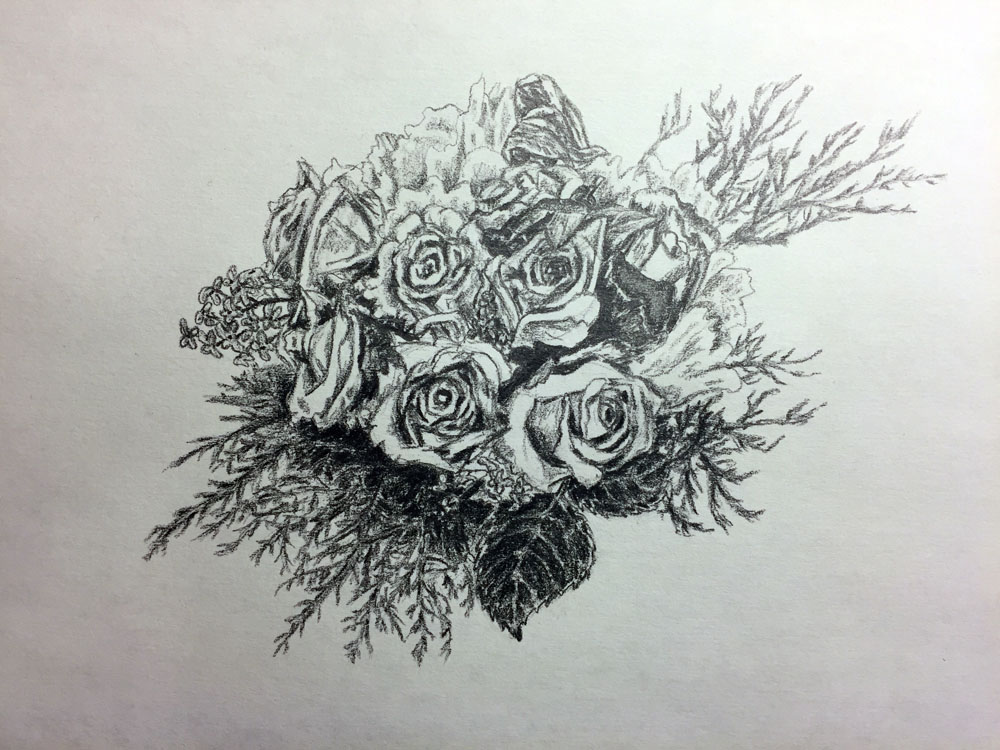
Take a step back and look for anything in your drawing that needs extra details or any values that need to be darkened or lightened to create a balance of tones. This is the final step for the bouquet itself!
Finish Up by Drawing the Bride’s Hand
The next brief, optional steps will cover how to draw the hand of the bride holding the bouquet. Sketch the basic shape of the fingers, hand, and wrist.
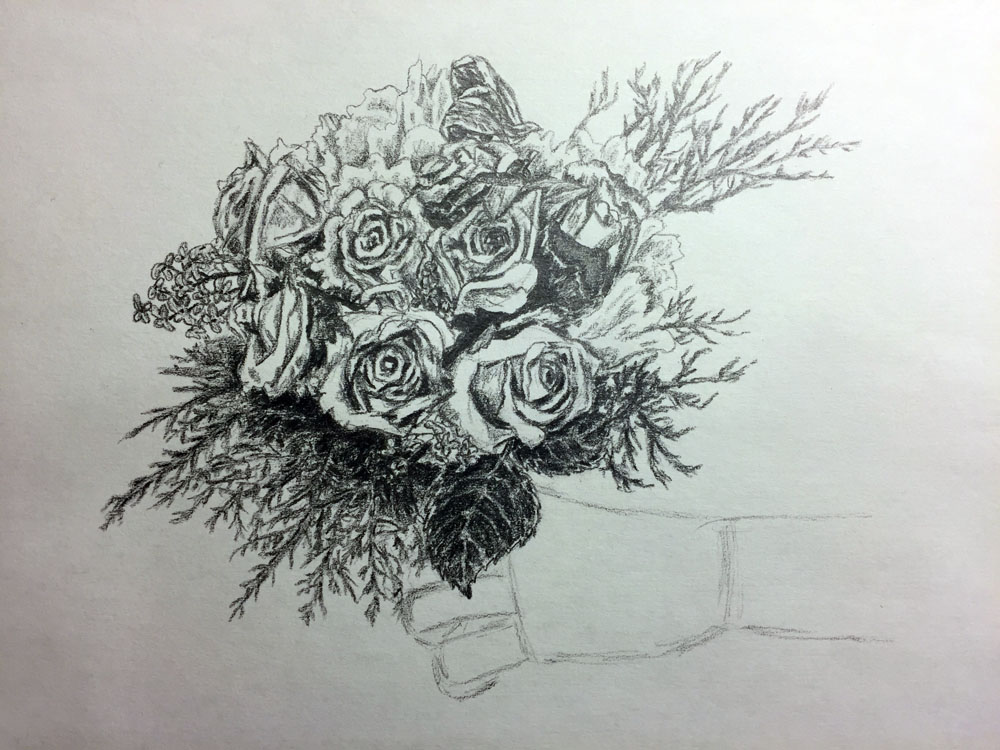
Darken the outline of the hand and arm. Darken up the edges of the fingers and add details to give them form, as shown below.
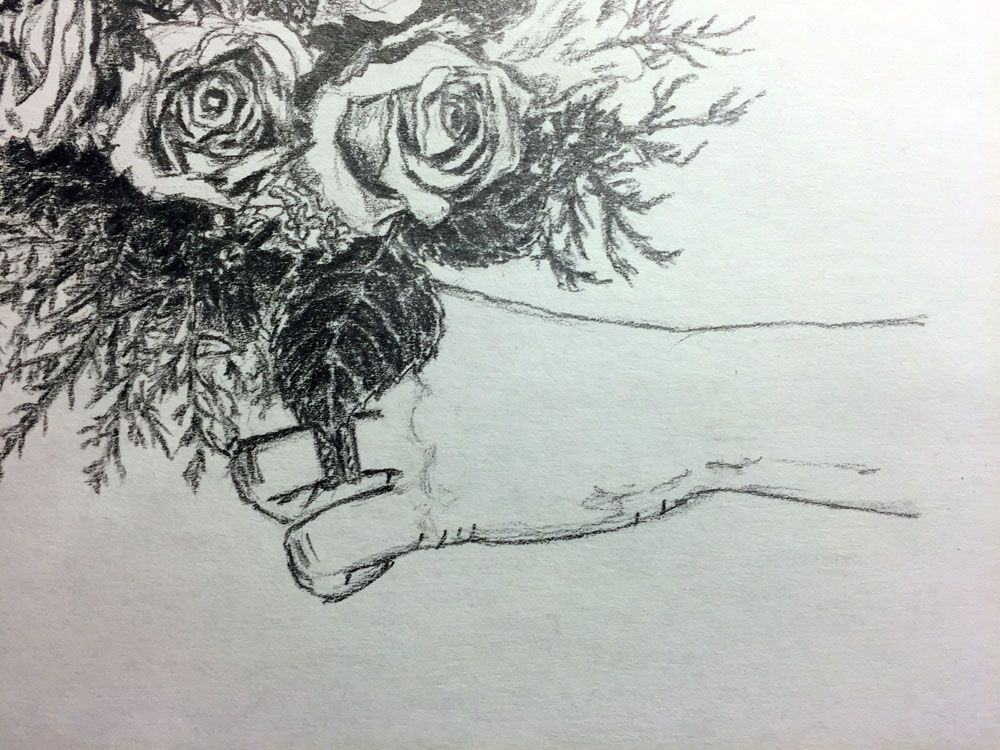
Lightly shade along the bottom of the arm and back of the hand. Shade the knuckles and fingers and inside of the fingers as they hold onto the bouquet.
And that is how you draw a bouquet of flowers!
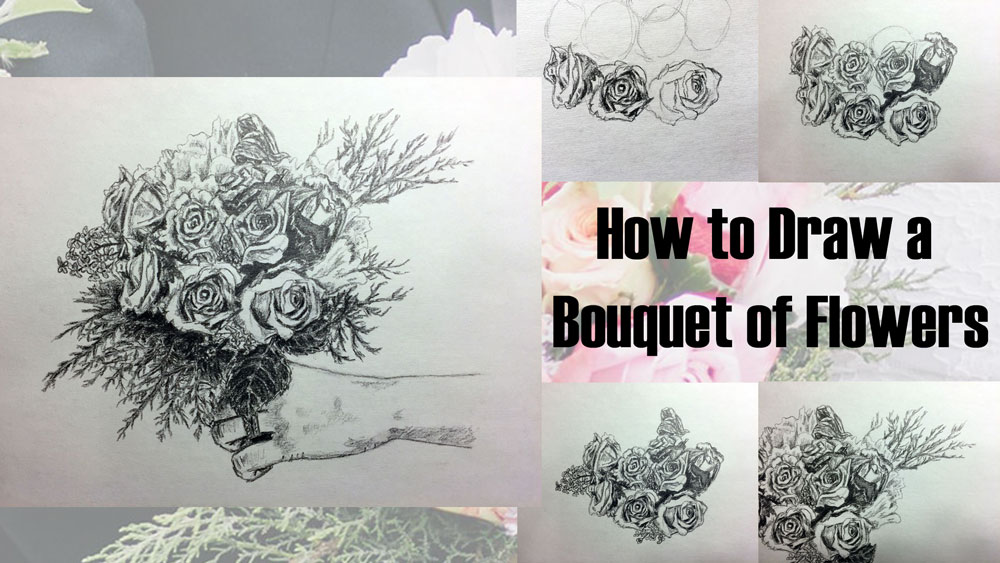
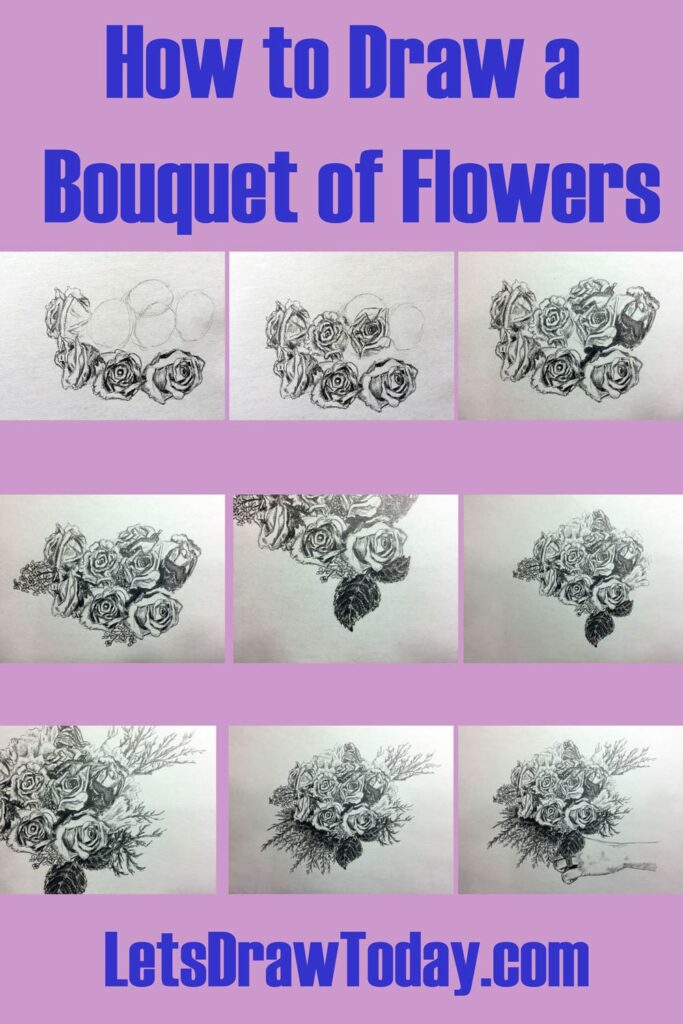
Tutorial Recap
For a quick visual recap of this tutorial, take a look at the image below. It shows you a step-by-step summary progression for how to draw a bouquet of flowers.
If you want, challenge yourself to keep drawing the rest of the bride, and draw the groom too!
All You Need for Your Bouquet Drawing
You do not need to know a lot about flowers or bouquets in order to draw them. Nor do you need to be nervous about the idea of drawing them or other plants. All you need is an observant eye and a steady hand that will allow you to draw the individual shapes and shades that you see. Before you know it, those separate shapes and shades come together in a beautiful bouquet drawing of your very own!