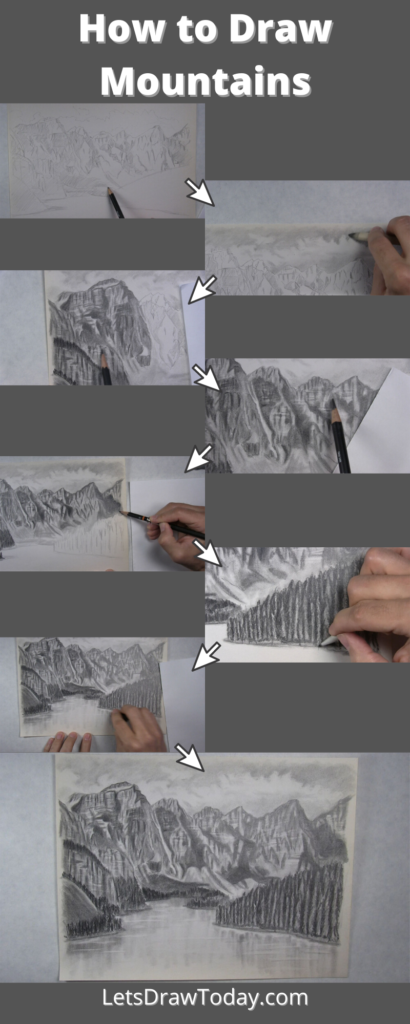
How to Draw Mountains Near a Beautiful Lake
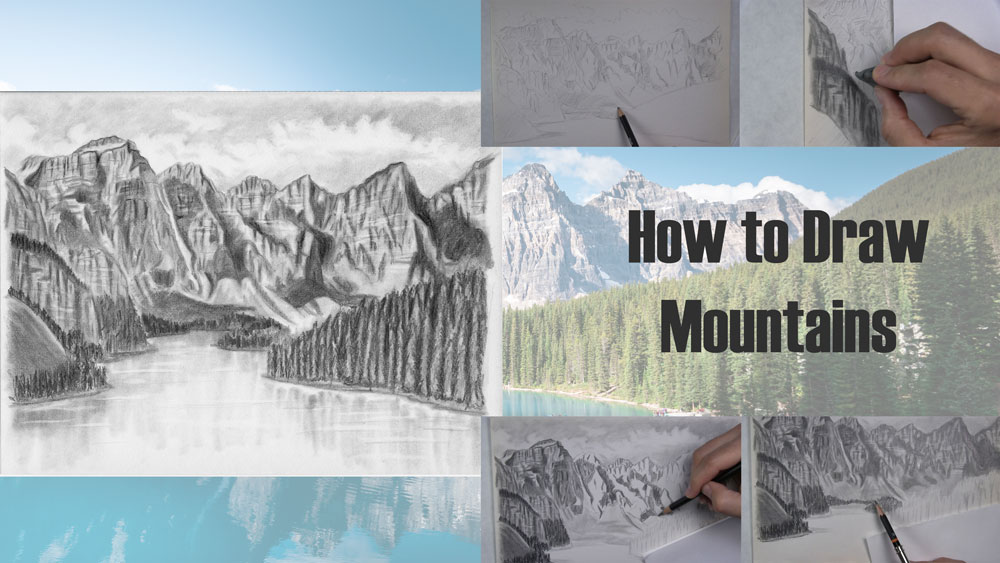
In this drawing tutorial post, I am going to show you how to draw mountains!
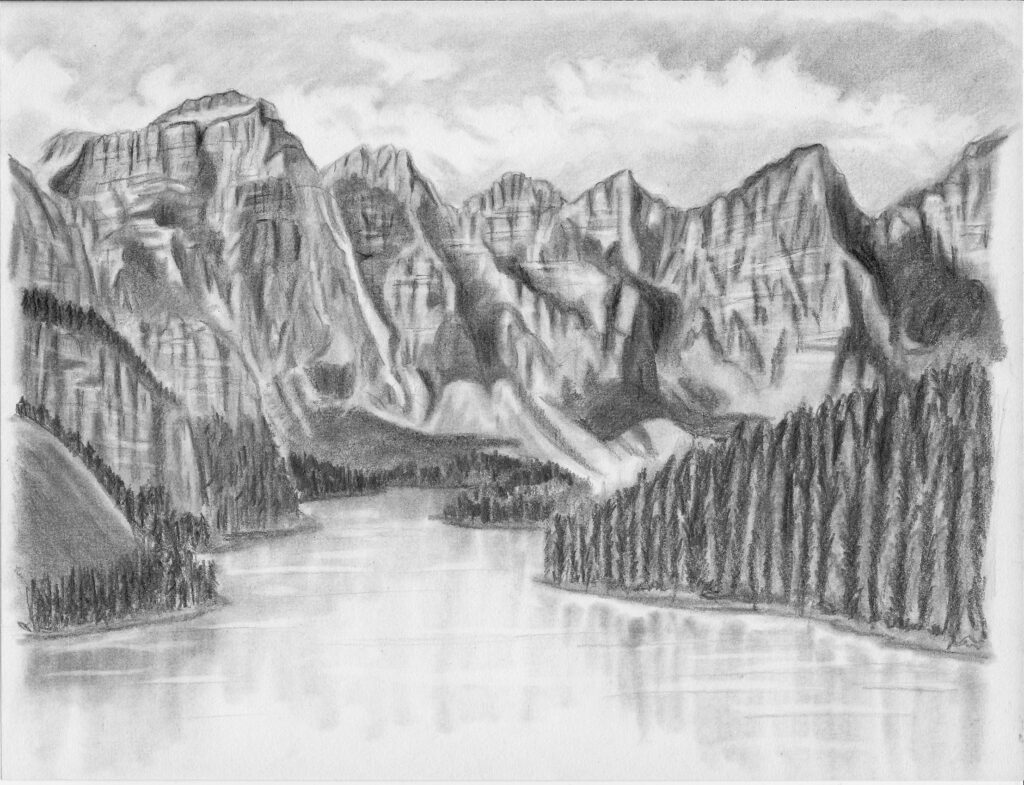
Learn how to sketch the entire outline of a mountain landscape. I’ll show you how to sketch the mountain peaks, the clouds in the sky, rocky details on the surface of the mountain, shadows, trees, and even a beautiful lake.
If you are searching for ideas for what to draw, I hope you consider participating in this drawing tutorial with me.
Use a Reference Photo of Mountains
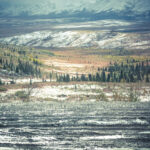
As inspiration for this course, I am using a reference photo of the mountains around Moraine Lake in Banff National Park in Alberta, Canada.
Even though we are using a reference photo, please don’t feel the need to draw every little detail exactly like the photo. It is up to you whether you want to draw the picture exactly as I am or put your own style and uniqueness to it!
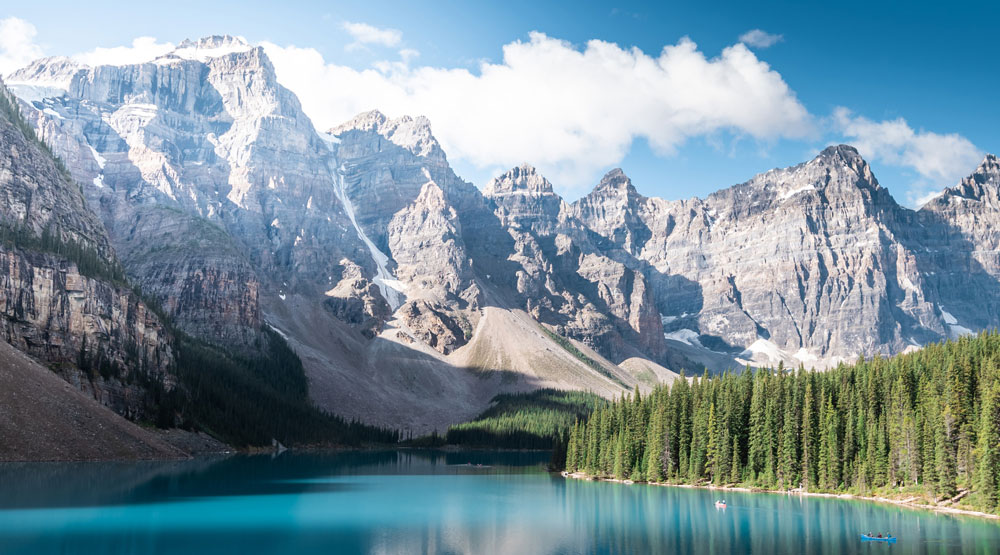
You can use the basic concepts you learn from this tutorial and apply them to drawing other mountains. Although you have some artistic freedom from drawing mountains exactly as they are depicted in a photo, it’s still wise to use a photo as a reference when drawing them.
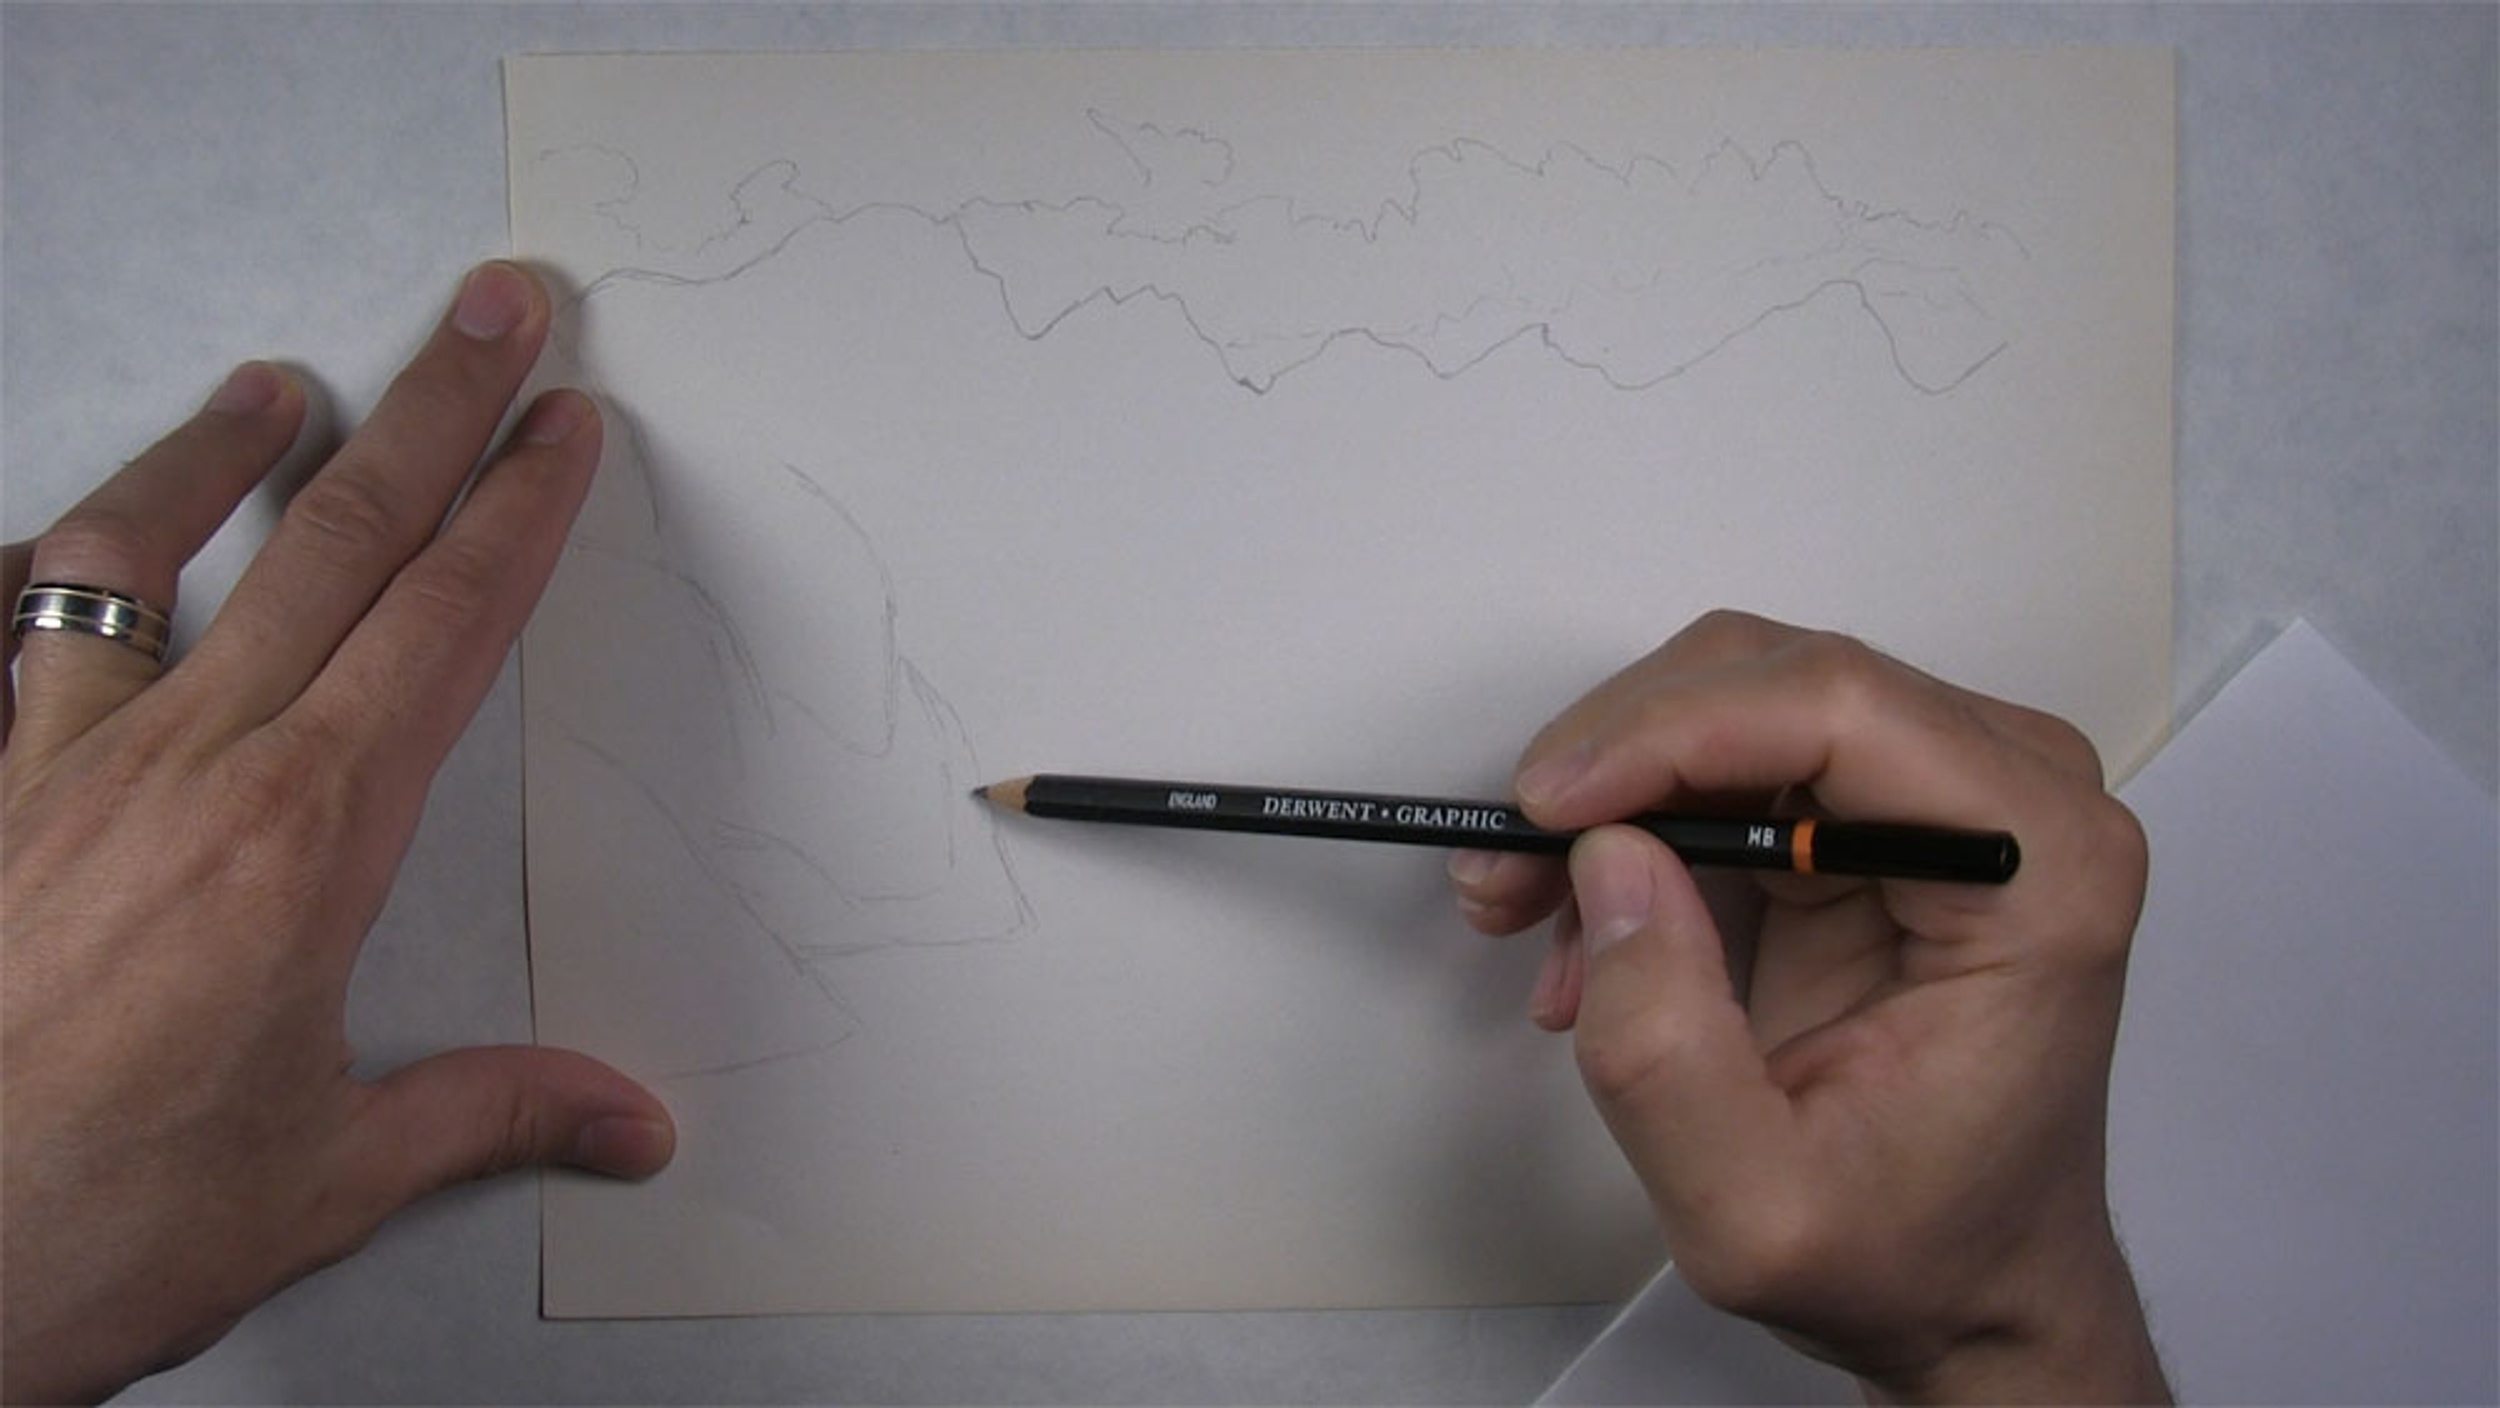
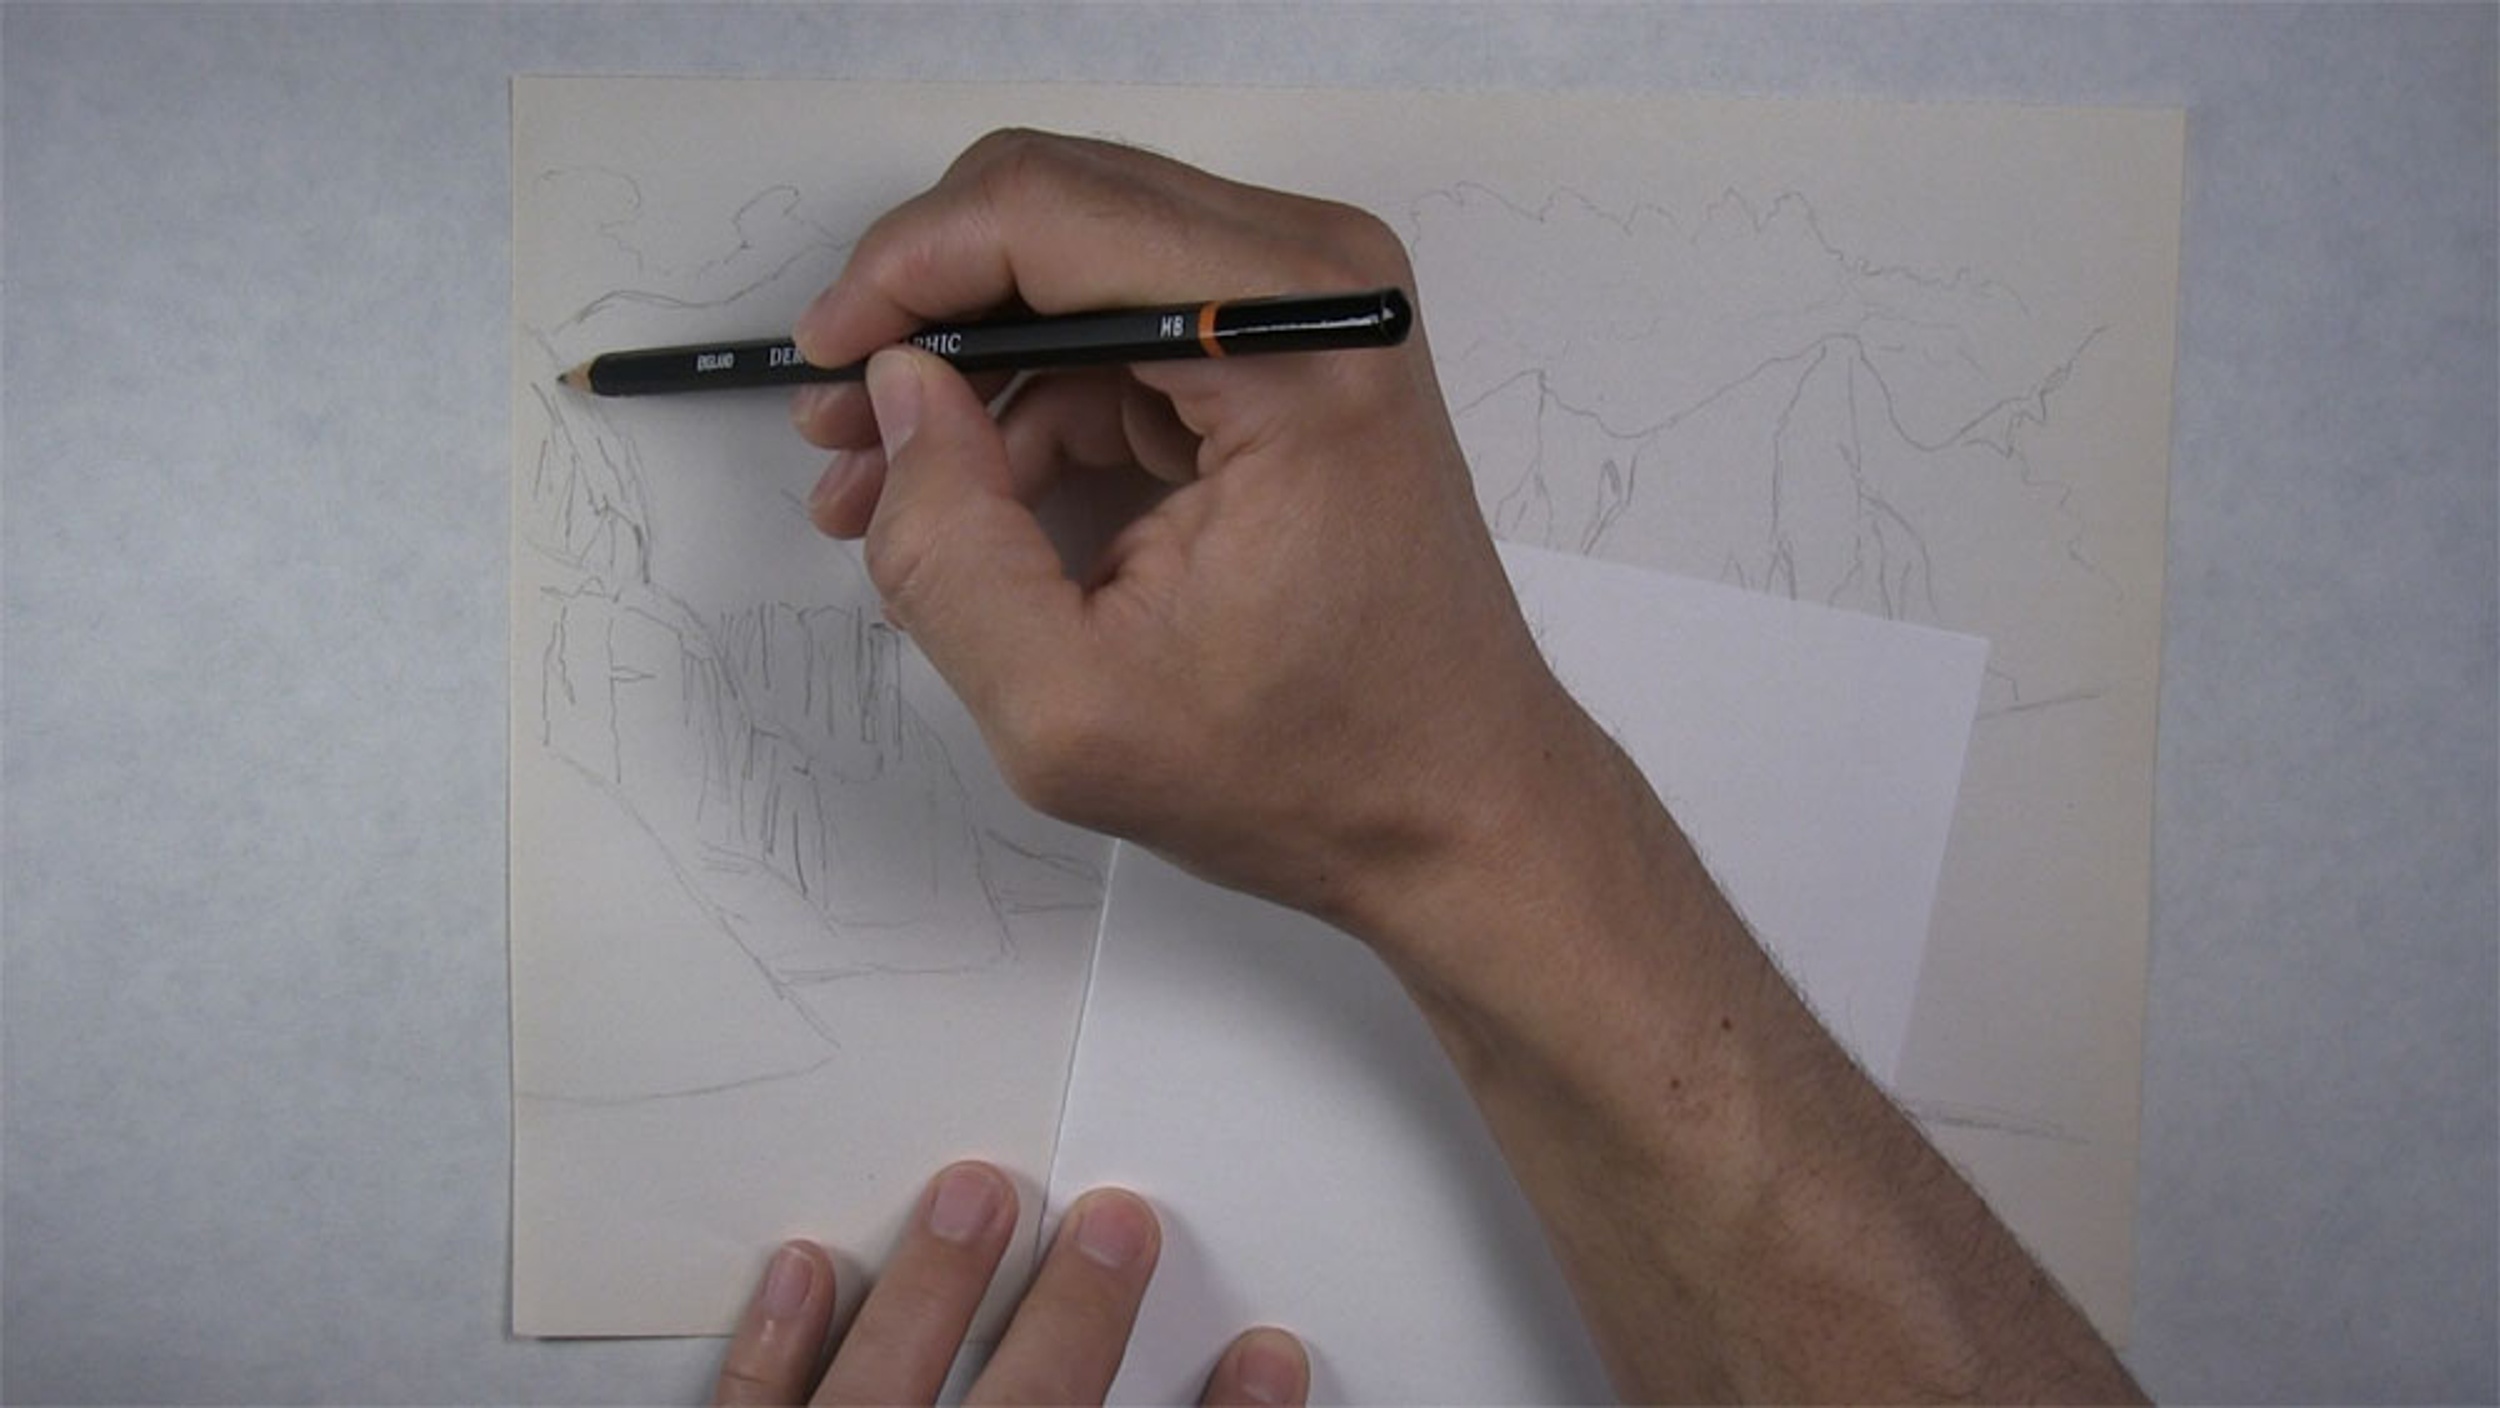
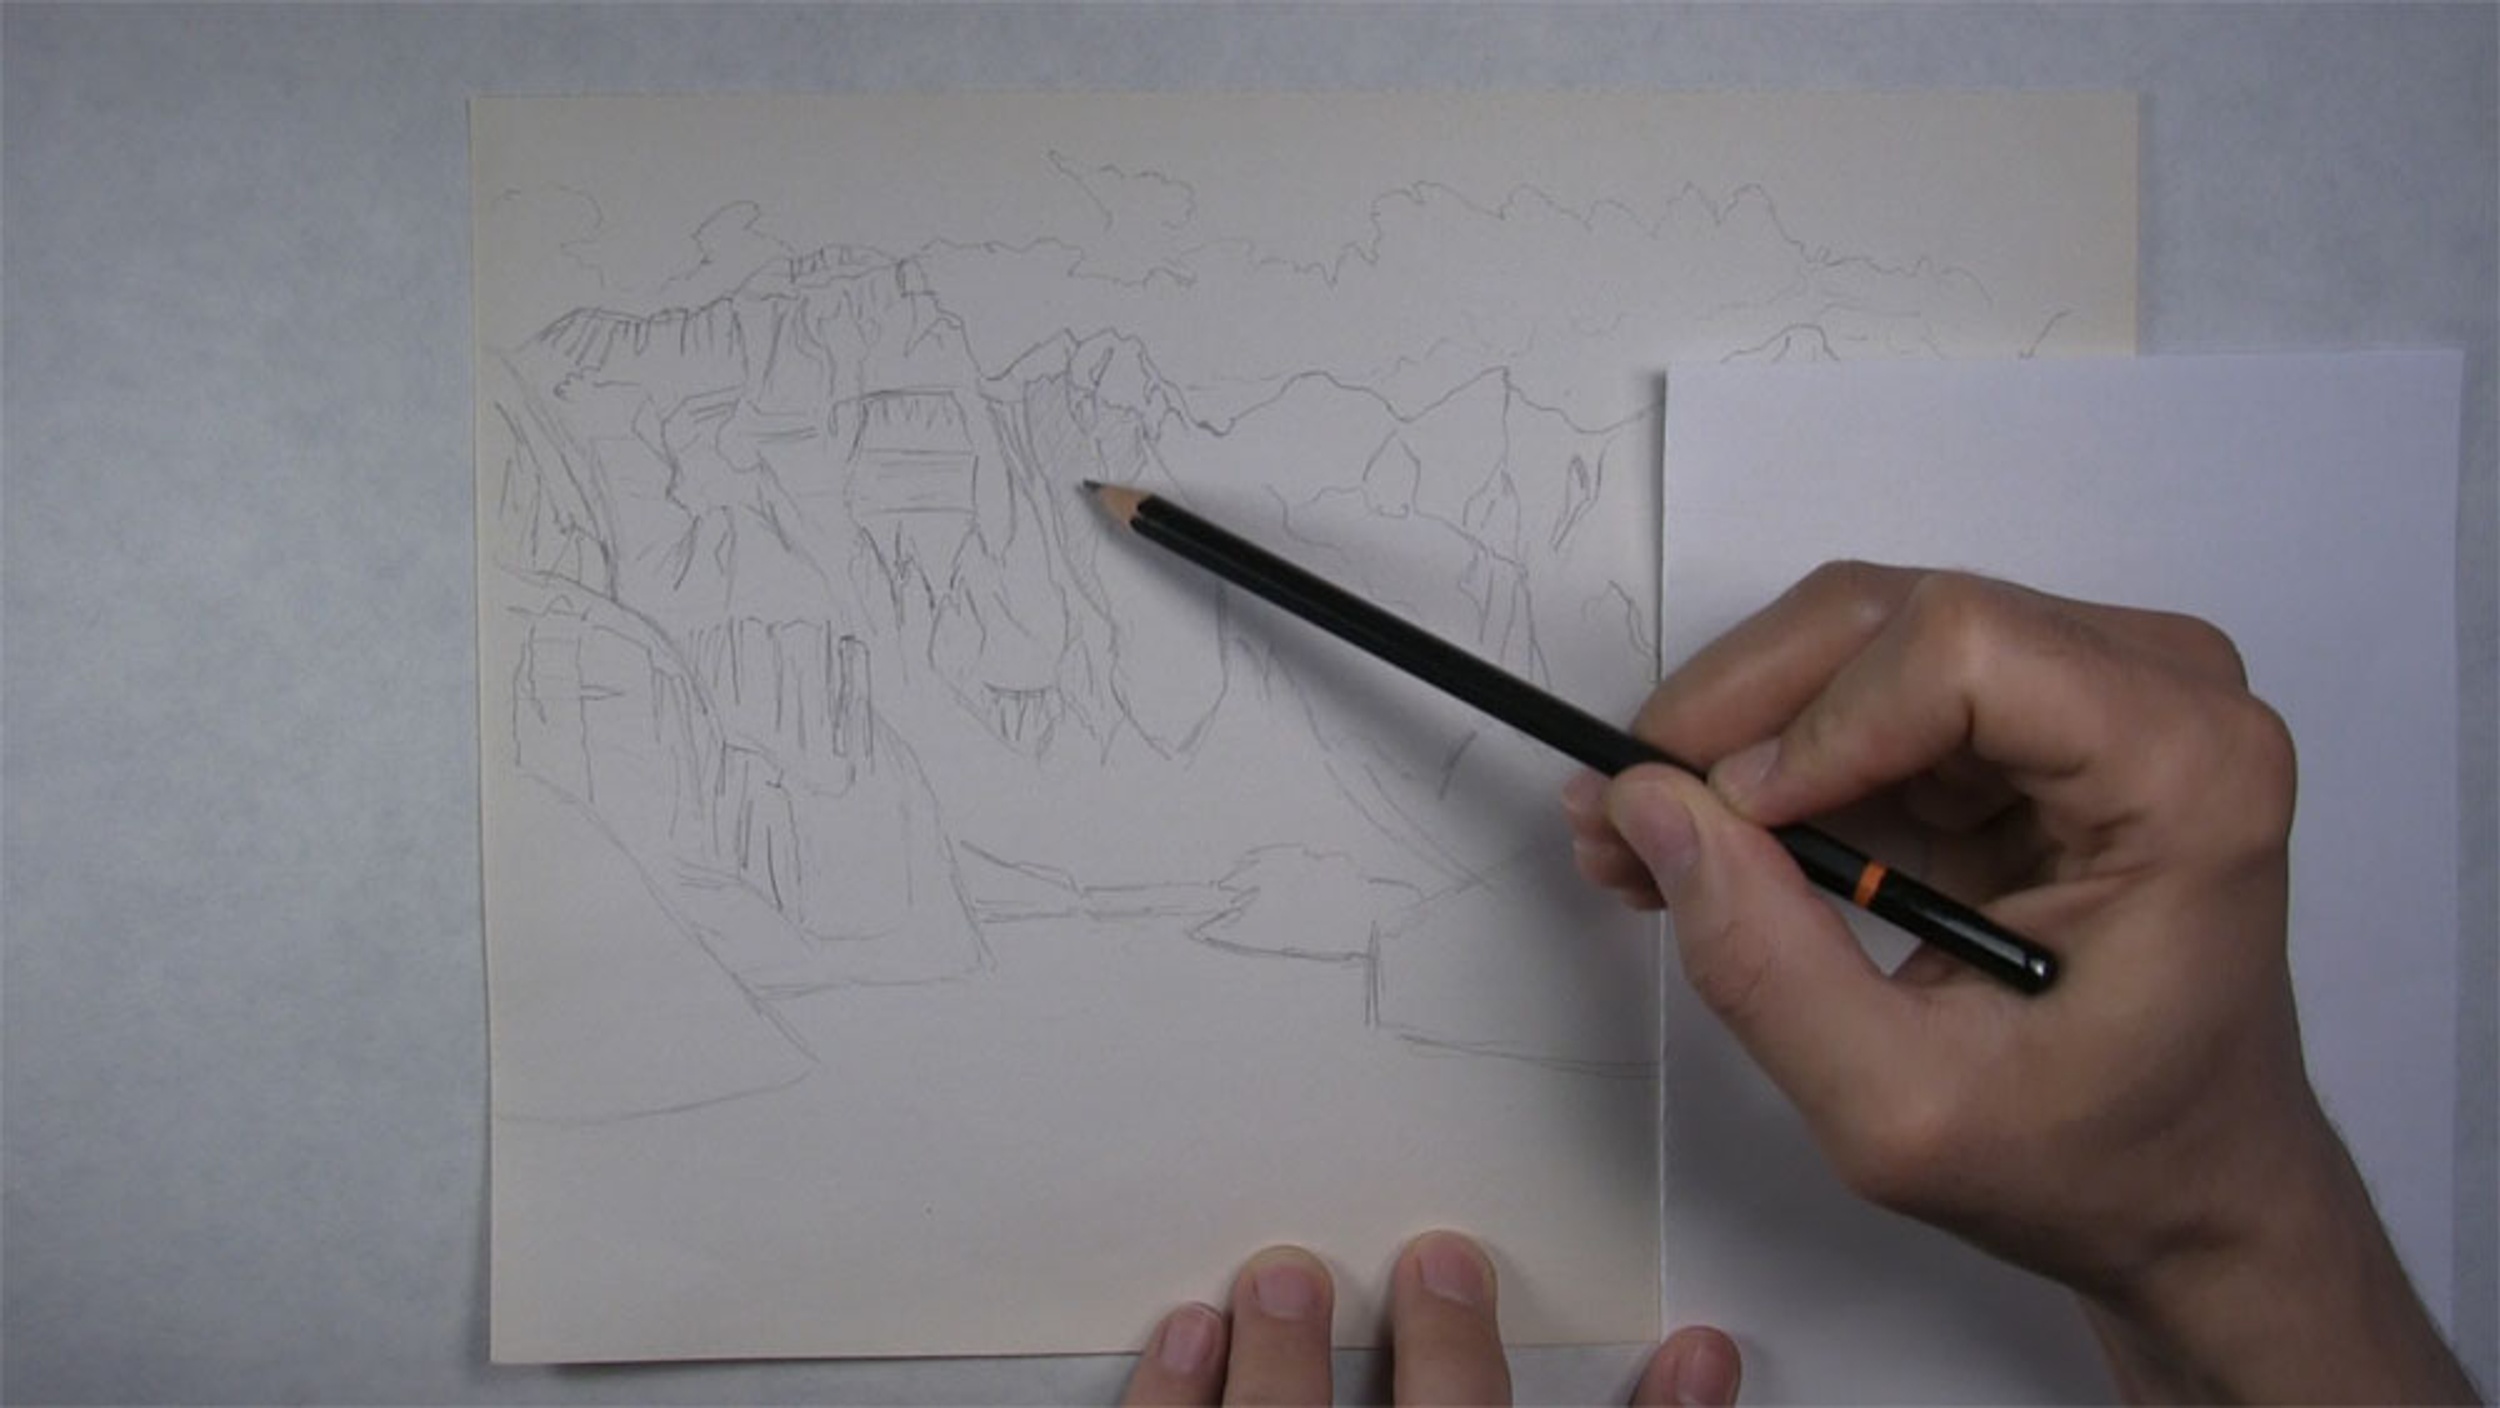
I did most of the initial drawing with an HB pencil. I used a range of other pencils during the shading process, including a 2B, 4B, and 6B pencil.
How to Draw Mountains Video Tutorial
You can watch the time-lapse video version of this tutorial below. Watch it once all the way through to get a sense of the overall process. Then watch a second time and draw along with me, pausing as needed.
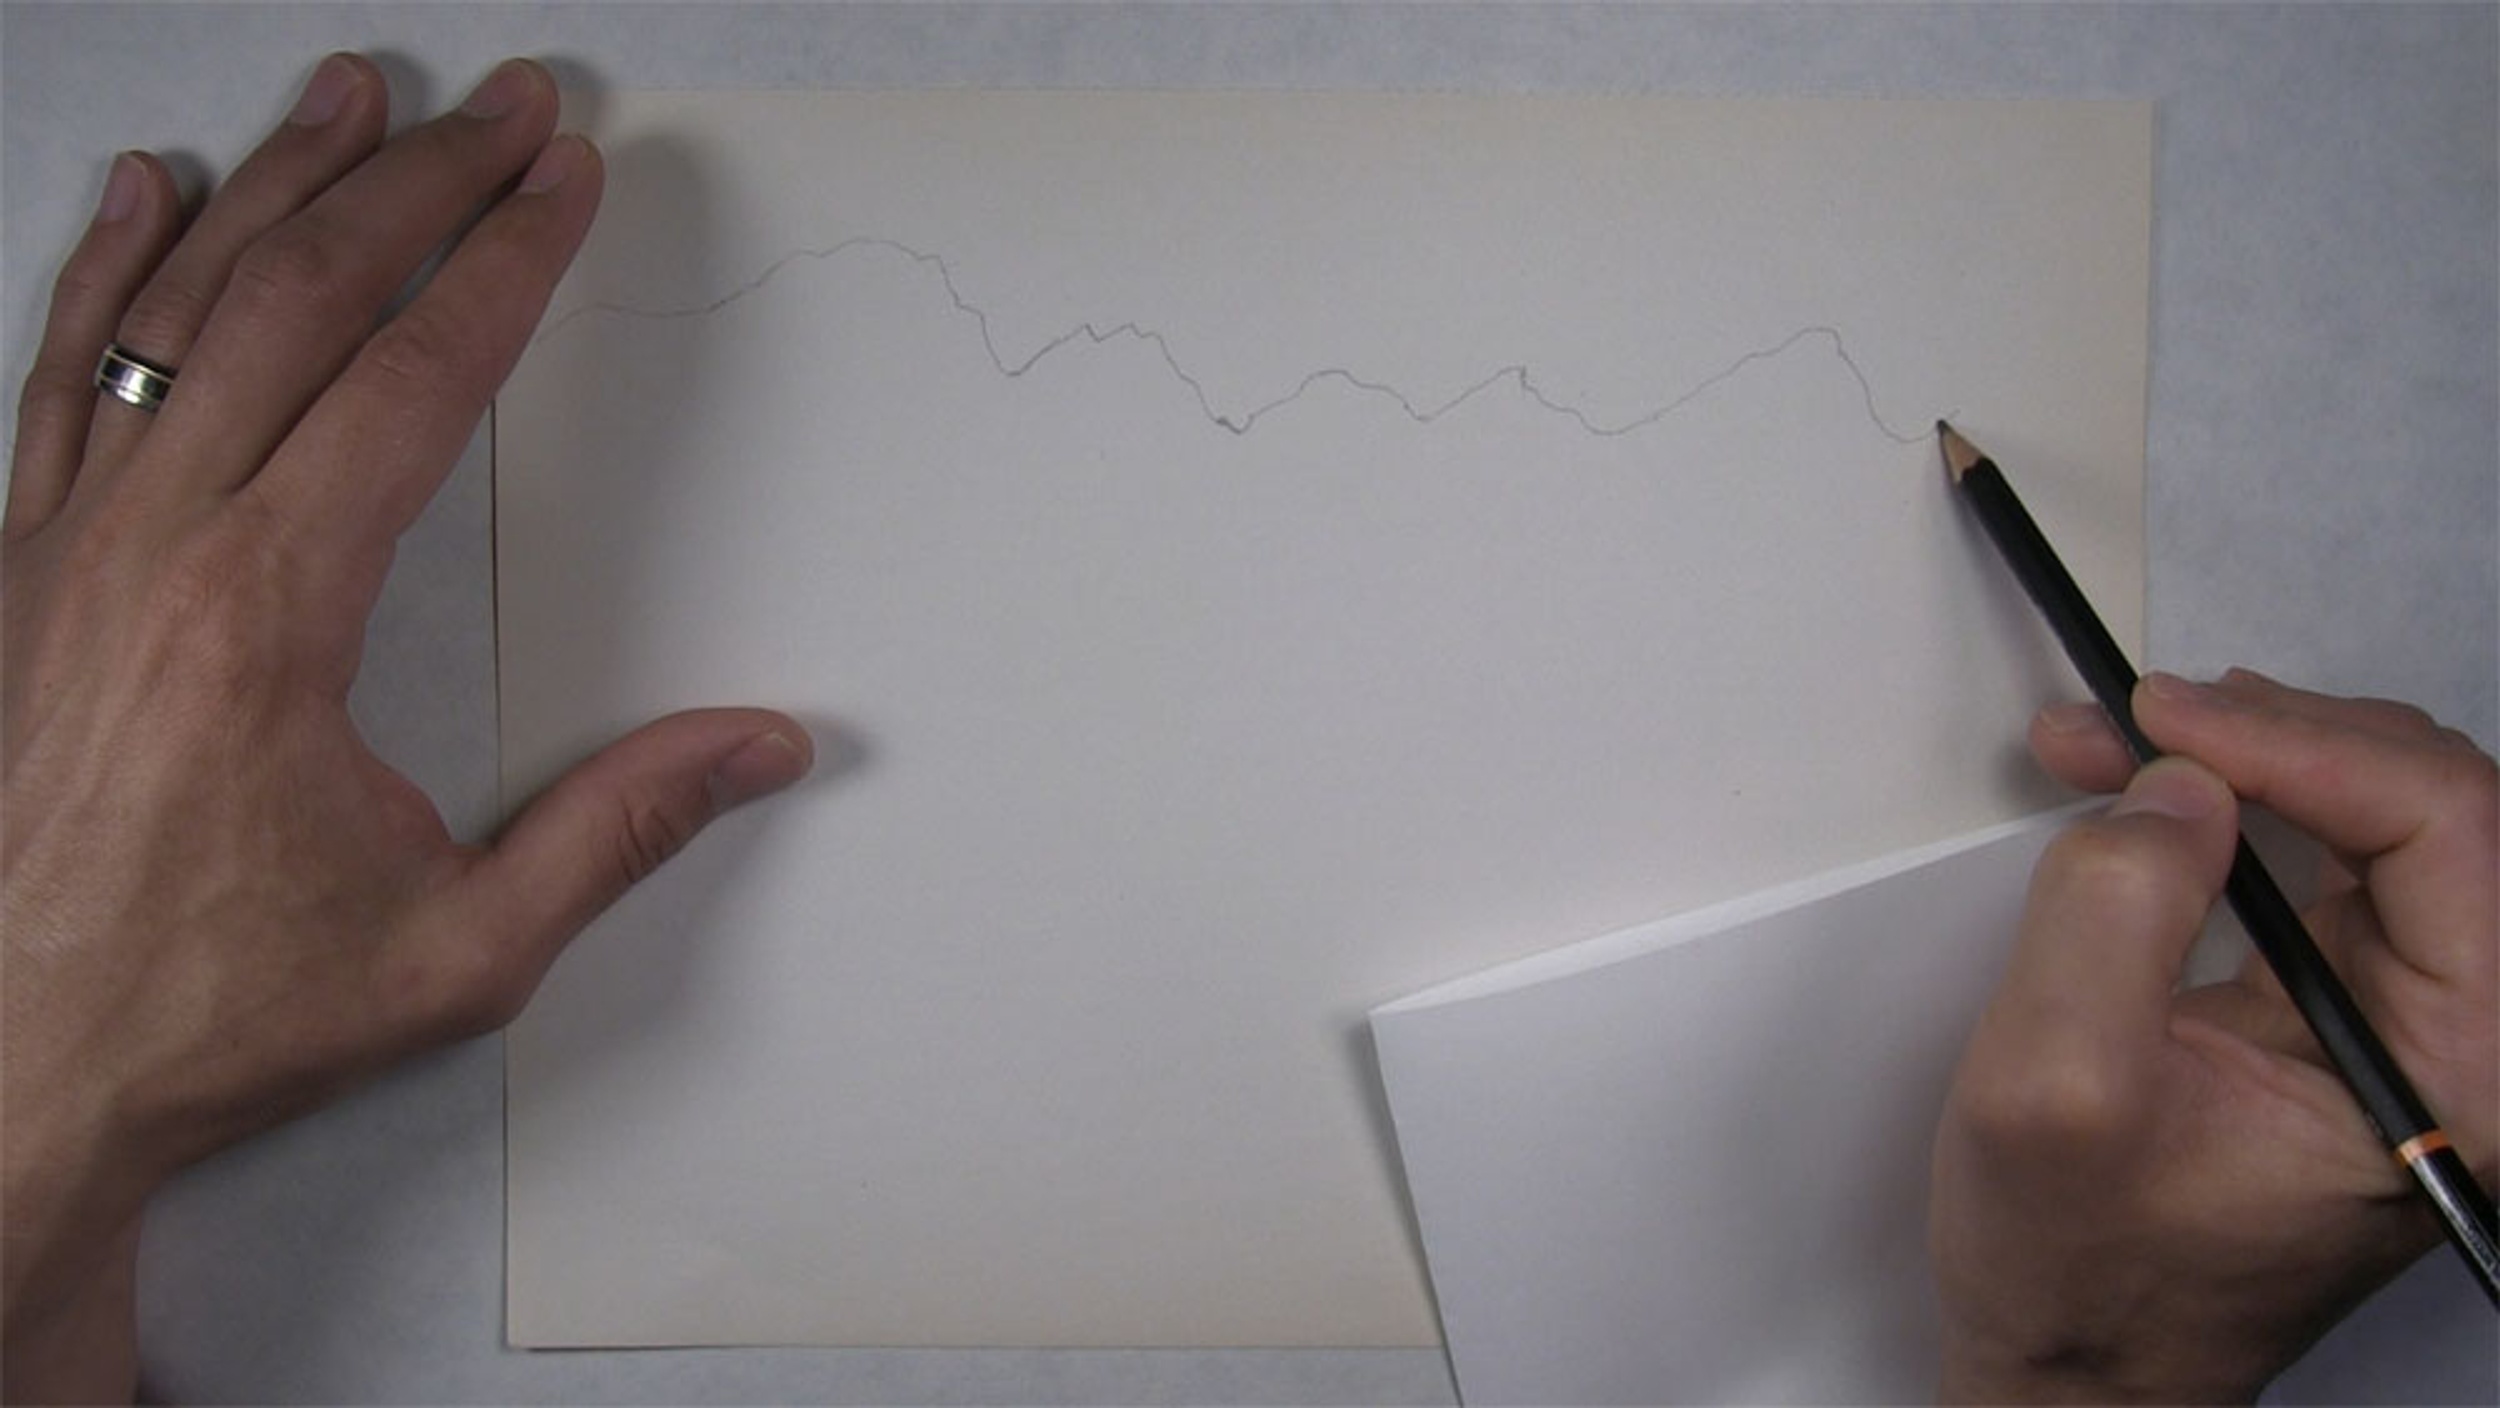
Draw the Skyline
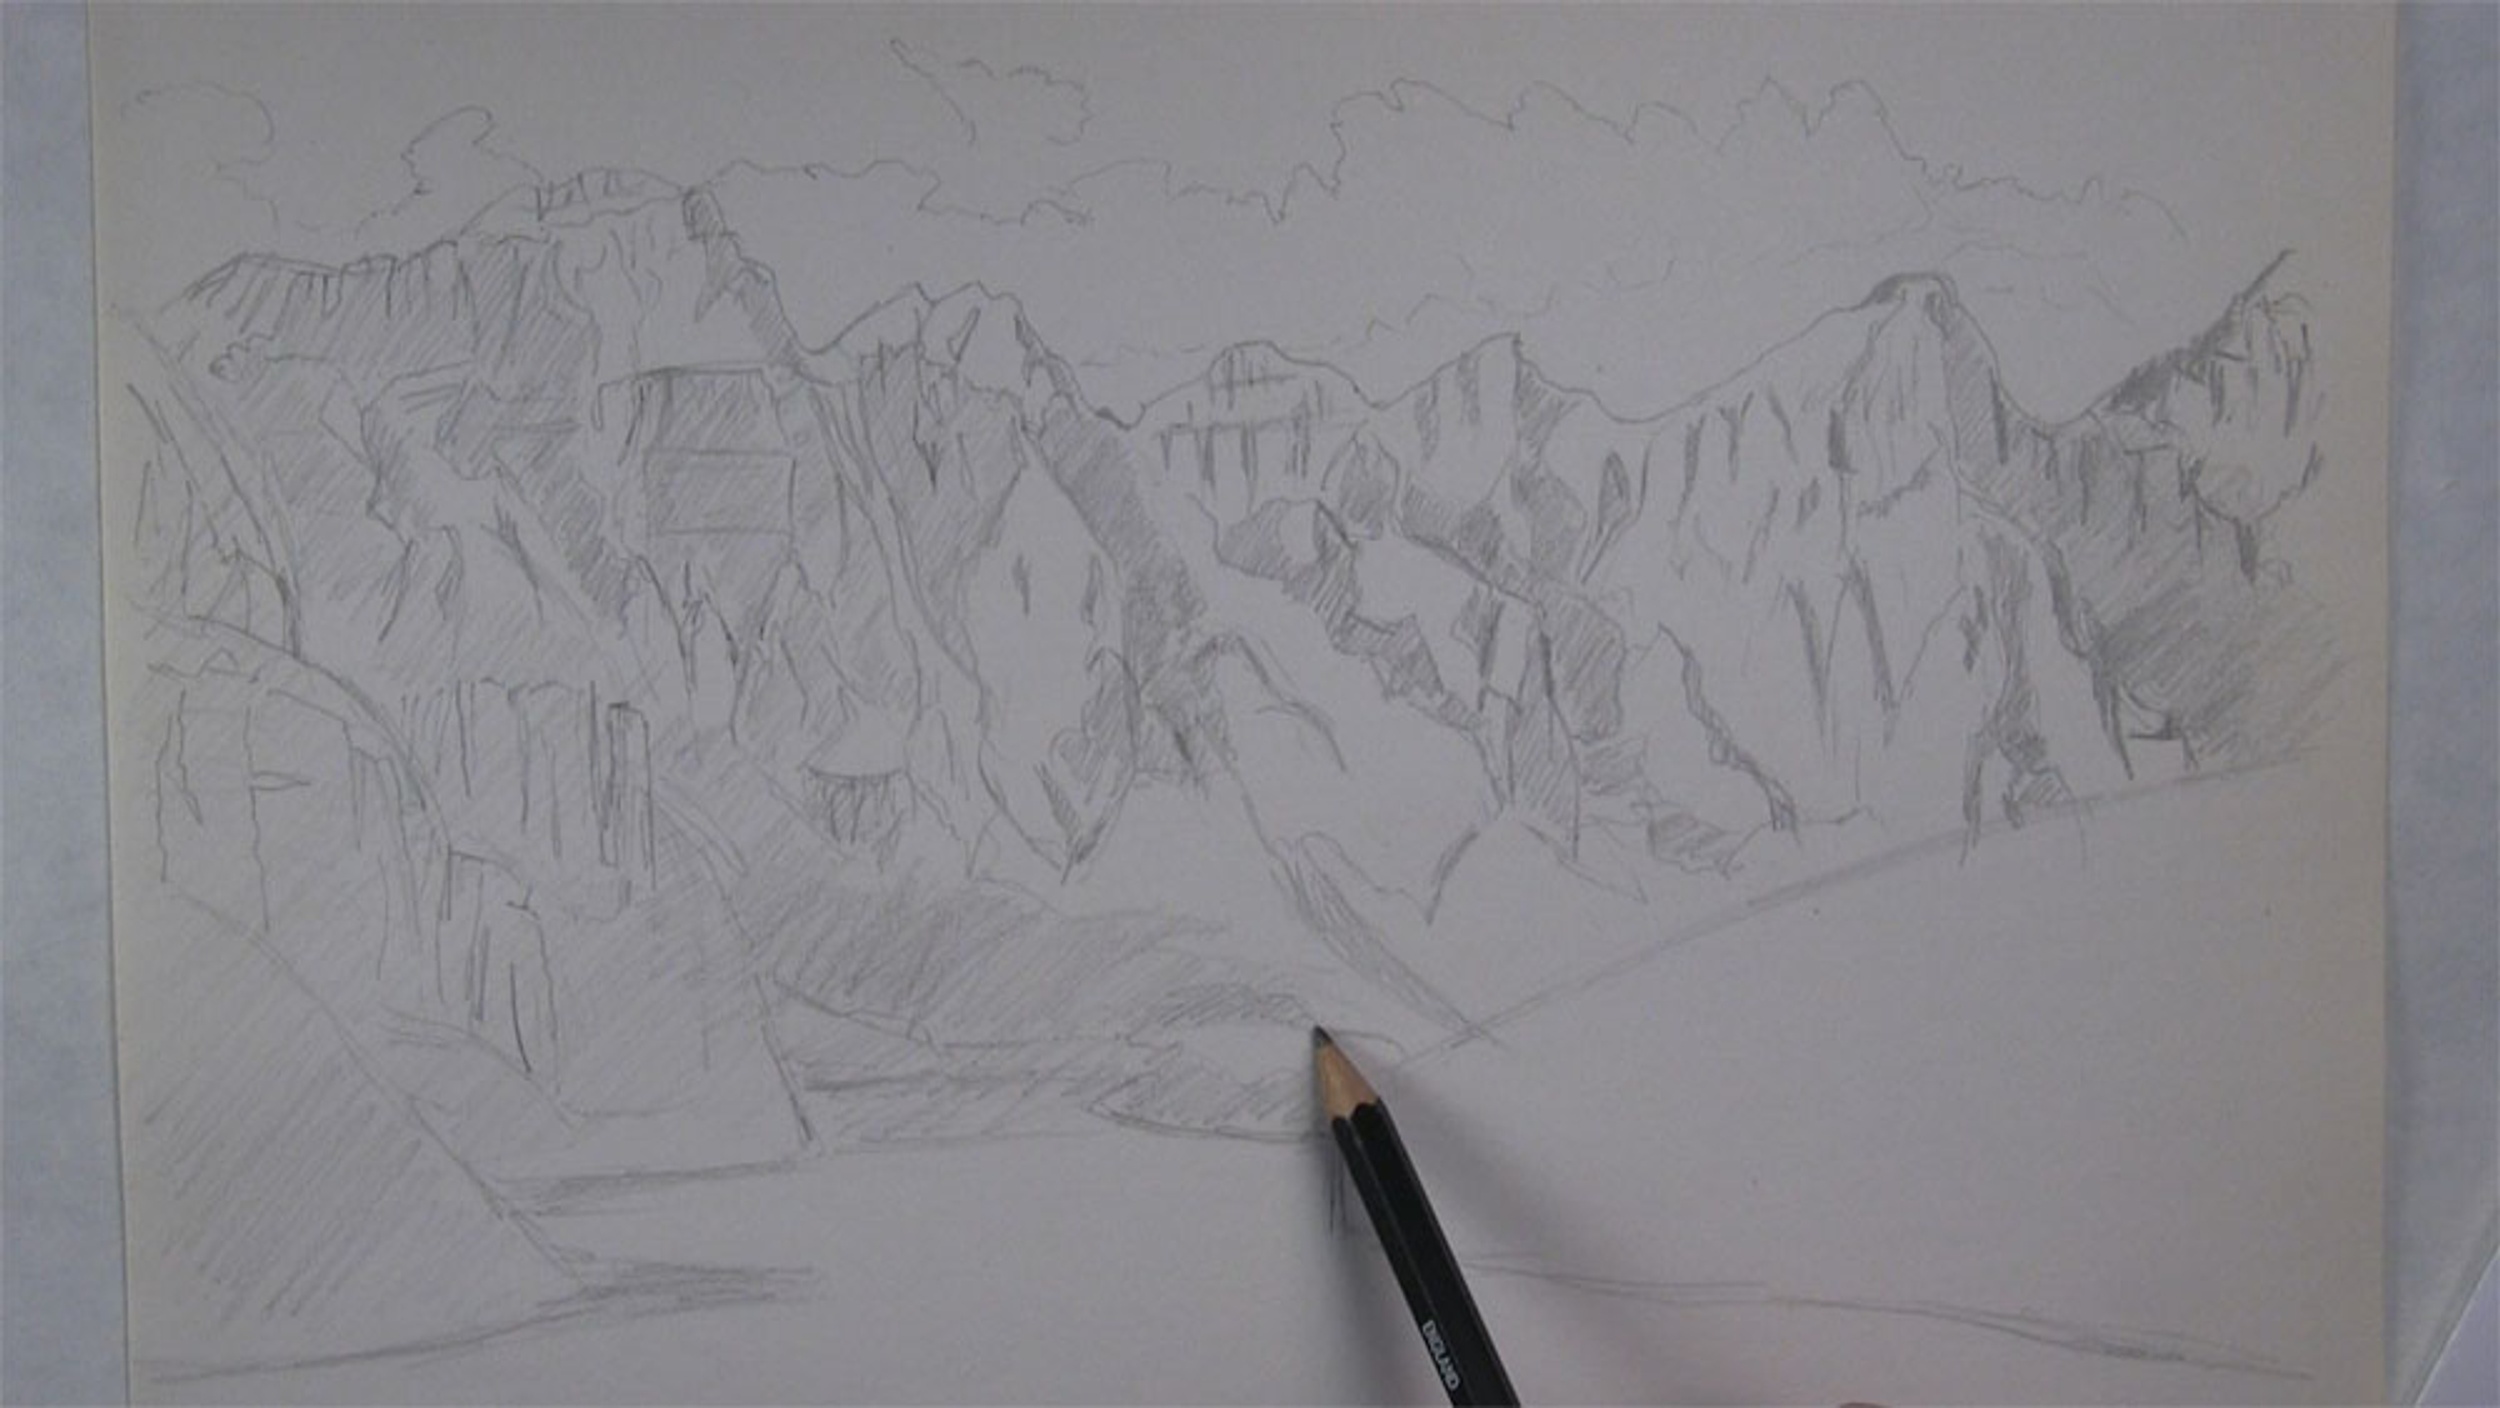
Starting with an HB pencil, begin to lightly sketch the outline of the top of the mountains. I am using the reference photo to try to closely match the shape of the peaks, but if you wish to change the shape or height of your mountains, that is perfectly fine too.
In order for you to better learn how to draw these particular mountains, I have identified specific peaks that we will focus on throughout the tutorial. There is a tall peak to the left, three shorter peaks in the middle, and two taller peaks on the right. The peak on our far right will not be completely in our view. There will also be another mountain on our left in the foreground, but we will not see its peak either.
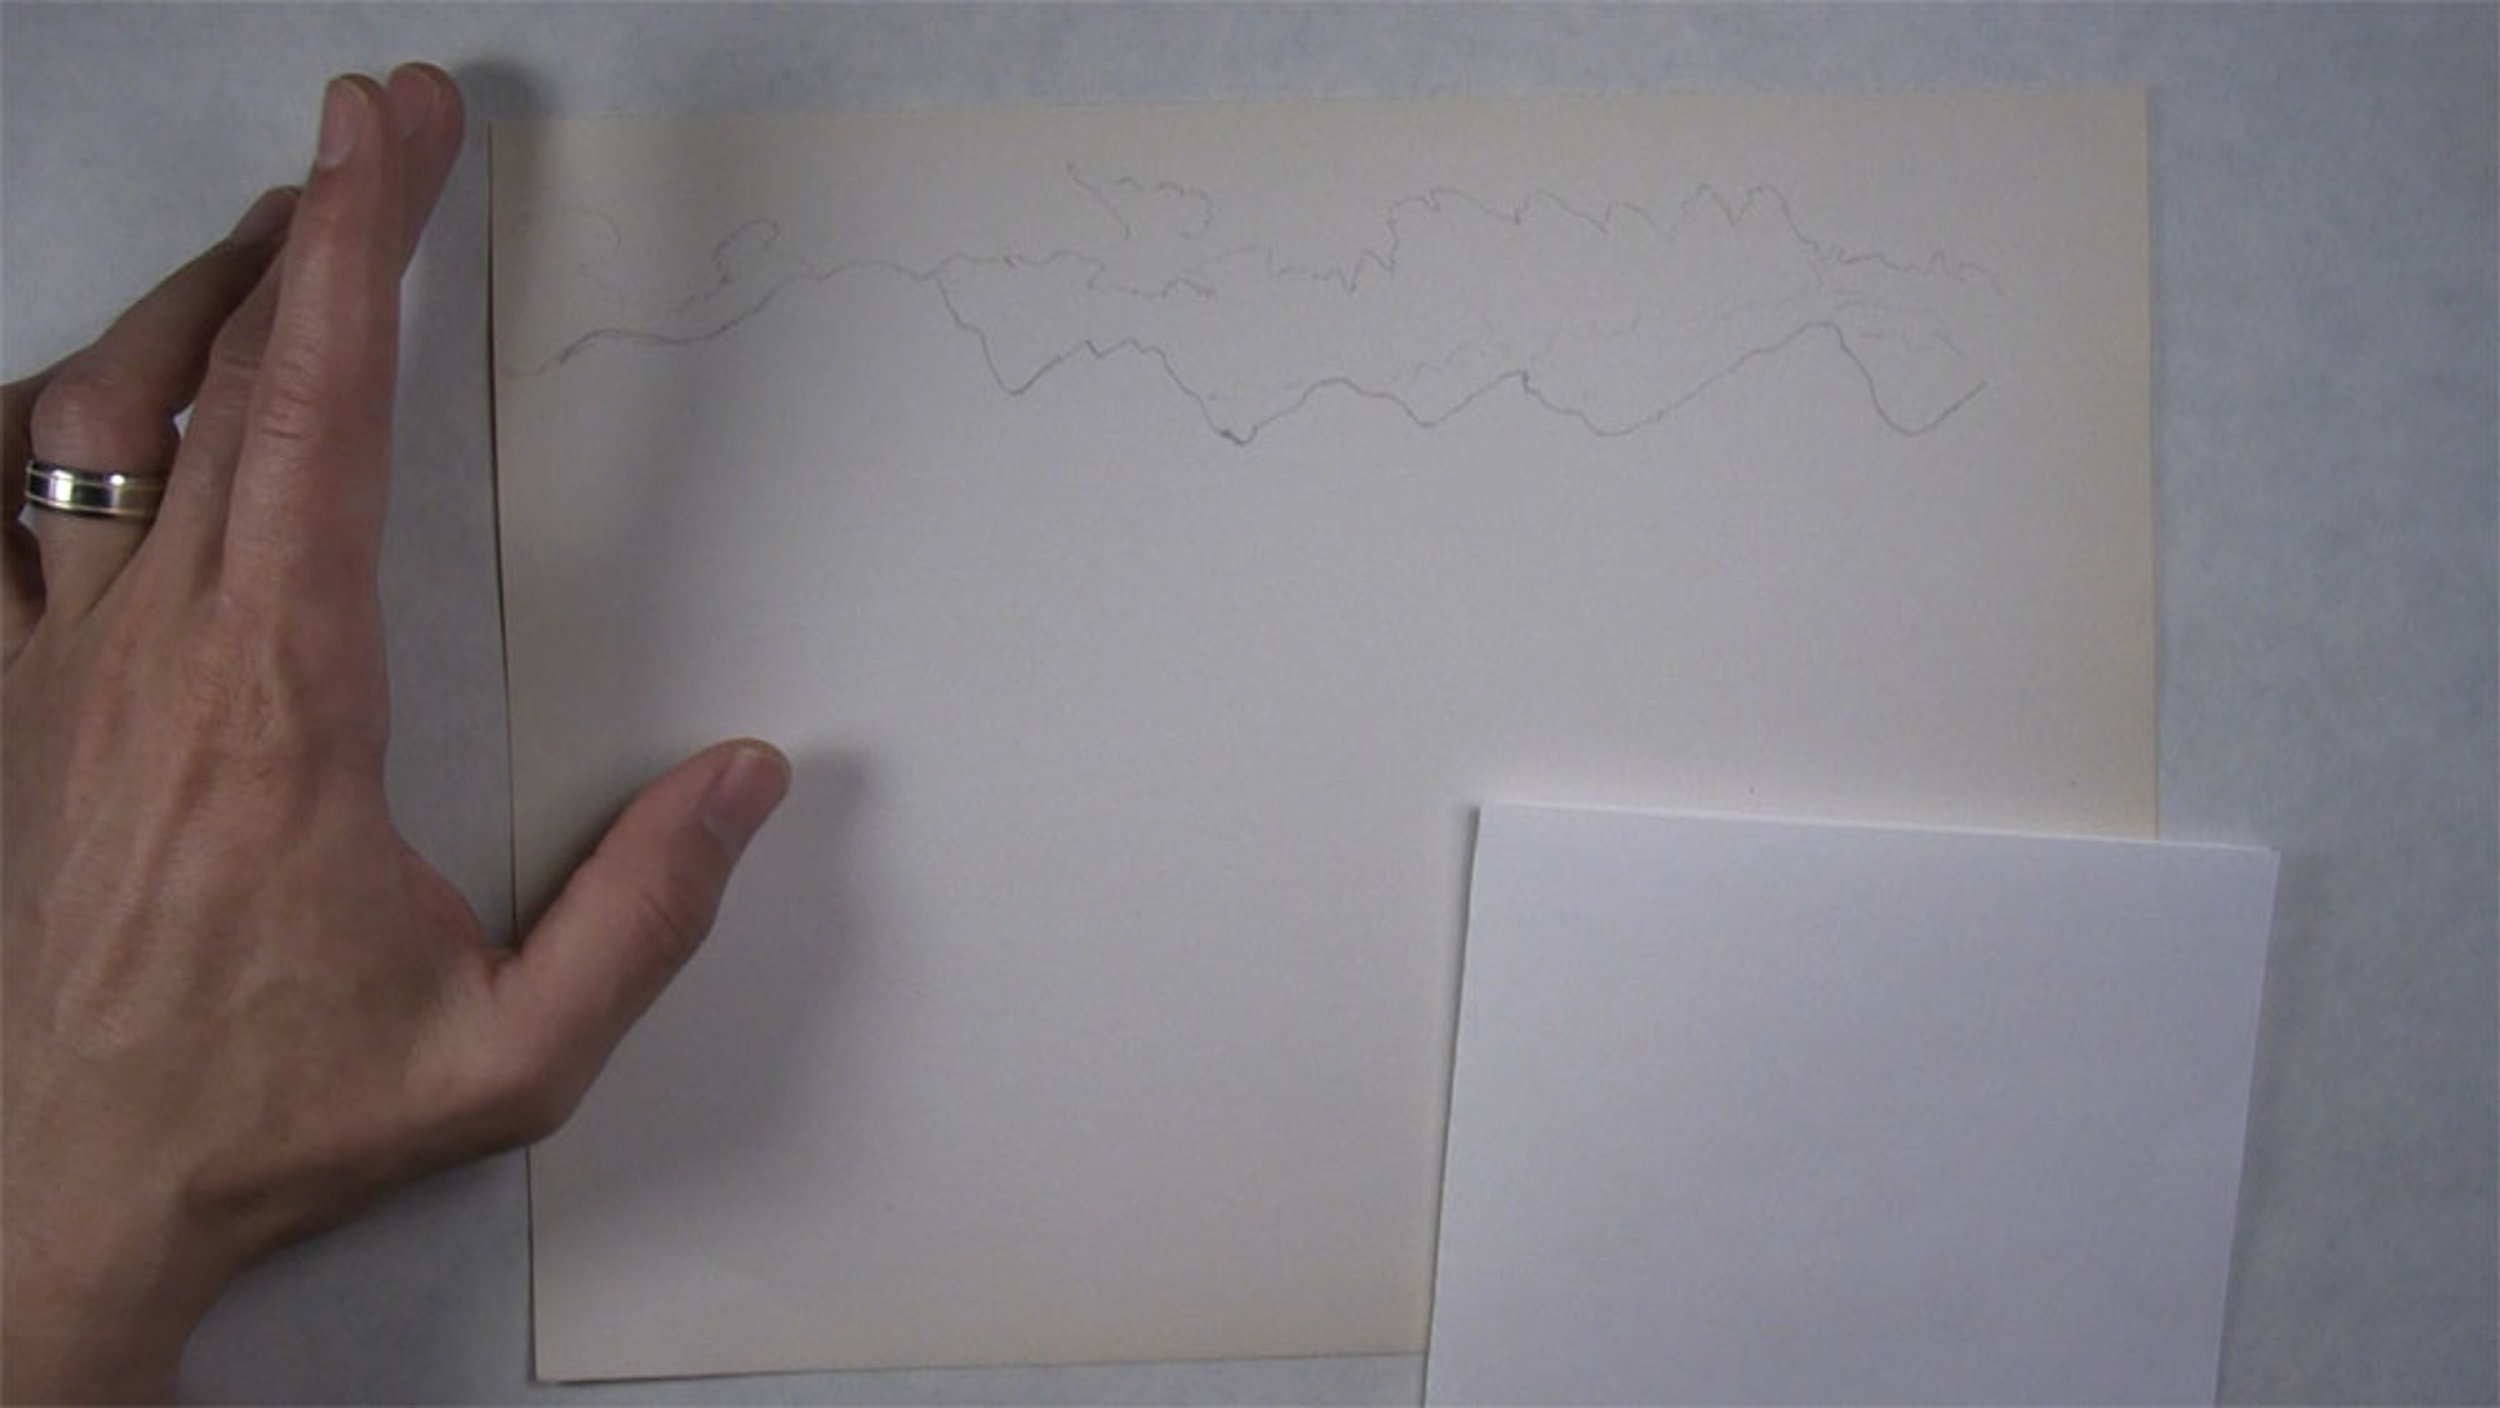
Now sketch the outline of some clouds. In this picture, there will be a band of clouds going across the sky. Make sure to sketch very lightly. We want to identify the shape of our clouds with these sketched guidelines, but we don’t want to leave the outline of the clouds in our final picture.
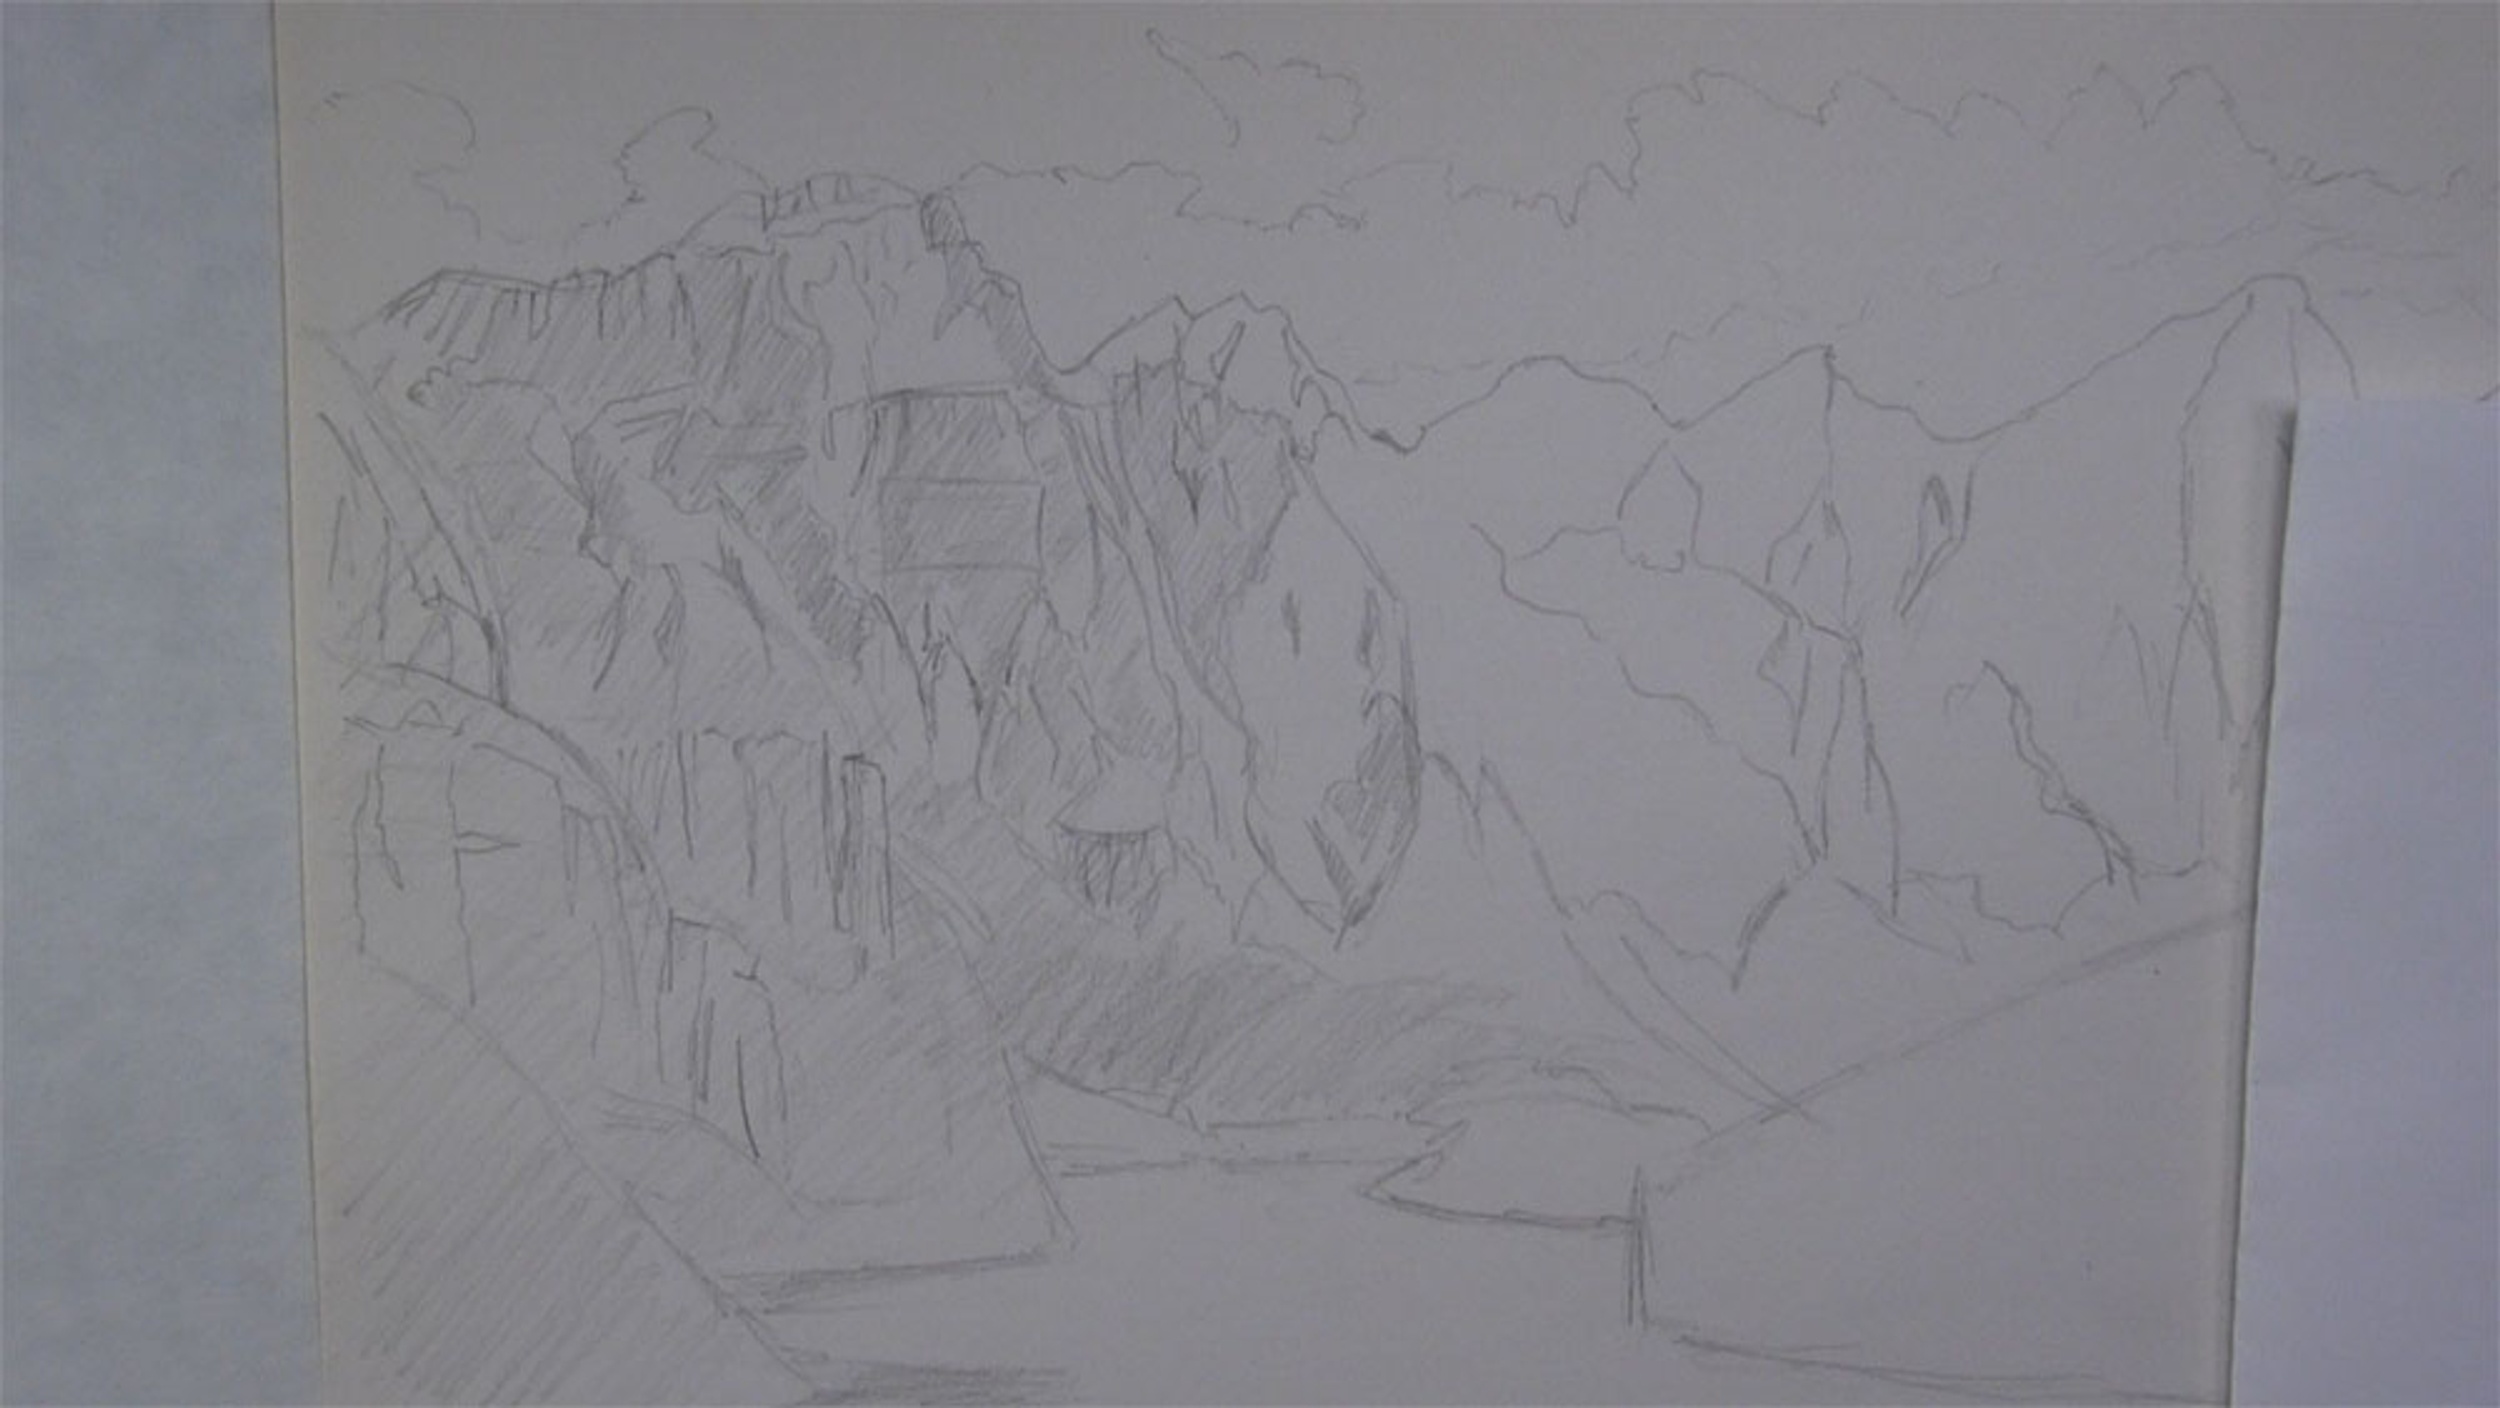
Draw the Basic Shapes of the Mountain Landscape
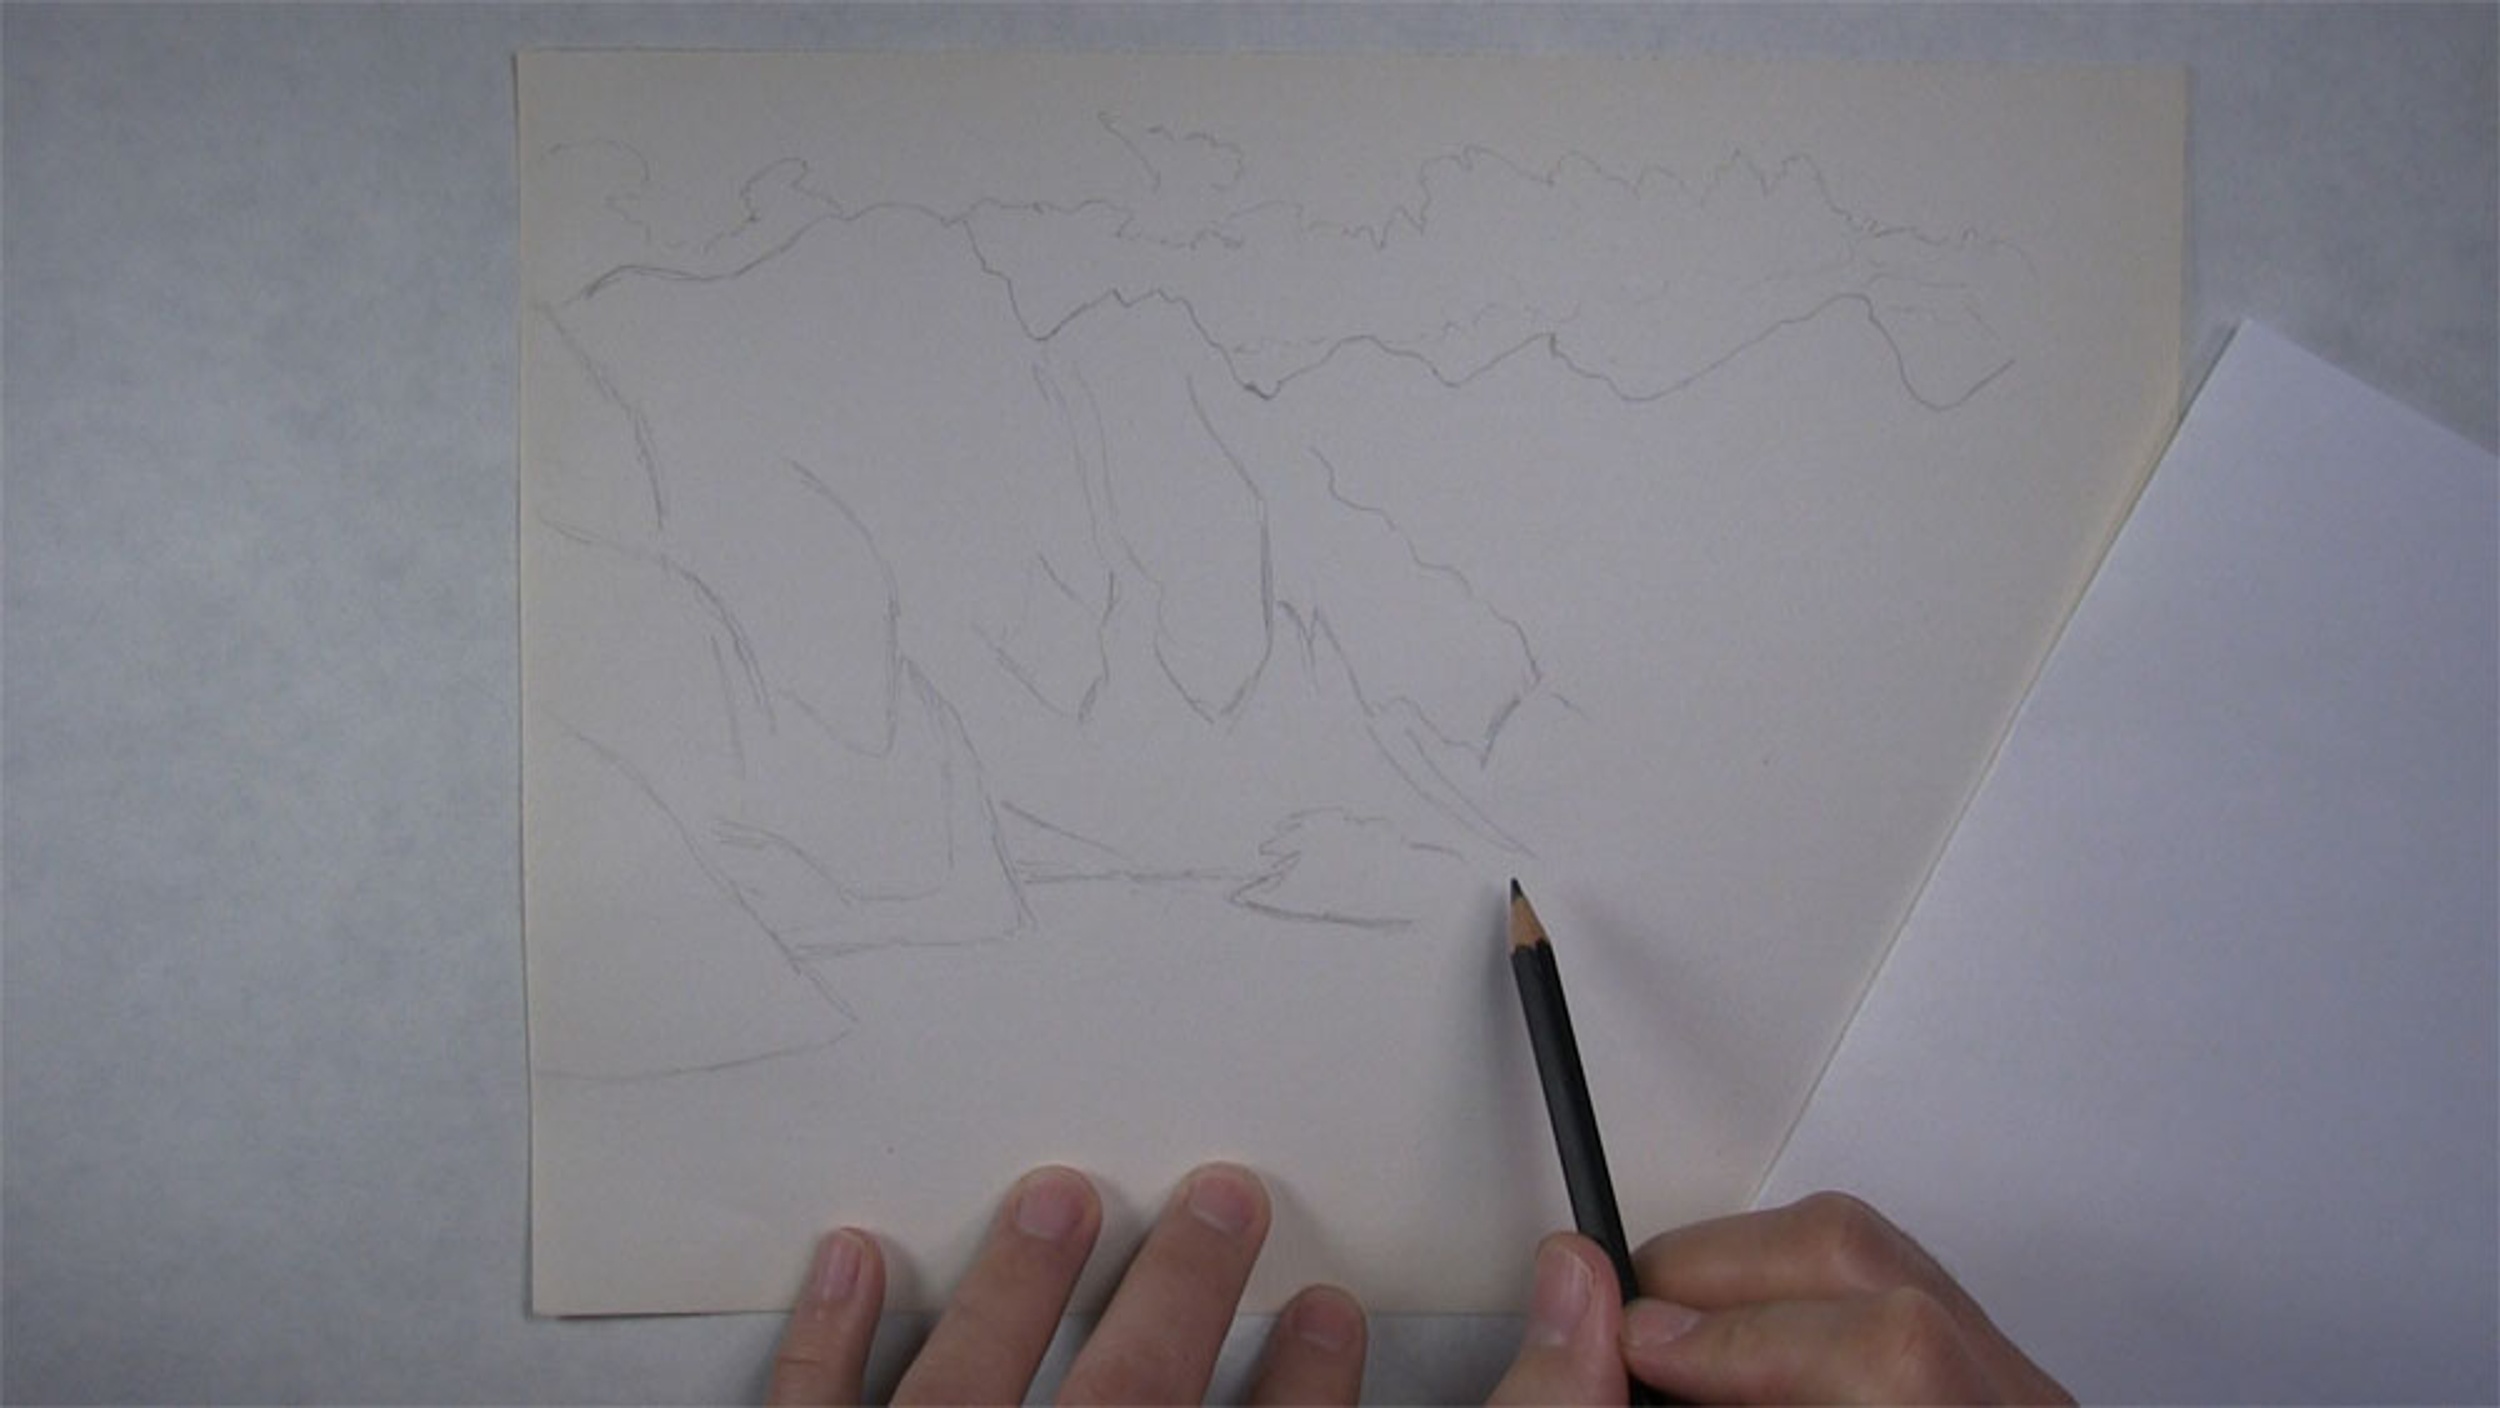
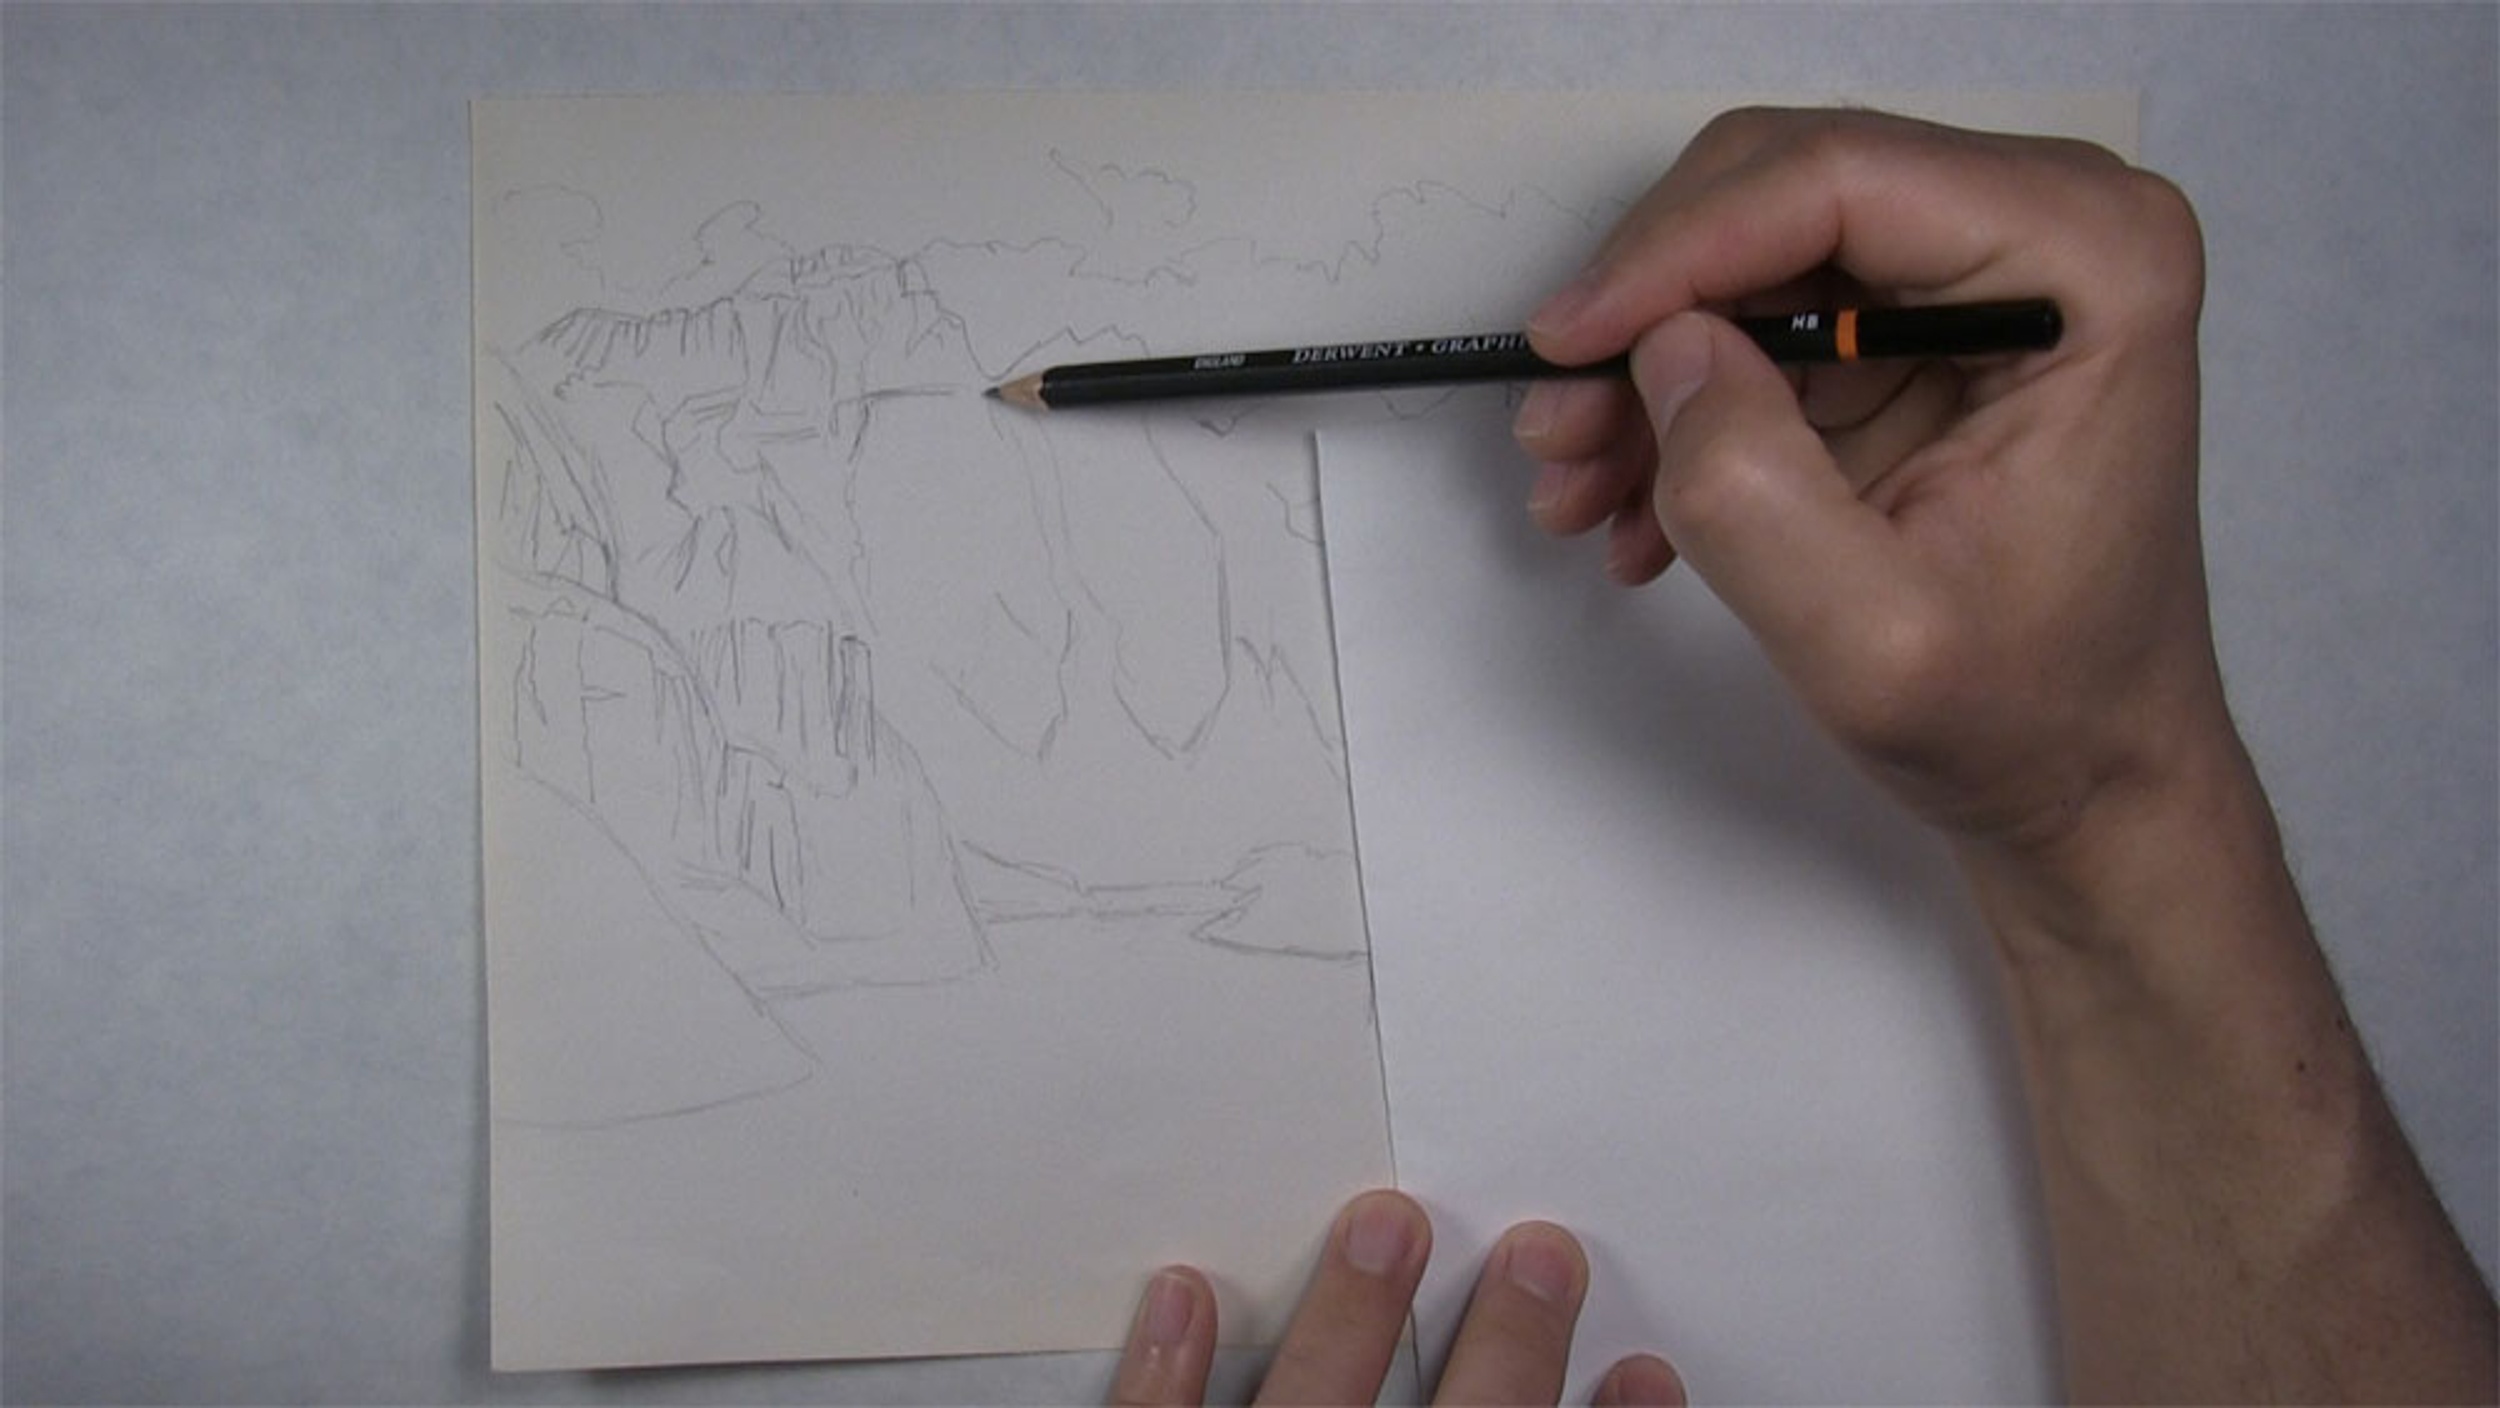
As with drawing any landscape, it is important to draw some basic shapes to set up the lay of the land. Start with a light outline to establish the presence of the mountains, trees, and lake.
Begin with the mountain on our left side. This is the mountain I was talking about earlier, the one that does not have a visible peak. Here, I am sketching two steep formations along the shore of the lake. We will sketch some trees along the very bottom a little later.
Sketch more of the lake’s shoreline. Sketch a long, narrow path of snow to separate the left peak from the shorter peak next to it. Then sketch the slope of these two peaks all the way down to near the base. There is also a large area of smooth rock separating the trees from the bumpier, much rockier parts of the mountain. At first glance of the reference photo, this area almost looks like sand.
On the right side of our picture, there will be some tall evergreen trees along the lake. For now, we will just sketch the basic shape of this collective group of trees. From the perspective of the viewer, the trees will appear to be shorter in the center and get taller as they approach the right edge of the paper. This is because the center trees are farther away than the ones on the edge.

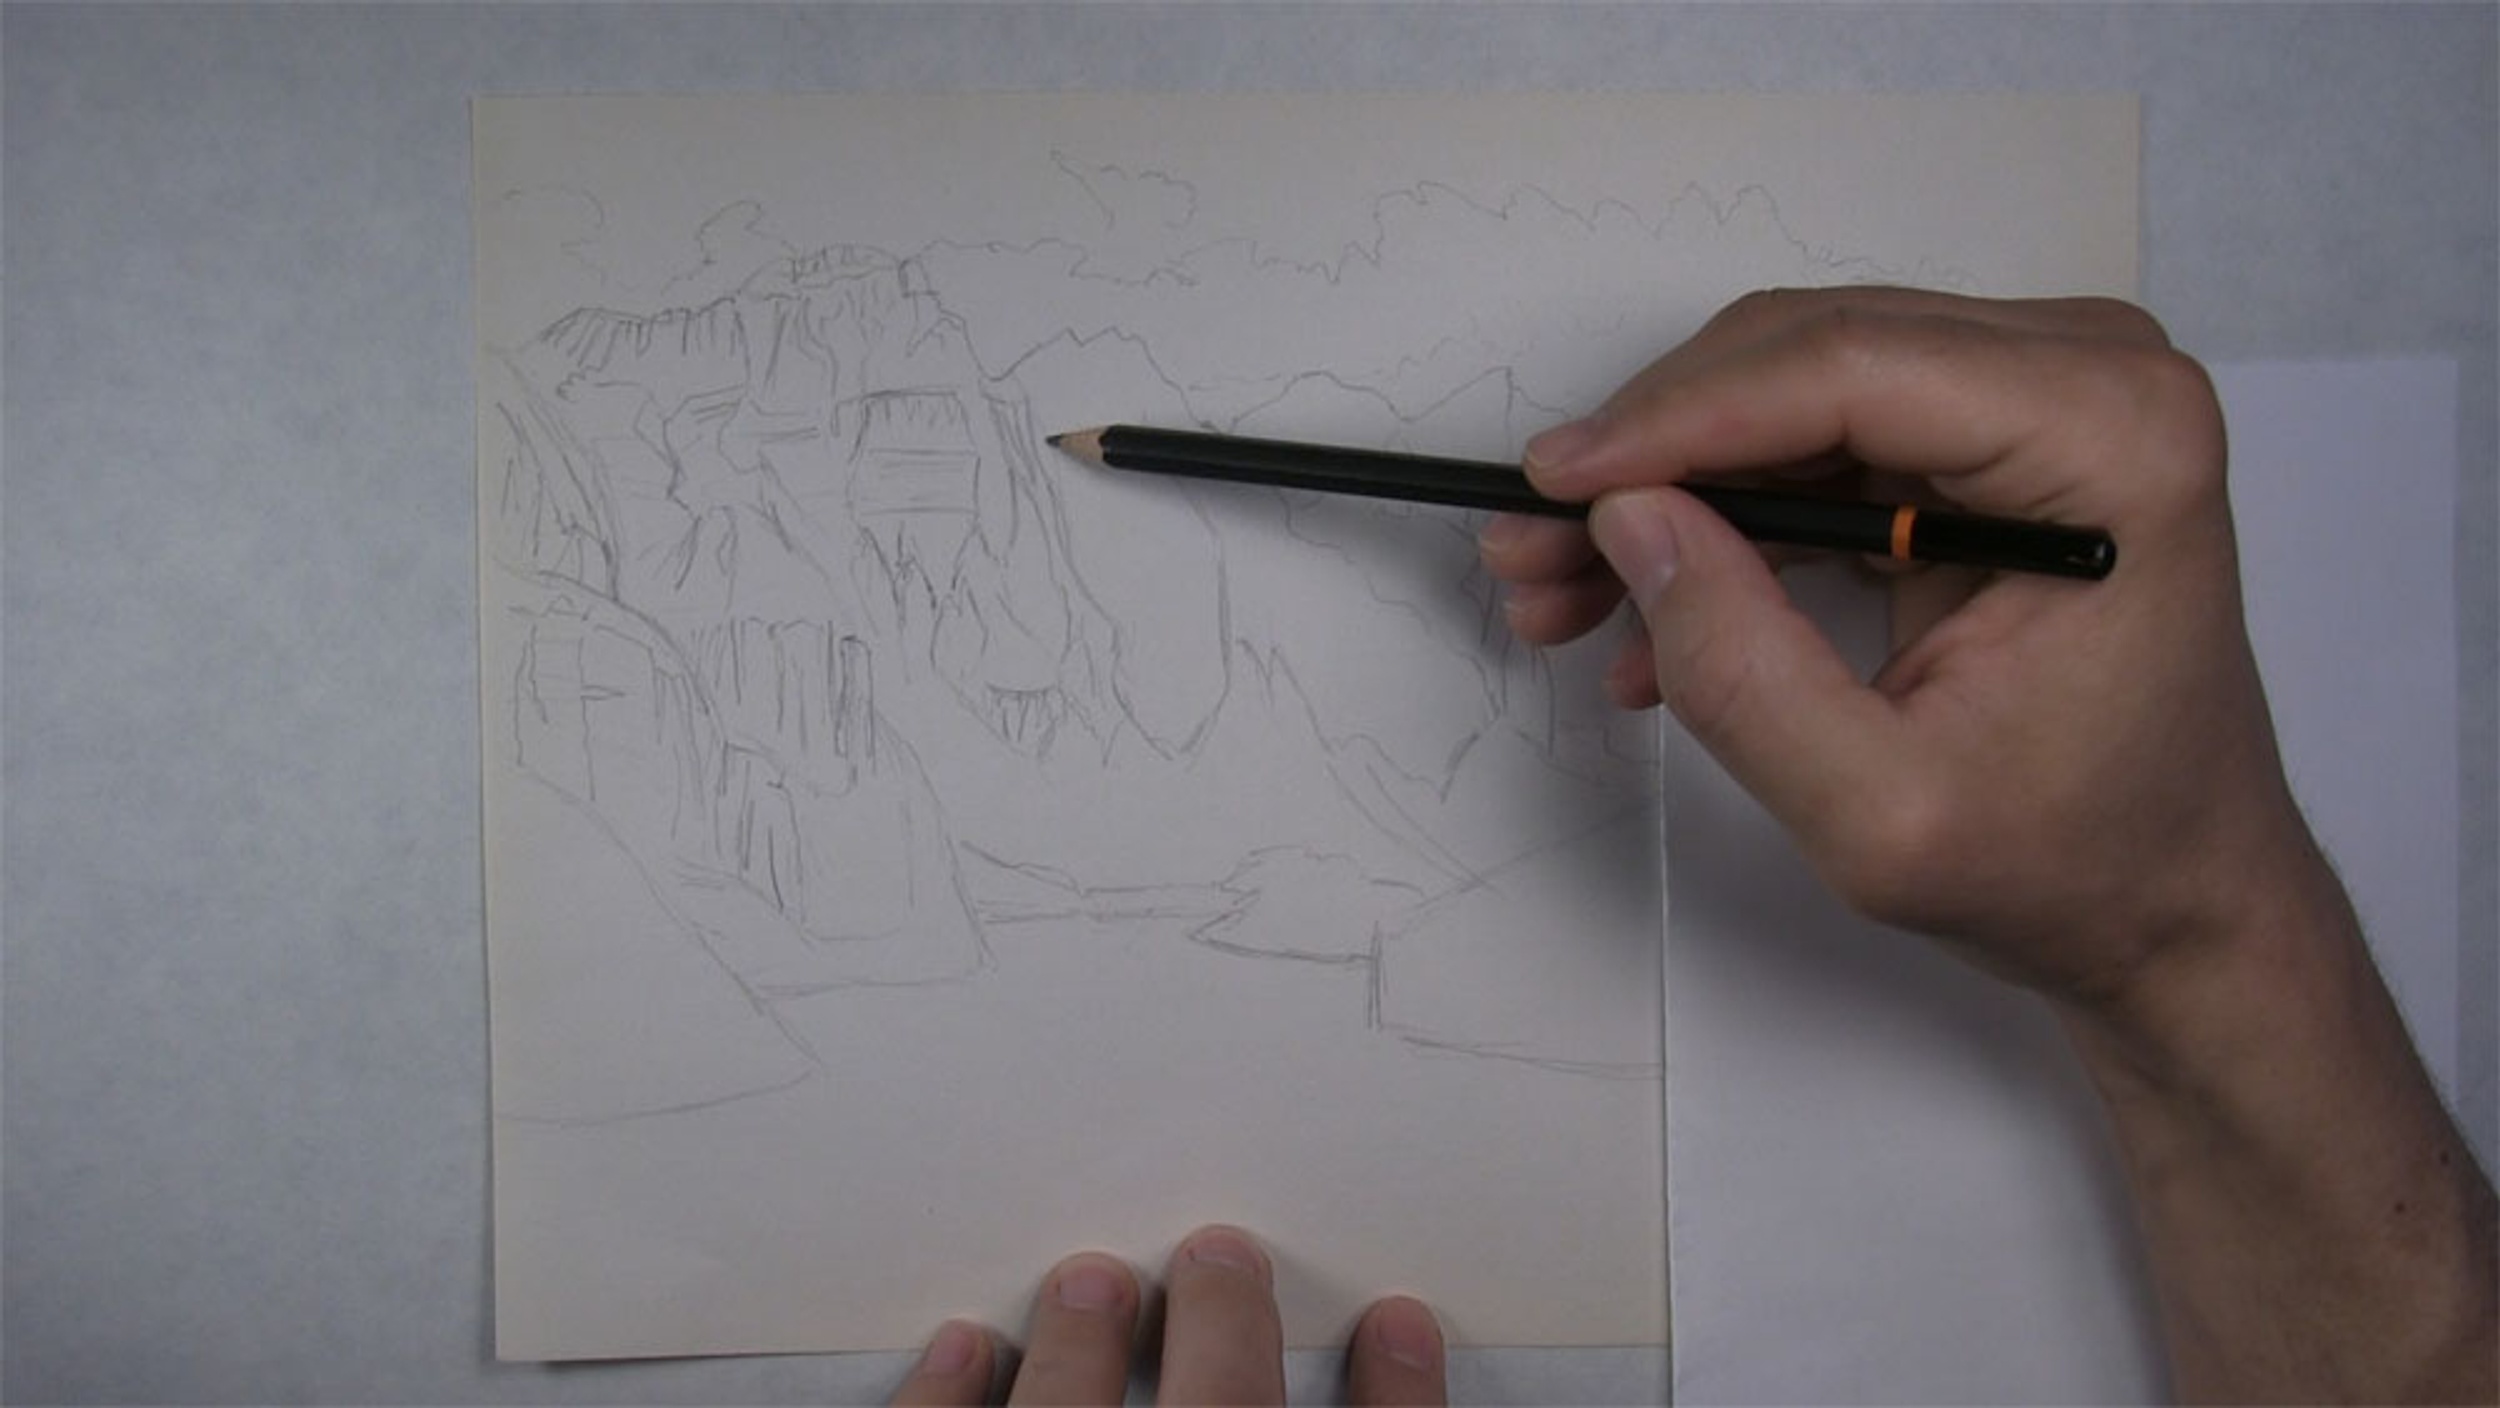
Next, let’s continue to add the basic shapes of the slopes and jagged surfaces belonging to these other middle peaks. A great way to do this is to look for similarities to common two-dimensional shapes. Here, I can see some almost pentagon or warped triangle-type shapes.
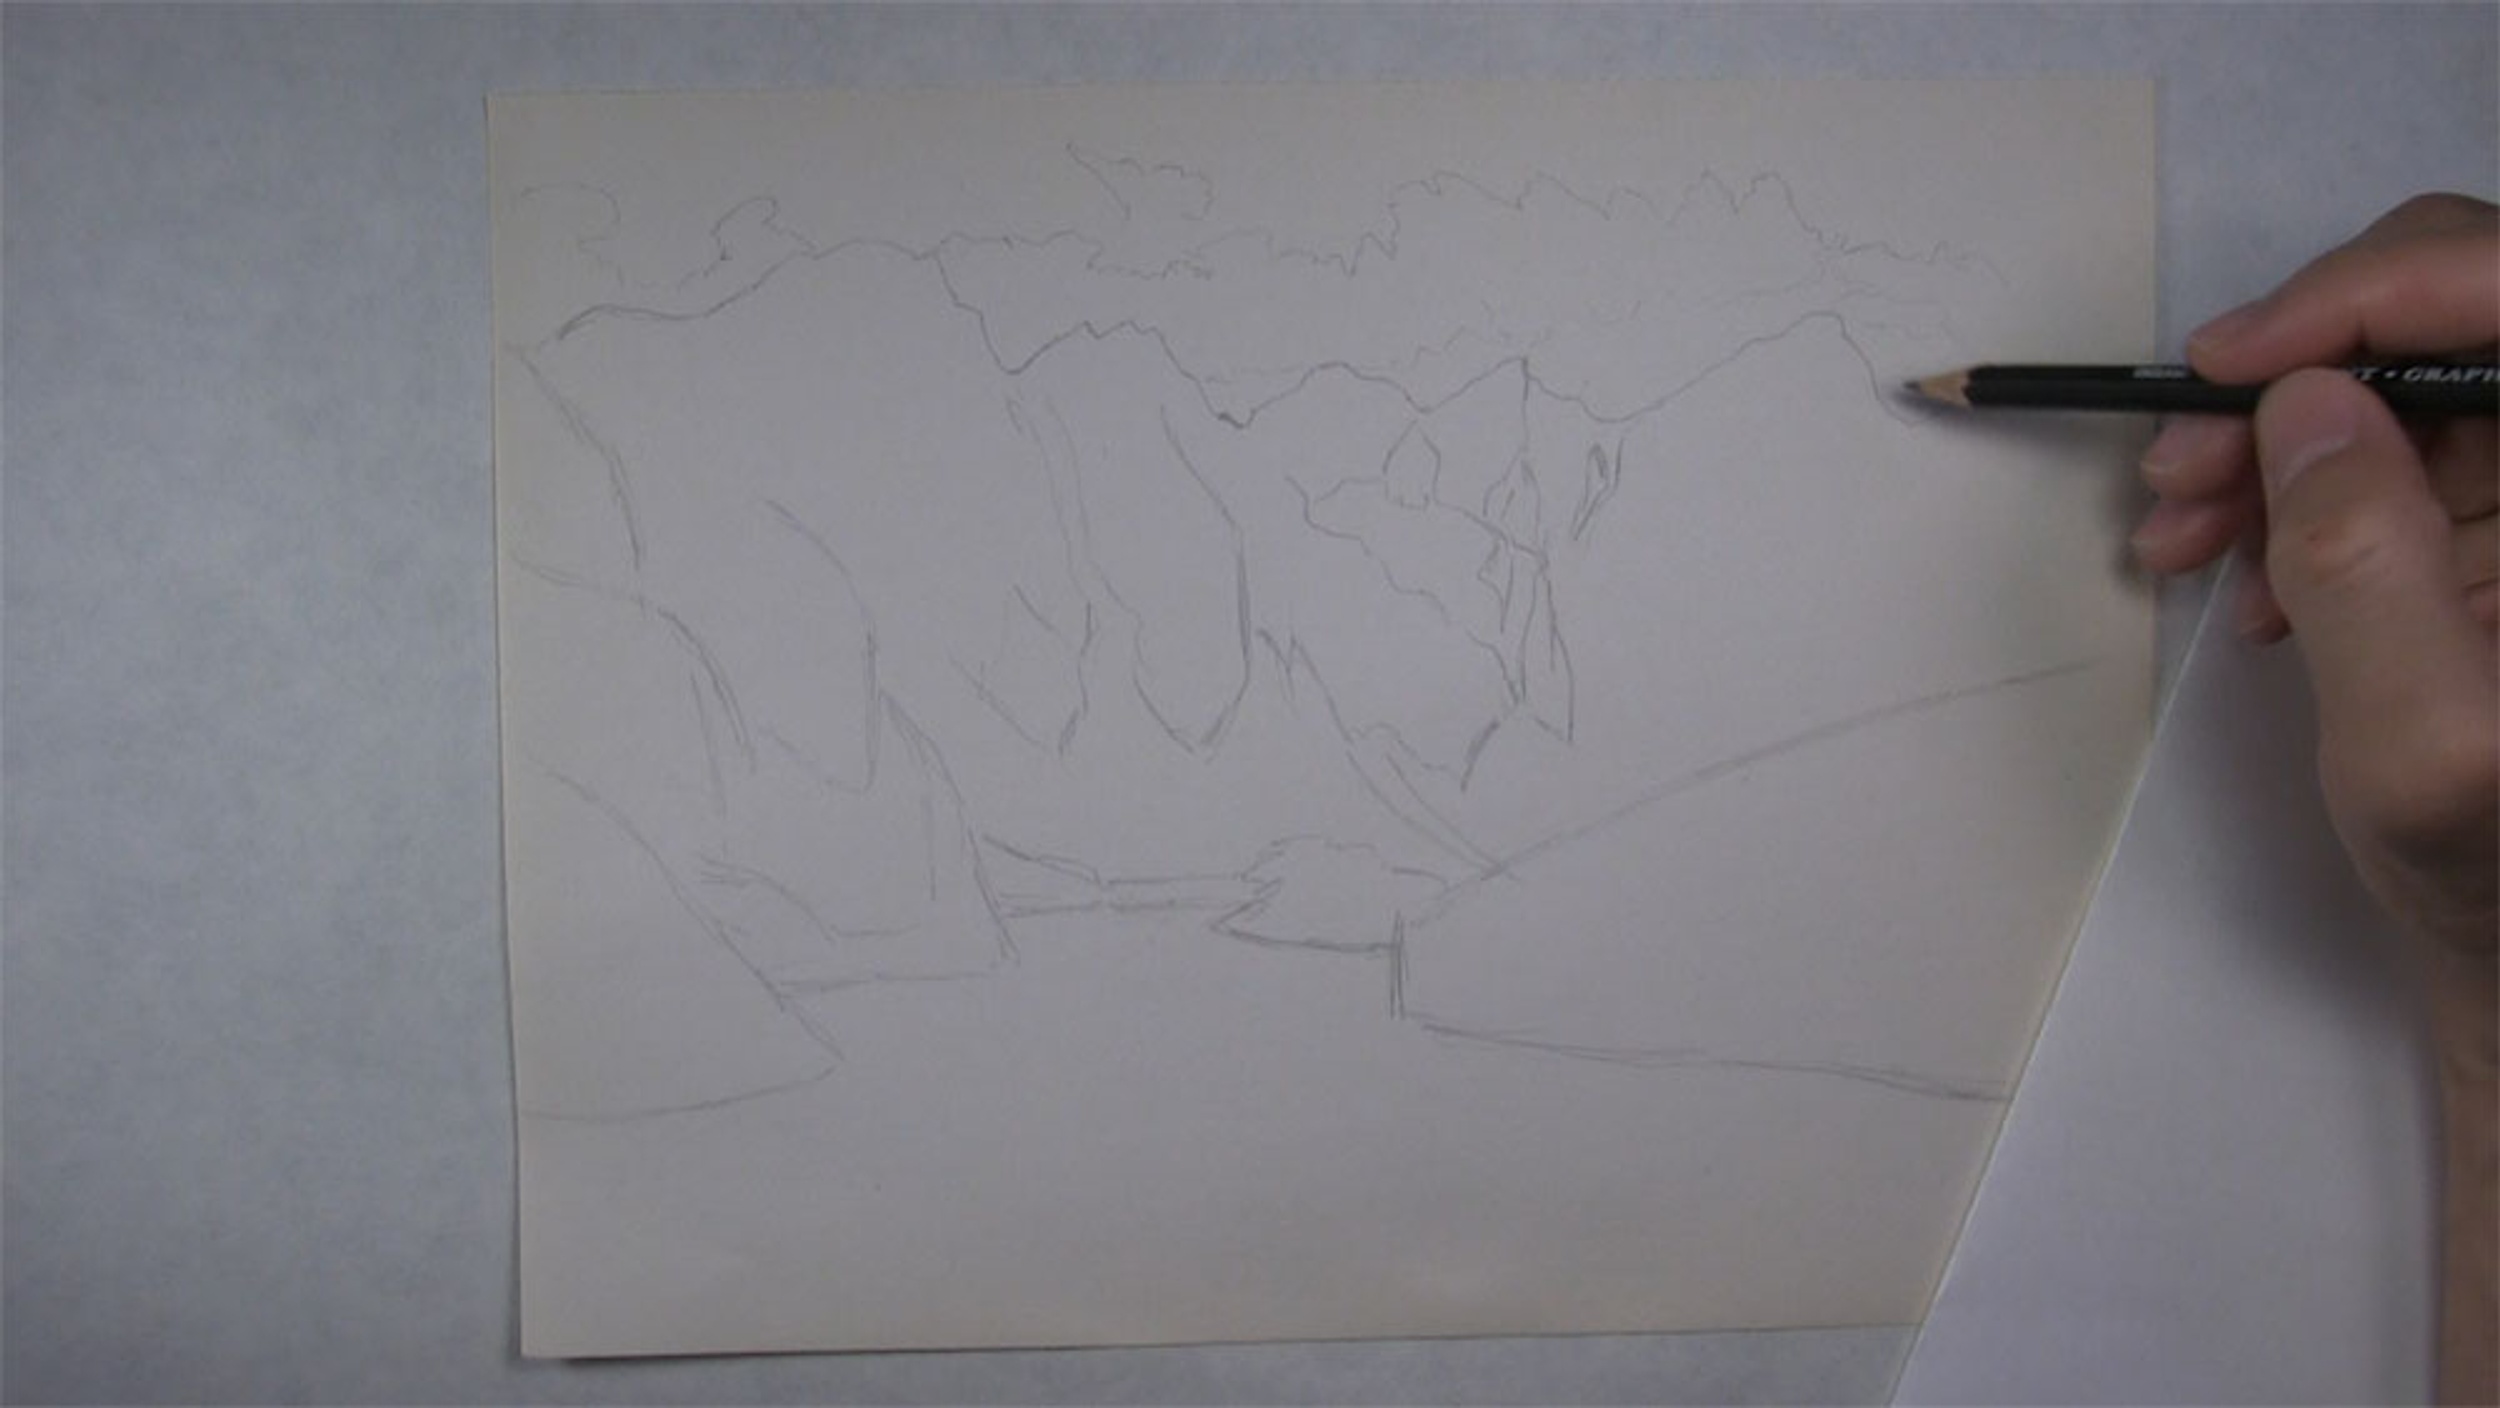
Now, draw the mountains on the right side. Begin by making a line sloping down from the peak. We’re also going to make this peak here on the edge taller too. Sketch a few more wiggly up-and-down lines, and then we have the basic shapes of our mountain landscape complete.
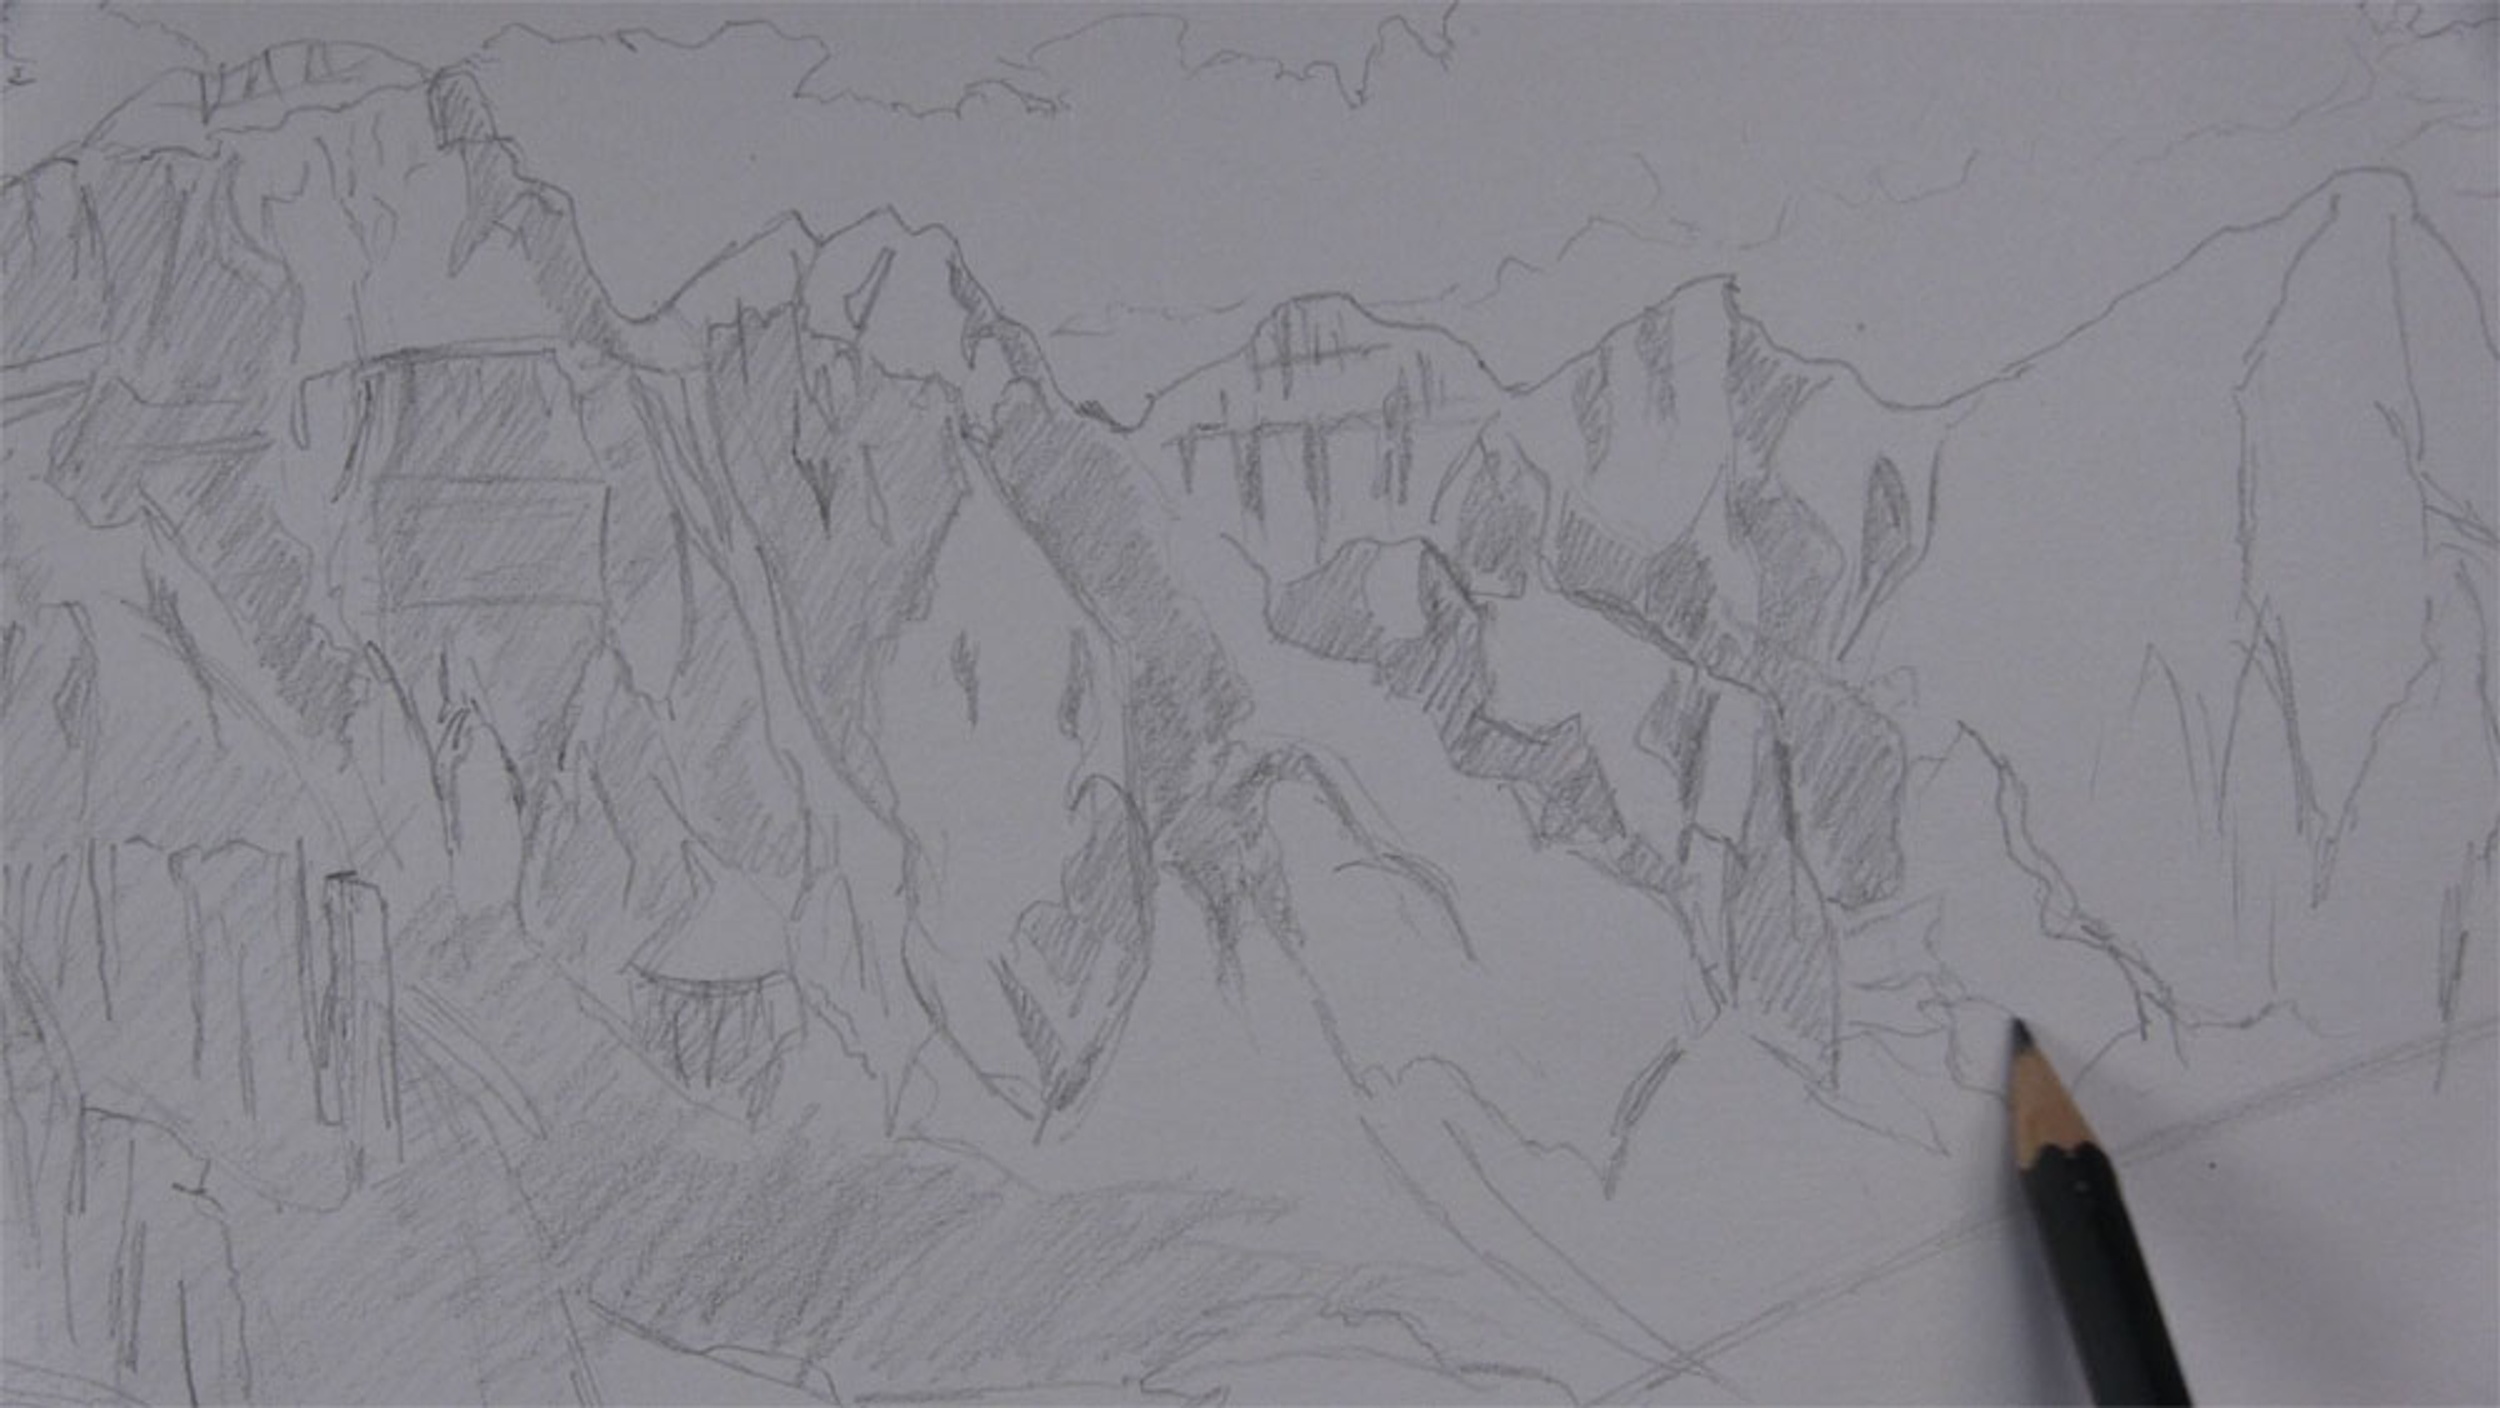
Begin Drawing Extra Mountain Details
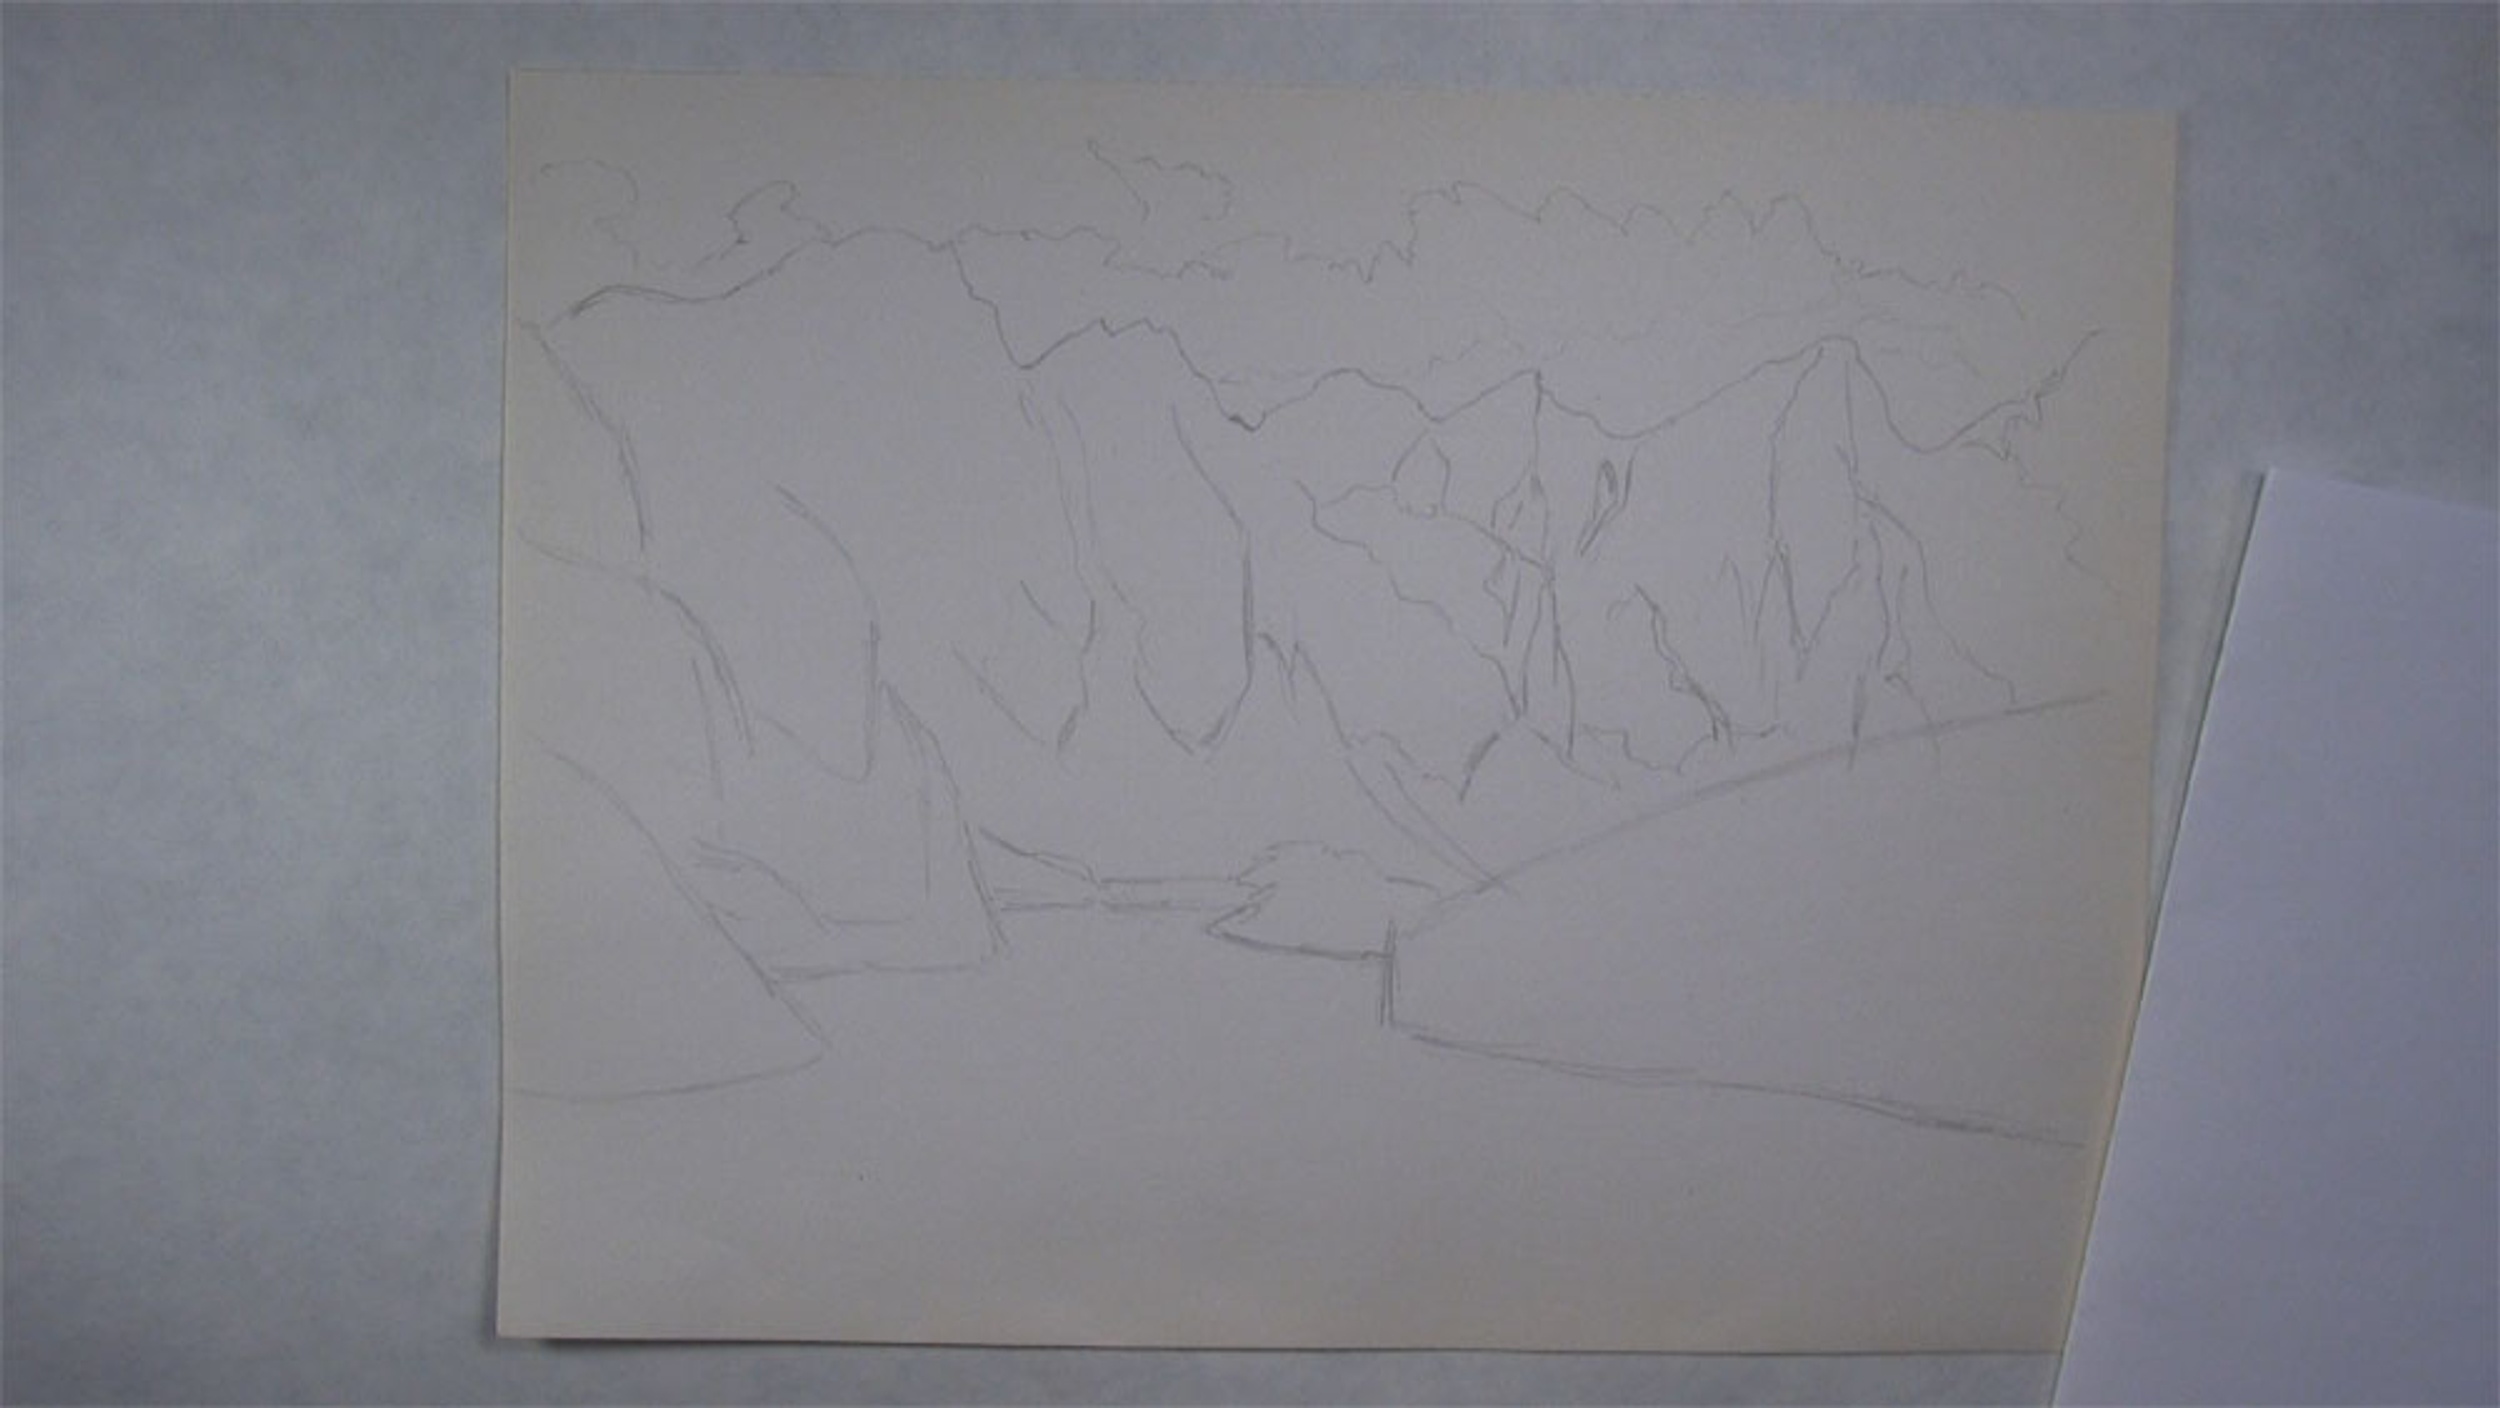
We are still going to be working on the outline portion of our mountain drawing, but now we’re going to add some extra details. If you are not ready to add as much detail as you see me do here, you can leave some of this detail out and end up with a more suggestive type of a drawing, but I’m sure it will still look nice.
Let’s begin by sketching some lines to give this left side a more rock-like texture.
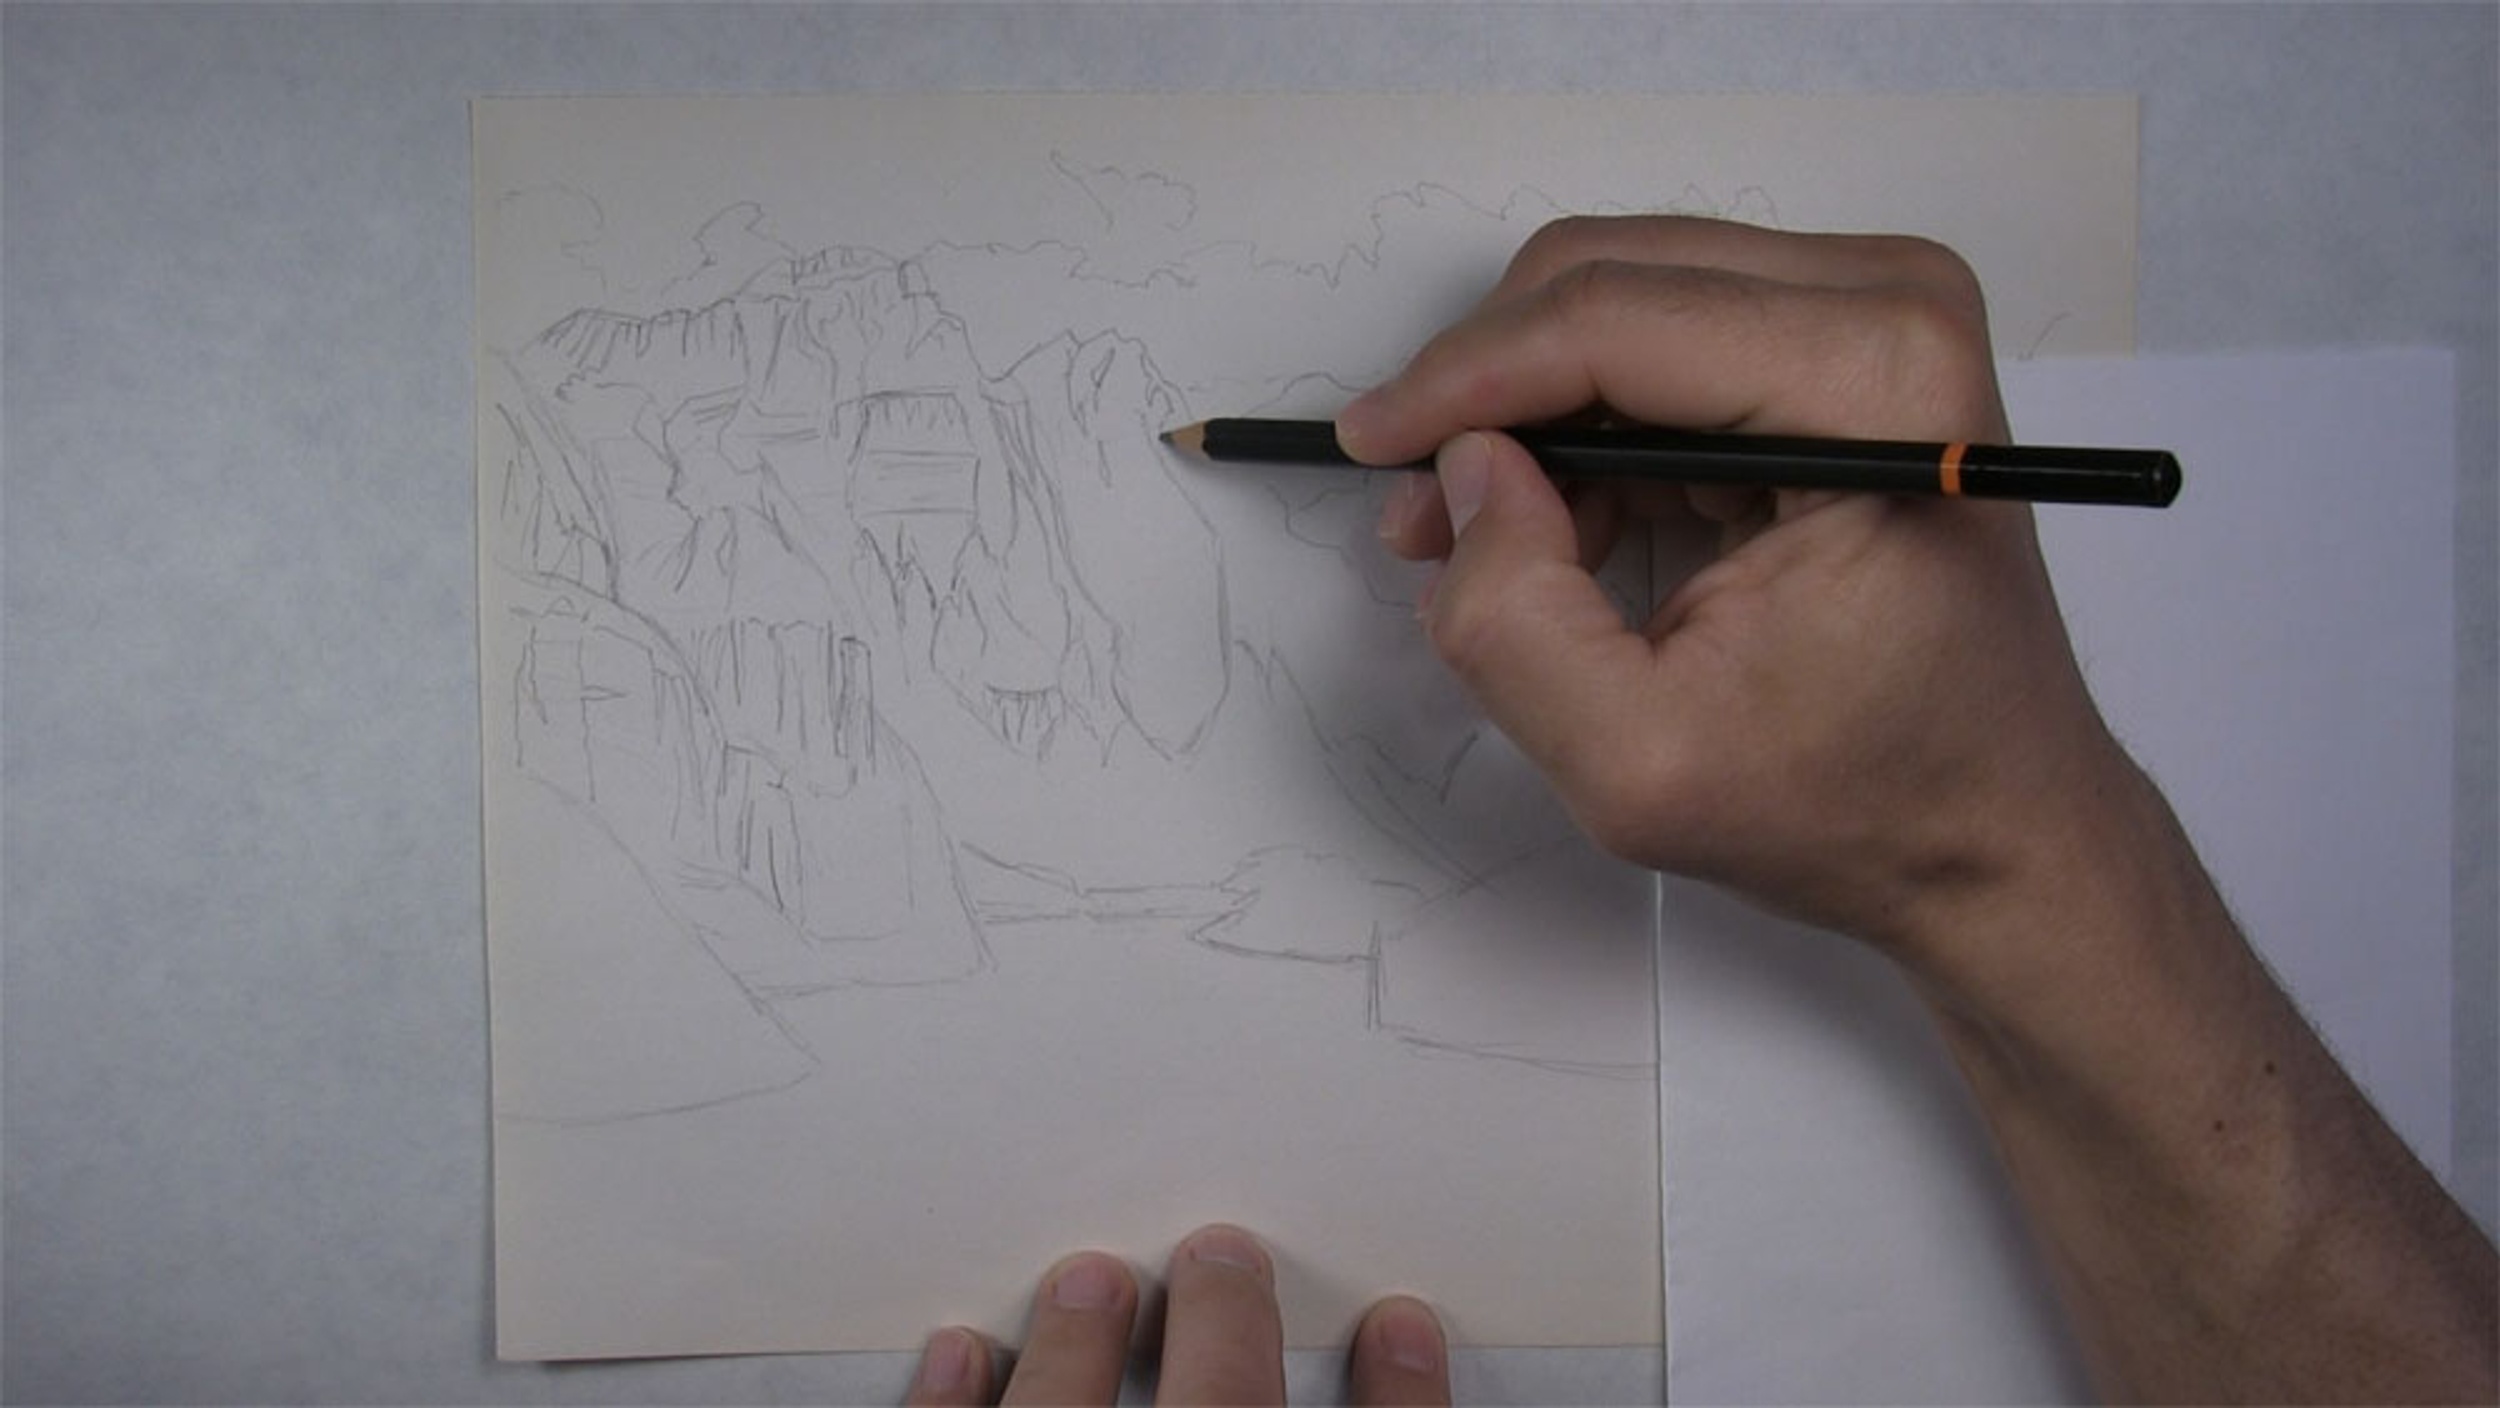
Continue to work your way up the left peak in a similar manner. At the summit, sketch several short vertical lines. Leave a little area here open for some snow. Although this is not going to be a very snowy mountain scene, there are small traces of snow in spots that hasn’t yet melted.
Continue to sketch the rocky surfaces of this left mountain. Make a few short, horizontal lines close together for a shelf here and there. Also, like I said before, look for easily-recognizable basic shapes. You might see some rectangle shapes or more triangle shapes. Sketch up to the left edge of the snowy slope.
Keep at it with the next peak. I like to sketch these jagged edges along the slope near the very top, as well as other parts of the mountain. It does a lot to create a rugged, rocky appearance that is so necessary for the way I draw mountains such as these.
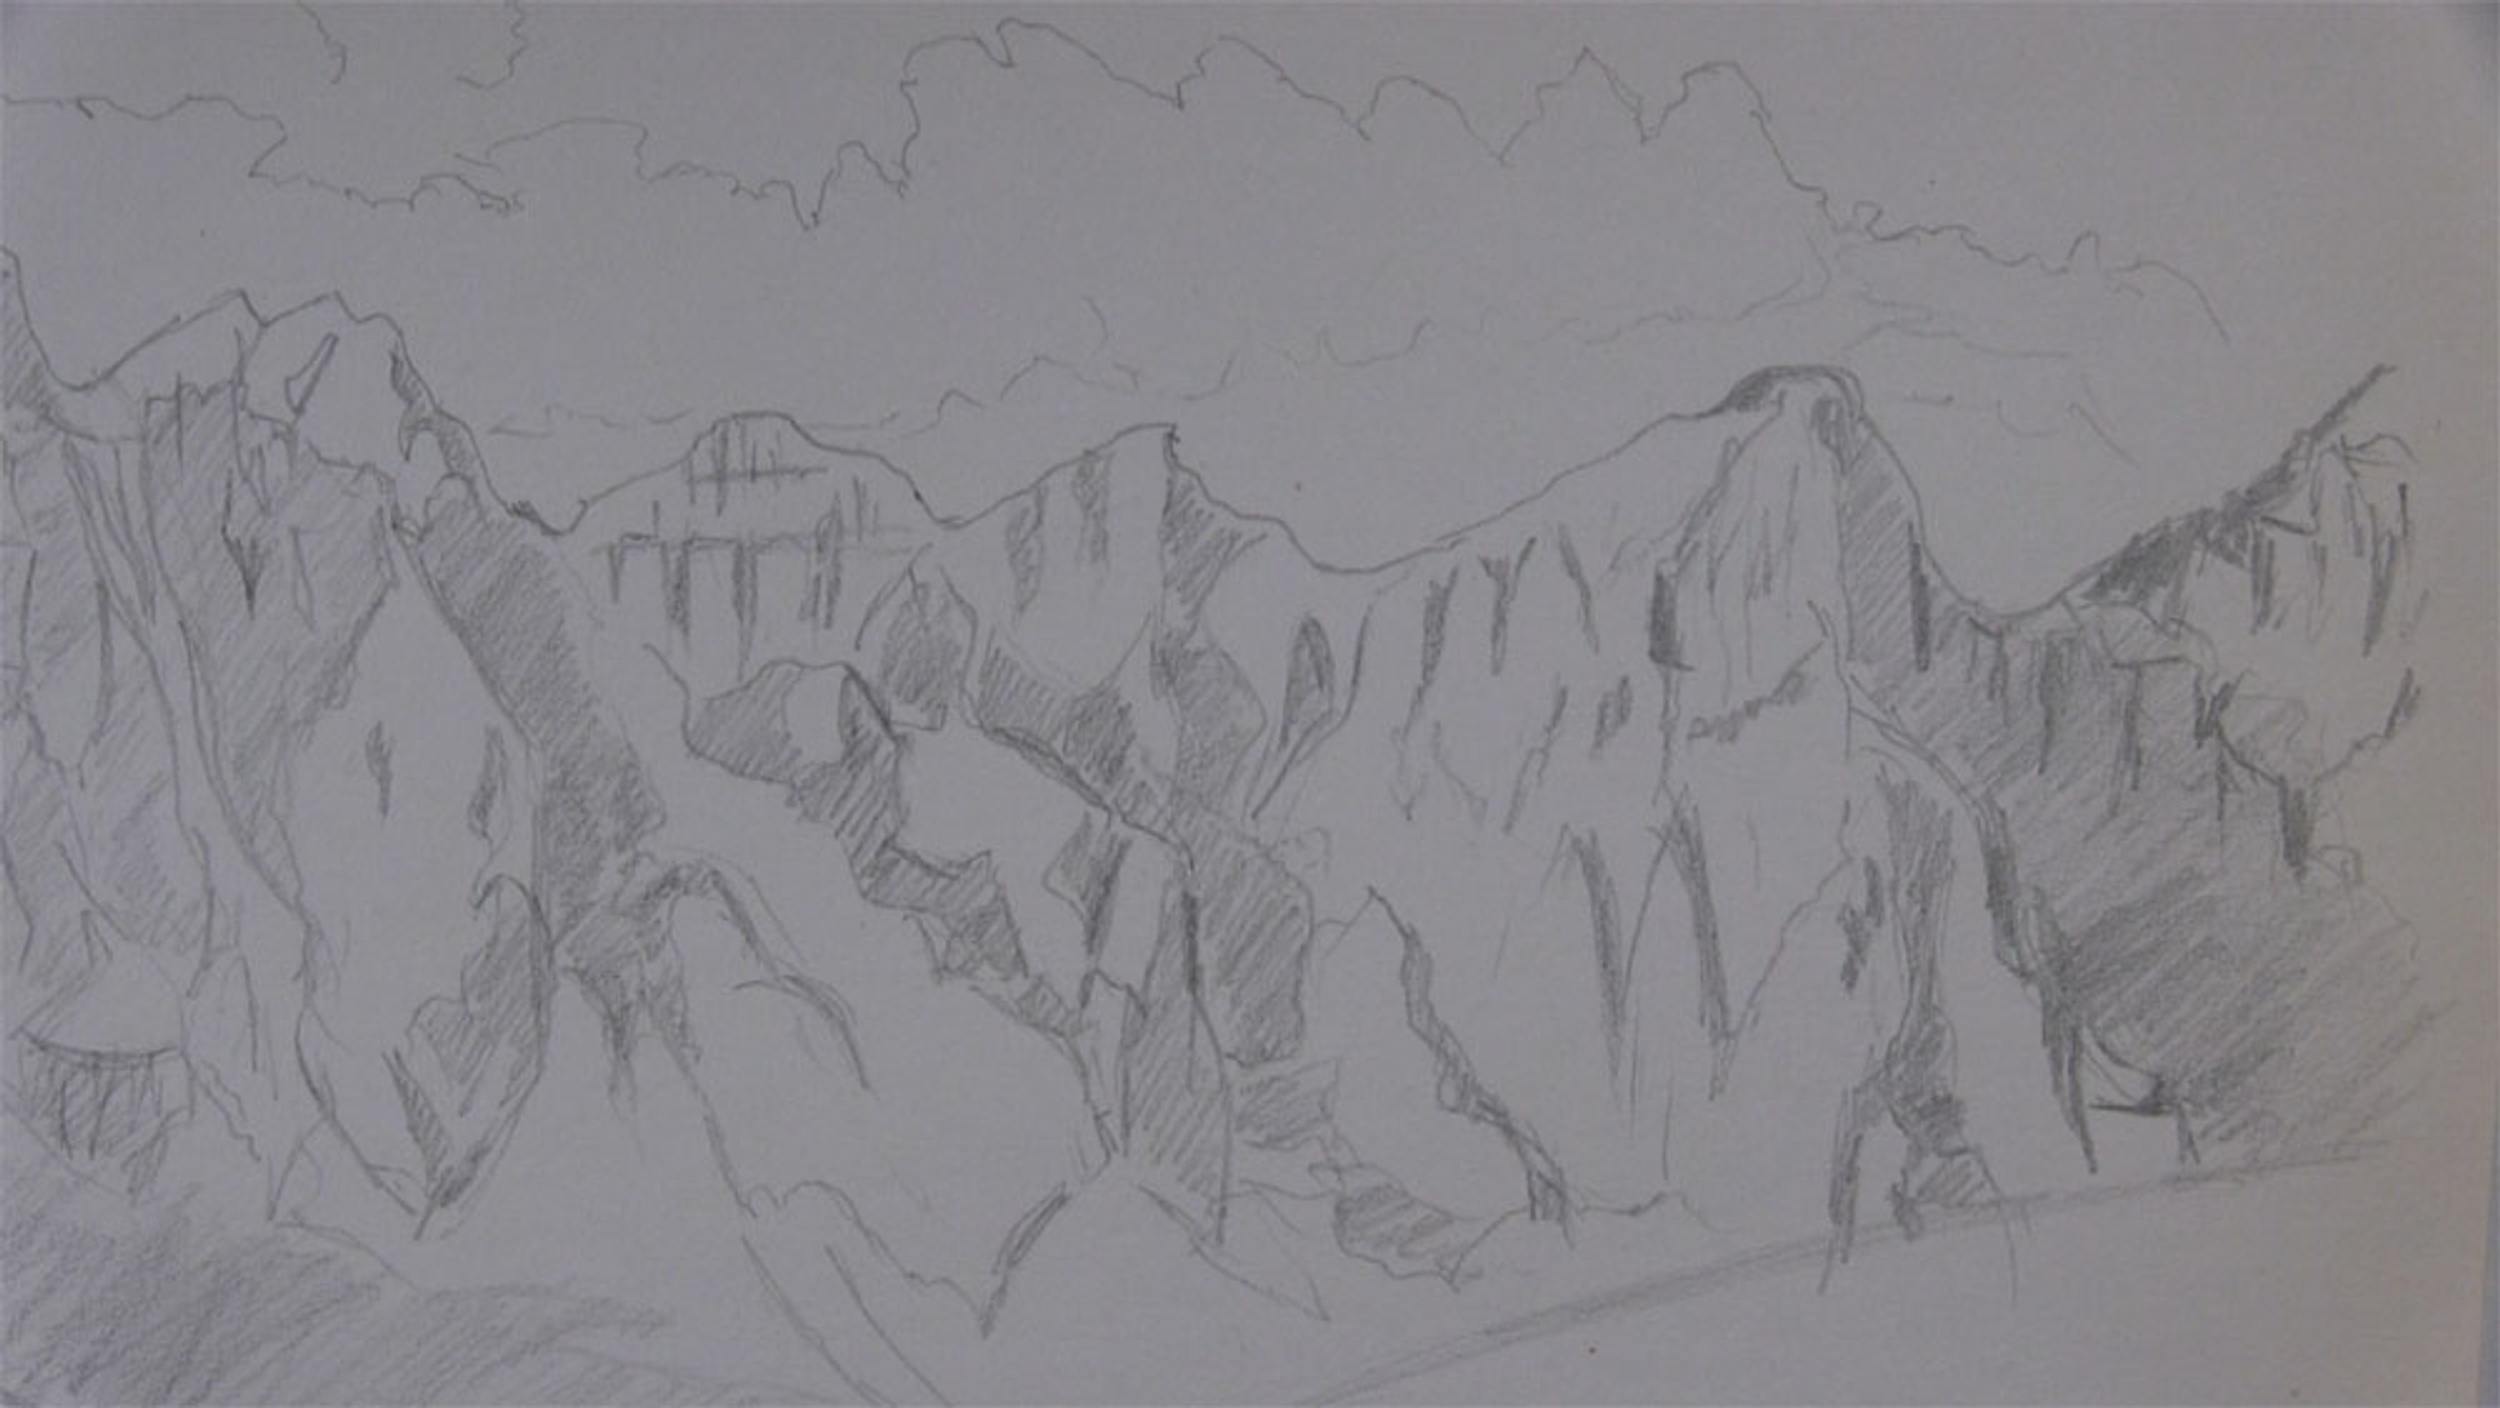
How to Draw the Mountains with Preliminary Shading
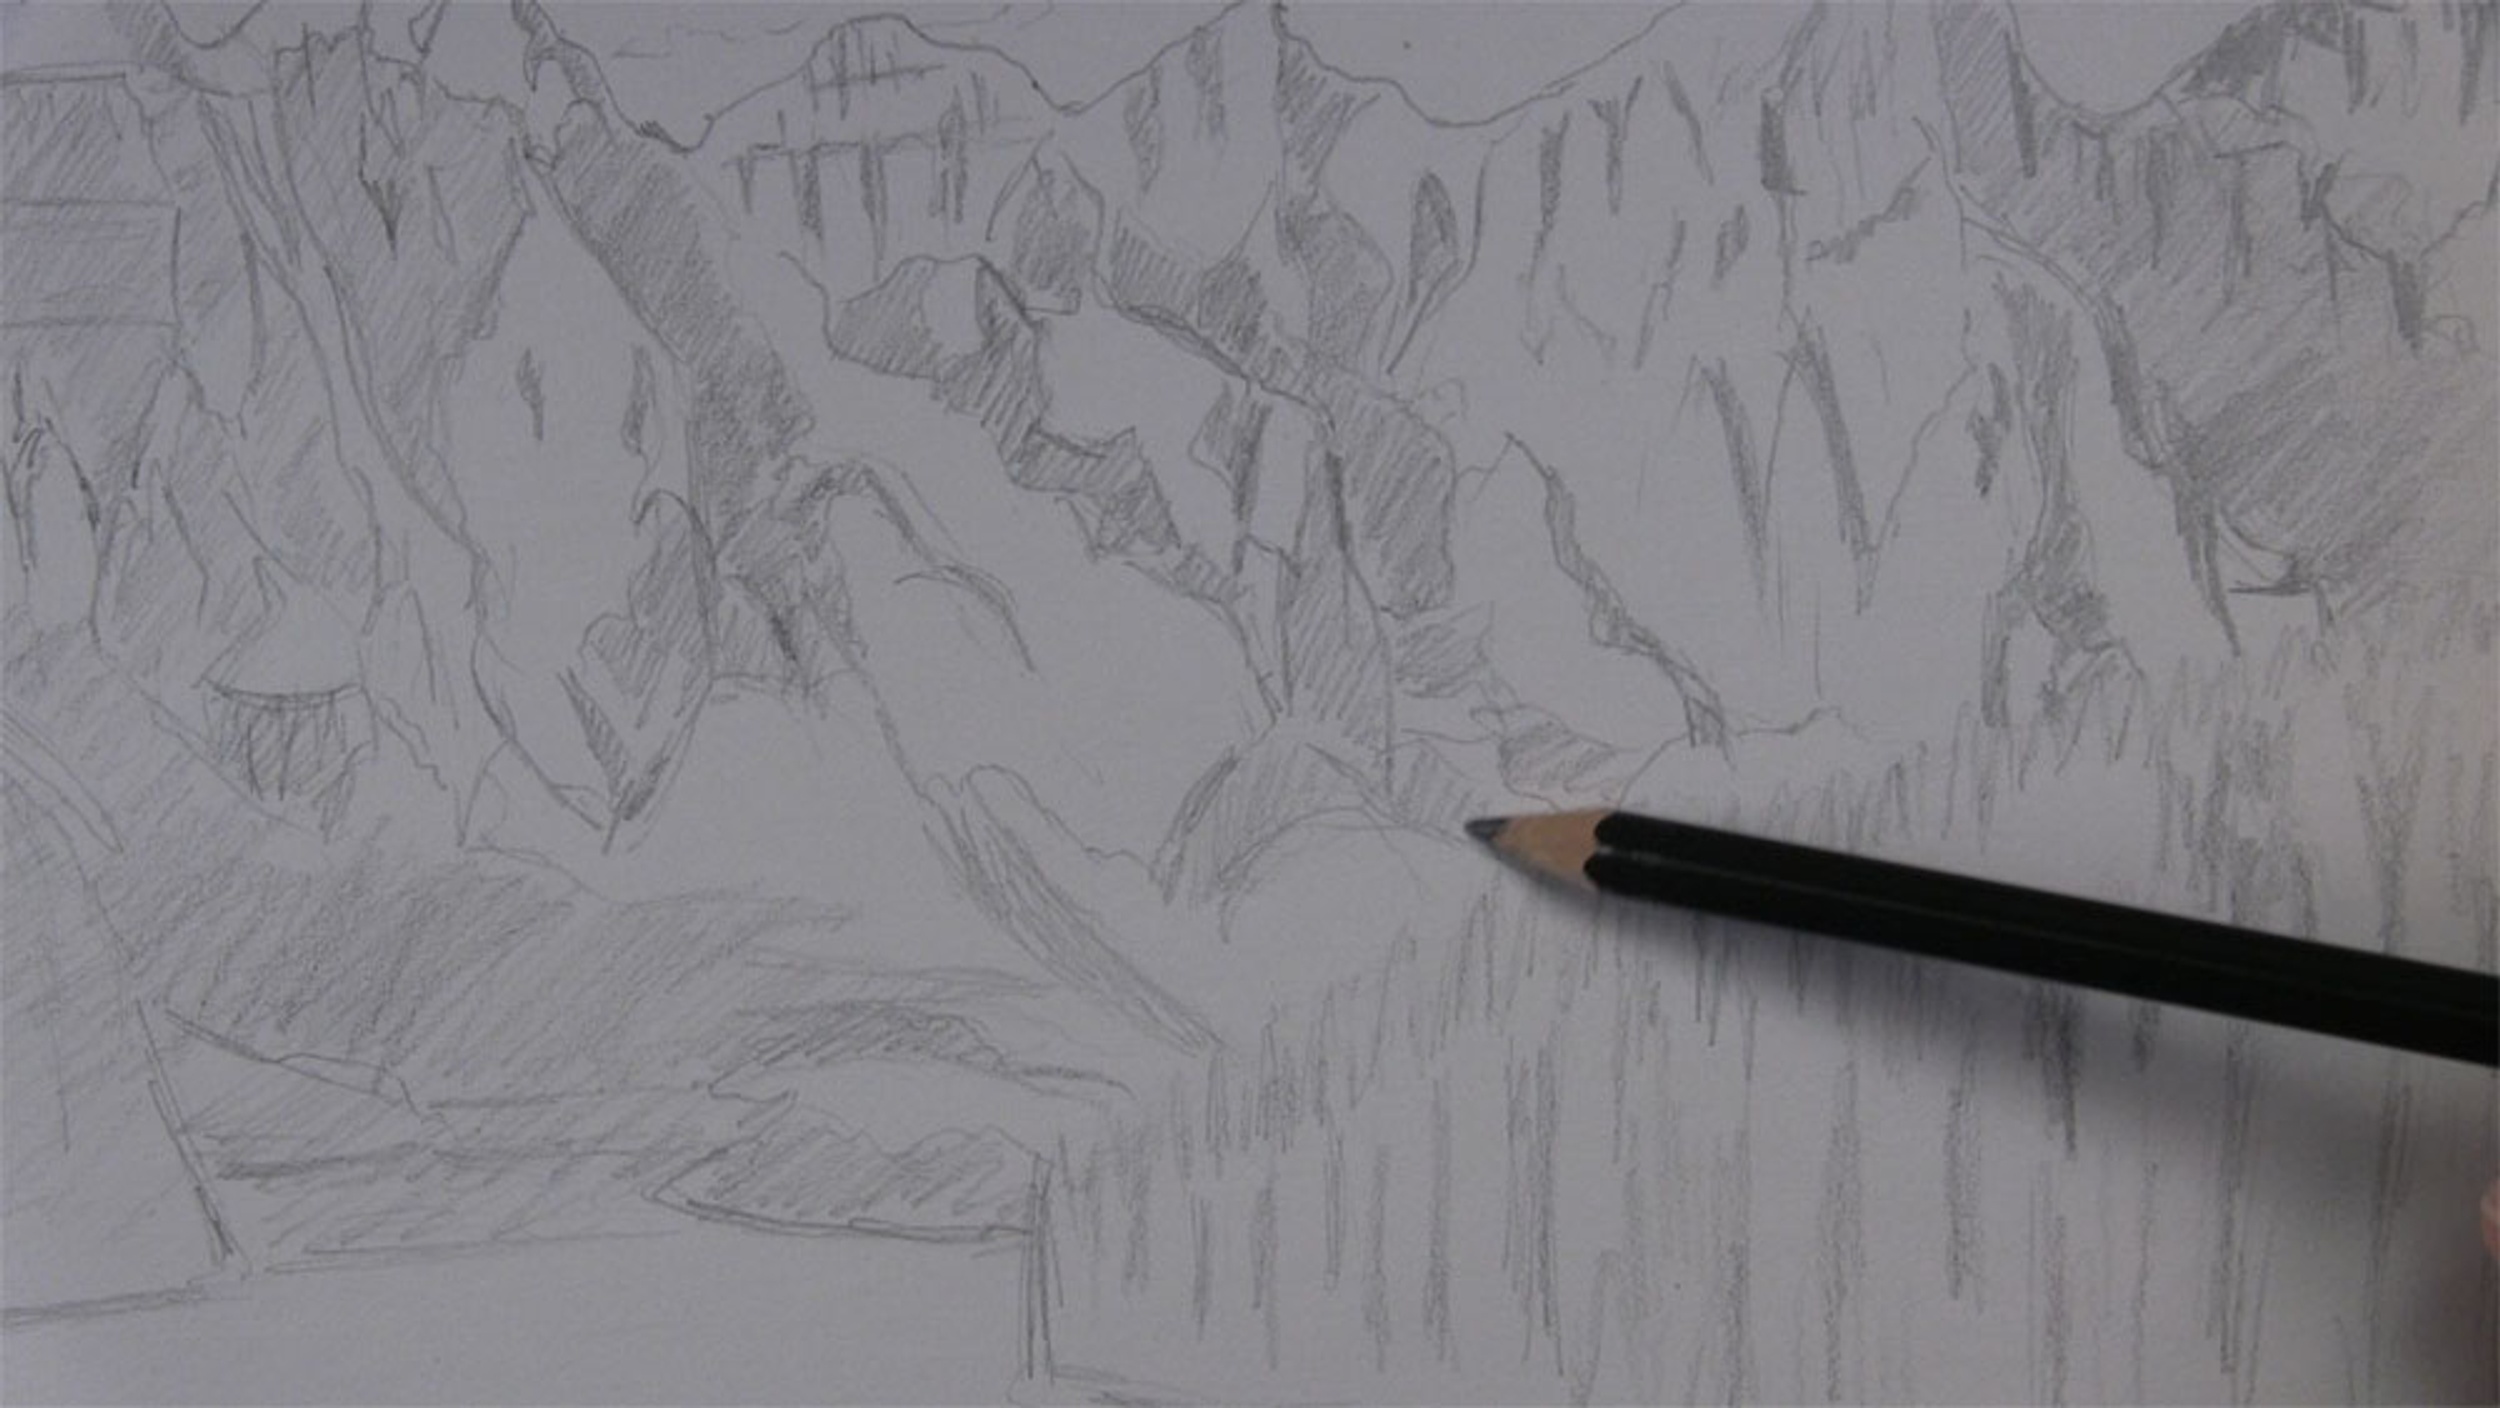
Okay, before I get ahead of myself here, I think it’s important for us to establish the placement of some shadows, even though I still consider this the line portion of the drawing. Sunlight will be coming from the upper left corner, so that means shadows will be to the right of our peaks and any other tall rocky formations. Here, we need to sketch a shadow that the left peak is casting onto this peak.
You can also look for edges in rock formations and shade the surface that is farthest away from the sunlight. As I go back to shade this left mountain, I don’t want to shade the entire right side. Rather, I want to be selective and shade portions of individual rock formations that make up the mountain. This is because a mountain is not made of flat surfaces. It has many rocky parts that stick out beyond other parts and are in the sunlight. On the other hand, I do want to put all of this left side in shadow, since it represents the back side of another mountain peak that is not visible on our paper.
Next, continue adding details and shadows to the rest of the mountain. The slope from this peak here really sticks out, so we should have a shadow on the surface next to it. For the parts of the mountains under these next two middle peaks, I am just sketching a combination of extra line details and some shadows.
We’ll do the same thing for the peaks on the right. There is a huge shadow that this peak here is casting onto the surface next to it. Also, I have been keeping the direction of my pencil strokes very basic and consistent as I shade. All of this shading we have been doing up to this point is preliminary shading. It will help us see where our darkest areas need to be when we do heavier shading later on.
How to Draw the Base of the Mountains
Now, let’s do a little more work to the base of the mountains and the trees. There will be a thin section of trees at this area around the base. Let’s put some shading here under where we shaded earlier. All of this shoreline area should be in the shadow of the tall mountain peaks of the left.
Begin sketching some very simple representations of the tops of the evergreen trees under the right peaks. It would be helpful to erase the top guideline from earlier first. Then begin sketching the sides of the trees in front, as well as the tops of some of the front trees that are shorter than the ones in back.
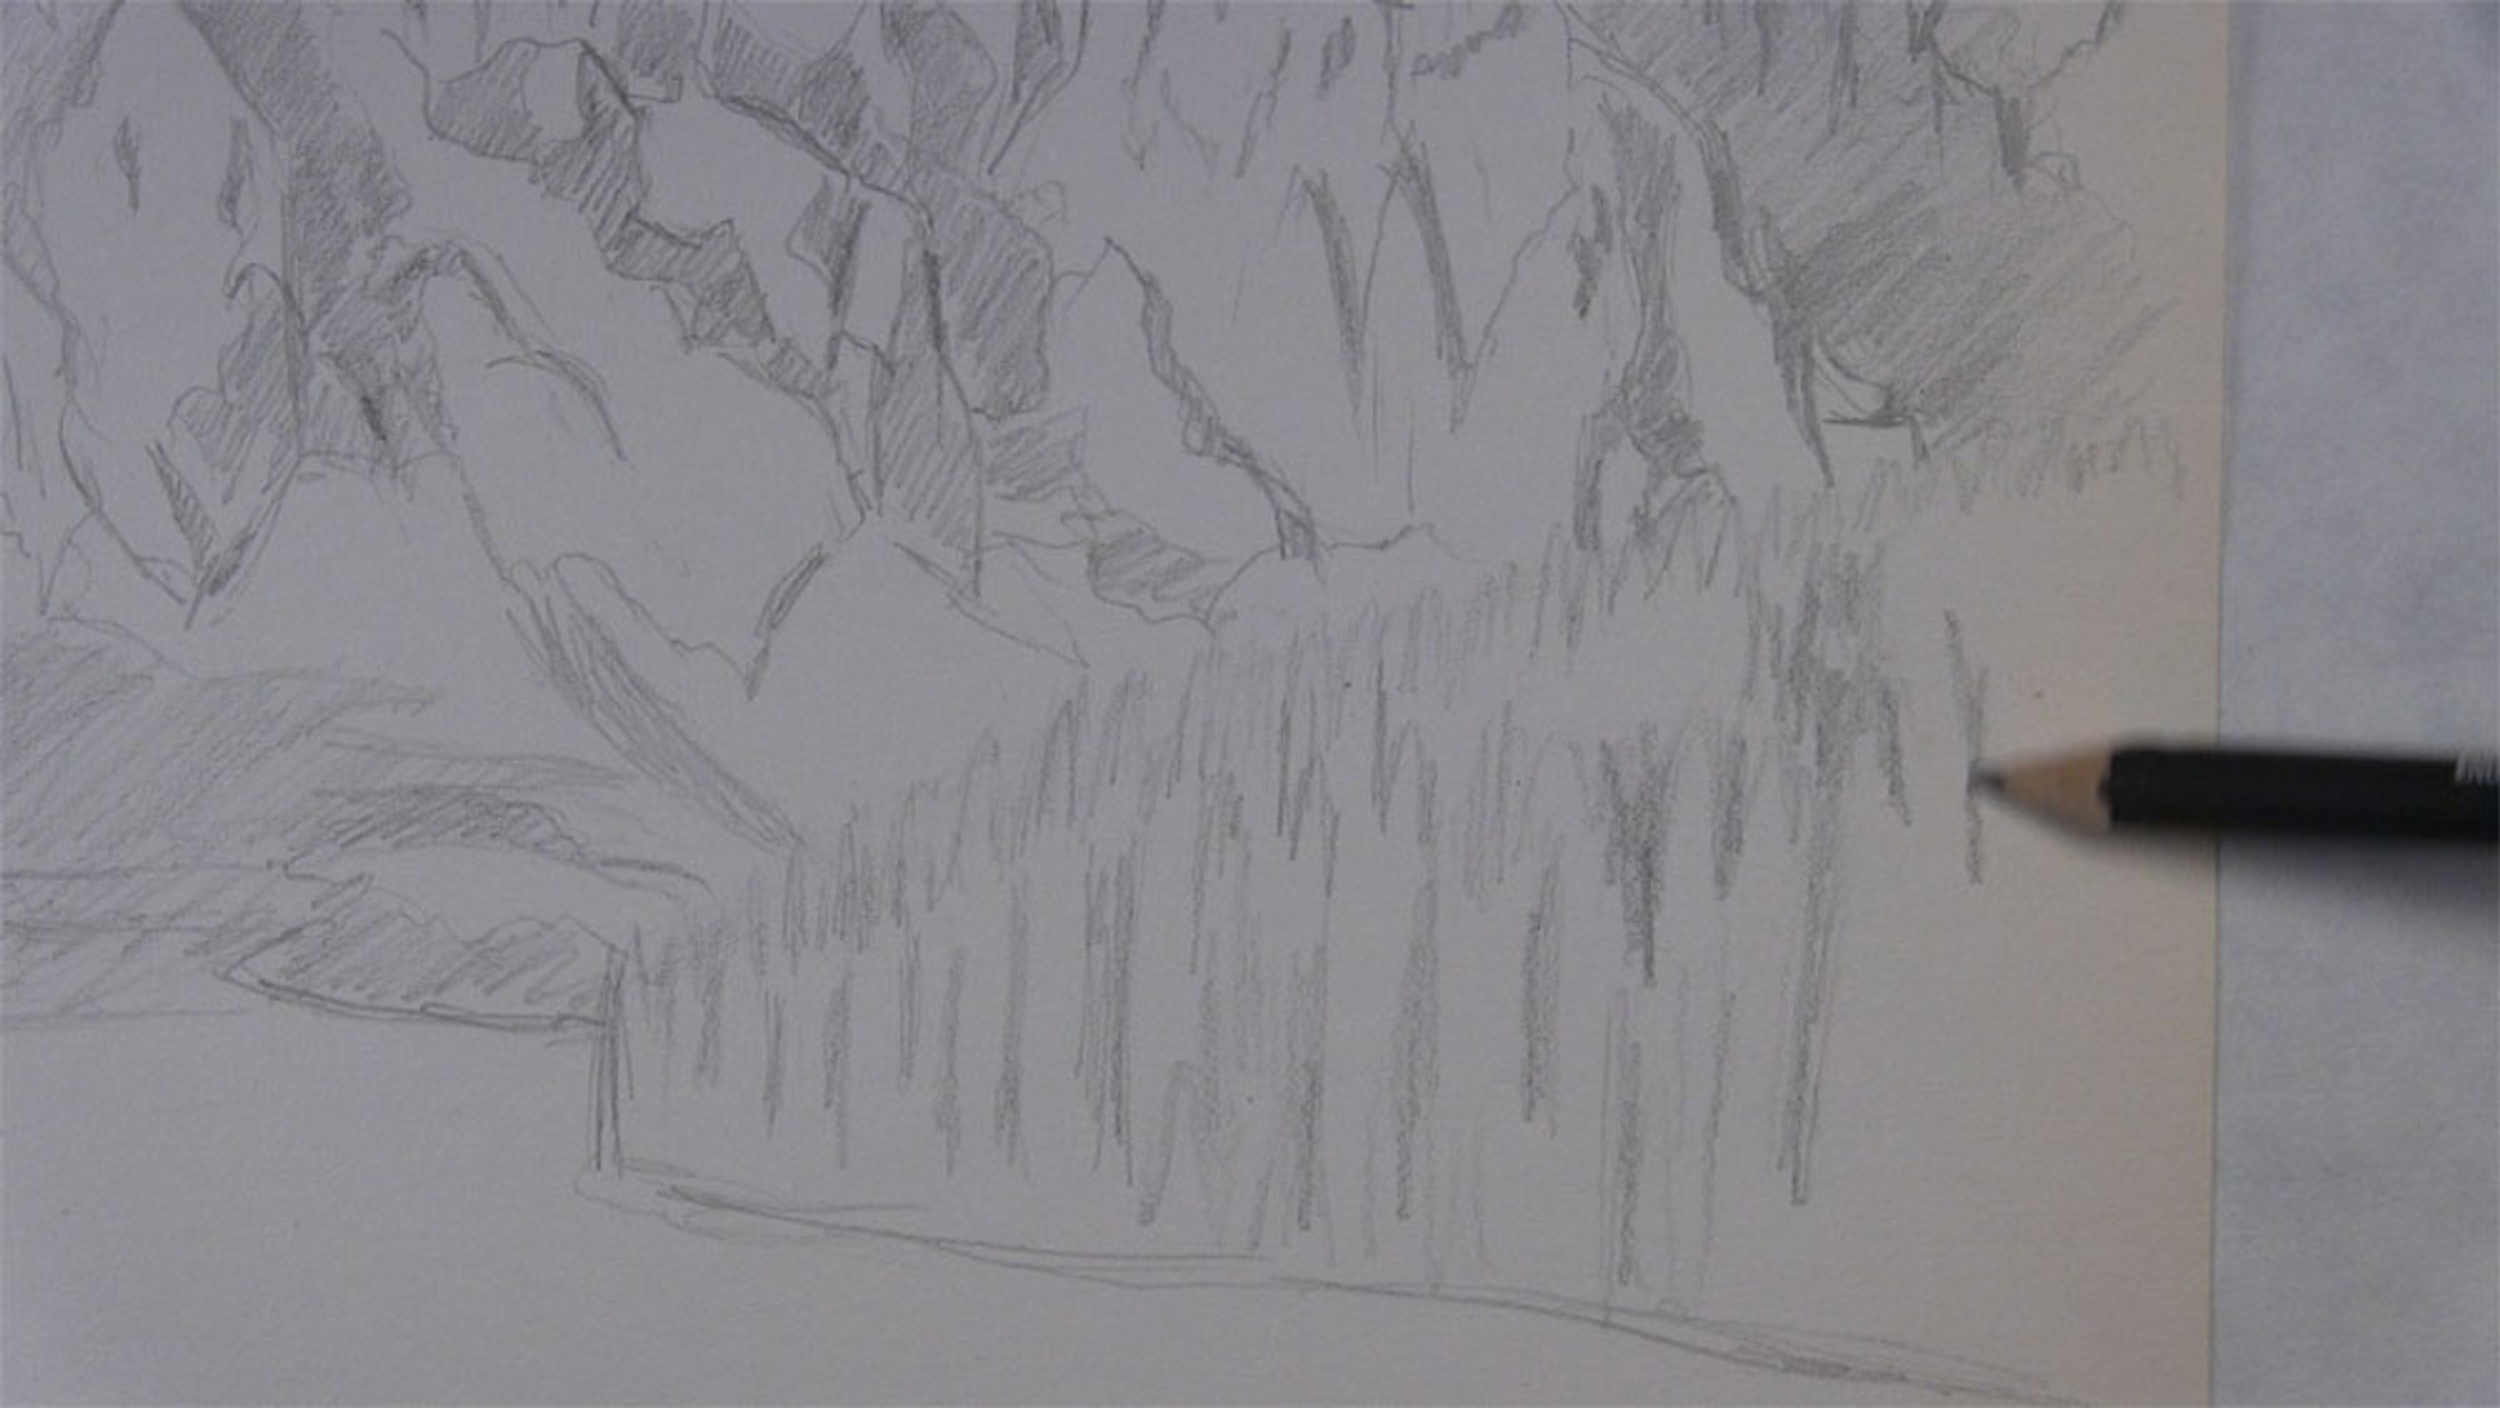
Just a little more shadow areas are needed near the base, and I think that’ll do it for now.
Complete the Shading of the Mountain Drawing
Now that we have completed the line drawing of the mountains, the next thing to do is add some shading.
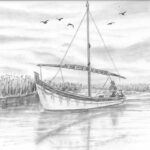
This is the same process that I used to draw the sky and lake in this boat drawing.
And that is how you draw mountains!