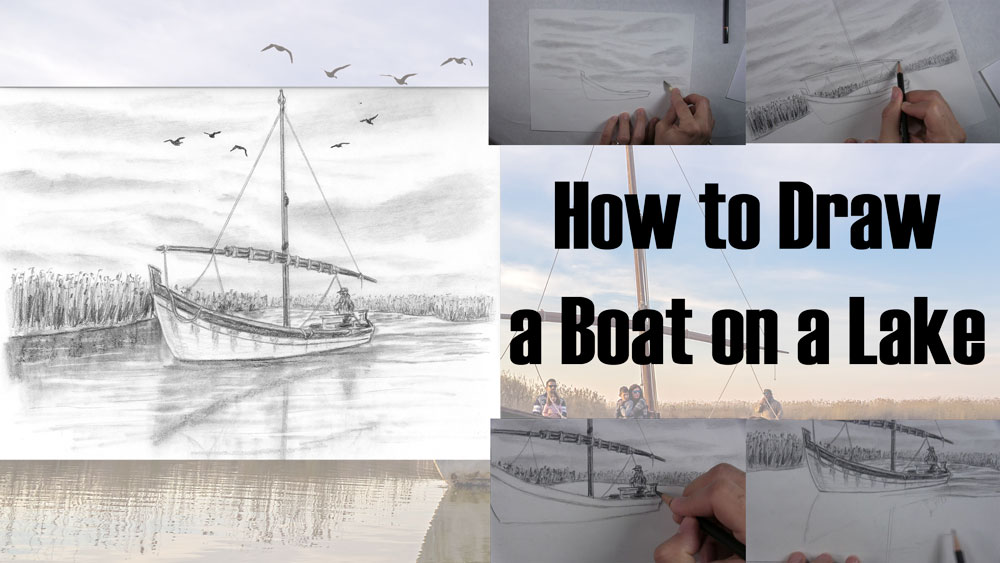
How to Draw a Boat on a Lake on a Cloudy Day
Great landscape drawings often have elements of nature as well as man-made elements. That is one reason why pictures such as these make great drawing subjects. Such is the case for anyone who wants to draw a boat on a lake.
Of course, you have to know how to draw the man-made mechanics of the boat. Then, you have to know how to draw the lake and all of its reflections, not to mention the sky and any plant and animal wildlife surrounding the lake.
If you want to know more about drawing boats and lakes, then you are in luck! In this tutorial, we will combine the two of them into one drawing as I show you how to draw a small boat on a lake.
Table of Contents
Use a Reference Photo of a Boat on a Lake
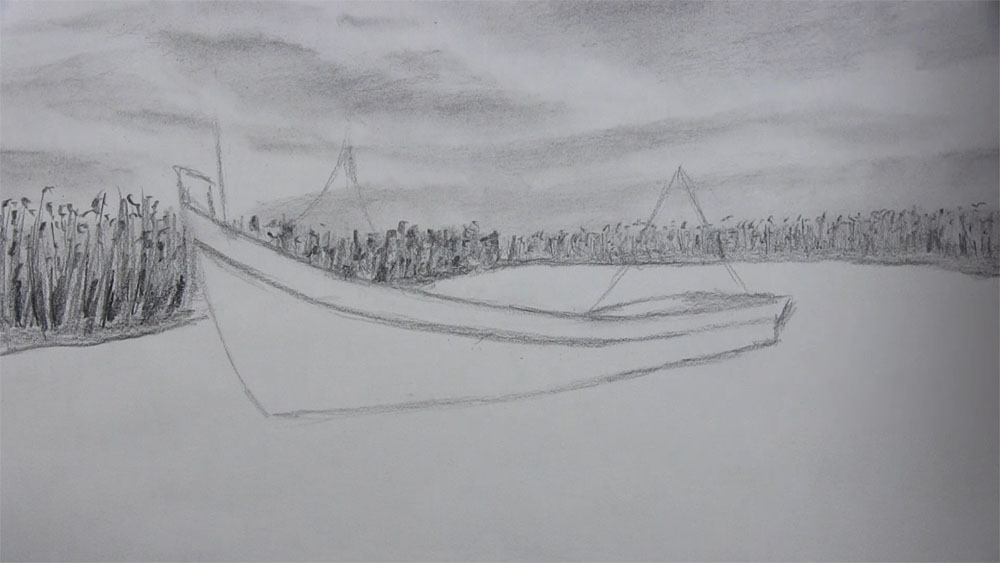
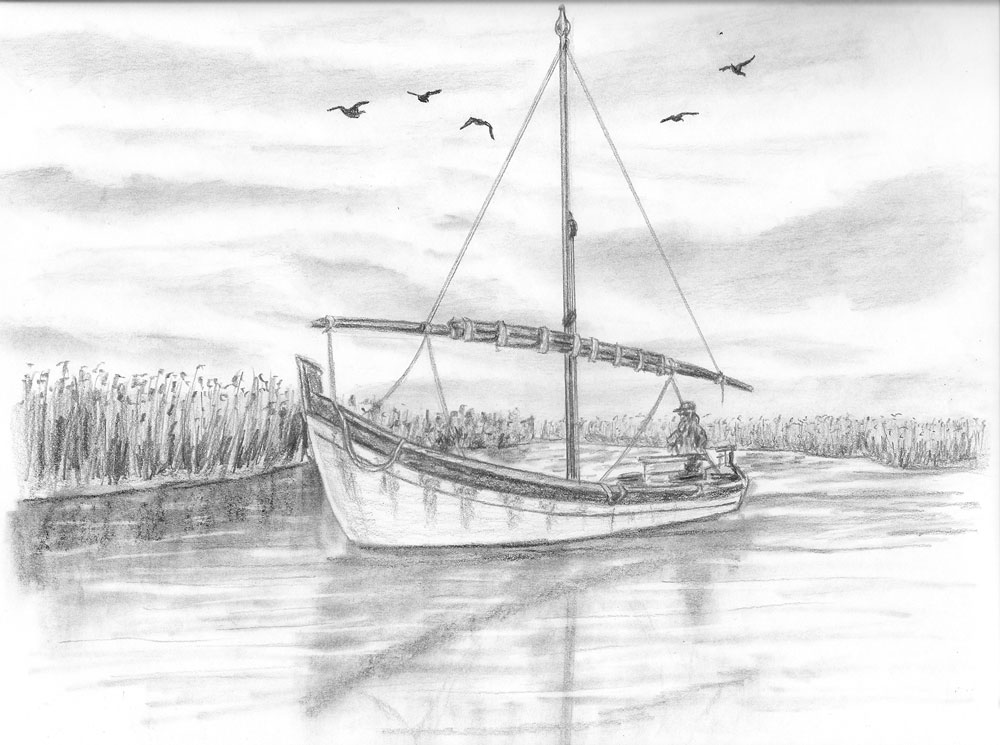
I’ll use this picture as my reference photo to guide me as I draw. It is a picture taken from Albufera Natural Park just south of Valencia, Spain. I guess Albufera technically has a lagoon rather than a lake. However, I think it’s close enough to a lake for our drawing purposes! Although this picture shows ten birds and a family in the boat, I will be drawing fewer birds and just one person in the boat.
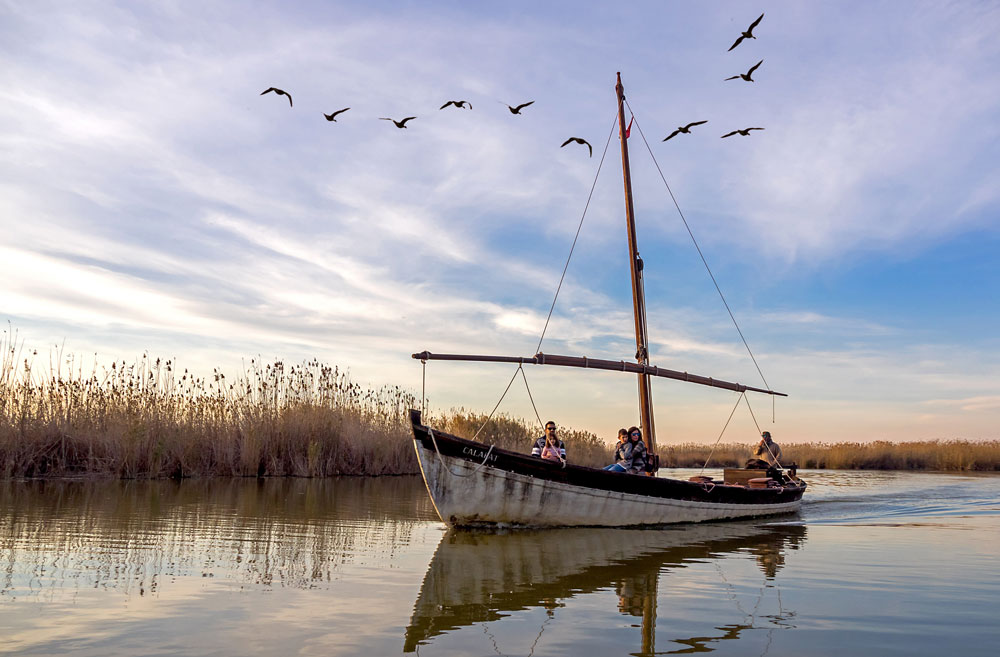
You can use the same concepts you learn from this tutorial and apply them to drawing similar landscapes with boats and lakes. As someone who didn’t know a lot about boats before drawing this picture (I still don’t know much really), I found the reference photo to be very helpful in drawing the various parts of the boat. I even learned a few new boat terms that I will be using throughout the tutorial!
Materials Used for This Drawing
Here is a list of the materials I am using for this drawing.
If you don’t have some of these materials, that’s okay. You can still make do with what you have or try to improvise if necessary, as long as you just get started!
If you wish to purchase any of these materials, they can be found at your local art store, or you can buy them using the links below.
Affiliate Disclaimer: The links below are affiliate links. I will receive a small commission if a purchase is made through one of these links. Learn more here.
- Sheet of drawing paper
- Sheet of folded paper to prevent smudging
- HB, 2B, and 4B graphite pencils
- Kneaded eraser
- Plastic eraser
- Dusting brush
- Blending stump
- Eraser pencil
- Ruler
How to Draw a Boat on a Lake Video Tutorial
You can watch the time-lapse video version of this tutorial below. Watch it once all the way through to get a sense of the overall process. Then watch a second time and draw along with me, pausing as needed.
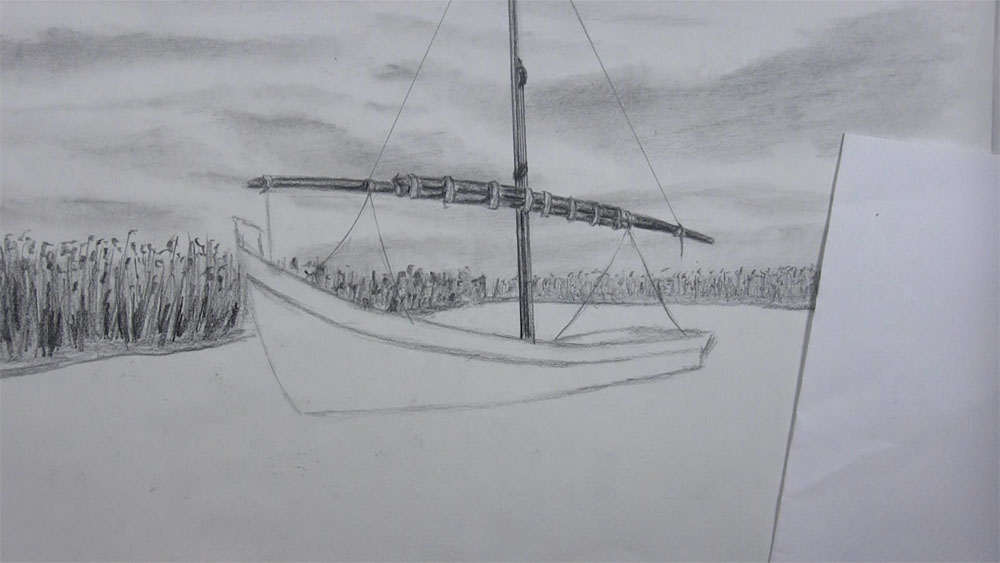
Draw a Basic Outline of the Lake and Boat
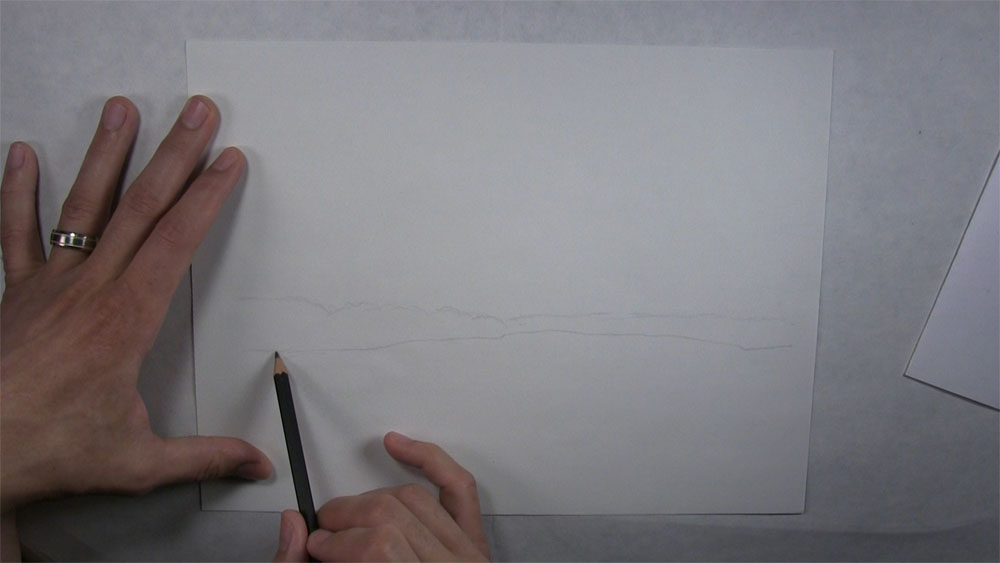
Start by drawing a slightly wiggly horizontal line for the shoreline. I’m using an HB pencil for this. Make sure to make these first guidelines light. Then sketch the tops of the tall grass. Don’t sketch this line too far away from the first one.
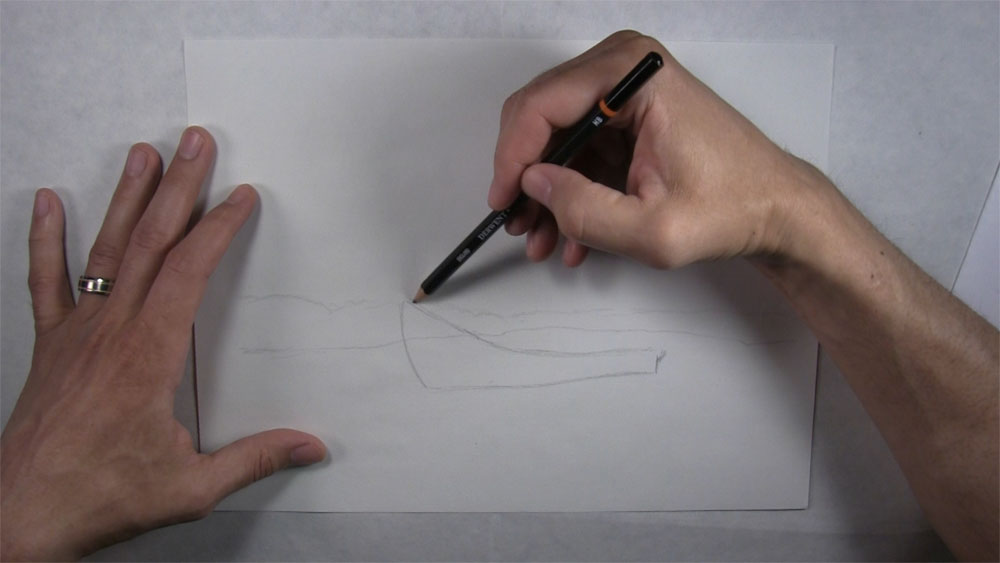
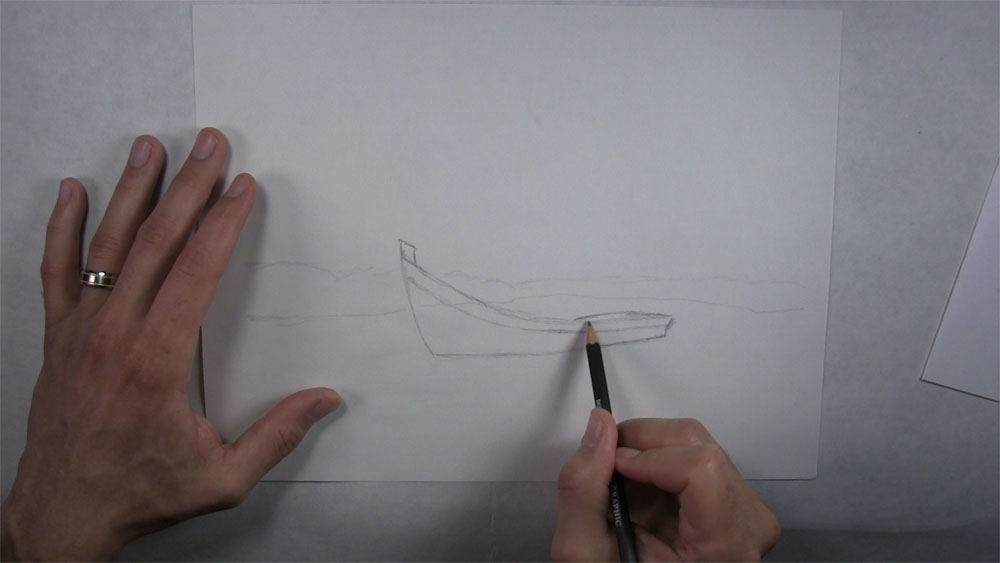
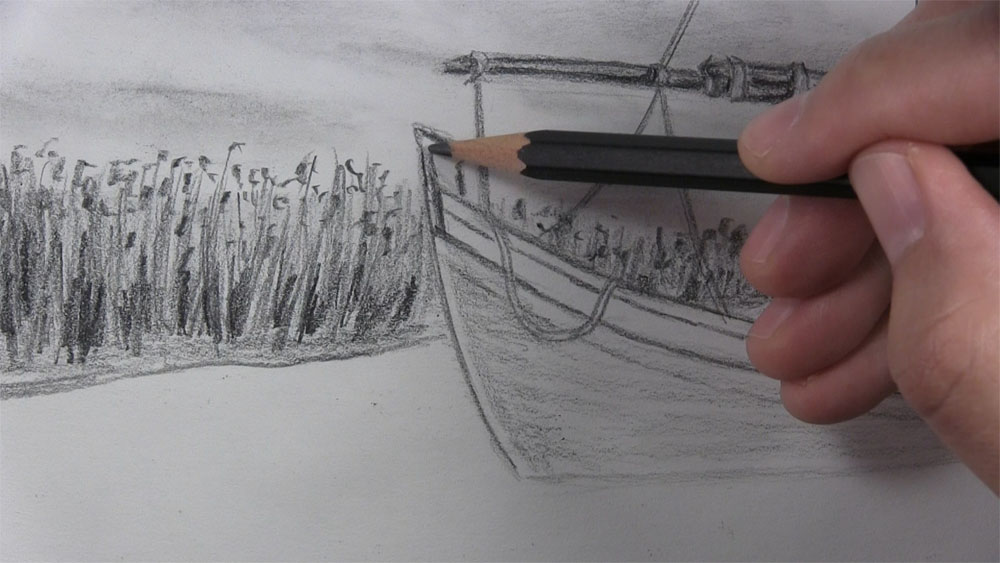
Sketch the basic outline of the boat’s hull. First, sketch a horizontal line in the lake. Then draw the top of the hull with a sharp curve upward for the bow, or front, of the boat. Keep the bow aligned with the top of the grass.
Draw a line under the top edge of the boat’s hull. This line should maintain the same curvature as the edge. The top of the bow here should not be curved back so much, so I’m going to make it more vertical. After that, draw the metal piece at the tip of the bow.
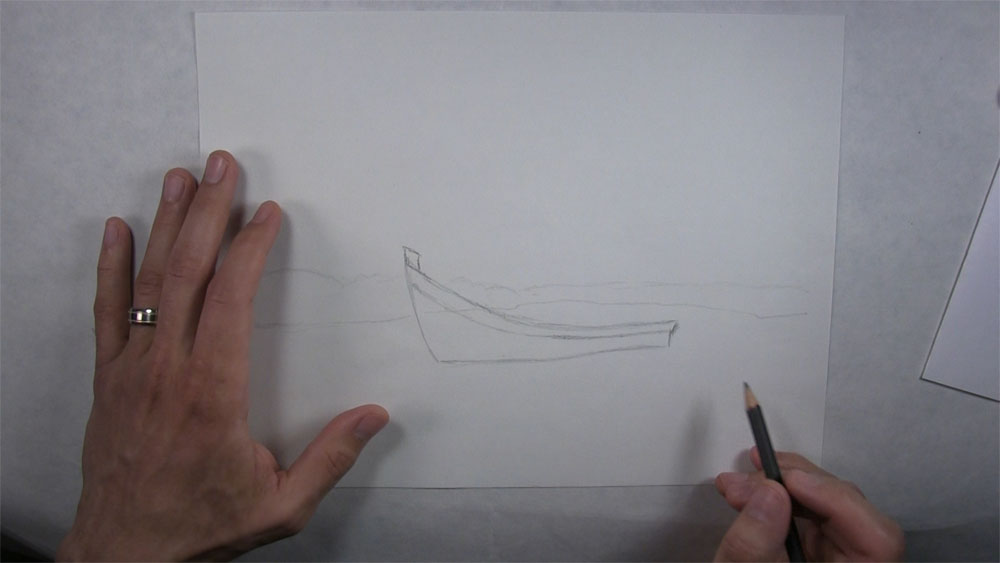
Sketch the outline of the inside of the boat. Since there is an upward curve to the boat, we see only a small sliver of the inside. We’ll add more details to the inside and the stern, or rear of the boat, later on.
Draw Landscape Features Surrounding the Lake
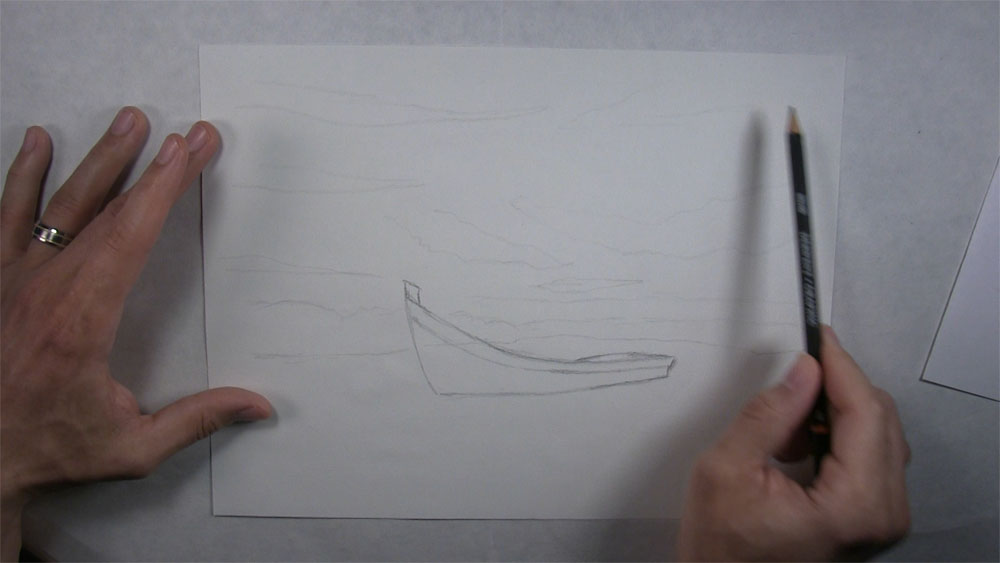
Next, use a very light touch to sketch an outline of the clouds. You can create the appearance of a cloudy day by sketching the outline of the negative space between the clouds. Sketch thick and thin shapes across the sky.
To shade the sky and clouds, fill in the outlined shapes with graphite. This will represent the sky, and all of the white areas are clouds. Next, smooth out the graphite with a blending stump while preserving the white clouds. Then, use small, circular strokes with an eraser pencil along the bottom edge of the clouds. You can better define some of the edges with extra shading in the sky if necessary.
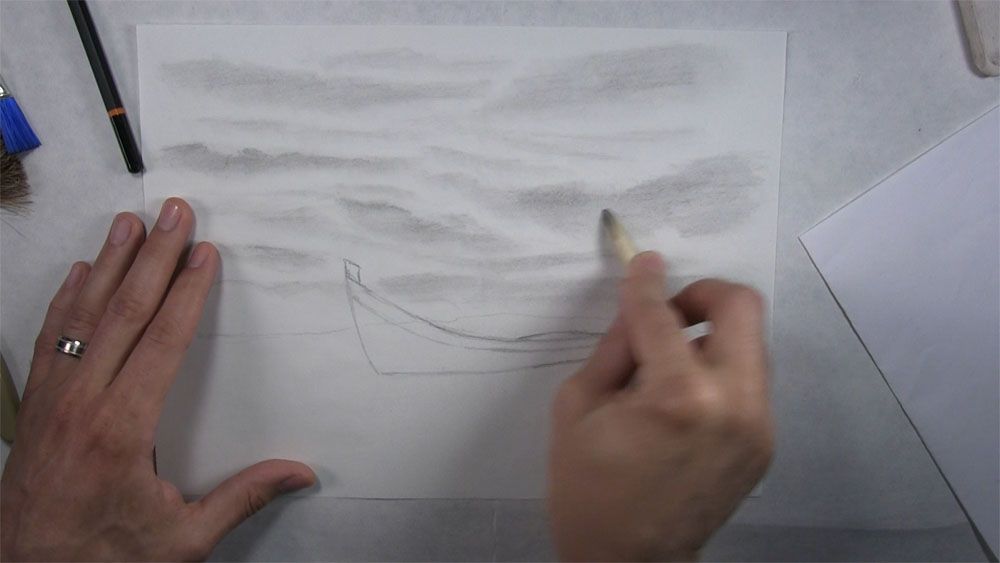
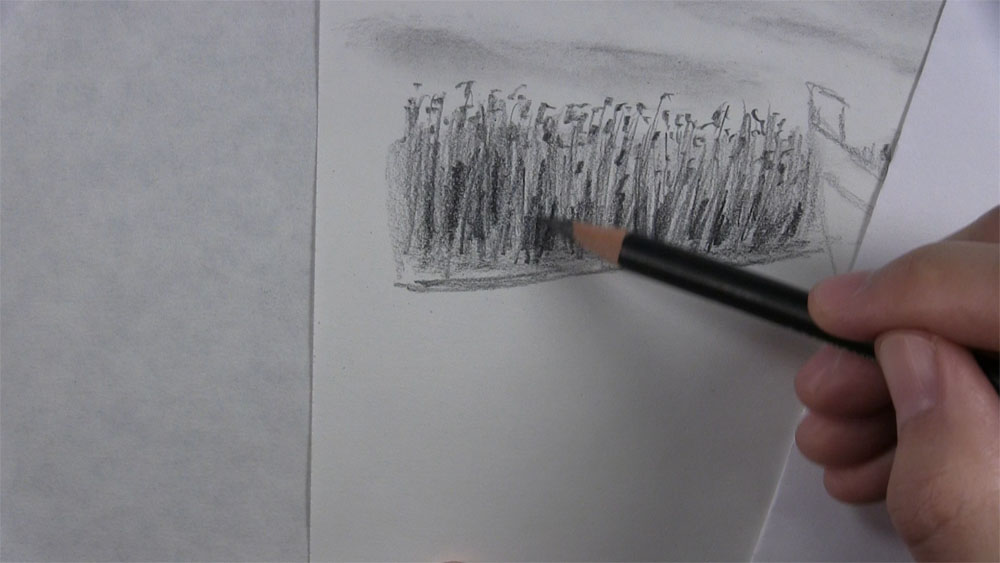
To draw the tall grass along the lake’s shoreline, first use horizontal strokes to shade along and just above the shore. Then, use short vertical marks to create a base layer of shading for the grass. Use the guideline to determine the height of the grass. The left side should be taller since it is closer to us in the foreground. Add another layer of grass and shading for more detail, especially with the grass in the foreground. You can use a 2B and even a 4B for extra shadows. Sketch tiny specks near the top of the grass.
Draw an Outline of the Mast and Boom
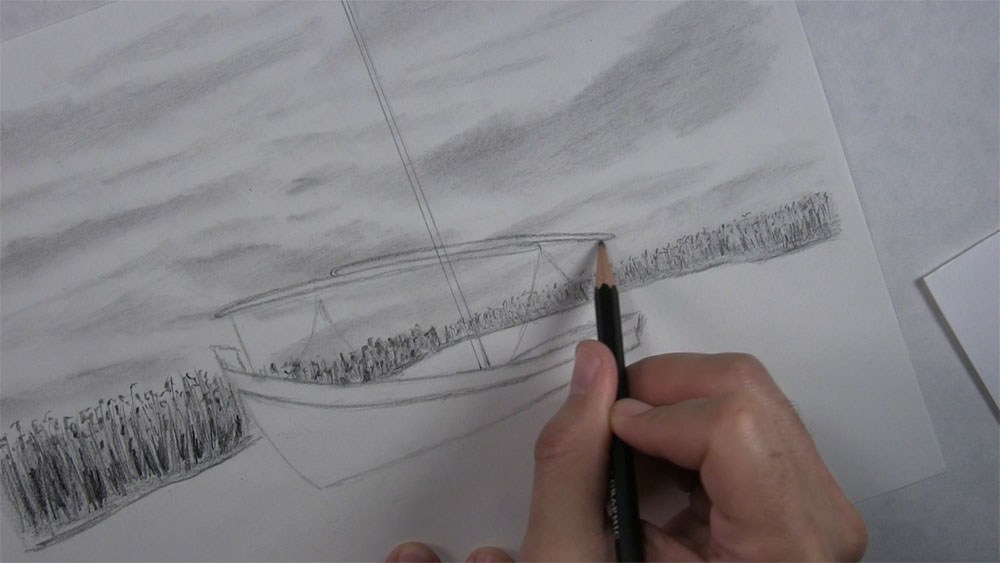
I decided I wanted to make the upward slope of my boat a little higher. Additionally, this is an excellent time to erase guidelines inside the boat. Our boat has several ropes connected to its spars. Sketch a rope near the bow. Then sketch ropes from the sides of the boat that meet at a point above.
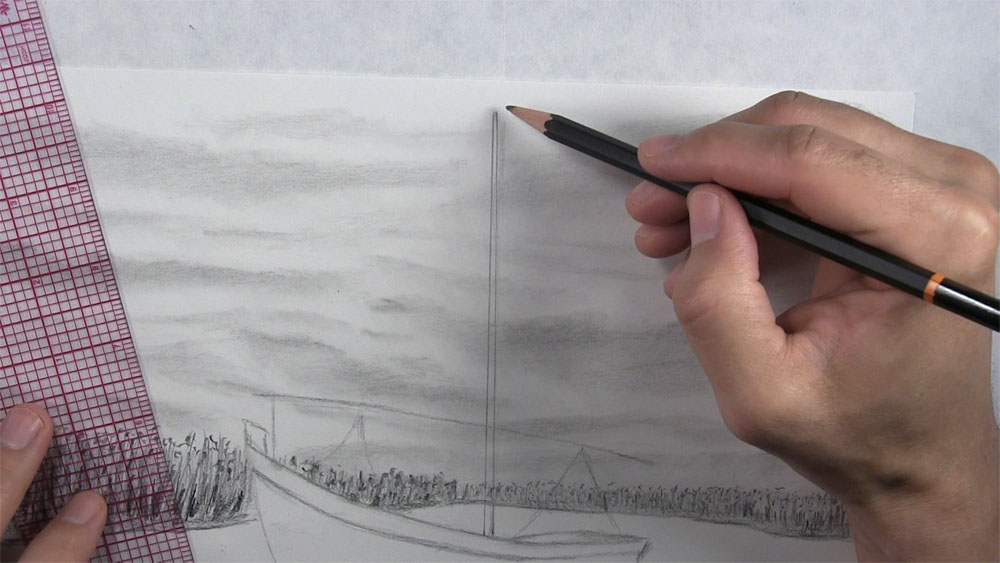
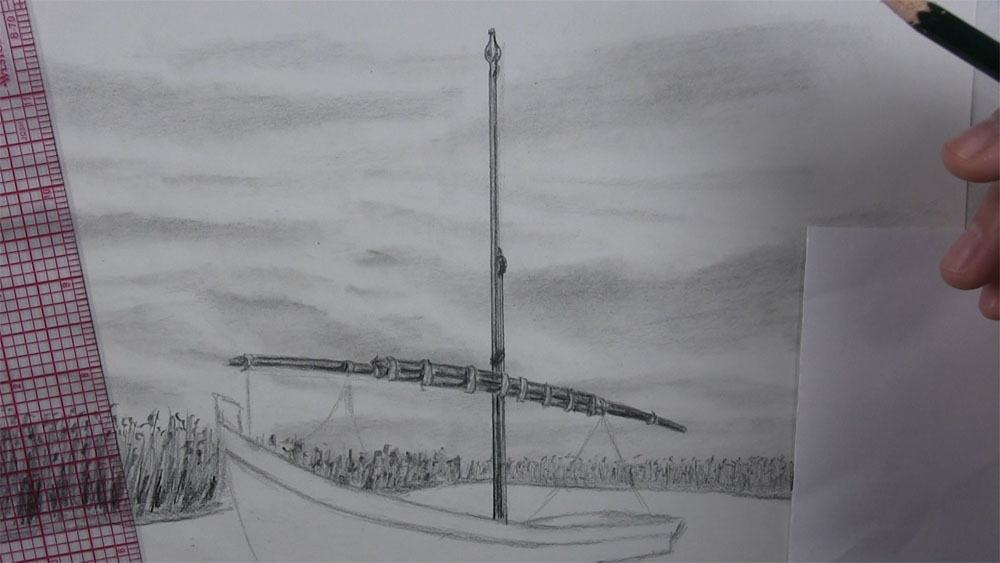
Sketch a line connecting the ropes. I’ll refer to these horizontal spars as the boom. Near the middle of the boat, sketch a vertical guideline for the mast. Use a ruler to make the vertical guideline straight. Then make the other side of the mast, gradually converging at the top.
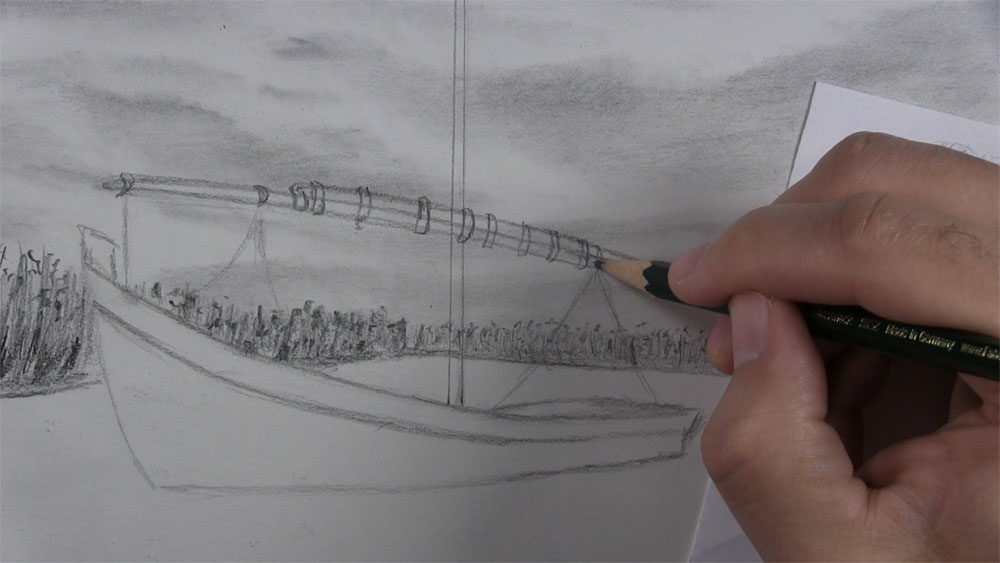
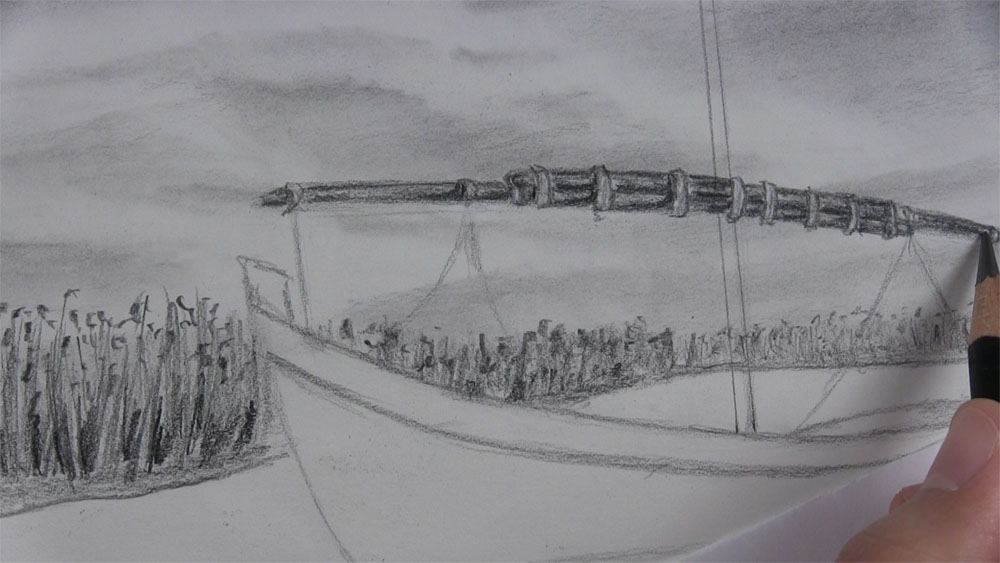
Along the horizontal guideline, sketch the two spars that make up the boom. There’s a slight curve to these, so I’m choosing to not use my ruler. Each one roughly begins with a curved end where the ropes meet and tapers almost to a tip at the other end.
There are several straps connecting these two spars. Draw them so they overlap the lines for both spars. Draw them with a slight curve to show that they wrap around. In addition, make sure to place straps where the ropes meet the spars.
Shade the Boom and the Mast
Now let’s add some shading to the boom. Shade between the straps from the previous steps. Try to keep the edges a little darker than inside the lines. With a kneaded eraser, carefully erase the guidelines inside the straps. After that, touch up the edges of the straps with a pencil, then lightly shade inside each of the straps. Finish up the boom spars by using a 4B pencil to put shadows along the edges of each spar. Place some shadows along the straps as well.
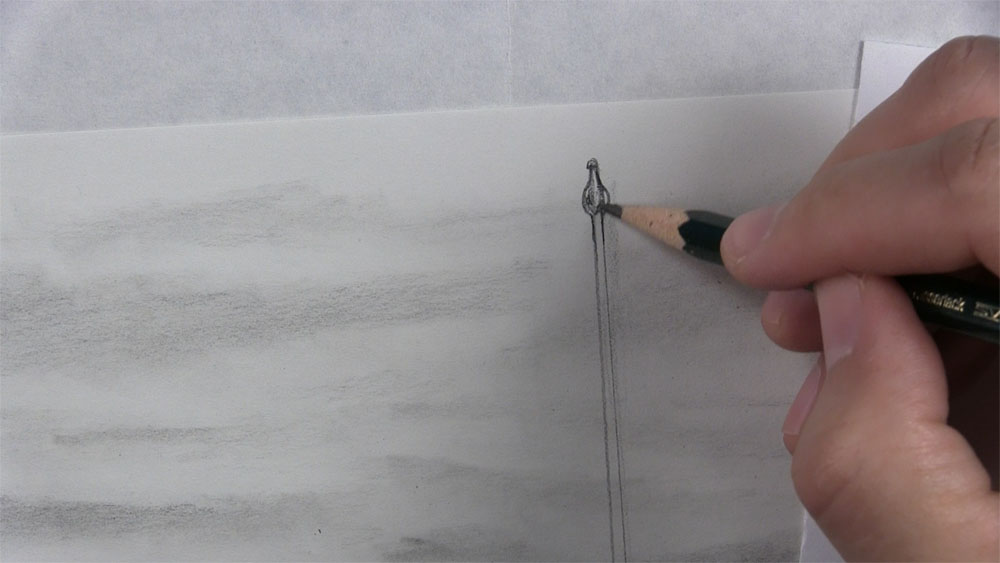
At the top of the mast, draw a little circle and two curved lines to represent one of the pulleys found here. Then put a little shading on each side.
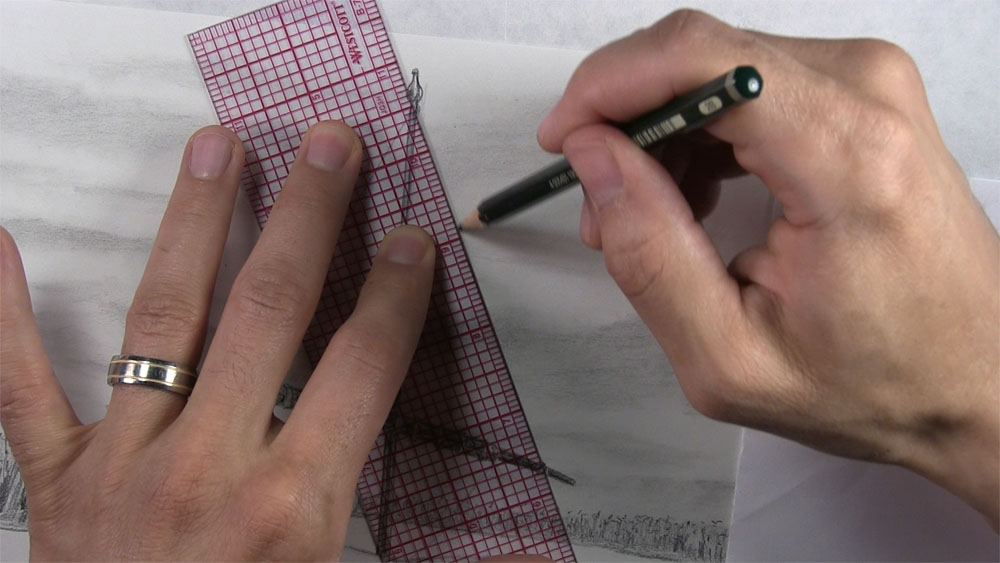
With a ruler and a 2B pencil, darken the outline of the mast. Then, since sunlight is coming from the left, shade the right side of the mast. Now, I’m drawing a couple of little disk-like shapes to represent the other pulleys or connections found along the mast. I don’t need too much detail here. Using the ruler, draw ropes very close and parallel to the mast.
We are almost finished with the outline of the boat. We still need to add a few more ropes and some details to the stern and the inside. Oh yeah, we need a sailor too!
Draw Ropes and Extra Details to the Boat’s Outline
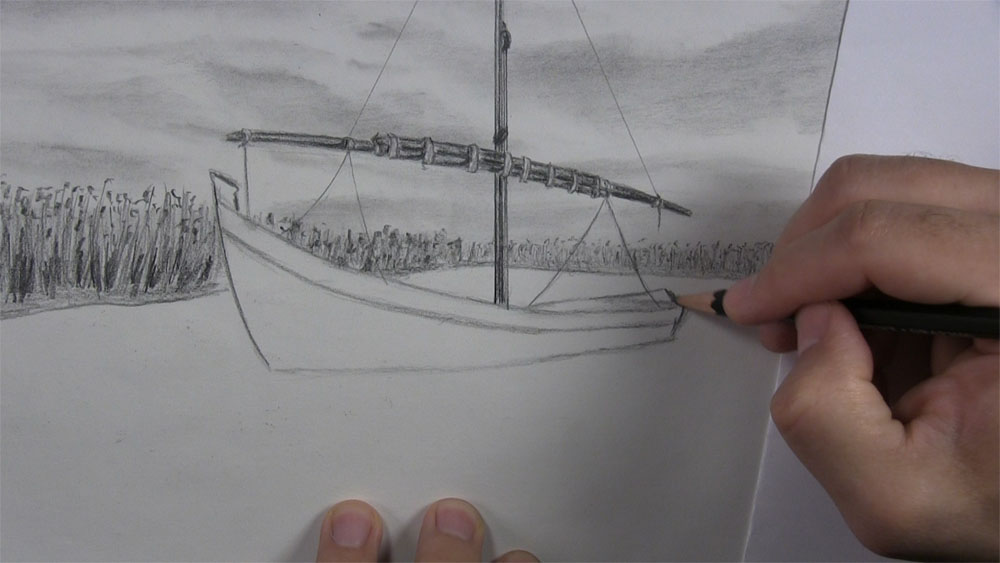
Use the ruler again to draw straight lines representing ropes going from the boom to the top of the mast. One line should connect on the boom near the front of the boat where the two ropes form a triangle. The other line should originate from the boom near the back of the boat.
Draw a short strip of rope hanging from the rear of the boom. Then, we’ll do some preliminary defining of the ropes by darkening their outlines. We will thicken these lines to make them look more like ropes soon enough.
I’ll devote the next few steps to adding some details to the hull of the boat before we get into shading. First, I’m sharpening the outline of the bow. Next, the stern of the boat should be pointy rather than flat.
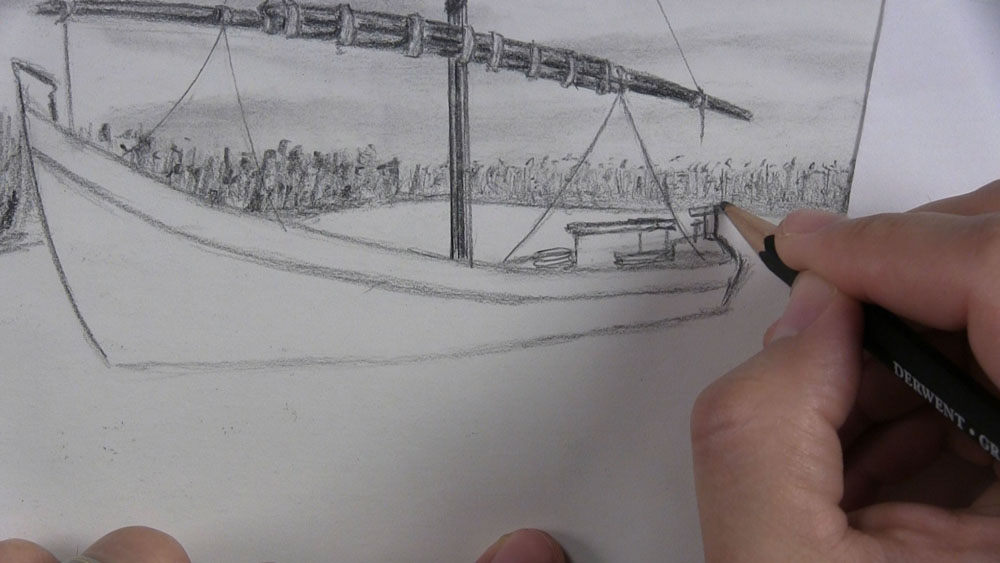
Now, sketch a few basic shapes that make up the various things we can see inside the boat. A kneaded eraser can get rid of any stray guidelines. Then there is this little structure sticking up at the very back of the stern. Perhaps it is the tiller. Drawing some thin rectangle shapes will do the trick.
Add Details to the Inside of the Boat
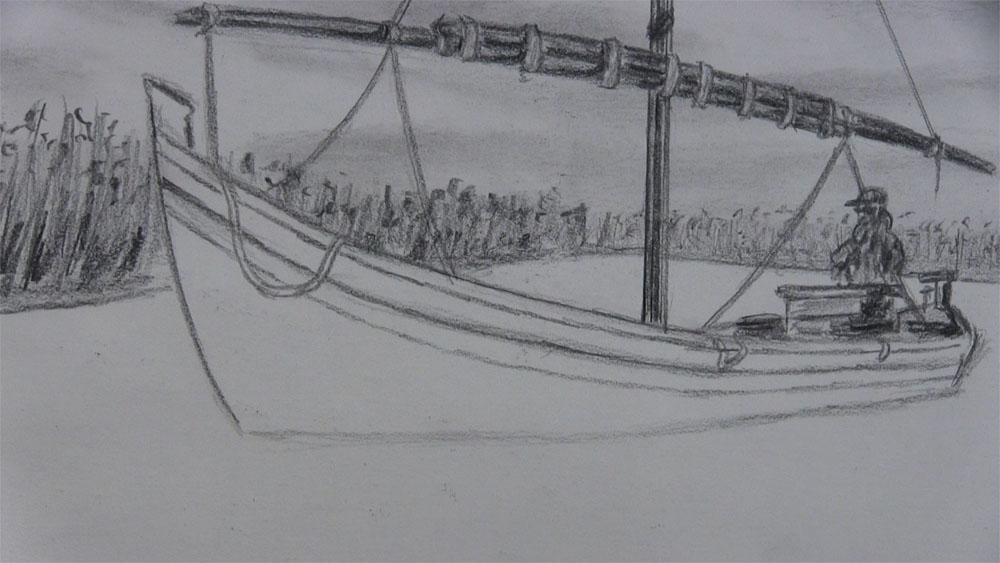
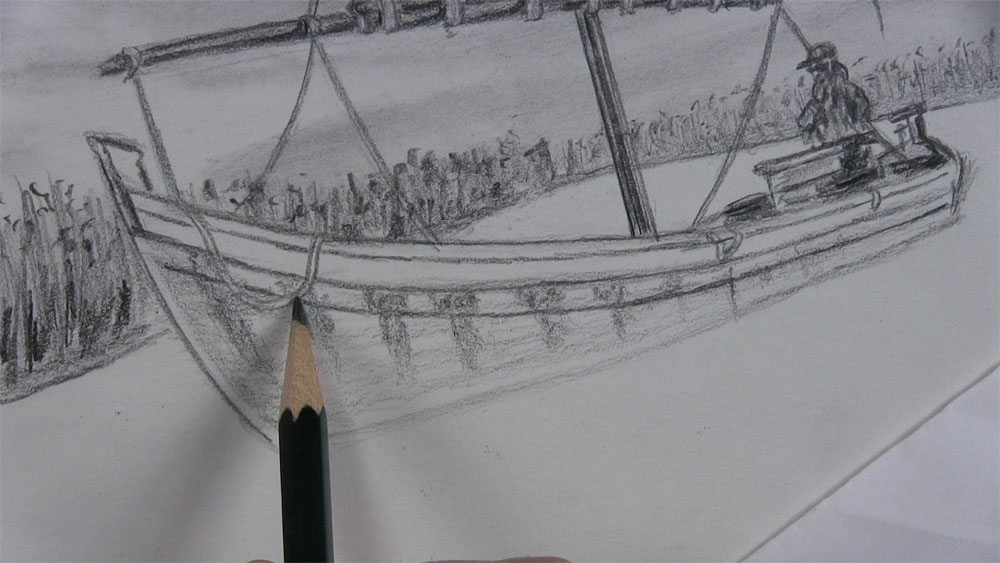
Okay, now let’s draw a sailor in the boat. I’m doing this by erasing a spot for him and then starting to sketch a basic outline of the face. Then, I’m sketching some indications of a jacket and a cap. Now add some shading to the sailor. Keep it basic and suggestive.

Next, shade the objects on the inside of the boat. Put more shading on the right since the sunlight is coming from the opposite direction. Thicken the ropes by drawing a thin line parallel to each line already present. Draw two short ropes near the man and a longer rope near the bow. Draw two additional lines running the length of the hull near the top.
Shade the Boat
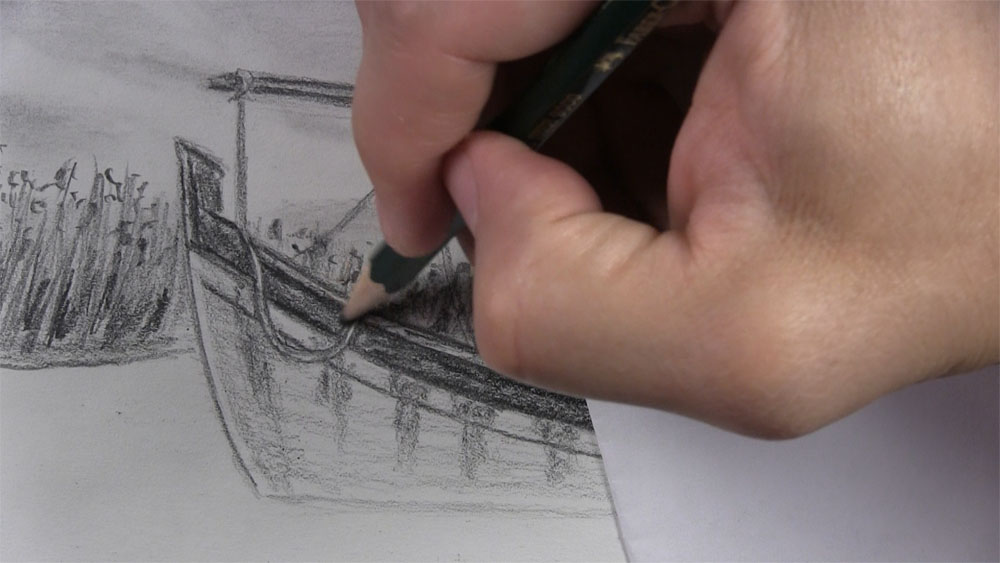
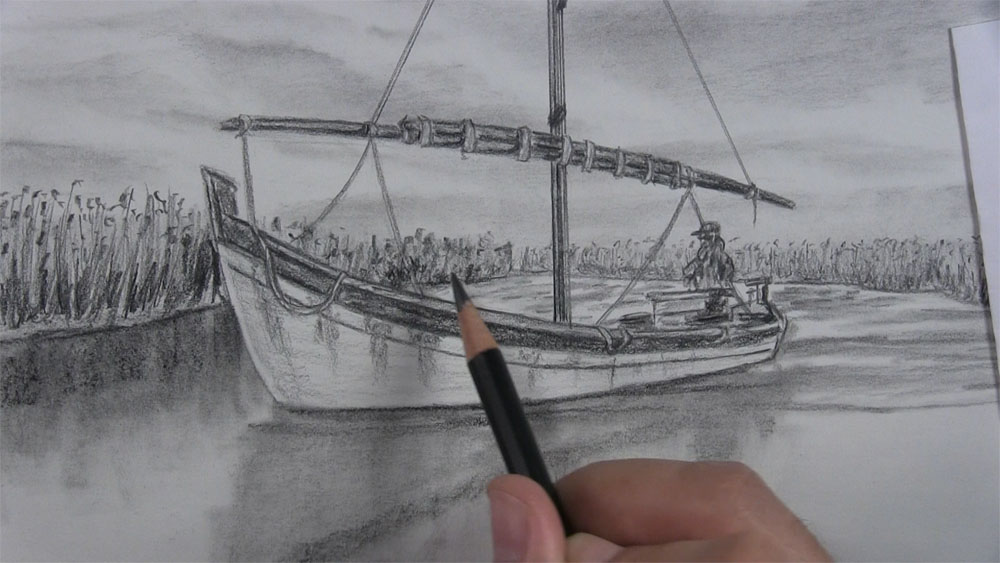
Lightly shade the hull of the boat. Use horizontal strokes that also follow the upward curvature of the hull. Use a kneaded eraser to erase a thin strip at the front of the boat. Then shade beside the strip to sharpen its edge. Extend the edge up the top of the bow.
Use the side of your pencil to shade the stains going down the side of the boat. Make them thicker at the top and tapering near the bottom. Use the tip of your pencil to sharpen a few of the edges. Then, outline the overlap along the side of the hull.
Put dark shading along the top of the boat’s hull. Be careful when shading around the ropes. Keep your pencil marks between the lines as you shade along the boat. Make the shading just under the rim even darker for a cast shadow.
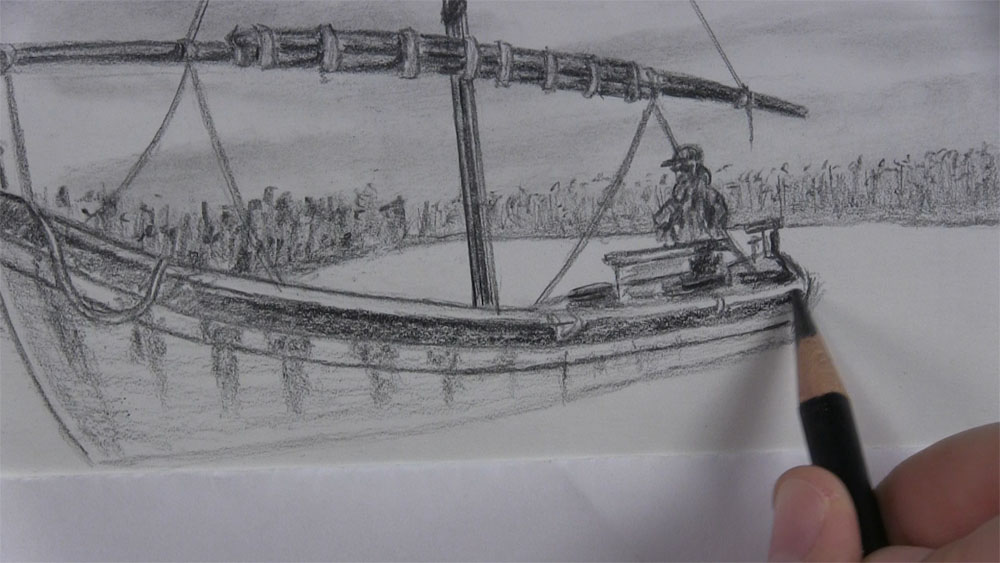
Continue shading the top rim of the hull. Keep the top rim a slightly lighter value than the dark part just below it. Use outlines to distinguish the black part of the hull from the white part underneath.
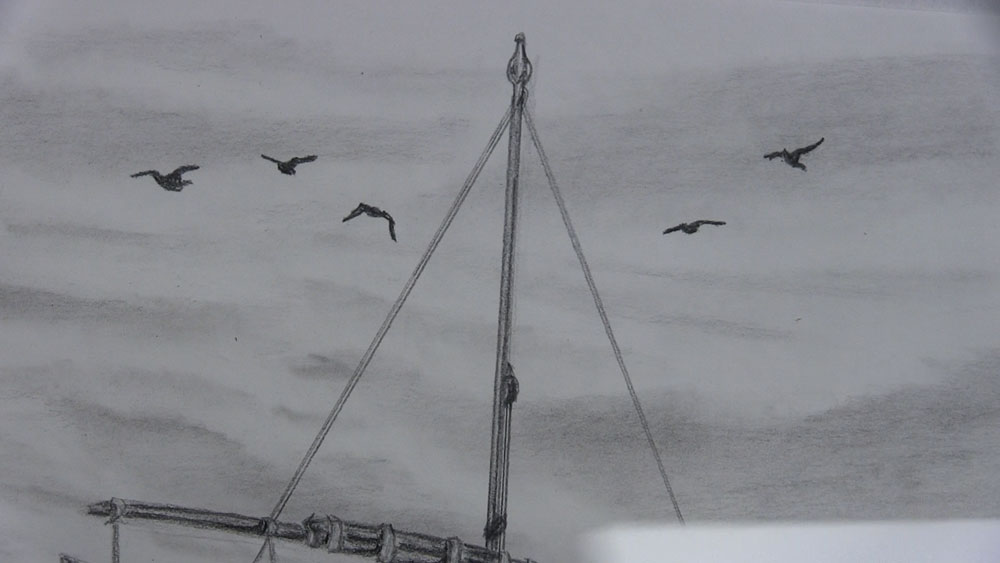
Draw Birds in the Sky
I’m going to use a sharp 4B pencil to draw the birds in the sky. Because the birds are far away, a silhouette for each bird is all that is needed. Just draw a pointy shape for each wing and the body in the middle. The reference photo gives ideas as to the shape, size, and positioning of the birds and their wings. I’m drawing five birds in all rather than the ten birds in the reference photo.
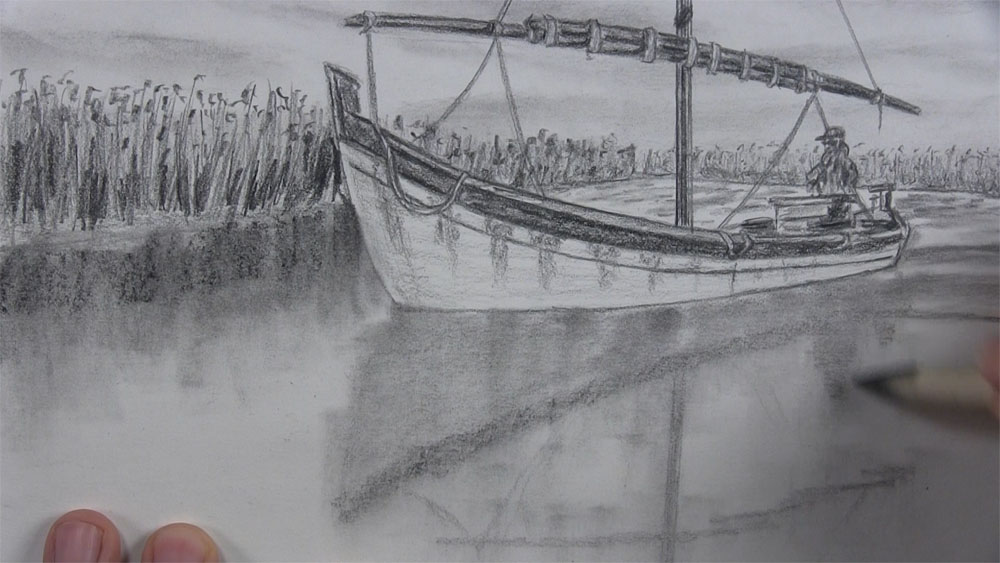
Begin Drawing Reflections in the Lake
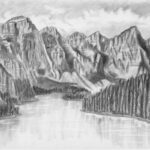
Now that the boat and sky are complete, it’s time to work on the lake. The lake is often an eye-catching element of a landscape drawing, such as it is in this mountain landscape. Therefore, we want to do it justice. You can use the following general and easy steps for any lake drawing you wish to create after this one.
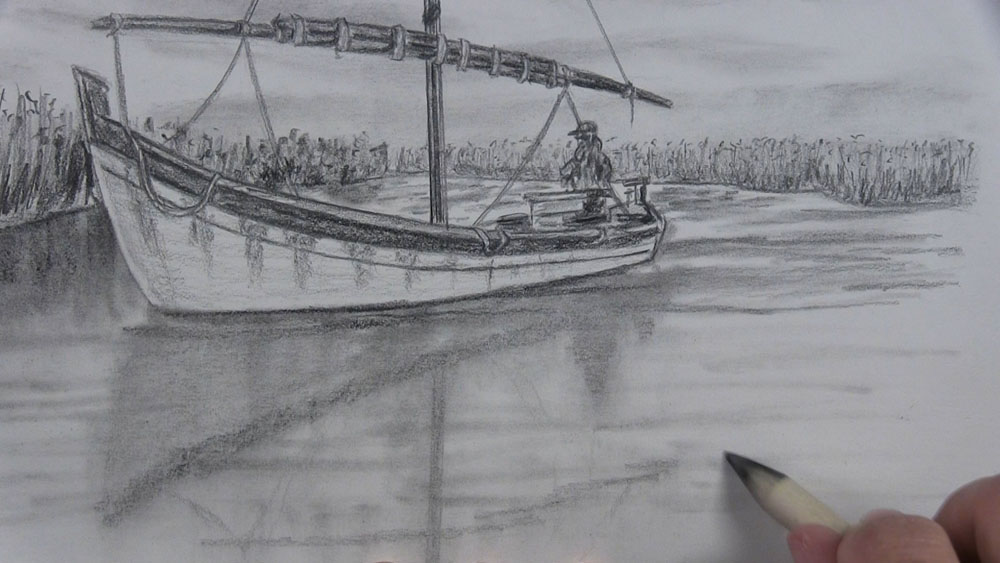
For the ripples on the far side of the lake, draw a few short horizontal marks. Then rub a blending stump over the ripples. In the foreground of the lake underneath the boat, sketch an outline of the boat’s reflection. Use your pencil to make sure features of the boat line up with features of its reflection to draw a mirror image in the water. However, the outline of this mirror image does not need to be perfect. Then shade the outline of the boat’s reflection. In addition, shade the reflection of the grass in the foreground. Use a blending stump to pull the tones straight down from the shoreline and boat and into the lake.
Finish Drawing the Lake
Now that we have drawn the reflections in the water, we can add other details to the lake. Begin by drawing horizontal lines where the base of the hull makes ripples in the water. Then blur the tones with a blending stump.
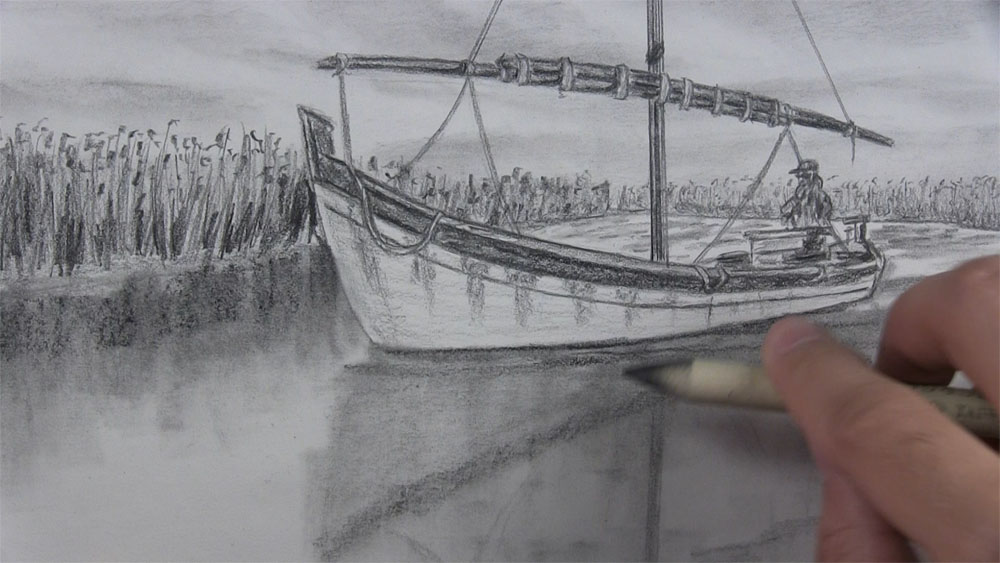
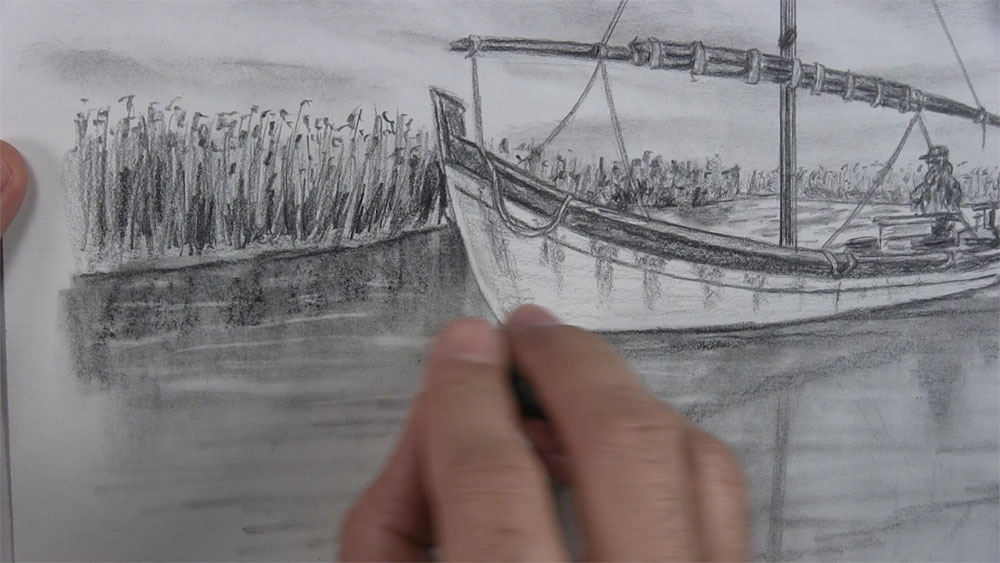
Outline the shoreline in the foreground to better define and distinguish the grass from its reflection in the lake. Since there are already a lot of dark values here, I’m using a 4B pencil to make my marks stand out. Put a little more shadow in the grass if necessary. Then lightly blend the outline of the shore.
Since the shoreline on the other side of the boat is farther away, it doesn’t need as much detail. Therefore, I’m just outlining the shoreline, putting a tiny bit more shading in the grass, and shading under the grass for the reflection.
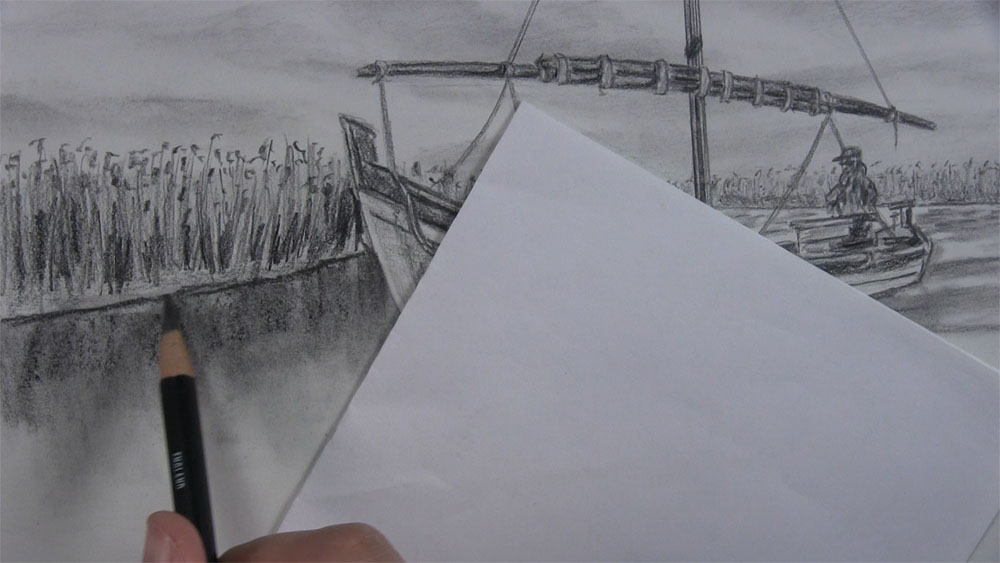
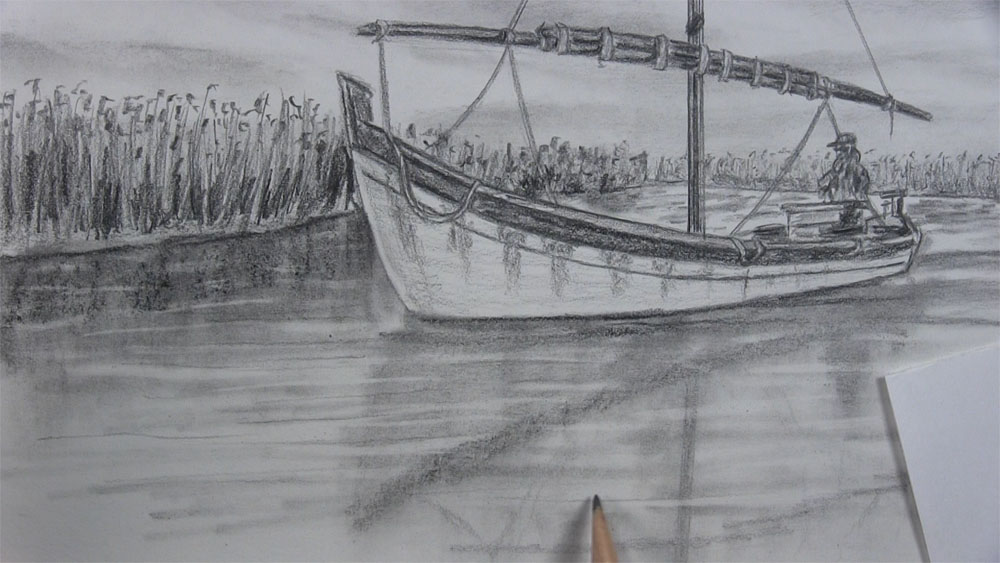
Using graphite that is already accumulated on the blending stump, make horizontal streaks across the surface of the lake. Make sure that some of the strokes overlap the reflections in the water. Cover most of the open areas of the lake with these streaks.
Form a wedge shape with your kneaded eraser. Use the edge of your eraser to make more horizontal streaks in the lake. Make sure the streaks go across the dark values of the reflections as well as the lighter areas of the water. This is another way to draw ripples on the surface of the water.
Lightly draw a line along the top edge of some of the white ripples. Spread your markings across the foreground of the lake. If you feel the need, you can use the graphite from your blending stump to amplify some of the tones between the ripples in the reflections.
And that is how you draw a boat on a lake!
Tutorial Recap
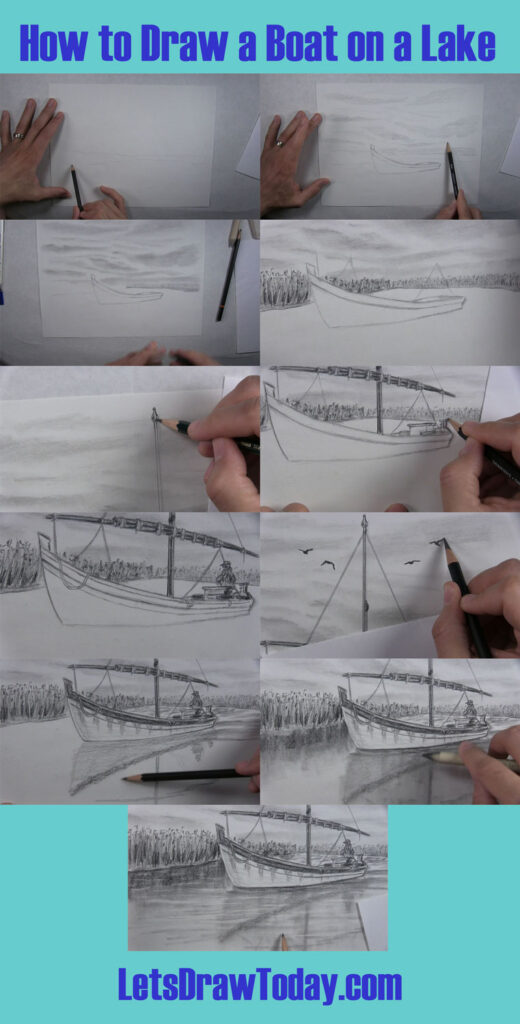
For a quick visual recap of this tutorial, take a look at the image below. It shows you a progression of the main steps for how to draw a boat on a lake.
Tips to Remember the Next Time You Draw a Boat on a Lake
Here are a few tips to keep in mind for the next time you want to draw a boat in water.
- Work from a reference photo so you can better make the features of the particular boat you are drawing as well as what is happening with the water in the lake.
- Break the boat into simple geometric shapes. Then focus on one area and draw one feature or detail at a time.
- Consider using both a color and a black-and-white version of your reference. You can use both photos together to give you information about light and dark values as well as subtle changes in color, like the subtle color variations in the sky and the lake.
- Try drawing a variety of boats. Try rowboats, sailboats (with sails), and motorboats. You will get better the more you practice and even learn more about boats along the way!
Bodies of water are always a beautiful addition to landscape drawings that feature them. I hope this tutorial has inspired you to draw more landscapes with water, whether or not they have a boat.
Thank you for participating and for taking the time to draw this boat and lake scene along with me!