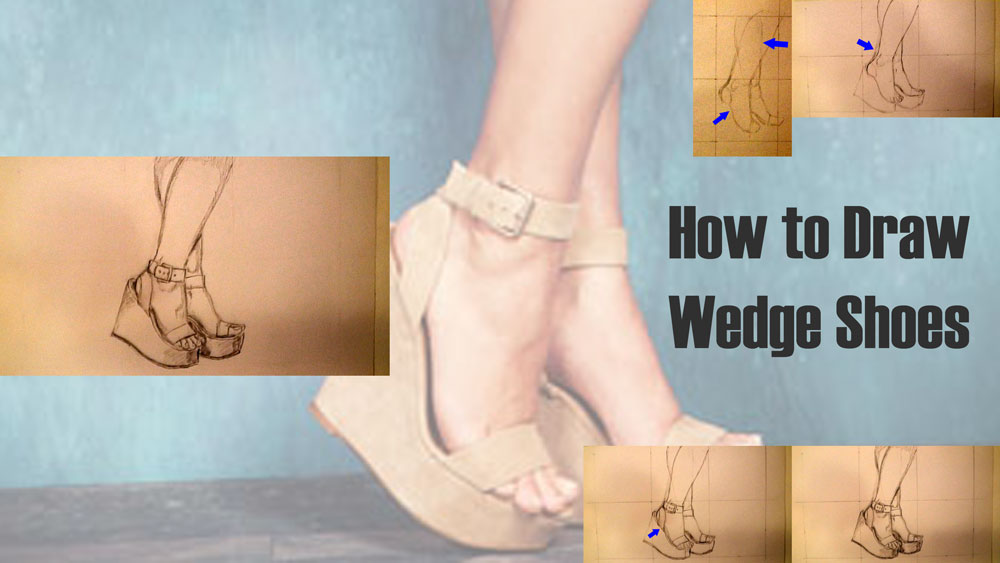
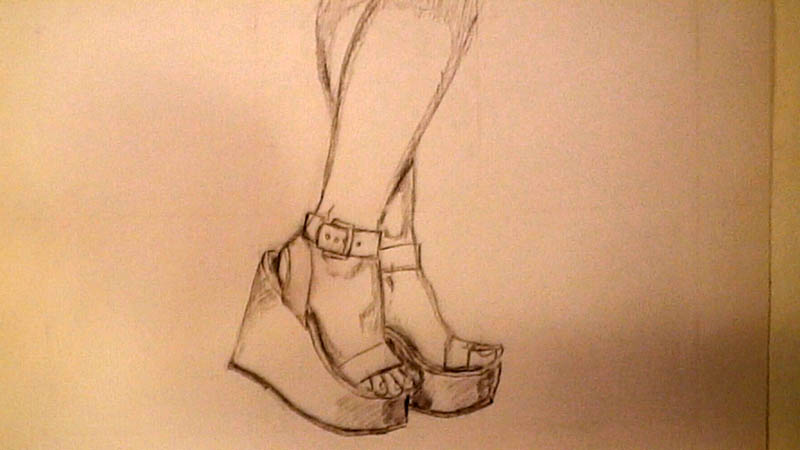
How to Draw Wedge Shoes on Someone’s Feet
Shoes can be quite tricky to draw, especially if you consider yourself a beginner. The good news is, there are a wide variety of shoes that exist for us to choose from. So I thought, what better way to begin learning how to draw shoes than to learn something simple…like drawing wedge shoes?
With that said, here is a lesson for drawing wedge high heel shoes. In case you are up for more of a challenge, the feet do come included!
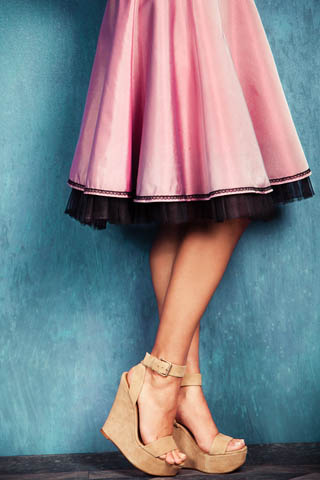
Here is a look at the reference photograph I used for this drawing:
I encourage you to play the video below and sketch along with me, pausing the video whenever needed to take a closer look and keep up. You can also look below the video for step by step directions and images.
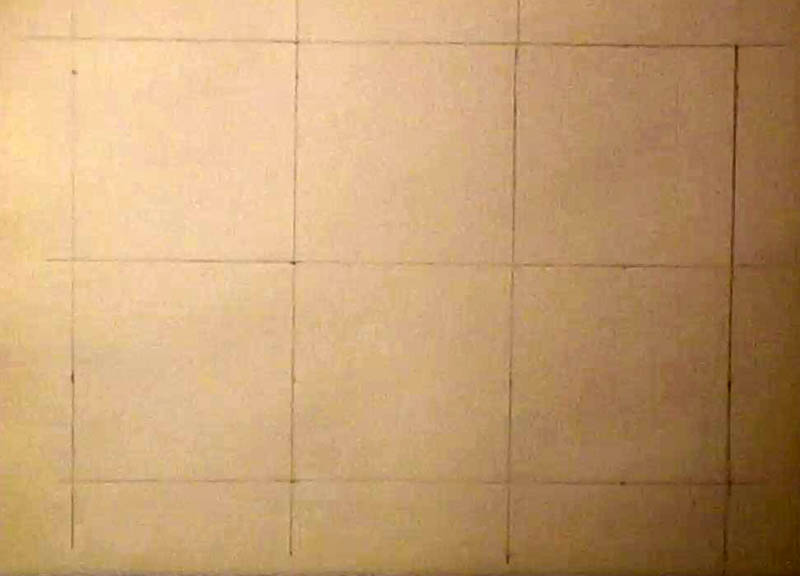
Make a Grid
Make a grid of 6 squares to use as guidelines. The size isn’t important, but use a ruler to construct your squares properly.
This is an optional step, but it can also be a helpful one if you are following along with me and want to draw your wedge shoes and feet so they look as close to mine as possible. Grids are really useful for proper placement of your lines.
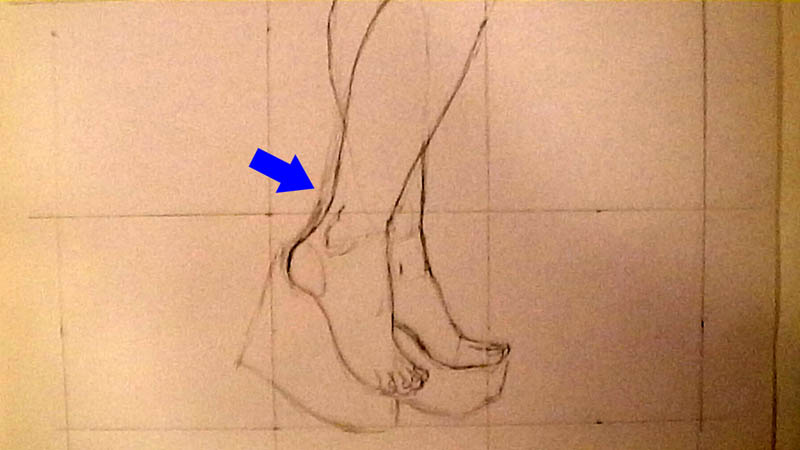
Draw the Basic Shapes
In this drawing, I am focusing on the two center grid squares. Lightly draw basic shapes for the legs and feet. Use long oval shapes for the legs.
Notice how the lines overlap? Even though the right leg is in front, we can still see the outlines of the left leg. This is a good thing, because it helps us to properly place the features that are not obstructed.
We will go back later to erase lines that should be hidden. Use wedge shapes for the feet and toes. Use smaller oval shapes or circular shapes for the heel and ankles.
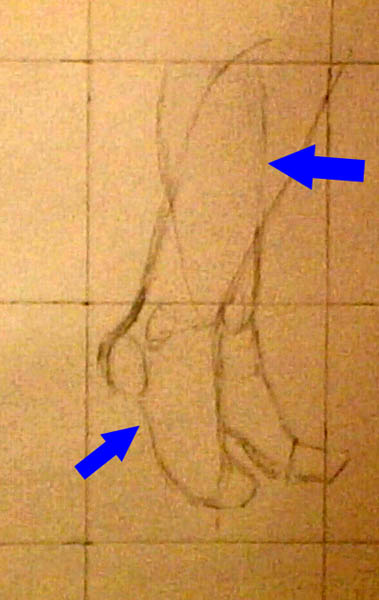
Begin making a wedge shape for the wedge shoes. Since these are wedge high heels that we are drawing, they should be taller in the back. Show a little bit of curvature as they come up to the front.
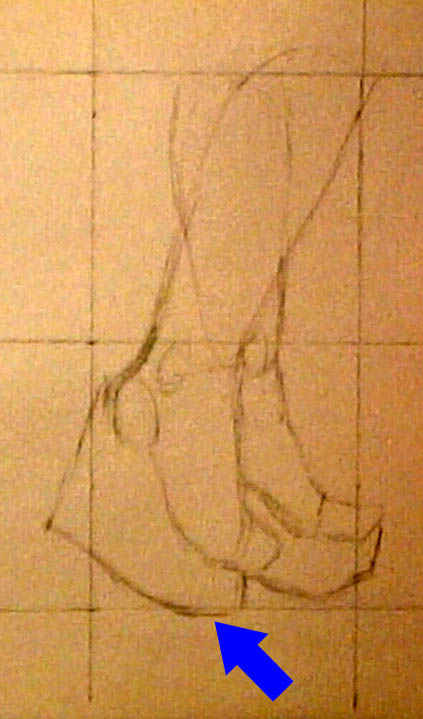
Define the Legs, Feet, and Shoes
Use the shapes to add more defining lines of detail to the legs and feet. Your shapes from earlier are to serve simply as guidelines. Don’t feel like you have to draw over them exactly.
Notice here that I decided to draw to the right of my guideline, so the curve from the calf muscle would look more slender and natural. Also notice that I didn’t trace those lines of the left leg that are hidden behind the right leg in the foreground.
Add in a line or two for the ankle, and do your best to indicate the toes, using your wedge shapes to help you.
Draw thin lines on the top and bottom of each shoe to represent the outer soles and insoles. There is a barely noticeable heel on the bottom of the shoe. Also, notice the space between the foot and the insole.
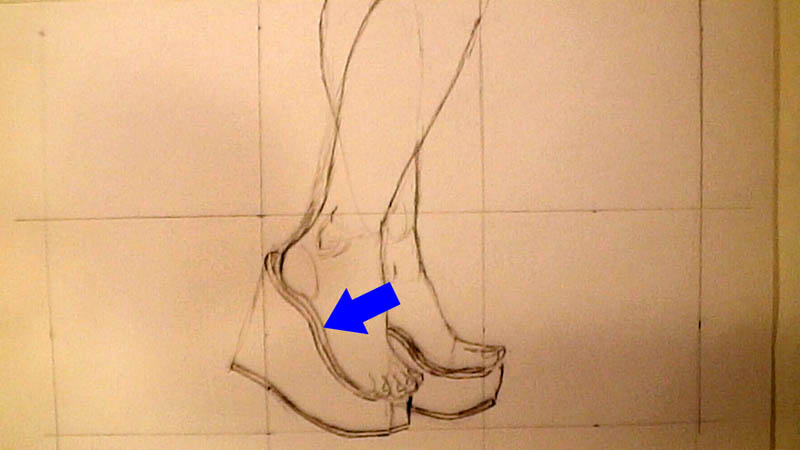
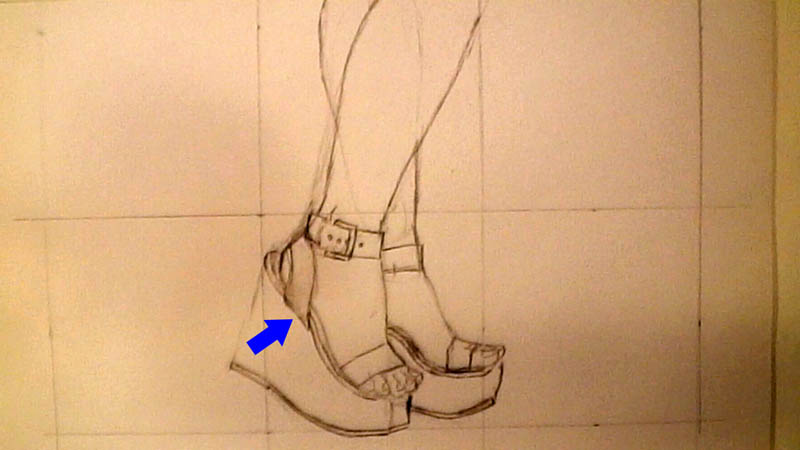
Add the straps for the heel, toes, and ankles. You should draw the heel strap overlapping the insole a bit, and then erase the part the strap conceals. You can add a buckle and a few holes to the ankle strap.
Add Shading and Final Details
Make guidelines to help you place some shading. This way you can plan your light source, draw where the shadows should be, and make any changes needed before committing a lot of shading.
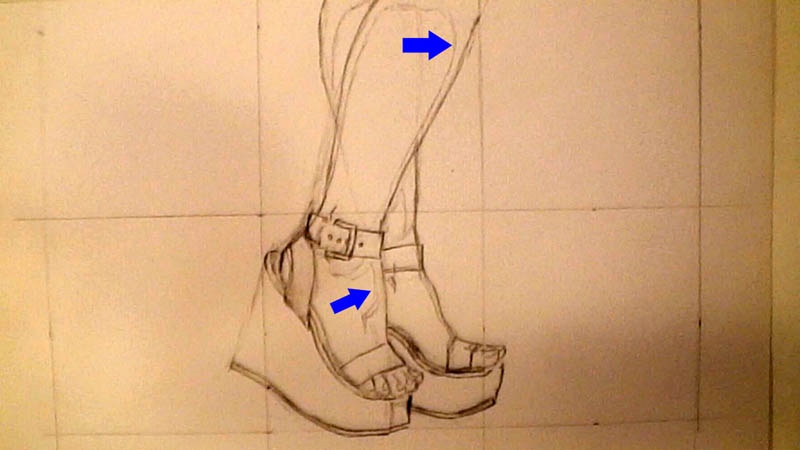
Finish up shading and add final details. Add in shading by using your guidelines from the last step.
Consider which areas need to be darker, like just under the foot where it meets the insole and where the front leg casts a shadow on the leg behind it. Also notice a little shading progression on the front part of the shoes to indicate the curves.

Carefully erase your guidelines. This includes your square gridlines, any shape guidelines you didn’t need (like under the calf), and any that should be hidden from view (like the left leg behind the right). You’ll have to work around the lines you want to keep.
And that is how you draw wedge high heel shoes on a pair of feet!
Try practicing this with a different style of wedge shoe next time. This is also good practice for getting better at drawing feet, because you are drawing the shoes that conform to the basic shape of the foot and you are not drawing the feet in isolation.
Feet and toes take time to learn…just keep practicing until you have a satisfying composition of shoes and feet!