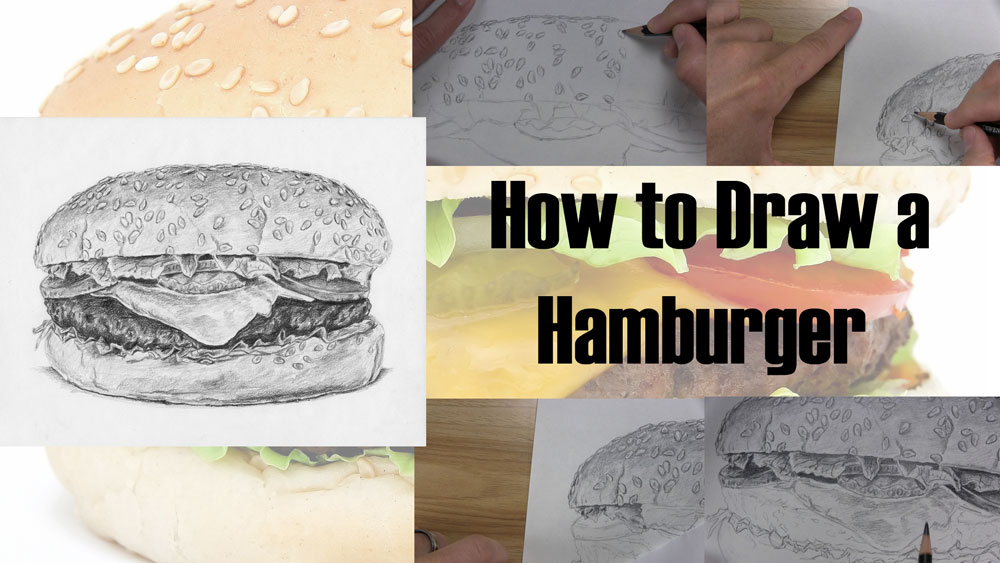
How to Draw a Hamburger with a Tempting Look
For anyone interested in learning how to draw a hamburger, you have as many choices as there are types of hamburgers.
A hamburger can be as simple as a small patty in a bun. It can also be a much more elaborate and tempting main course with an enticing mix of condiments and toppings.
I think it’s safe to say that most people would rather eat the latter!
Whether you like them or not, you cannot disagree with the notion that the hamburger is a true American icon. It only makes sense that a hamburger would be a popular idea for something to draw, too.
When it comes to drawing topics, people often draw what they know or what they like most. Therefore, it’s also probably safe to say that people would rather create a hamburger drawing with a variety of toppings over a drawing of a plain burger.
Would you like to know how to draw a hamburger or cheeseburger?
If so, then you are in the right place. In this tutorial, I will show you how to draw a hamburger step by step with a slice of cheese and other yummy toppings.
Keep reading to draw your very own juicy, delicious, and realistic burger!
Table of Contents
Use a Reference Photo of a Hamburger
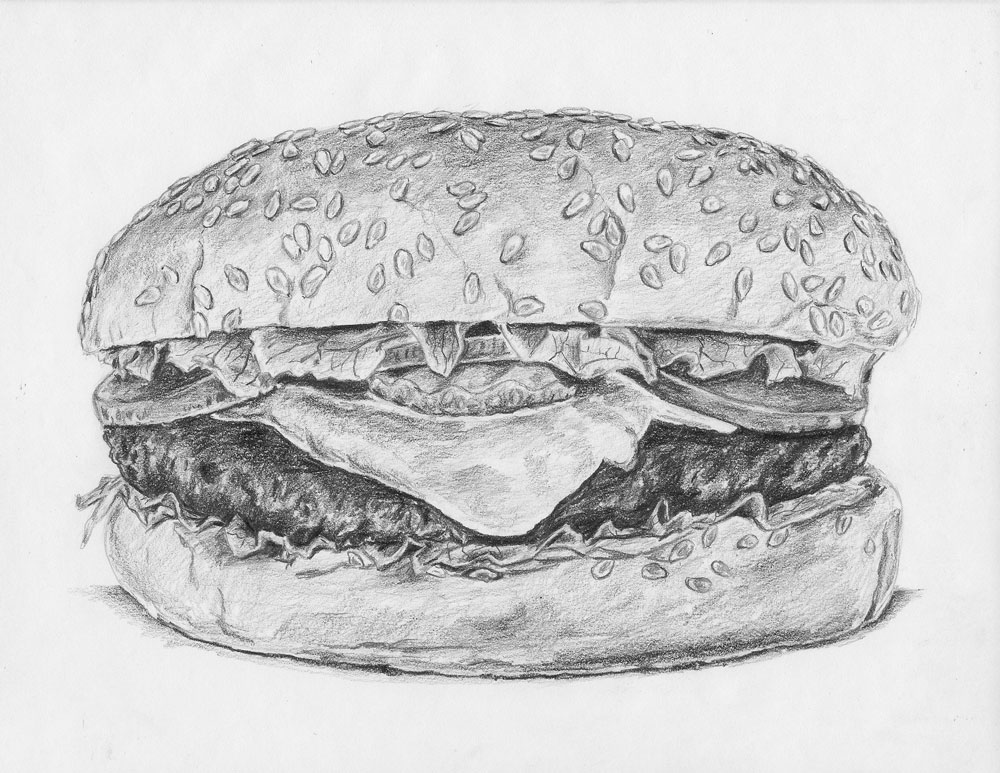
Here is the reference photo for this tutorial. It’s a tasty-looking hamburger with cheese, lettuce, tomatoes, onions, and pickles on a sesame seed bun.
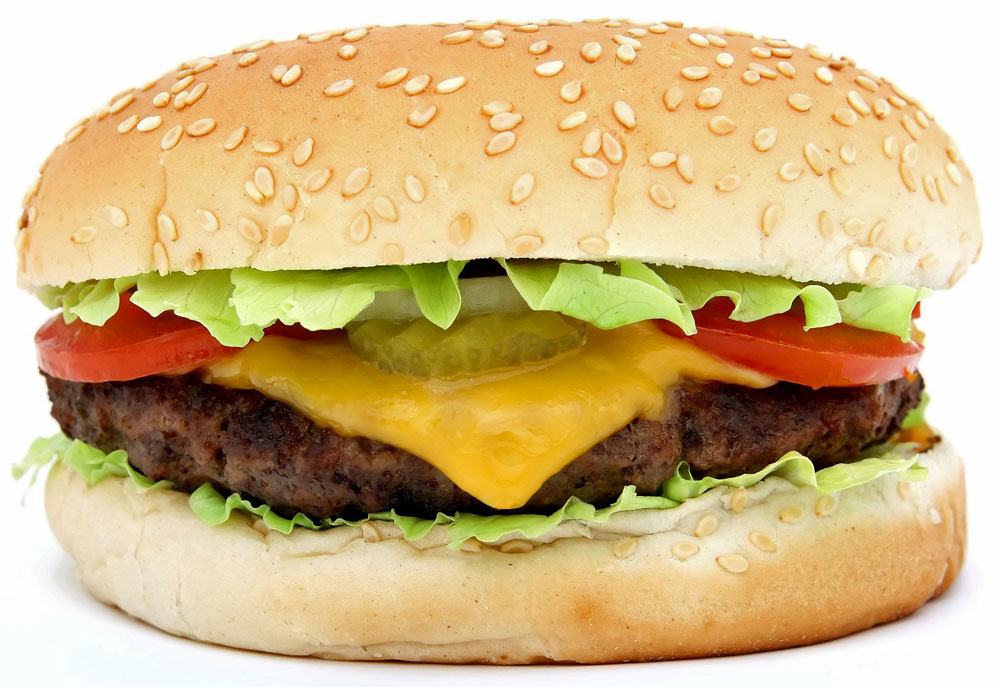
I will teach you how to draw this hamburger by freehand methods, although I did use some plot points to guide me during the drawing. If you wish to use the same plot-point resources I used for greater accuracy, you can access them in the full extended tutorial course.
You can use the same concepts you learn from this tutorial and apply them to drawing other hamburgers. The next hamburger you draw might have a different collection of toppings and other characteristics. I can tell you that I used this reference photo extensively to achieve the level of detail I was hoping for, so I definitely recommend a good reference photo to guide you in whatever hamburger drawing you attempt!
Materials Used for This Drawing
Here is a list of the materials I am using for this drawing.
If you don’t have some of these materials, that’s okay. You can still make do with a regular pencil and eraser, as long as you just get started!
If you wish to purchase any of these materials, they can be found at your local art store, or you can buy them using the links below.
Affiliate Disclaimer: The links on this page are affiliate links. I will receive a small commission if a purchase is made through one of these links. Learn more here.
- 2H, HB, 2B, 4B, and 6B graphite pencils
- Sheet of drawing paper
- Sheet of folded paper to prevent smudging
- Kneaded eraser
- Plastic eraser
- Dusting brush
How to Draw a Hamburger Video Tutorial
You can watch the time-lapse video version of this tutorial below. Watch it once all the way through to get a sense of the overall process. Then watch a second time and draw along with me, pausing as needed.
As an alternative, when you sign up for the Let’s Draw Today Newsletter, I will give you the extended video course version of this tutorial and 9 others (10 in all) as a free gift!
Free Bonus: Click here to get access to 10 free drawing video tutorial courses. Draw along with me in the full-length version of this tutorial and 9 others as I show you one step at a time my entire process for drawing each subject from start to finish.
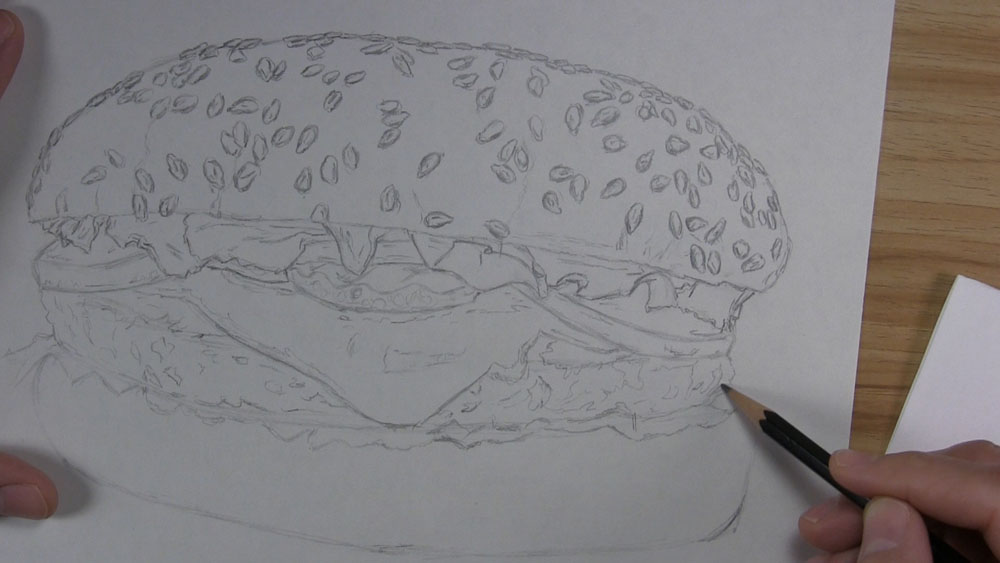
Draw the Outline of the Hamburger Bun
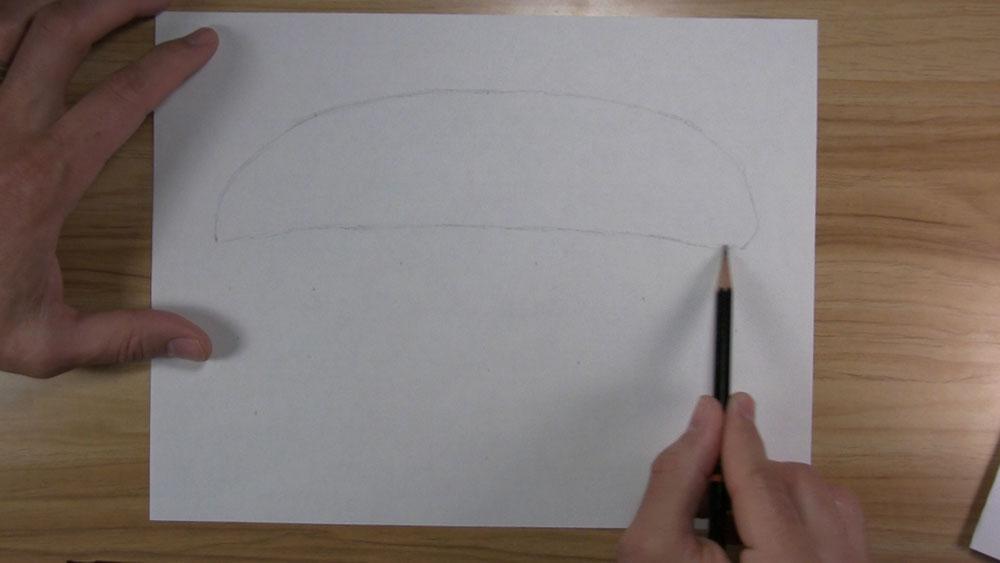
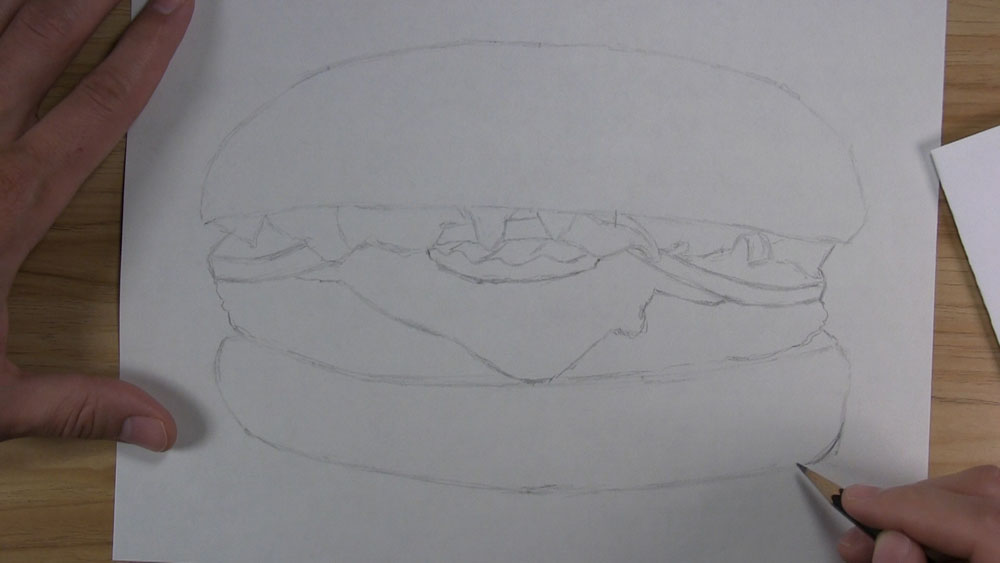
Start drawing the outline of the hamburger with the top of the bun. I will use a 2H pencil to draw the initial outline. Draw a round top and a flat bottom. Look at the reference photo to help you shape the line.
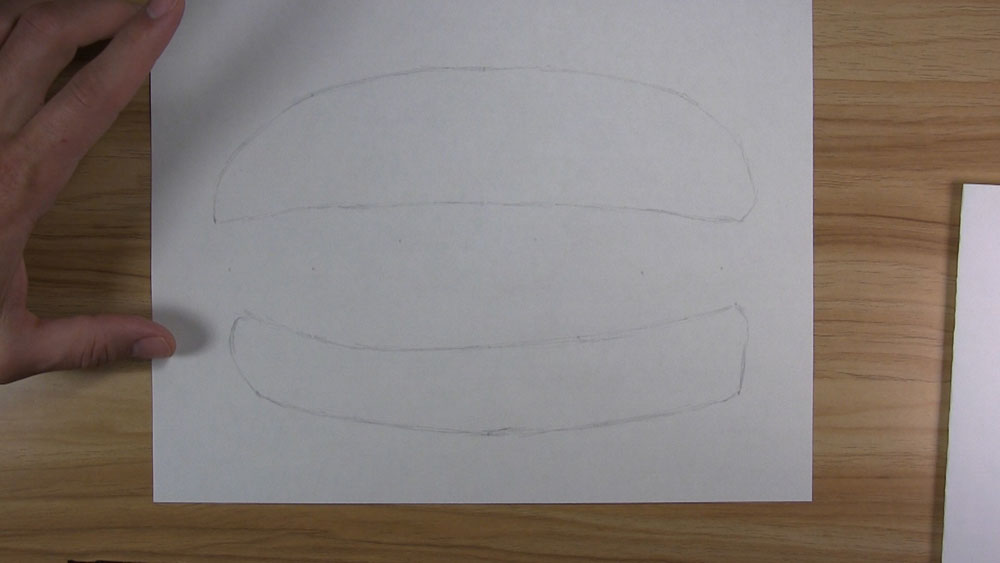
For the bottom bun, draw a curved side downward. Then draw the bottom edge of the bun. When you get to the right side, you may notice that this edge of the bun has a sharper corner than the left side. That’s okay, though. It’s perfectly normal for hamburger buns to lack perfect symmetry. Sketch the top edge of the bottom bun by using a curved line.
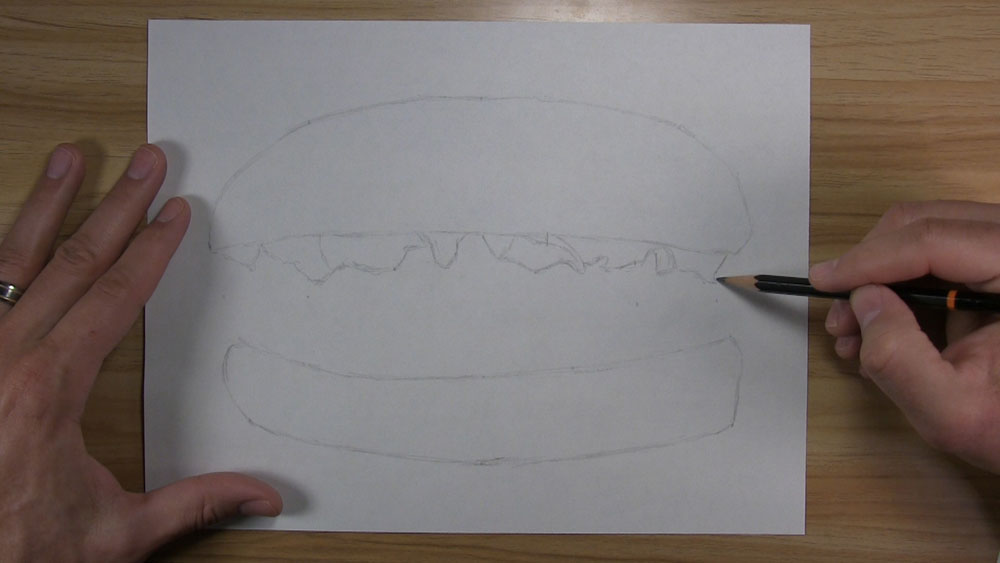
Draw the Outline of the Toppings
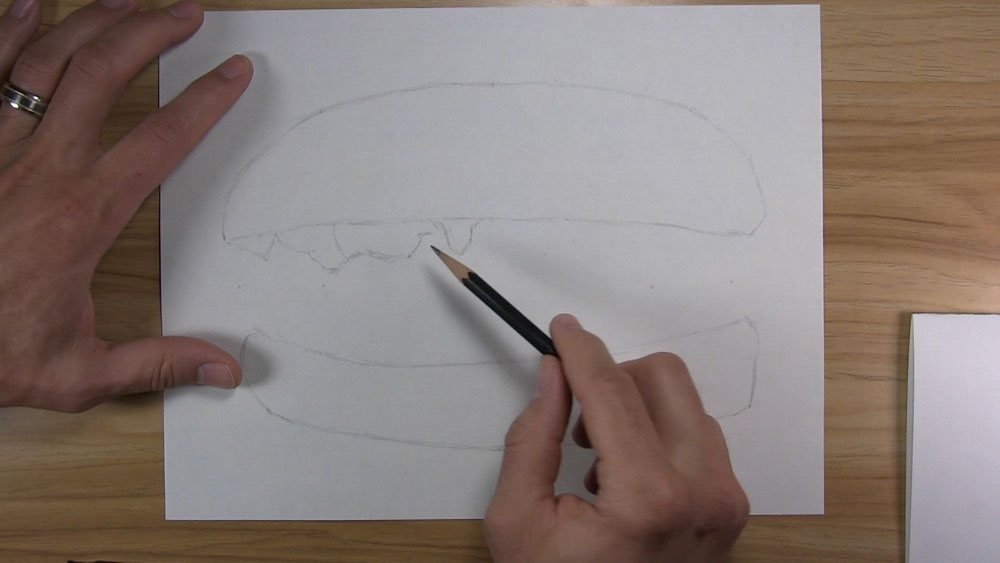
Now let’s sketch the outline of the first half of the lettuce on top of the burger patty. Look at the reference and make careful observations as you shape each lettuce leaf. Draw the tip of the second leaf a little lower than the tip of the first group of leaves. Draw a larger third leaf and a pointy fourth leaf just before the midpoint of the bun.
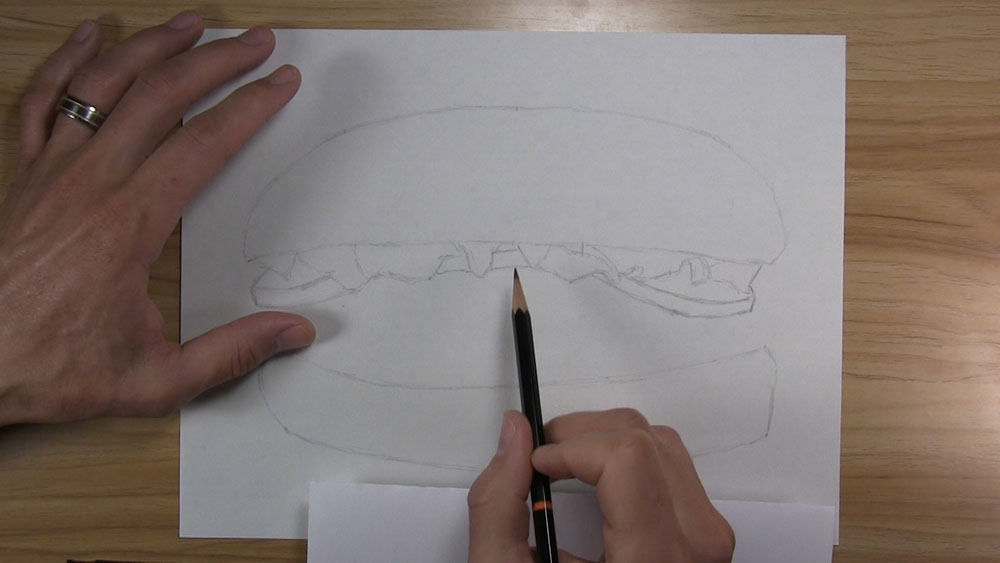
Sketch the outline of the second half of the top lettuce. For the first leaf, start with a triangle shape. Then draw a line from the lower tip of the triangle and back up towards the bun as you shape the leaf. As for the second leaf, it has two curves along its edge along with a flap at the end. For the third leaf, sketch a line going downward and then back up toward the right edge of the bun.
Next, we can draw the tomato and onion toppings. Draw a disc shape, something like a hidden oval with a thick side, for the first tomato slice. Draw the other tomato in a similar way. Then, draw a line connecting the two center lettuce leaves for the bottom of the onion. Continue the line between these two leaves. Finish the onion slice by drawing a short line for the top.
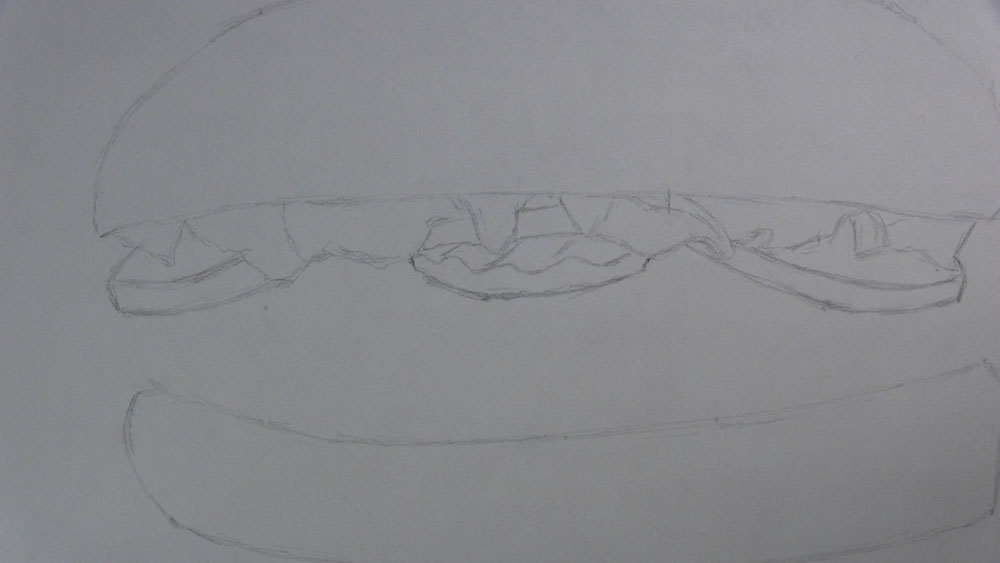
The next topping we are going to draw is the pickle. Sketch a curved line for the outer edge of the pickle. Next, draw the wavy top with a series of rounded peaks and valleys. Then sketch a few short, diagonal lines coming from the peaks to indicate the raised top surface of the pickle.
Draw the Outline of the Cheese, Burger, and Bottom Lettuce
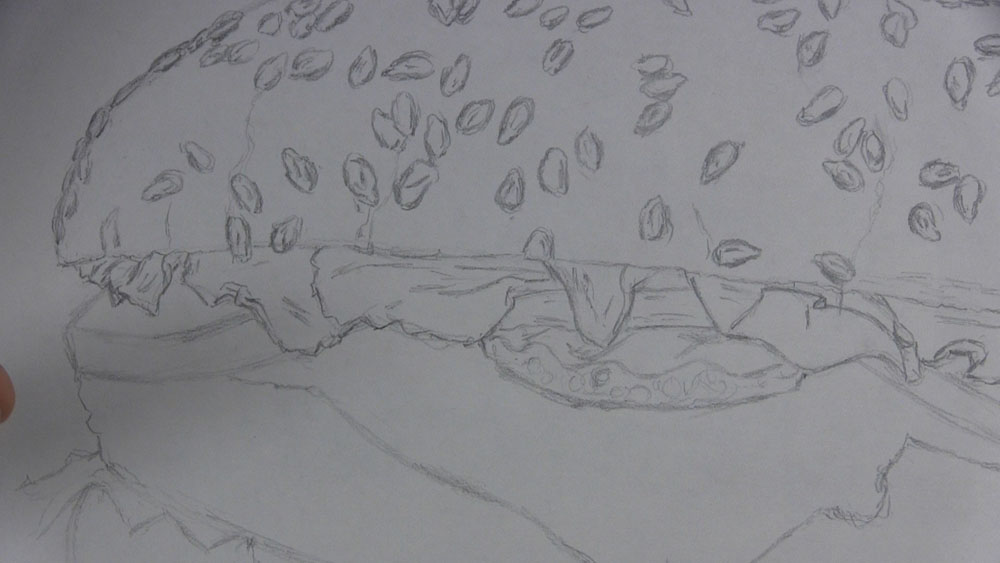
For the cheese slice, draw a line with a slight bend or two from the first tomato to the center of the top edge of the lower bun. Make the corner into a slightly wedged or rounded shape. From the corner, begin sketching a line going toward the other tomato. Draw a little bulge on the side of the cheese where it is beginning to melt on the hot burger. Finish the outline of the cheese slice by bringing the line over toward the other tomato.
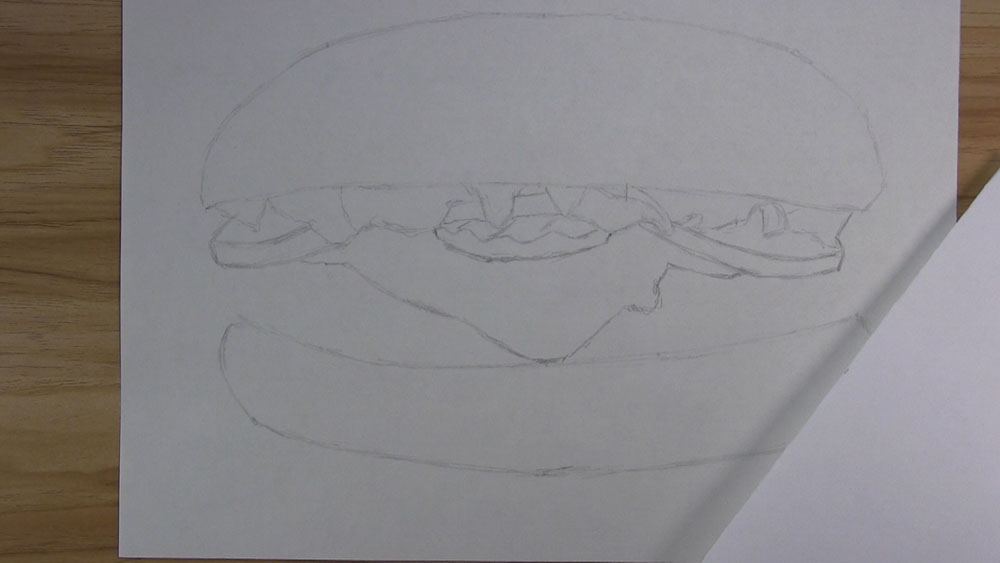
Now let’s draw the outline of the burger itself! Draw the first side as a bumpy line from the tomato to the bottom bun. Draw the other side of the burger meat in a similar way. Trail the line along just above the bun. This allows for some of the bun’s top edge to be visible. Draw a short line to finish up the corner of the bun. Continue sketching the bottom of the burger all the way across.
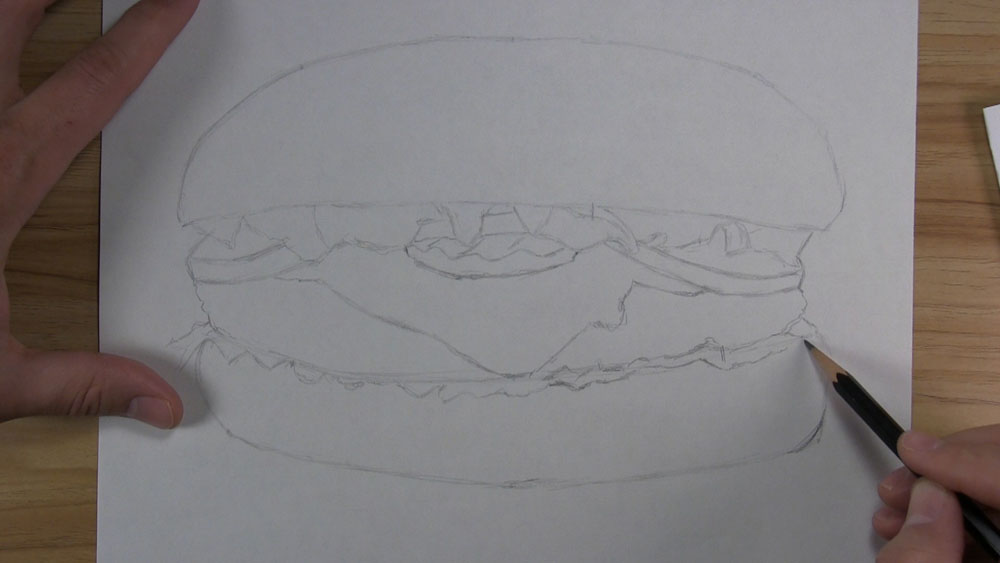
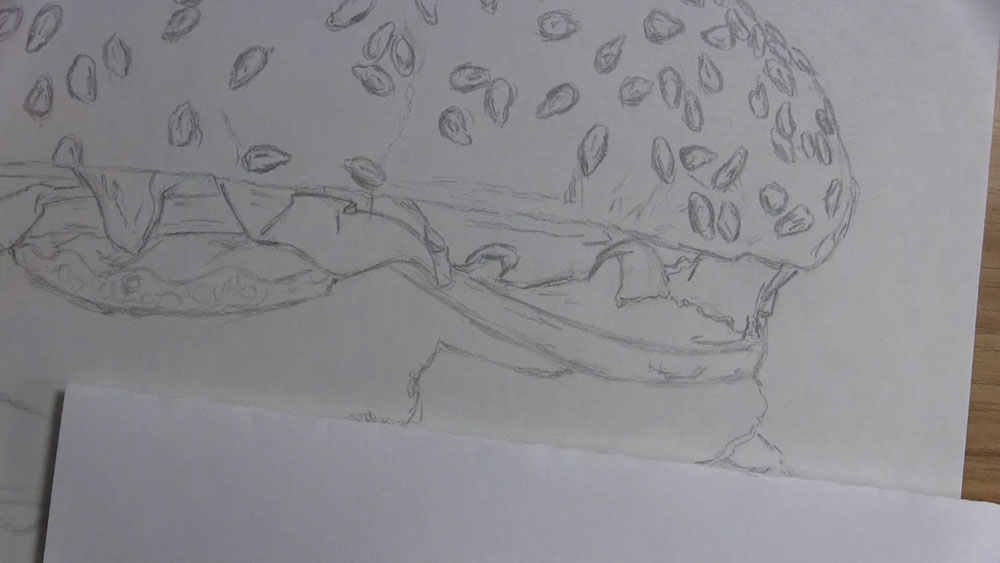
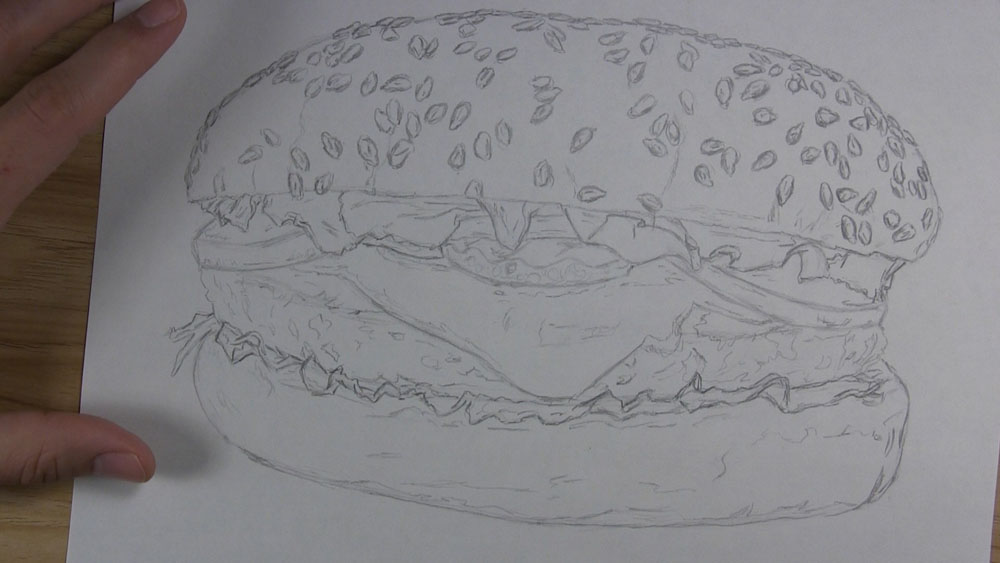
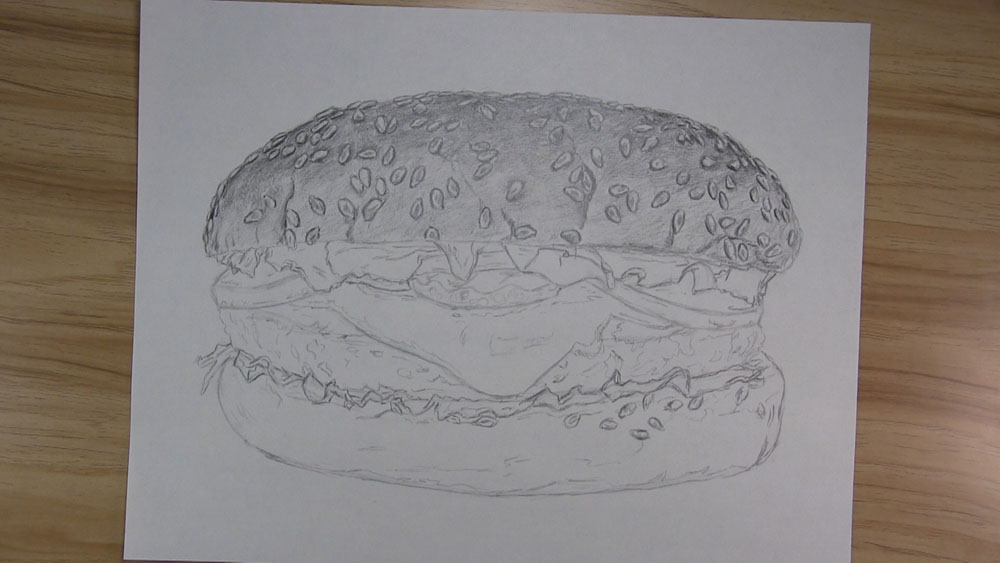
Let’s outline the bottom lettuce leaves now. Sketch a little piece or two hanging from under the patty on the outer edge. Continue to draw a wiggly line for the thin layer of lettuce between the burger and the lower bun. Draw another line above this one and overlapping the lower part of the meat. Finish sketching the lettuce outline nearly to the edge of the bun.
Draw Texture and Seeds on the Hamburger Bun
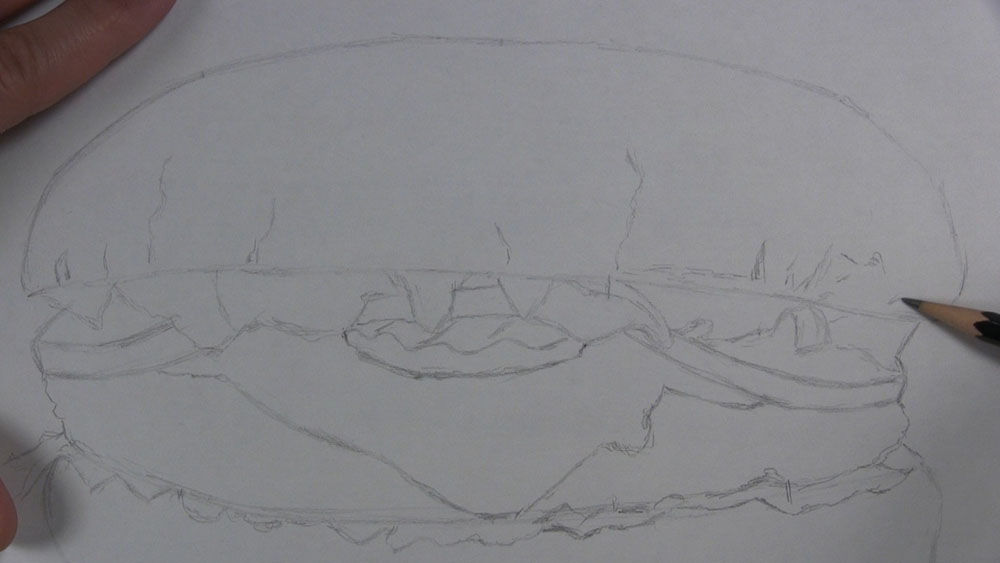
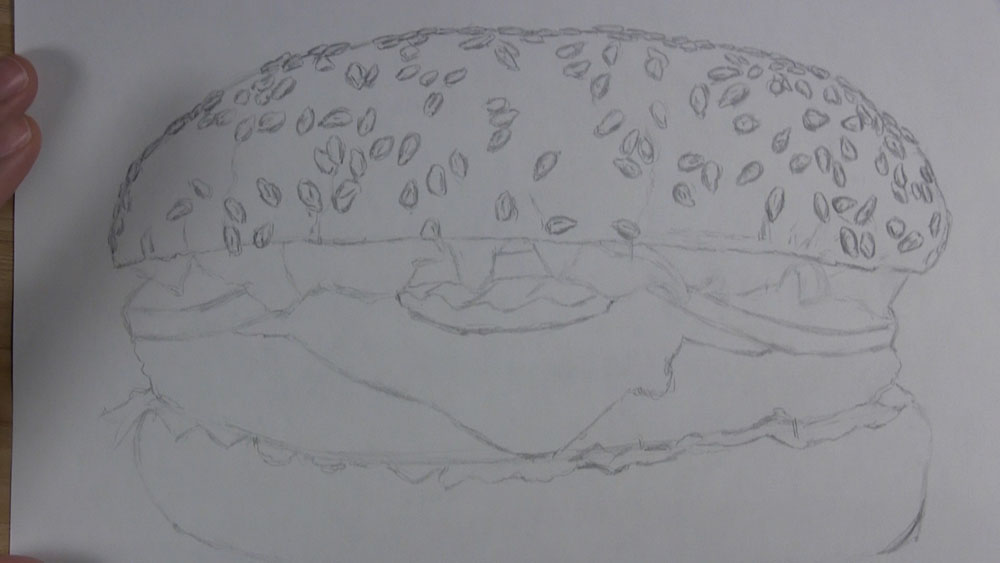
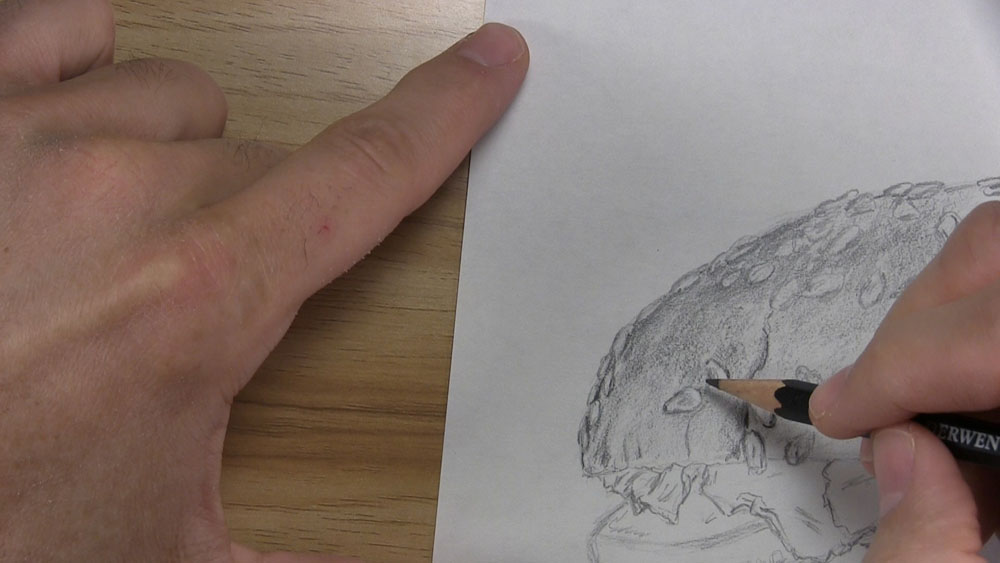
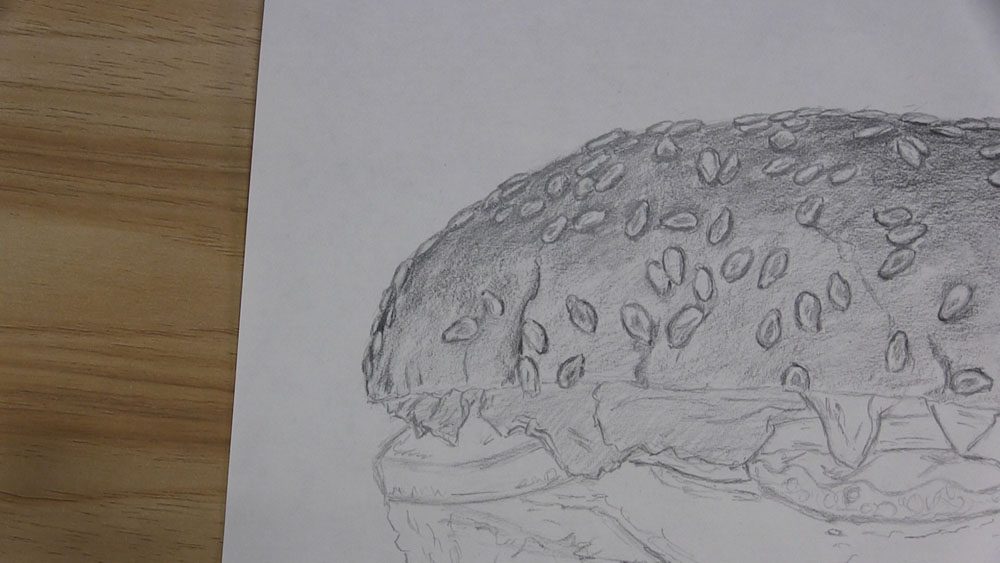
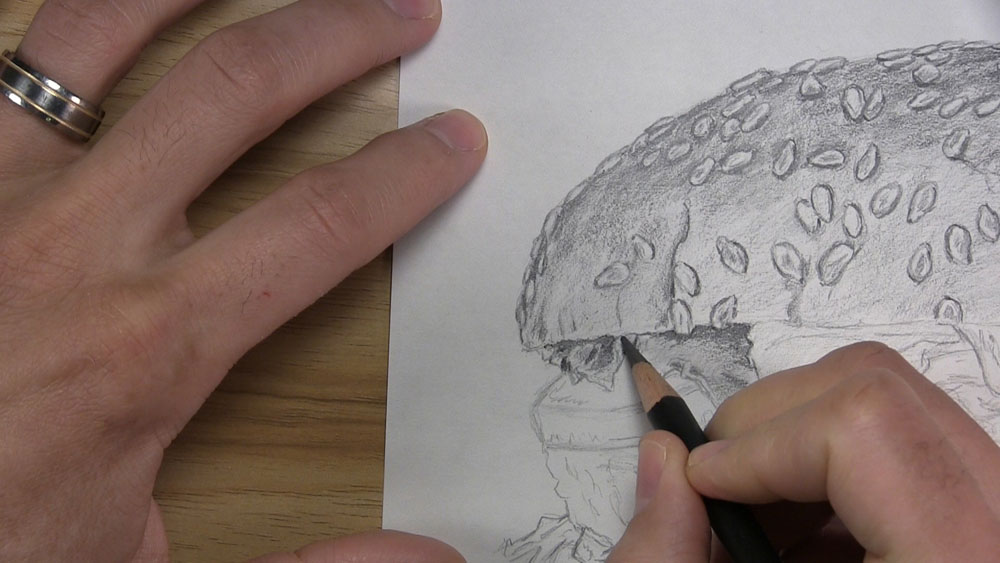
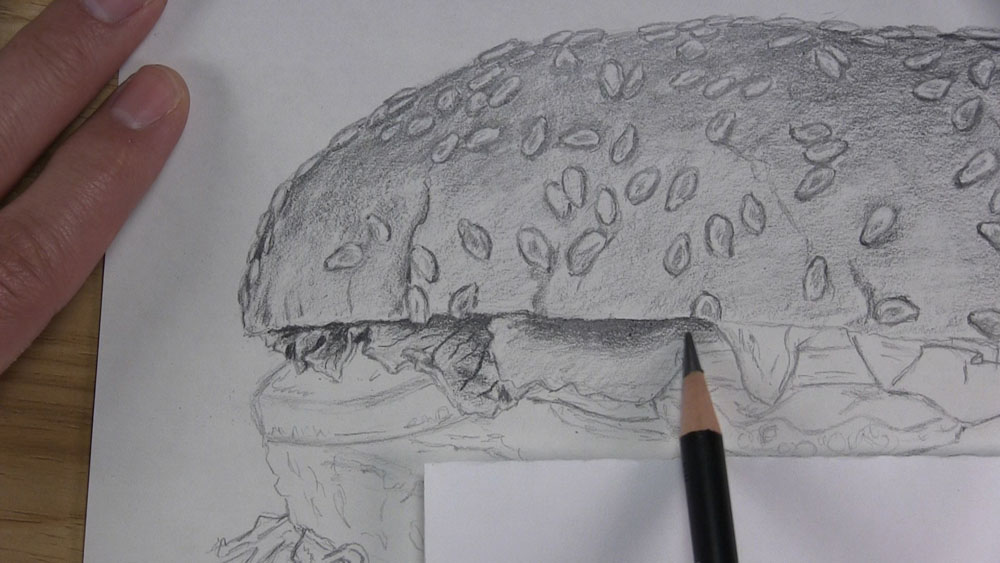
Next, let’s add some texture to the bun. Draw some subtle cracks or little indentations just above some of the lettuce leaves and along the edge of the bun. Draw a few of them taller but keep most of them short. Use light pressure with your pencil. We don’t want these to look like deep cracks.
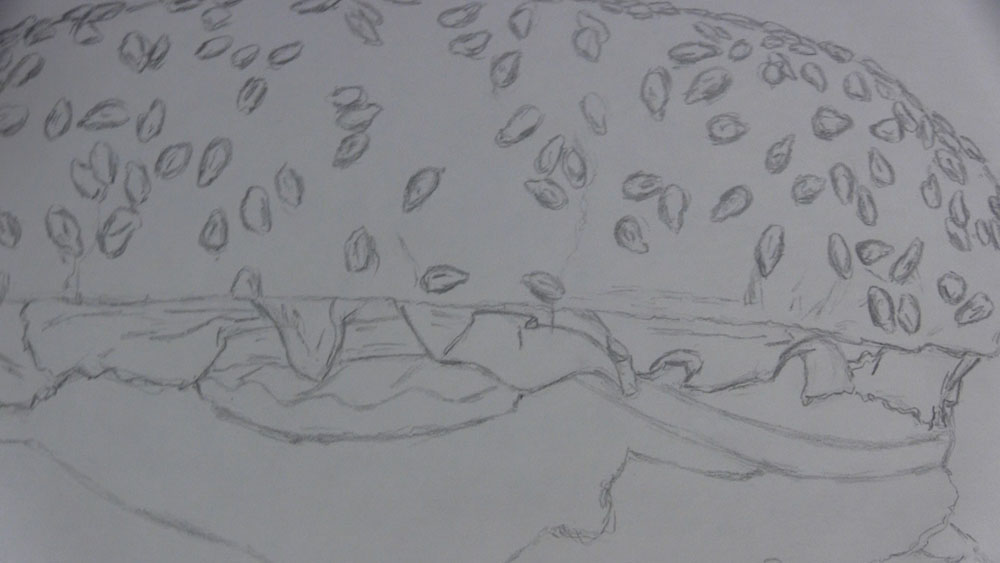
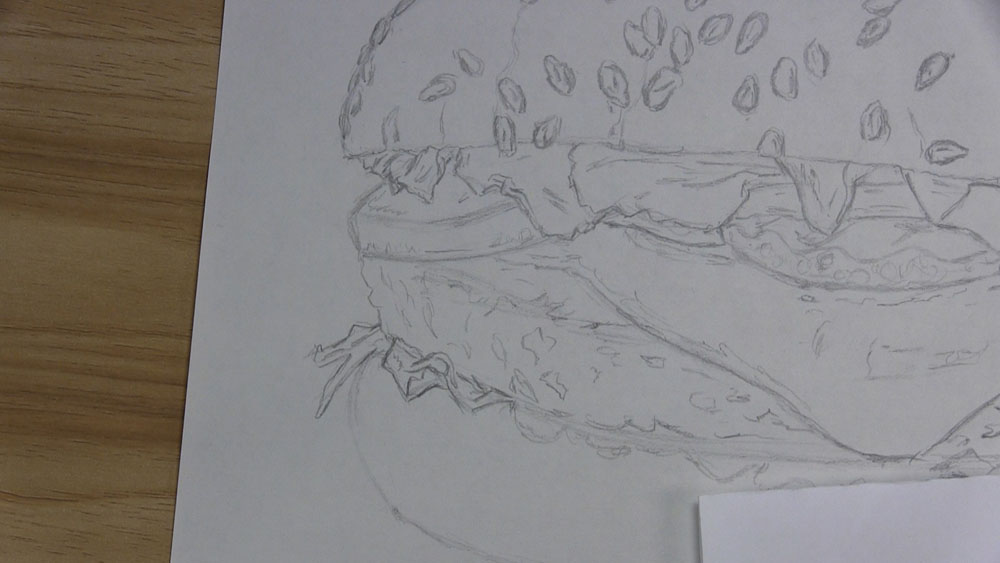
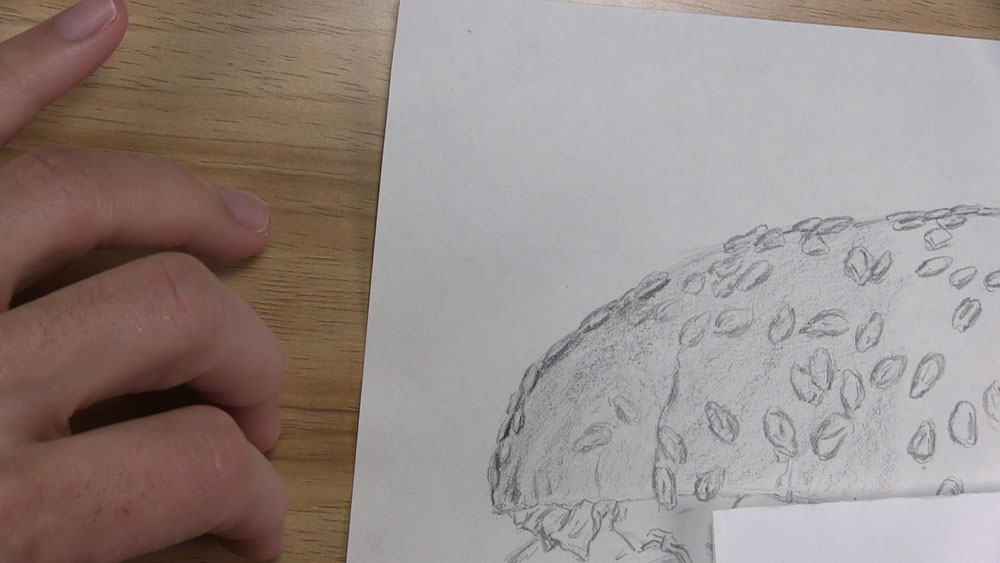
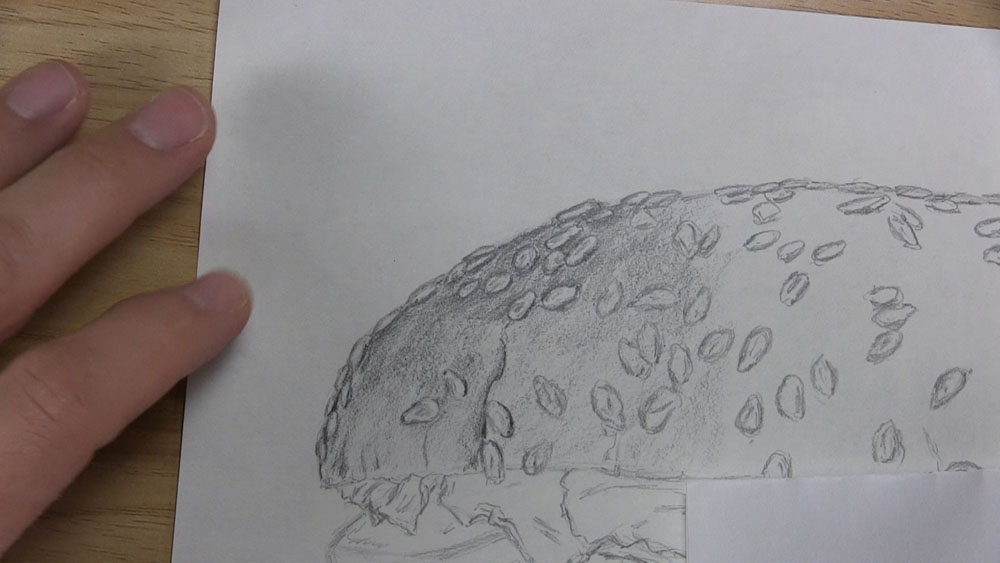
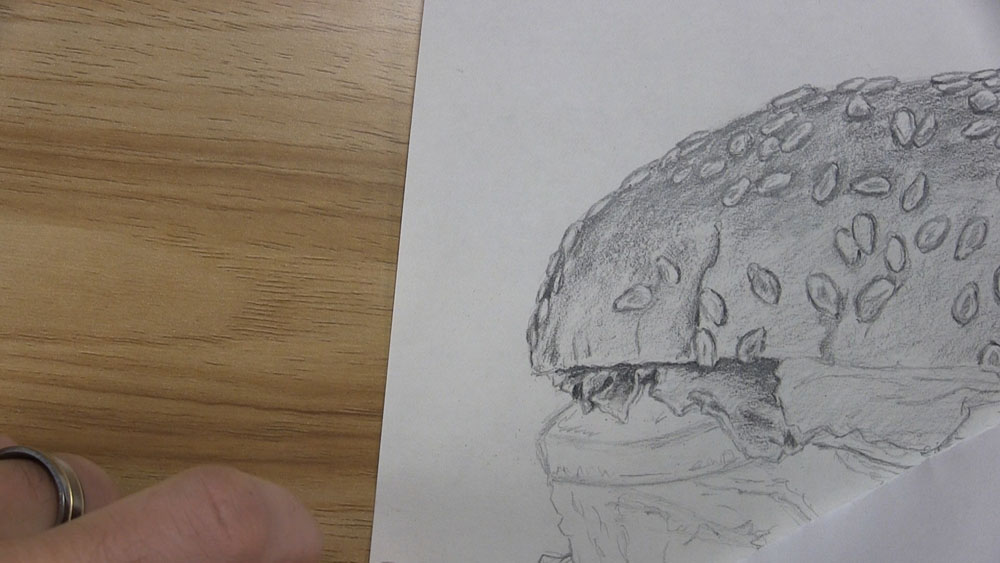
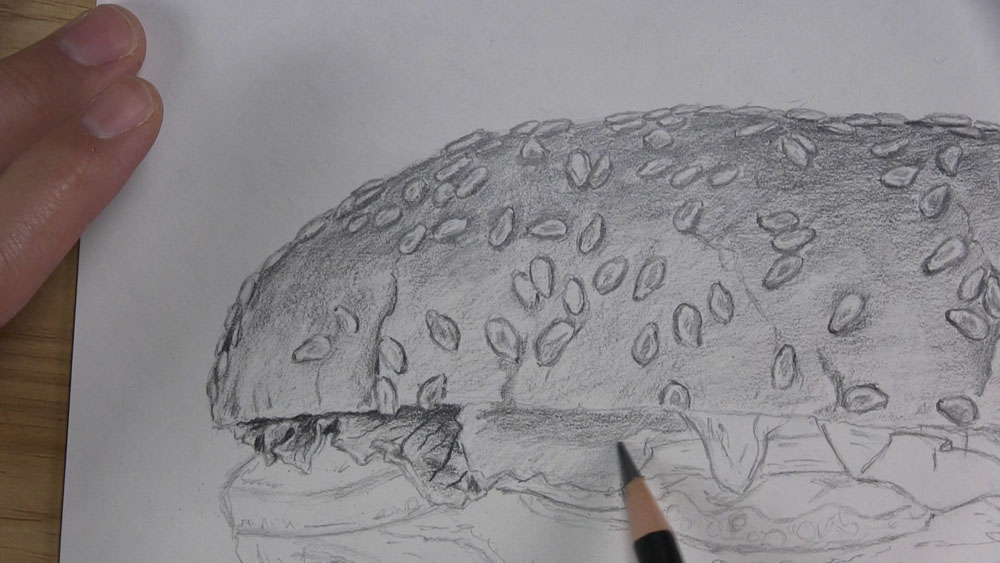
Now it’s time to add sesame seeds. Draw tiny seeds overlapping the outer lower edge of the bun. Draw a few more seeds close by the edge. Continue to draw more sesame seeds on this upper left area of the bun. Remember to maintain a shape and size similar to the surrounding seeds. Draw a short line in some of the seeds to represent the tiny dent found on a sesame seed’s surface.
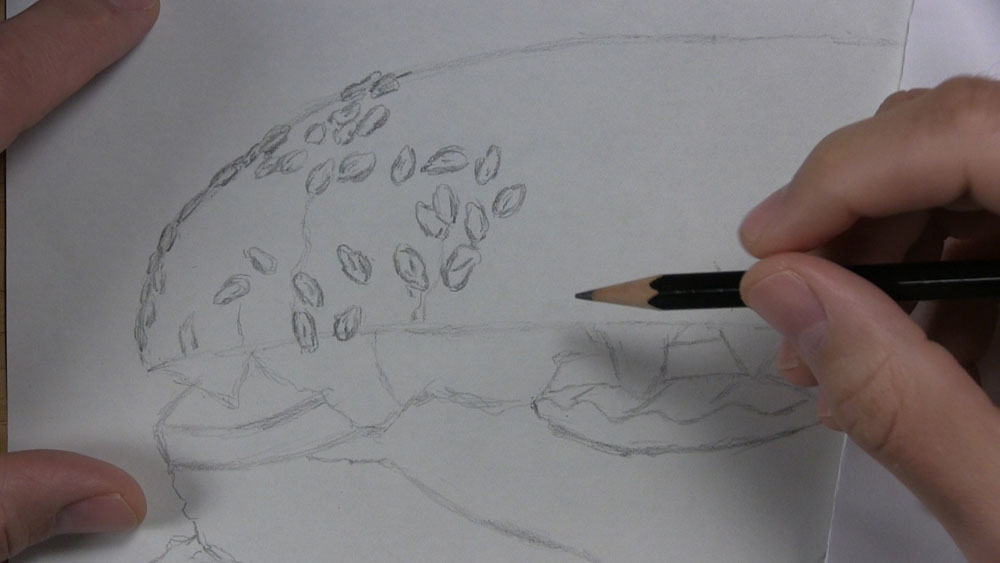
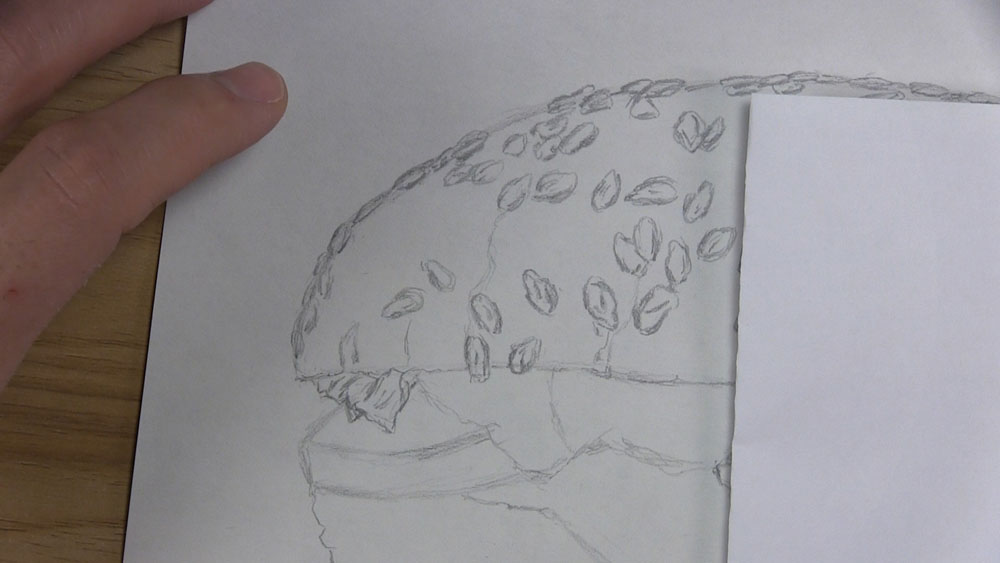
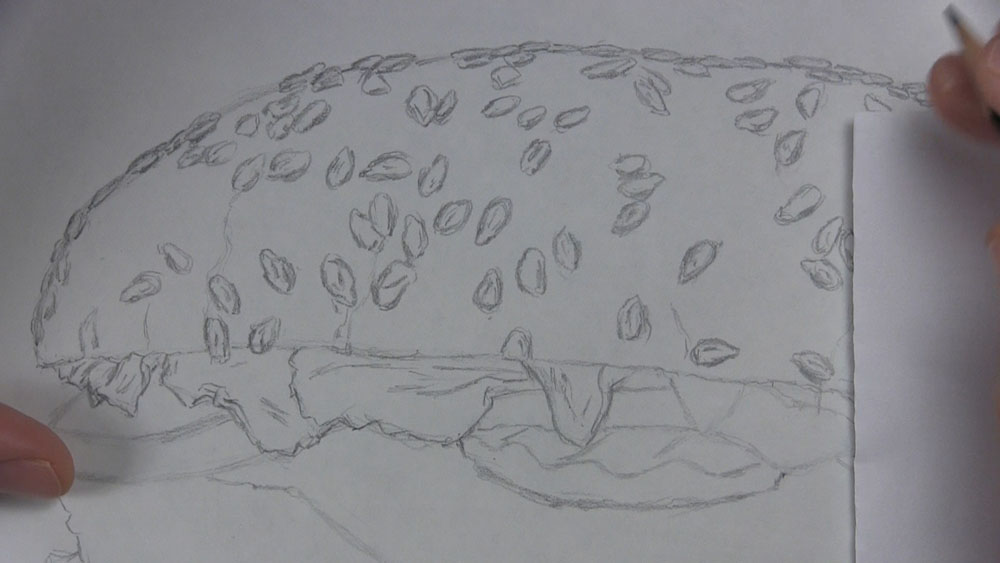
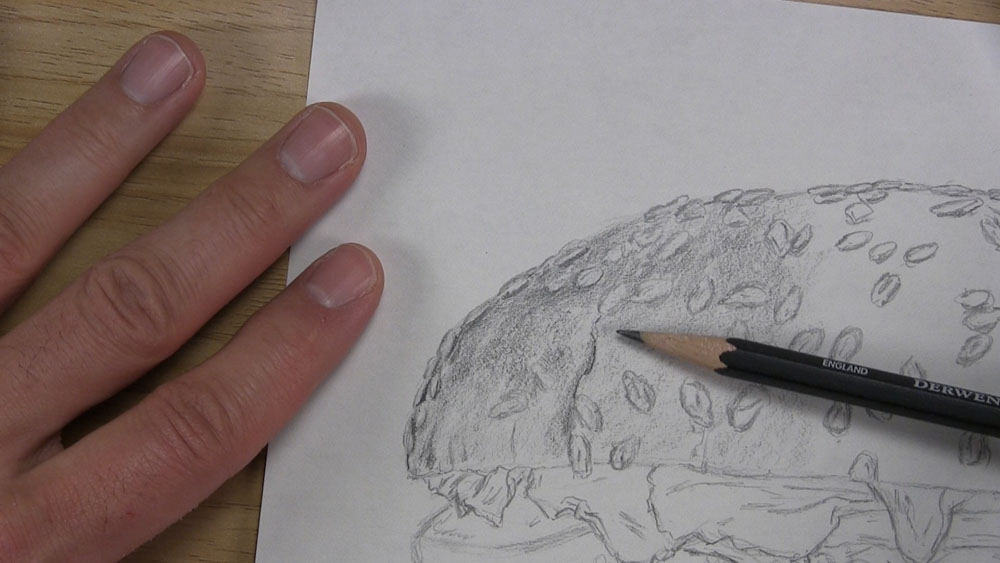
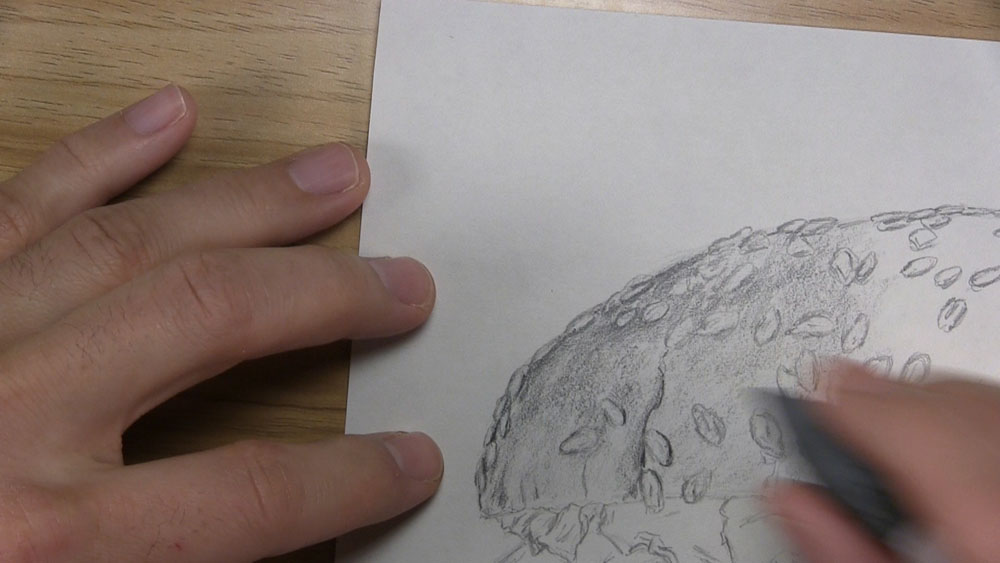
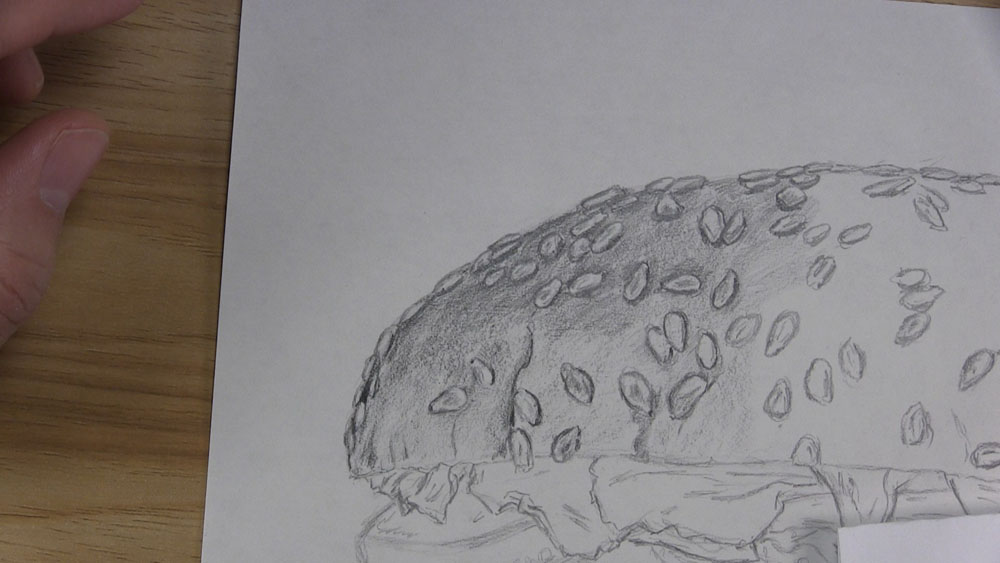
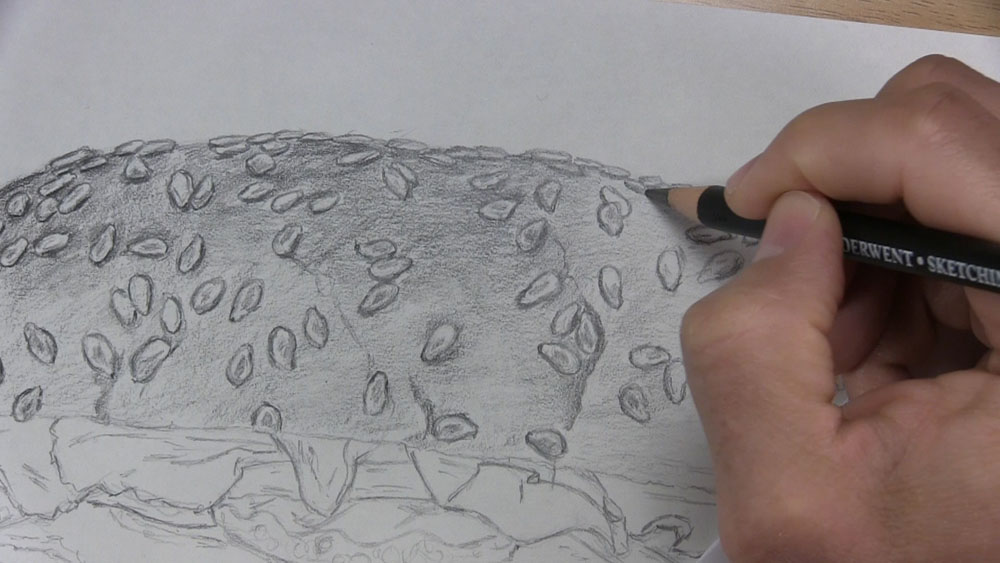
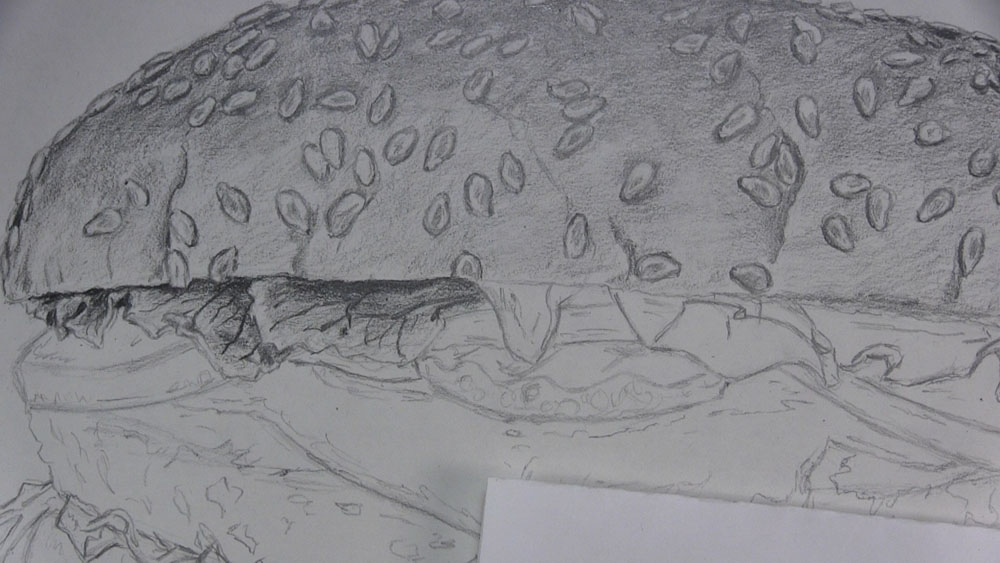
Let’s keep going by adding more sesame seeds to the top of the bun. Draw some seeds in close clusters and other seeds by themselves. Draw seeds arranged at different angles. Use very narrow shapes to draw only the sides of the seeds along the bun’s top edge. For the others, you can sketch a circle or oval shape and then sketch the tip at one end. Keep going until you have most of the surface area covered with seeds. If you’d rather draw fewer seeds, there’s nothing wrong with that either!
Add Details to the Top Lettuce and Onion Slice
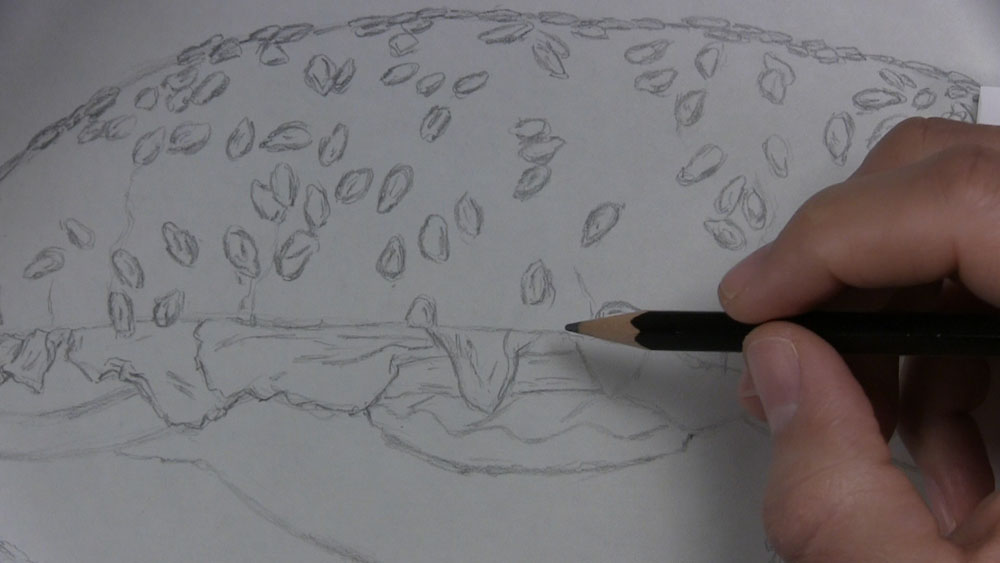
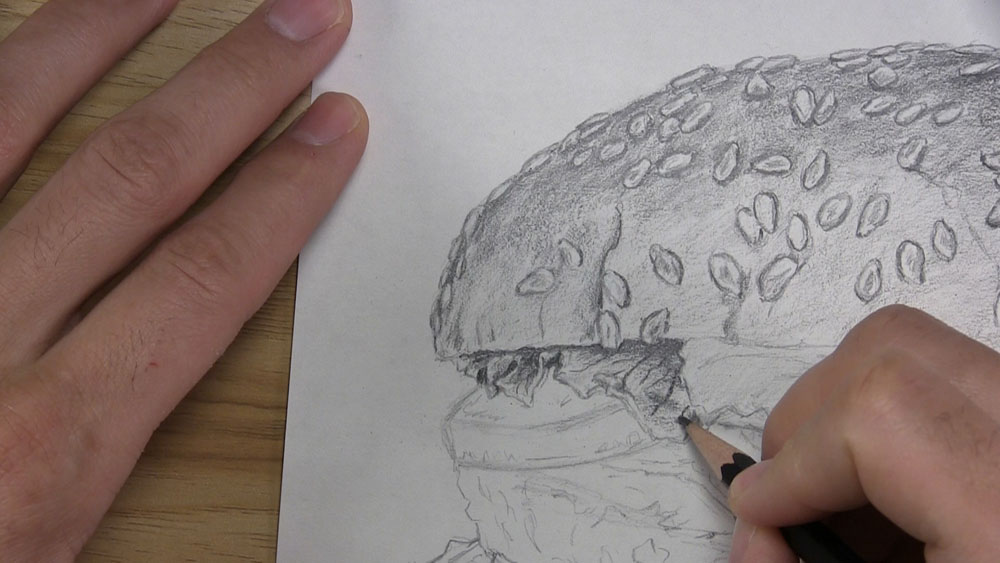
Begin to define the outline of the first group of lettuce leaves. In addition to the occasional tears along the edge of the leaves, put little wiggles along the edge to help shape the outline. Sketch a few lines running from the edge up toward the top bun to indicate separate leaves as well as ruffles and folds in the lettuce.
Use the reference to help you shape the wiggly edge of the next leaf. Then sketch some short lines on the leaf itself. Keep checking the reference photo to make adjustments in the shape until you have a close resemblance. Repeat this with the next leaf. The fourth leave has a smoother edge. Draw a line on the leaf close to the edge that curves over the onion and rides along the side. As you can see, it’s really not that difficult to draw a lettuce leaf!
As for the onion slice, there’s not much to do right now. Sketch a few light horizontal lines. Just do so between each lettuce leaf.
Let’s start outlining the outer edge of the next leaf. There are some interesting folds happening with this particular lettuce leaf. Now move on to the leaves after that. Outline and define the shape along the edge of the leaves. All it takes is a few simple but deliberate short markings to make these folds in the lettuce look realistic and believable.
Draw Details for the Other Toppings and the Hamburger Patty
On the pickle, use light markings to indicate value changes, like under the leaf, under the onion, and under the onion and leaf on the other side. On the side of the pickle, the reference photo shows us that there are these numerous circular spots. Very lightly sketch the indication of these spots with various circles on the side.
Next, add more detail to the tomato slices. There are subtle waves and dents on the surface of the slices. Lightly sketch a few loose marks along the bottom edge. Then put a few marks on the top. On the other tomato, we’ll do the same thing.
In these next steps, sketch some lines that differentiate between the light and dark areas on the cheese slice. Sketch a glossy reflection under the pickle. There’s some shadow to the right and the left of the pickle. Now sketch a wiggly line going down the left side of the slice of cheese, a shiny highlight in the middle, and a wiggly line along the other side.

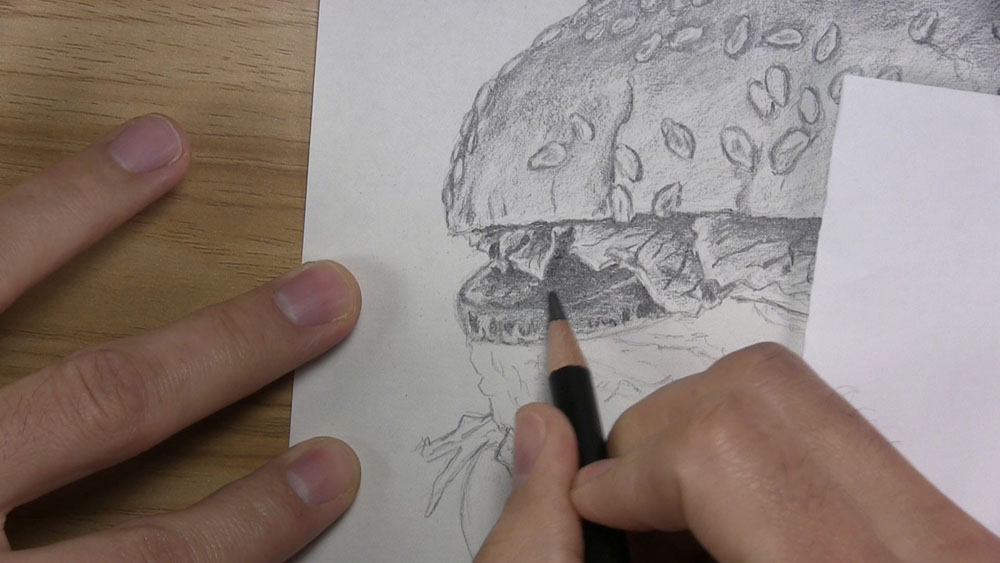
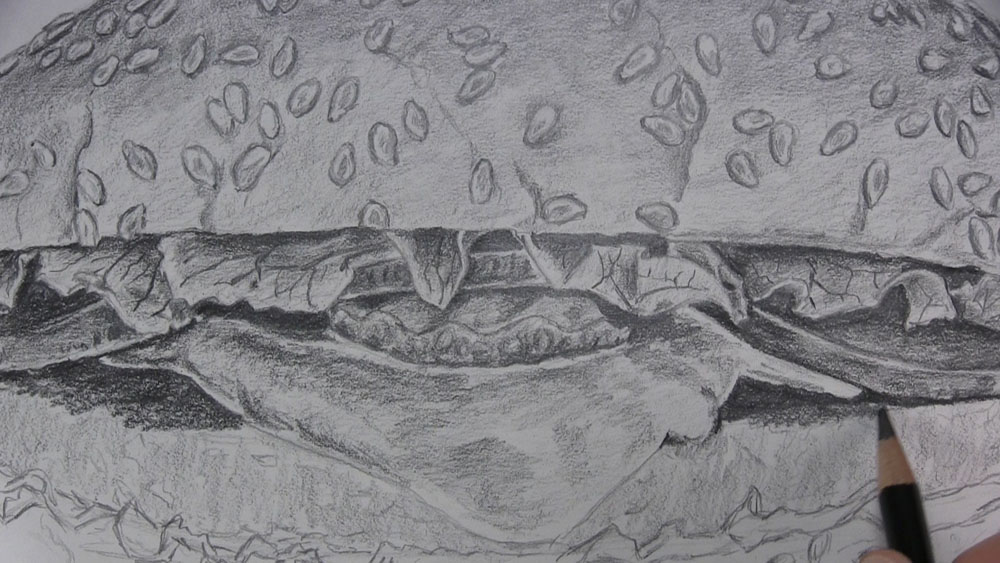
Now let’s focus our attention on the burger itself. Start with a light line to separate the top surface of the patty from the patty’s side. Then, loosely sketch the bumps and dents in the meat that give it its texture. Most of these wavy shapes I am sketching are dark, shadow areas on the meat.
Add Details to the Bottom Lettuce
The next step is to add details to the second and much thinner layer of lettuce. I’ll begin over here on the left side by outlining this strip and sketching another arm extending farther down. Sketch some lines in the middle. Trace over the outline of the next leaf. Draw two little humps to show where this lettuce leaf is folding up and towards us. Trace along the burger and draw some curved lines to show where the lettuce overlaps the lower edge of the meat.
At this point, all we need to do is simply continue doing what we just did with the previous lettuce leaves. We already have the basic shapes established from the initial sketch. Look for little details from the reference that you can replicate, simple things like where the lettuce overlaps the lower part of the burger meat. To help you with drawing all of the ruffles and twists and folds in the individual lettuce leaves, the best thing to do is slow down and take it one small section of leaf at a time. Continue outlining the lettuce all the way to the end.

Add Details and Seeds to the Bottom of the Bun
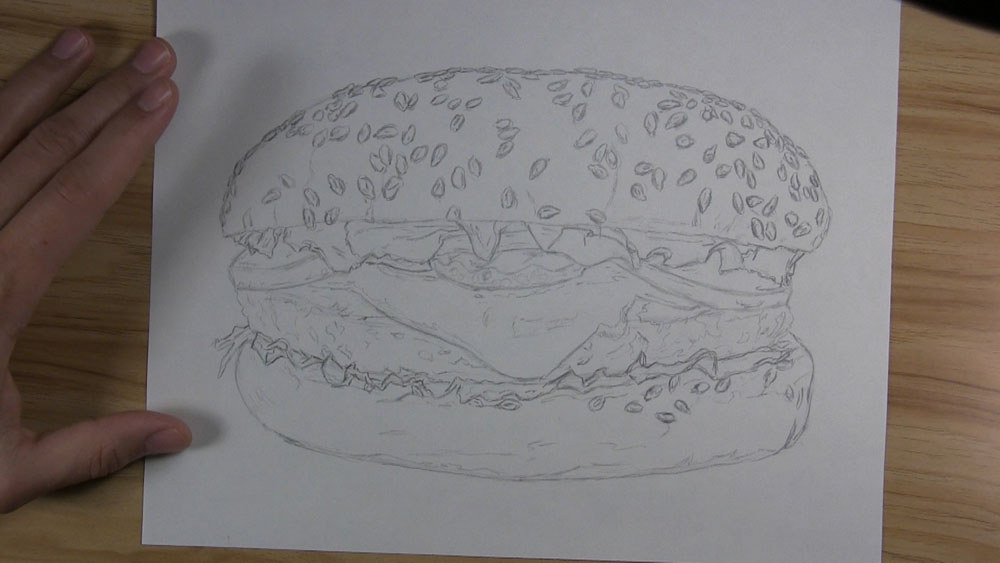
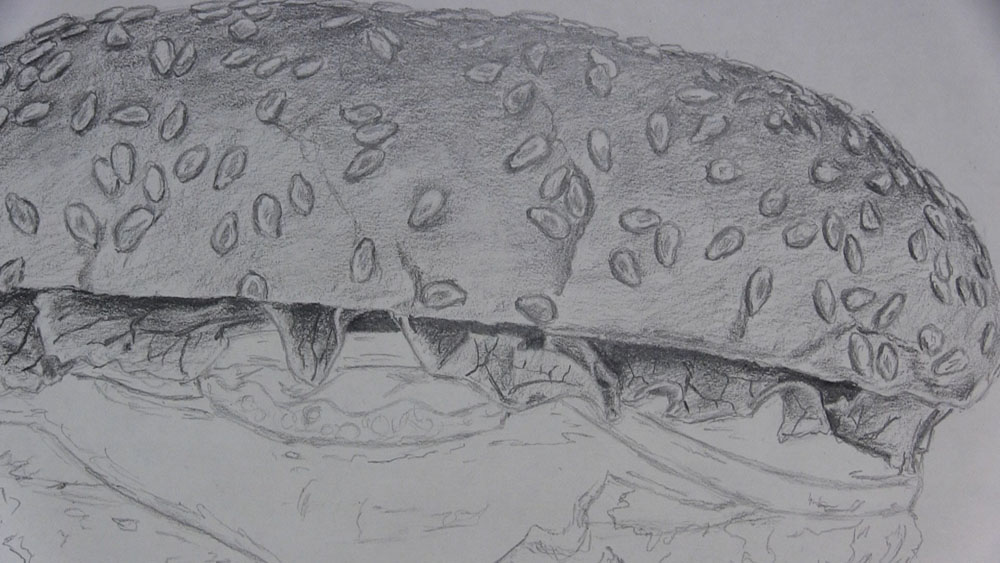
Now we’ll move on to the lower bun. Add a little bit of texture and darken the outline. Put some very light marks to indicate soft bumps and breaks in the surface. Starting at the lower right corner, draw vertical marks that curve upward from the edge. While adding the texture marks, use a very light touch that barely grazes the surface of the drawing paper.
Draw some sesame seeds on the lower bun. Don’t draw nearly as many seeds as you did for the top. Draw some of the seeds tucked away under the lettuce and tucked into the bread. Draw a small cluster of seeds on the right side.
Begin Shading the Bun on Top
Now that the outline is complete, let’s begin the shading process. We’ll use an HB pencil to shade a base layer of light tones on the top left area of the bun. Lightly shade over the sesame seeds too. Darken along the edge of cracks you see in the surface just enough so they don’t get lost in the base shading.
We can use a 2B pencil for some midtones and shadows in some of the lighter areas. Shade along the edges of the seeds. Put some shading along some of the shallow cracks in the bun too.
Looking at the reference photo, you can see that the top of the bun and especially this left side is like a golden-brown color. The lower part of the bun around the edge is much lighter. Use your HB pencil to shade another layer of tones over the base layer. This time, shade mostly around the seeds rather than over them. Put some additional shading along the tall crack.
Draw Details on the Seeds of the Hamburger Bun
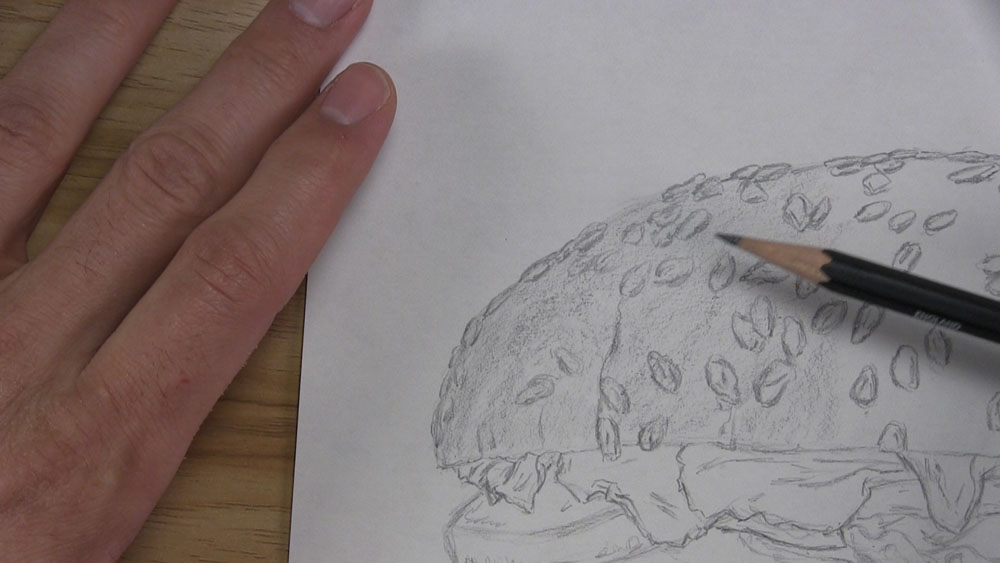
Begin tracing around some of the seeds. In addition, put some light shading adjacent to the seeds where they are affixed to the bun. Go back to the 2B pencil to touch up next to the seeds. Put a layer of shading with the 2B pencil along the very top edge of the bun. Work around the seeds. Bring this graphite down a little but not too much. Make sure to maintain the light values of each seed so it can stand out against the darker bun.
You can use the tip of a kneaded eraser to lift graphite away from any seeds or other areas that are darker than desired.
If you do lift any graphite from the seeds with a kneaded eraser, it may be necessary to go back over some of the seeds to replace any details that were mistakenly erased, such as the curved lines inside.
Keep working to outline the seeds on the upper left part of the bun. Also, keep shading around the seeds so the bun has a darker shade and the seeds have a lighter shade. The outlines of the seeds should be a little darker than the surrounding tones, but not too much, and ideally only darker where the shadow areas are located around each seed. Remember to occasionally add light shading on top of some of the seeds.
Bring some of the tones down from the top of the bun. Try to maintain a gradual transition from dark to light. Keep working your way across the bun. Add shading in a similar way. Once you know what to do, and you realize the repetition involved in a drawing like this, there’s not much required of you besides persistence and patience.
Shade the Rest of the Bun on Top
We’re pretty much done with the left side of the bun. Now we’ll focus on the center. Similar to what we did with the left side, here we’re going to put a light base layer of tones over the drawing surface. Next, develop the details in the seeds. Then shade the bun area around the seeds. Make sure to add some shading along the cracks in the bun.
Okay, for the remainder of the bun, we’ll start with a base layer of shading, just as we did previously. Add details to the seeds by tracing around the outline and putting shadows next to and inside some of them. Put another layer of shading near the top of the bun. Shade around all of the sesame seeds. Remember to gradually lighten your touch as you get farther down until the top bun is essentially complete!
Begin Shading the Top Lettuce
Now we can work our way down to the toppings. We’ll focus on the lettuce first with some preliminary shading of a base layer on the first leaves. Use an HB pencil to very lightly shade the first leaf bunch. Then move on to the second lettuce leaf. Finish up with the third lettuce leaf in the same manner.
Next, we can apply some darker shadows to the individual lettuce leaves. Switch to a 2B graphite pencil. Put some shading on the very first leaf on the left. Now put some shading on the leaf next to it. Avoid shading over the entire surface of the leaf. Leave some spots open so you can see the lighter base layer showing through. Then move beyond the first pair of leaves to the much larger second leaf.

Now let’s use a 4B pencil for some of the heavier tones. Apply a darker layer of shading on the first pair of leaves just under the bun and on the right side of the first group of lettuce leaves. Similarly, put the some dark shading just under the bun and on the right side of the second leaf. Gradually lighten your tones as you get farther away from the edges.
Add Fine Details to the Lettuce
Switch to an HB pencil. Add some fine details to some of the folds on these lettuce leaves. Use the reference photo to help you better define and sharpen the individual folds that you see along the leaves’ edges. A kneaded eraser can help you to lift a few highlights.
Use your pencil to draw thin veins on the surface of the lettuce. Draw a couple more lines on the second piece of lettuce. Have these veins run from the outer edge of the leaf to underneath the top bun. Draw some secondary lines going at a slight angle toward the main veins. Rather than drawing random lines, pay attention to the contour of the lettuce and draw lines that curve along with the surface.
Shade the Next Lettuce Leaf
Moving on to the third lettuce leaf now, begin shading the area underneath the bun with a 2B pencil. We’re laying the foundation now for the shadow that the top bun is casting onto the lettuce. We will develop this shadow so it is nice and dark, just like the shadows on the previous leaves we shaded.
Now, we’ll use a 4B pencil to apply the heavier tones of the cast shadow. Begin by outlining directly below and along the lower edge of the bun. Then shade the area immediately below the edge of the bun. Bring the graphite down but not as far down as the midtones that are already in place. Then switch back to a 2B pencil to blend the darker tones above into the midtones below it.
Now go to the HB pencil. Overlay a little more shading on the lower portion of the lettuce leaf. Draw some veins and place some dark outlines along these veins on the right side of the leaf. Try lifting a highlight or two directly alongside the dark outlines with a kneaded eraser. Make a little shadow that this third lettuce leaf is leaving on the leaf next to it. Draw some additional veins, including thinner veins that branch away from the primary veins.
Shade the Rest of the Top Lettuce
So now that we’ve got the hang of it, let’s focus our attention on the remaining lettuce leaves. Use the HB pencil to lightly shade the fourth and fifth leaves, followed up by some midtones with a 2B. Use a 4B for some darker shadows, and add some veins too. Do the same for the remaining leaves. Start with a light base layer of shading followed by some shadow tones. Shade a deep shadow along the edge of the bun. Draw veins from the dark shadow underneath the bun to the lower edges of the leaves.
Shade the Tomato Slices
The next topping we are going to shade is the slice of tomato on the left side. Start with an HB pencil. Lightly shade the narrow edge of the tomato slice. With a 2B, sketch some ridges on the lower edge. Then shade the area just above these ridges. Then put some shadow on the top of the slice and a little more on the side next to the second lettuce leaf.

Switch to a 4B pencil. Place some marks to indicate the impressions on the side of the tomato slice. Put some shading on the side of the tomato next to the leaf. Next, put some additional shading on the top surface of the tomato slice. The darkest tones should be closest to the lettuce leaves, since this is the area where the lettuce casts a shadow on the tomato slice.
Get a 4B pencil to shade the rest of the tomato slice that is visible directly under the third lettuce leaf. This portion of the tomato is tucked away under the lettuce, so its surface consists entirely of shadow.

Now, shade the other tomato slice. Lightly shade the side. Overlay some darker tones, but leave some of the lighter areas exposed to show through. Then, begin to establish some shading on the top surface of the tomato slice. Go back with a softer pencil to overlay darker tones on the side and the top. Leave a little rim of lighter value. Bridge the lighter and darker areas on the tomato slice.
Shade the Onion, Pickle, and Cheese
Lightly shade the onion slice and add some darker shadow. Sketch a few vertical ridges on the onion slice for texture. As for the pickle, shade the peaks while curving your strokes to fit the contours. Very lightly shade the side. Then, start placing some of the midtones and shadows. Outline the little circles on the side of the pickle slice. Develop midtone areas by shading away from the shadows. Shade the side with a light touch so the circles remain visible.
We’ll now draw shading on the cheese of our “cheeseburger” hamburger! Use a kneaded eraser to soften the highlight and shadow guidelines. Then use soft, broad strokes to cover the surface of the cheese slice. Shade around the highlight outlines. Begin shading another relatively light layer of tones over the first layer on the cheese. Shade around the pickle and under the lettuce. Put some shading along the edges too.
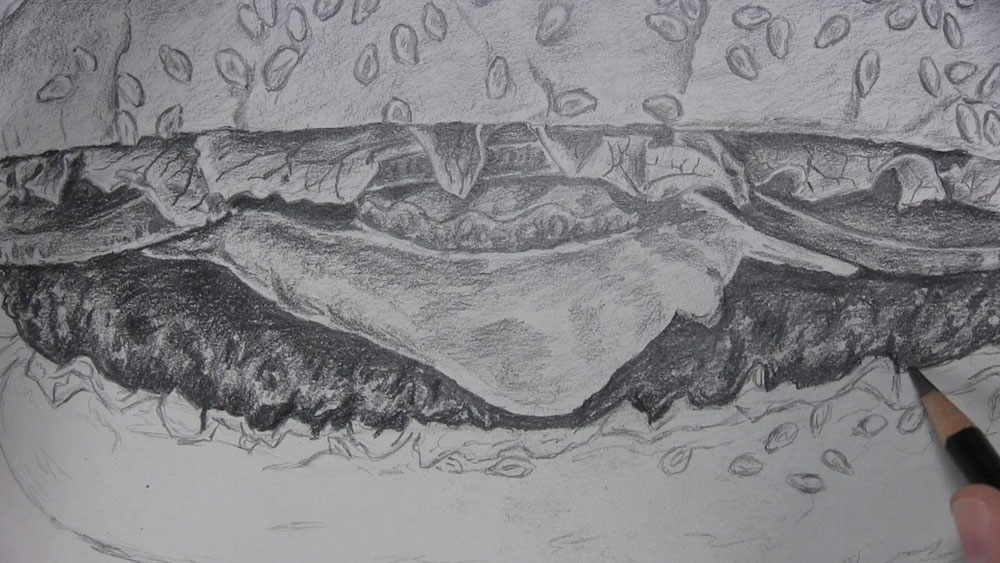
Draw Shading on the Hamburger Patty
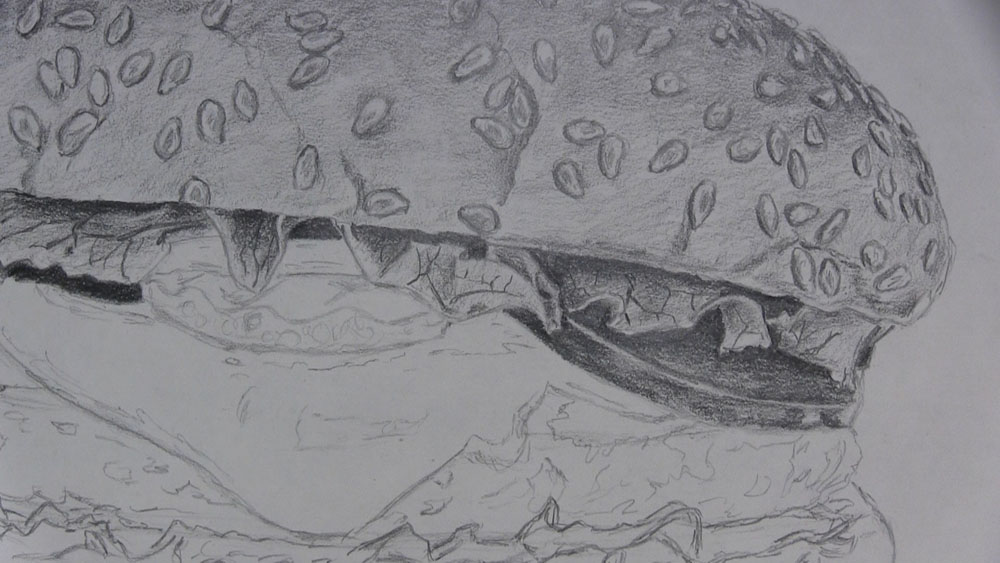
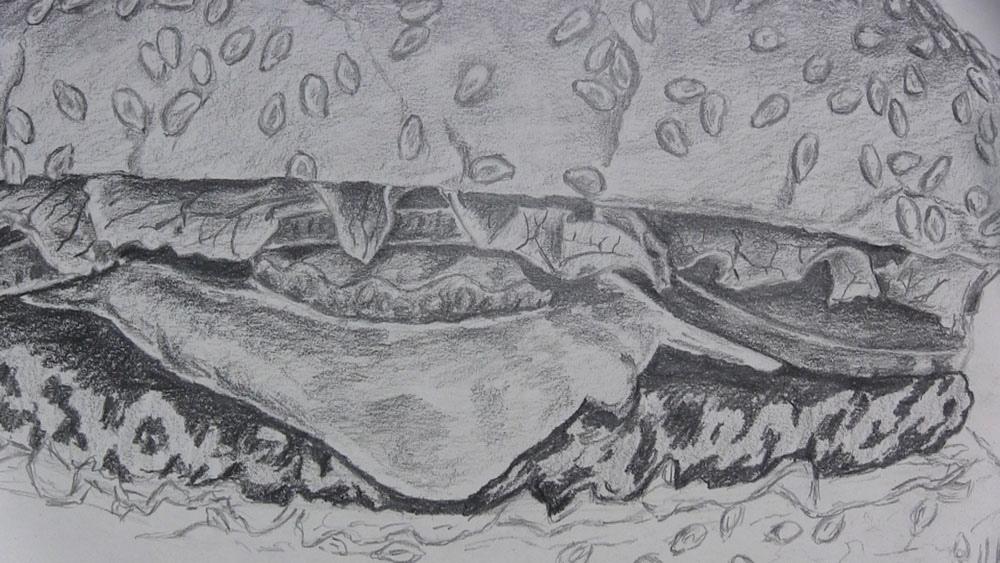
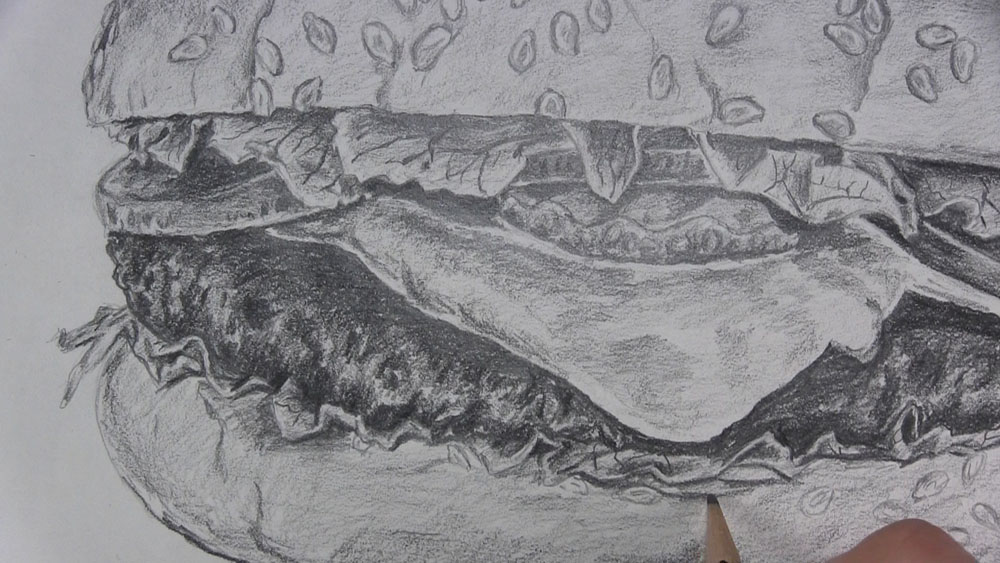
Now it’s time to shade the actual hamburger beef. Start with a 2B pencil. Begin with a light layer of shading and a wiggly motion in and around the little dimples sketched in the side. Shade the top of the patty with a 4B pencil. Use dark, heavy tones extending toward the edge.
Sticking with the same 4B pencil, draw some of the texture across the side of the hamburger. Start making marks in the side, using the lightly sketched guidelines from the line drawing as a guide. Try to shade them the same dark value as the top of the patty. Sketch some dark curved lines that cradle the bottom edge of the patty. Trace along the tiny lettuce leaves that sit under the burger patty.
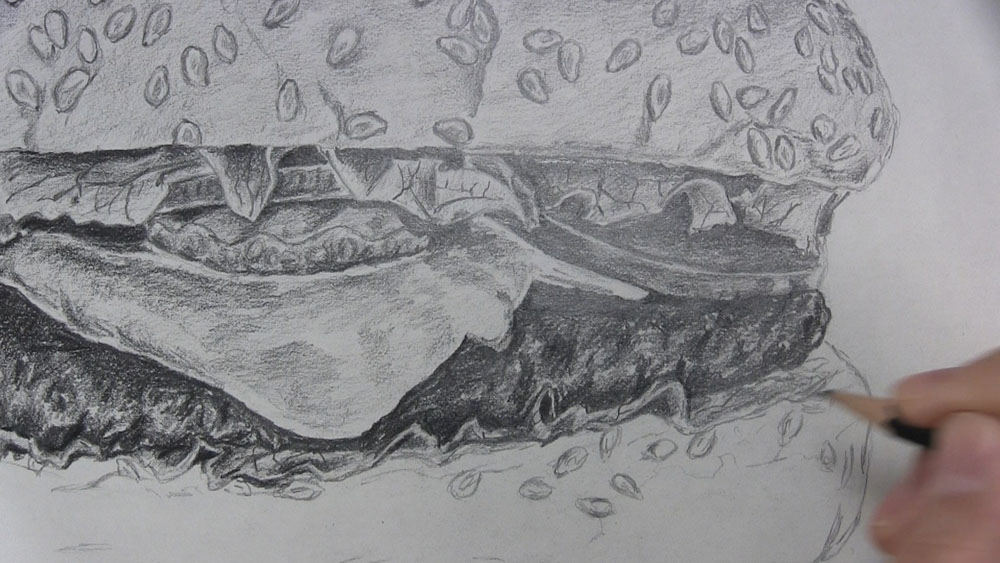
Finish Shading the Burger Patty
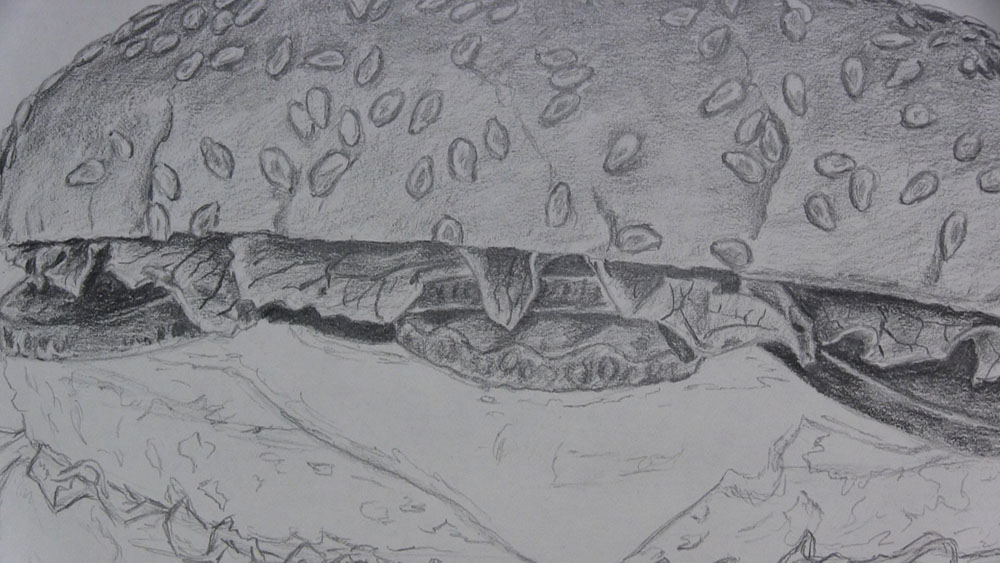
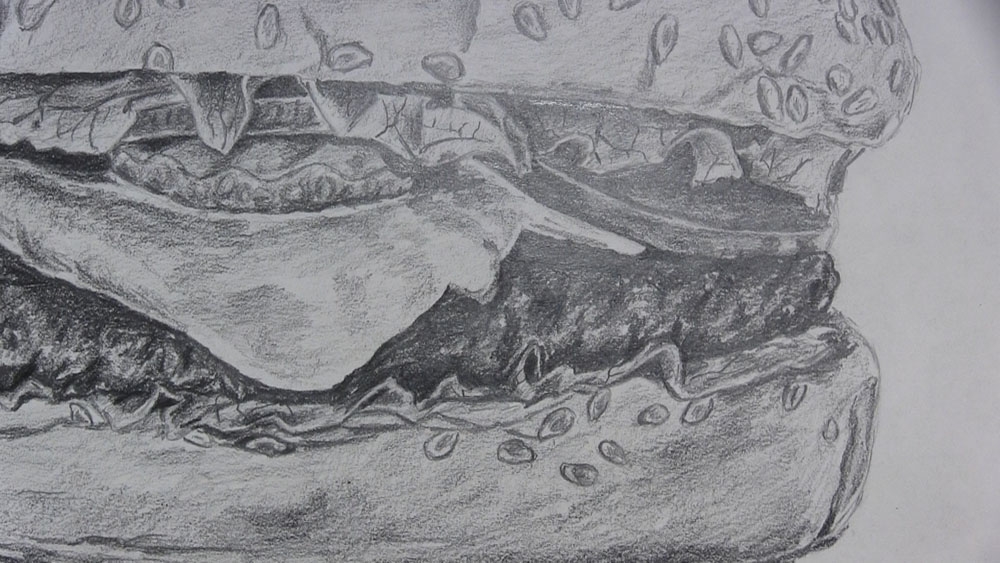
Use a 2B pencil to shade the seemingly empty space in the center of the burger. Shade from the top dark area down to the lighter areas below. Move your pencil freely around the bumpy texture of the burger’s surface. These marks should be darker than the base layer you are covering but lighter than the surrounding shadow areas.
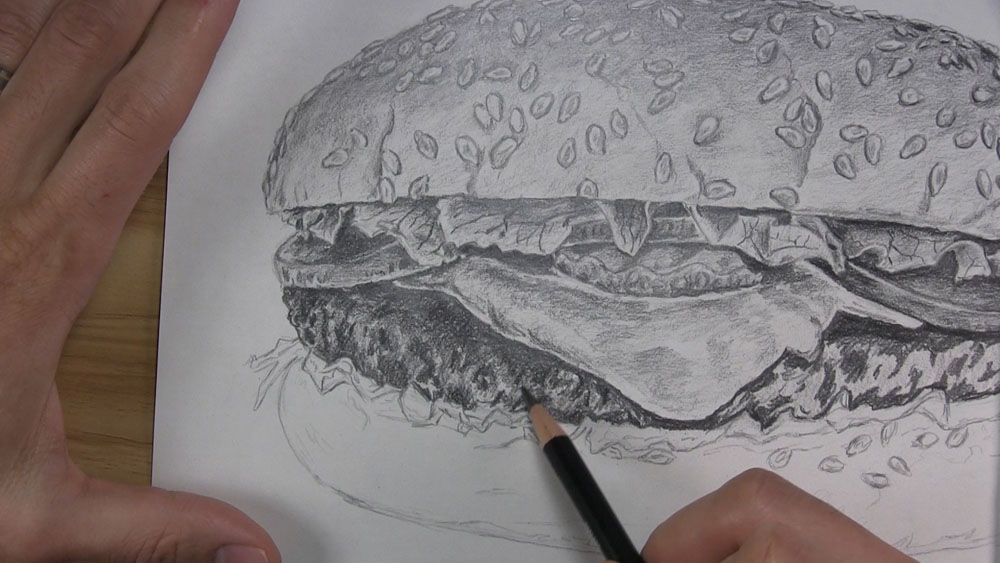
Continue to shade the spaces beyond the right side of the cheese slice. Shade in and around all of the various bumps and dents in the beef. Keep shading the beef patty until all of the area of base shading is covered with darker tones.
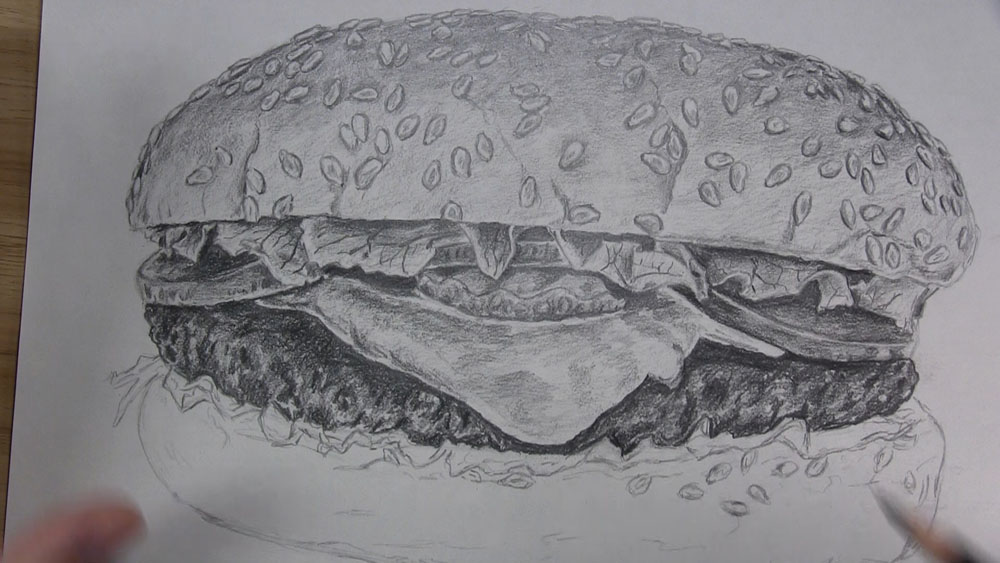
Switch back to your 4B pencil. Shade along the lower edge of the burger patty. Use this opportunity to define the sharp, clear border existing between the patty and the thin layer of lettuce directly under it. By placing dark tones next to the lettuce leaves, which will be much lighter in value, it will help the lettuce to stand out much more clearly in our drawing. Continue until the entire hamburger patty is thoroughly shaded.
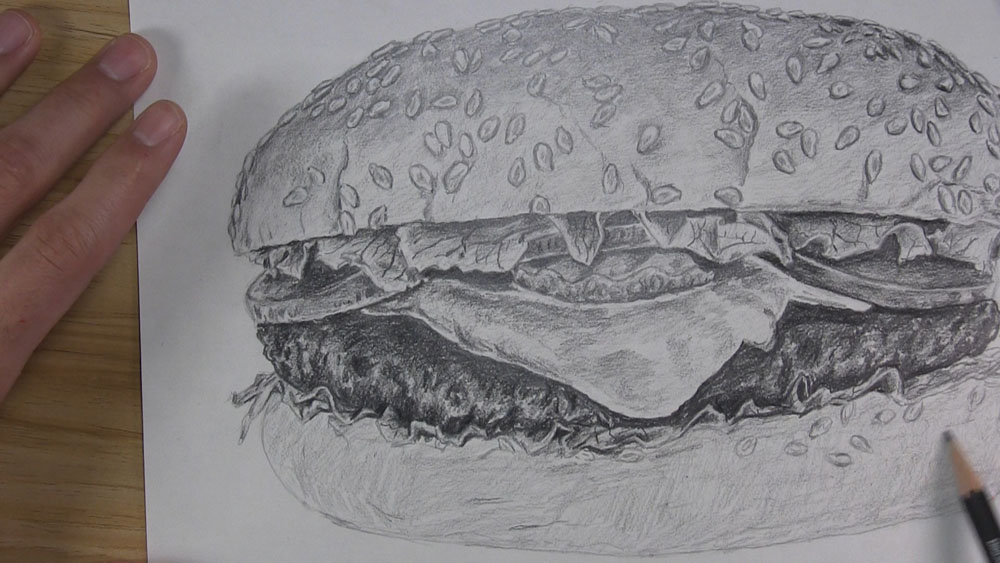
Shade the Bottom Lettuce
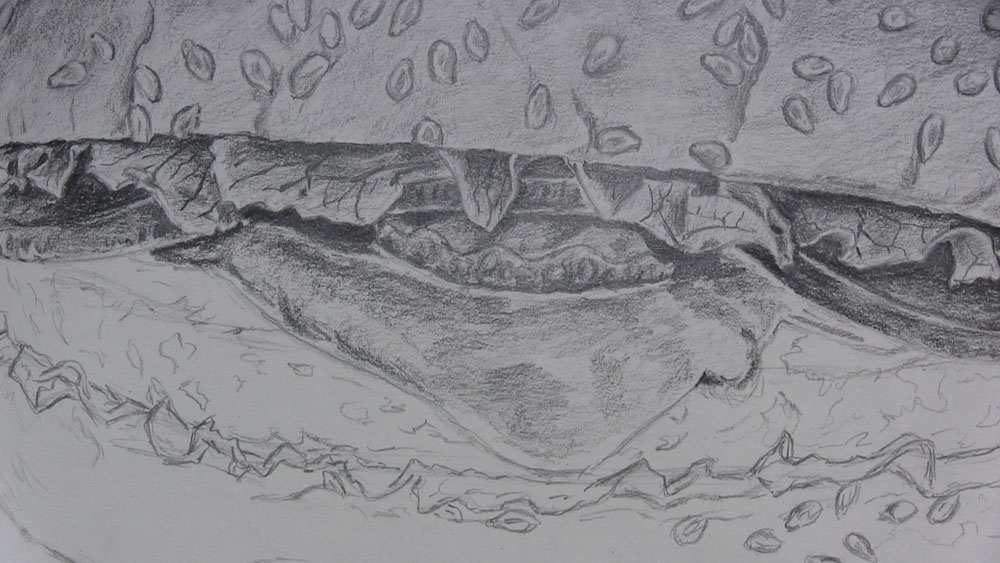
Place some light base tones on the thin layer of lettuce between the burger patty and the bun. Start with some light outlining and shading of the lettuce leaves on the left. Then apply shadows in the tighter areas. Make sure to draw a few visible veins as well. Repeat this process for the middle section of leaves and the right side to complete the lettuce.
Shade the Bottom Bun
Let’s use an HB pencil to begin shading the lower bun. Lightly trace over some of the textures in the bun’s surface. Some crosshatch marks streaking across the bun can help to add some preliminary texture to our bread.
Let’s use a 2B pencil for the next step. Begin shading some of the rugged lower lines along the browned bottom portion of the bun. The area of the bun around the seeds appears to be white, so lighten your touch as you shade around the seeds. Sketch some heavier tones along the lower right edge of the hamburger bun with a 4B. Gradually blend the tones into the lighter graphite above to create a smooth transition.
Next, we will develop a few more of the light cracks in the bun’s surface with an HB pencil. Start near the top of the bun around where the lettuce is on the left side. Lightly sketch a crack or two curving downward. Sketch another one from the bottom heading up. Sketch a couple of lines to show where the bun is bunched up along the top center edge.
Next, we will work to develop the sesame seeds on the lower bun. Put some shadow next to the seeds tucked under the lettuce. Outline or apply light shades of value on and next to each seed. Define some of the edges and sketch the little dimple lines inside the seeds.
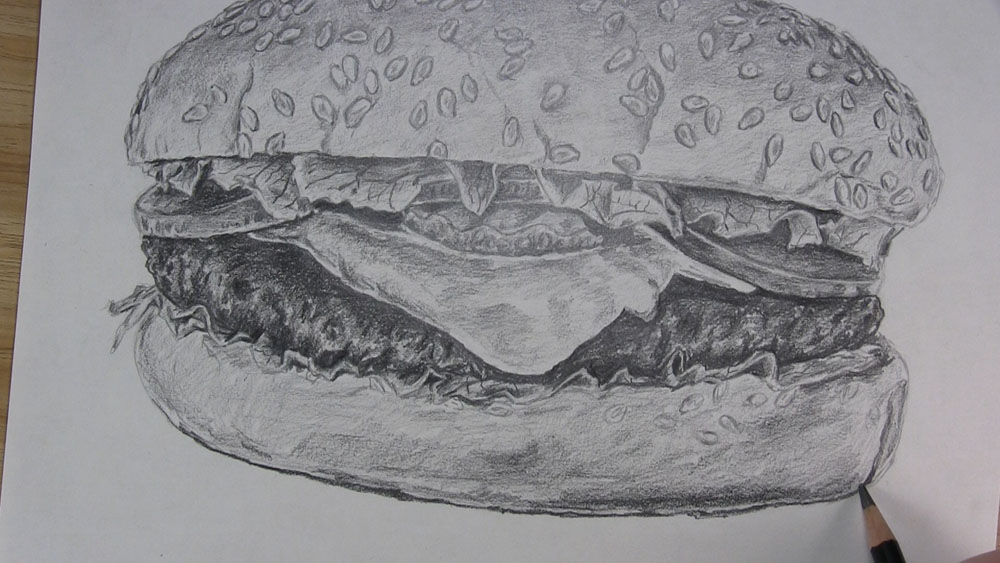
Add the Finishing Touches
Use a 6B pencil to touch over the darkest areas. Shade just under the bun and above the toppings. Then go back and amplify some of the shadows on the hamburger patty. Make sure the shadows under the tomato and cheese are very dark.

Go around your drawing and erase any smudges that might be on your paper. Then grab a 2B pencil for the final step. Sketch a surface for the burger to be sitting on. Extend some short, horizontal strokes from the bun’s edge so it looks like a surface. Make sure the surface is on the same level when drawn on the other side.

And that is how to draw a hamburger with cheese!
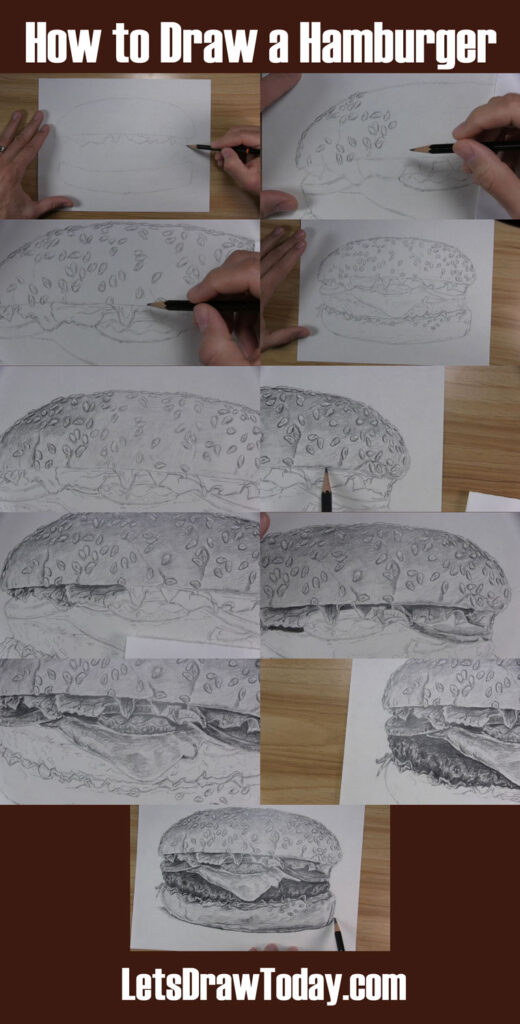
Tutorial Recap
For a quick visual recap of this tutorial, take a look at the image below. It shows you a progression of the main steps for how to draw a hamburger.
Tips to Remember the Next Time You Draw a Hamburger
The next time you have a craving to draw a hamburger (or cheeseburger), here are a few tips to keep in mind:
- As mentioned at the beginning of this post, a reference photo can go a long way to helping you create a realistic hamburger drawing. A reference will help you to properly capture important elements of art such as shape, form, space, value, and texture.
- When using a reference photo, still remember to allow yourself some creative freedom. Drawing a hamburger is not the same as drawing a person. You don’t have to create a likeness that resembles a person’s face when you are drawing food. Feel free to make adjustments on such things as the amount of toppings or positioning of certain pieces of your hamburger. It’s just like when I said you can vary the number and location of your sesame seeds.
- Consider using both a color and a black-and-white version of your reference. You can use both photos together to give you information about light and dark values as well as subtle changes in color, such as the slight variations between the lighter and darker shades on the hamburger bun, sesame seeds, and the beef patty.
- Try drawing a variety of hamburgers. Draw small hamburgers and large hamburgers. You can draw hamburgers with and without cheese. Draw hamburgers with traditional toppings as well as burgers with more adventurous toppings!
- Strive for a level of detail and realism that will make your burger drawing look appetizing enough to eat!
I hope you found this tutorial for drawing a hamburger helpful. Even if you can only draw a simplified version of a hamburger for now, keep practicing by drawing different types of hamburgers. Keep practicing your observation and shading techniques. Over time, your hamburger drawings will look more realistic and even more appetizing to people who view them!